We may earn a commission from links on this page, at no extra cost to you. Picks are researched, not sponsored.
This guide covers the photography side of flying: composition, the moves, and the settings. The certification and airspace rules are their own subject, and our sister site Drone Authority covers Part 107 and drone law in depth. Aperture sticks to getting the shot.
What aerial actually adds
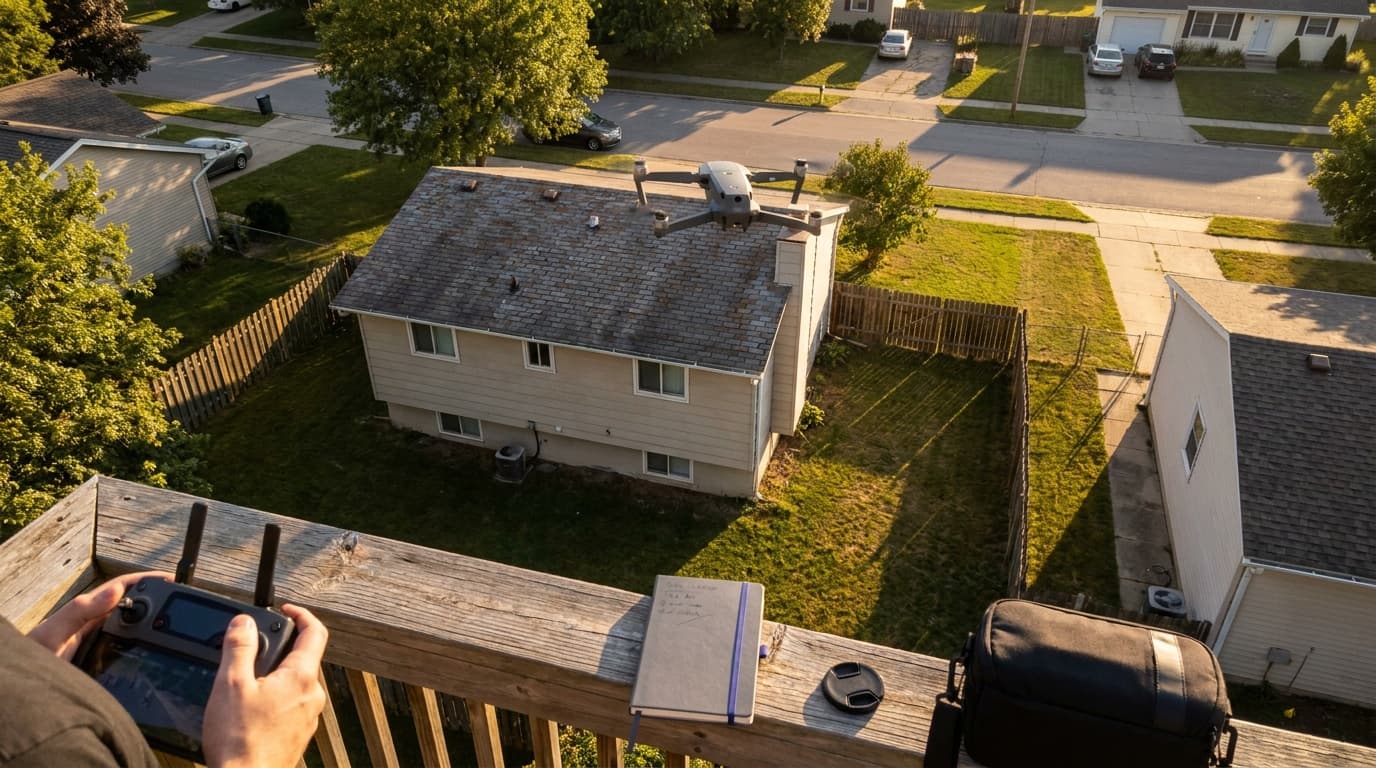
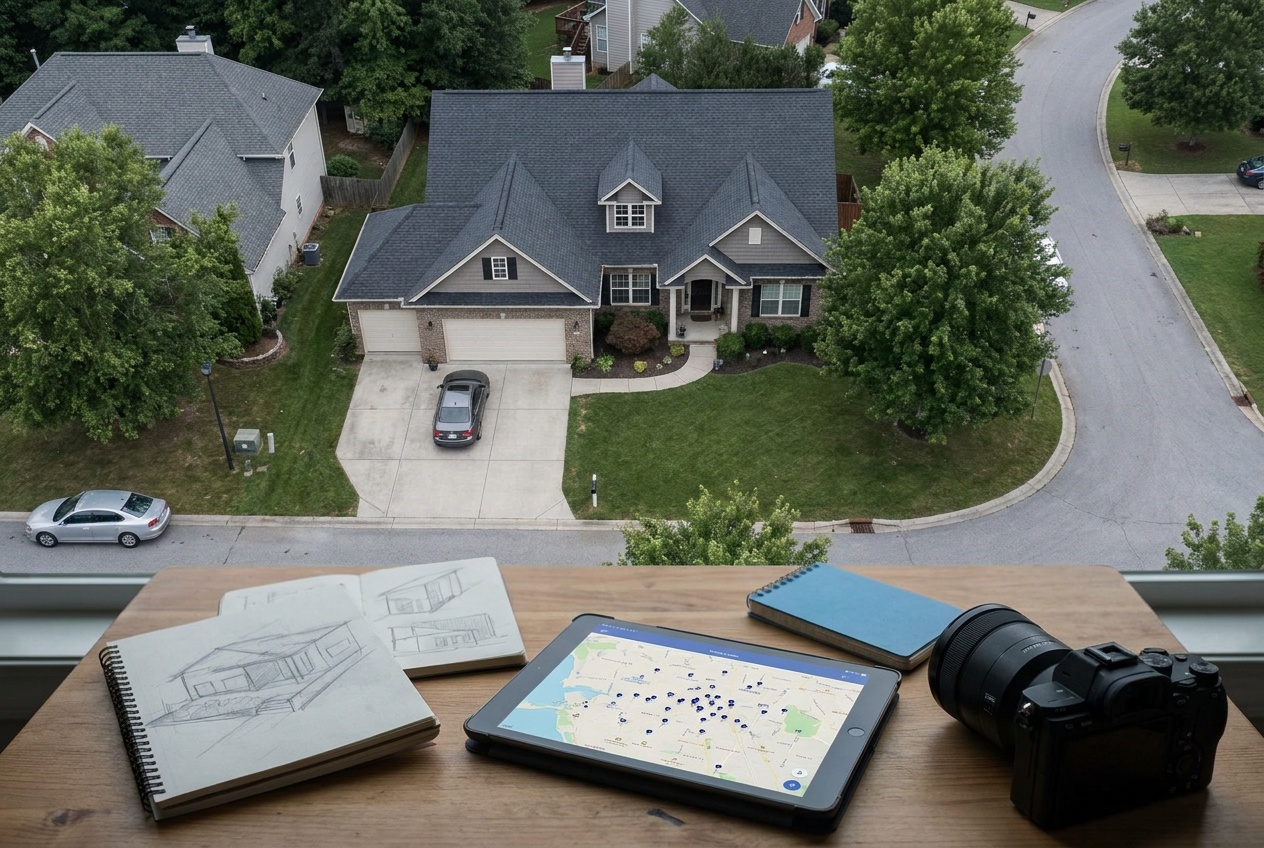
For a listing, a single low aerial does what no ground photo can: it shows the whole property, the roof condition, the yard, and how the home sits in its neighborhood. For landscapes, height turns a flat scene into pattern, a winding river or a field grid that only reads from above. The rule of thumb is to fly only as high as the story needs. Most real estate aerials work best low, just above roofline, not at maximum altitude.
The core moves
A few repeatable moves cover most aerial video:
- The reveal. Start low behind a tree or rise, then climb and tilt down to uncover the property. The most useful single clip for a listing.
- The orbit. Circle the subject at a fixed distance and height, keeping it centered. Shows the home from every side in one move.
- The top-down. Straight down for a clean map-like frame of the lot and roof.
- The push-in. A slow, straight approach toward the front door, the aerial cousin of a ground walk-up.
Fly slow and smooth. Most drones have a cinematic or tripod mode that slows the controls, which is the easiest way to get usable footage.
Settings and composition
The fundamentals do not change with altitude. Keep ISO low for clean files, use a shutter speed around double your frame rate for natural-looking video, and shoot in good light, since golden hour flatters a property from the air just as it does from the ground. Apply the same composition fundamentals: lead with lines, place the subject deliberately, and keep the horizon level on wider frames.
Know the law before you fly
Flying a drone for a paid shoot is regulated, and the rules cover certification, airspace, and where you may launch and fly. Check airspace and local restrictions before every commercial flight. Start with the rules by location pillar for the shoot-site side. This is the part that protects your client and your license, so do not skip it.
Where this fits
Drone work is a natural extension of real estate photography: the same listing, one more angle. Plan the aerials into your shot list alongside the ground frames so the flight is one quick, deliberate session rather than an afterthought.
Do I need a license to fly a drone for real estate?
For paid or commercial work in the US you need the FAA Part 107 certificate, and other countries have their own equivalents. The flying skills are the easy part; the certification and airspace rules are not optional. See Drone Authority for the full Part 107 and drone-law detail.
How high should I fly for real estate photos?
Lower than you would expect. Most listing aerials look best just above roofline or a little higher, where the house still reads as the subject. Maximum altitude turns the home into a dot. Fly only as high as the story needs, within legal limits.
Shoot kits
Buy around the job, not the spec sheet
Video rig
Run-and-gun video rig
$4,201
A compact cinema body, fast normal zoom, cage, monitor, gimbal, shotgun mic, and battery for paid video work.
Best upgrade path from creator kit
Buy order: start with the first piece that makes the job possible, then add the support pieces that remove friction.
Camera: start here. If this piece does not make the shoot easier, the rest of the kit can wait.
Power: add it after the core setup proves useful.
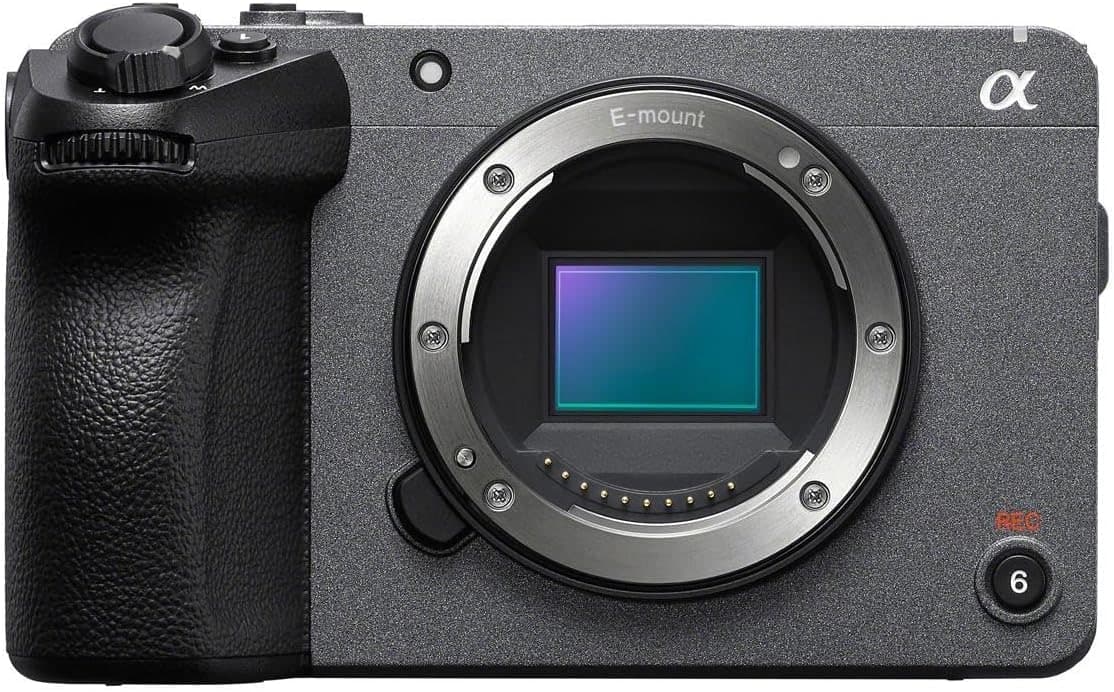
Sony FX30
Cinema-line controls, active cooling, reliable autofocus, and files that grade well without full-frame cost.
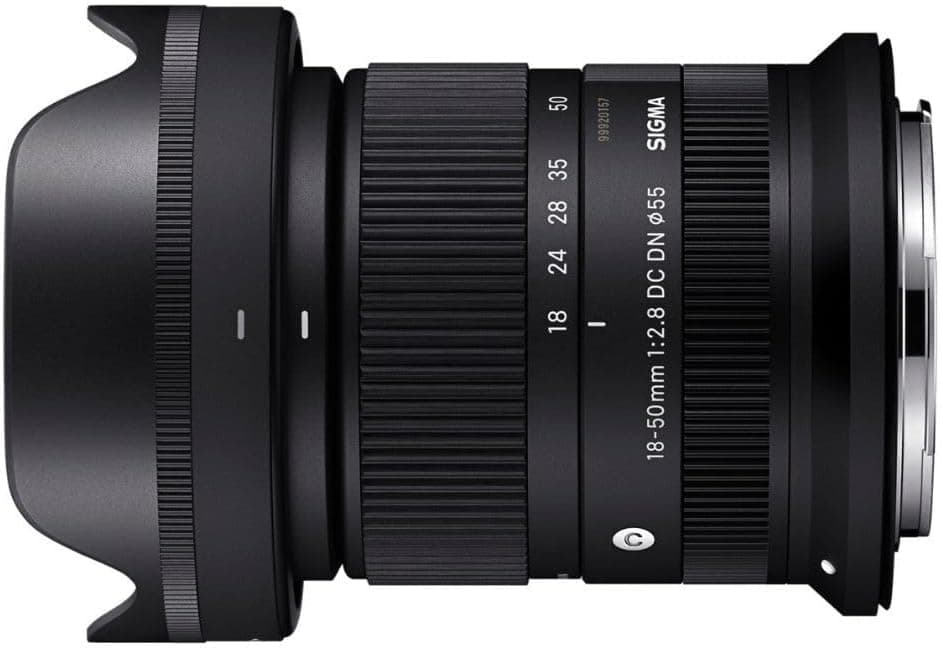
Sigma 18-50mm f/2.8 DC DN Contemporary
A small constant-aperture zoom that keeps an APS-C rig light enough to carry and balance.
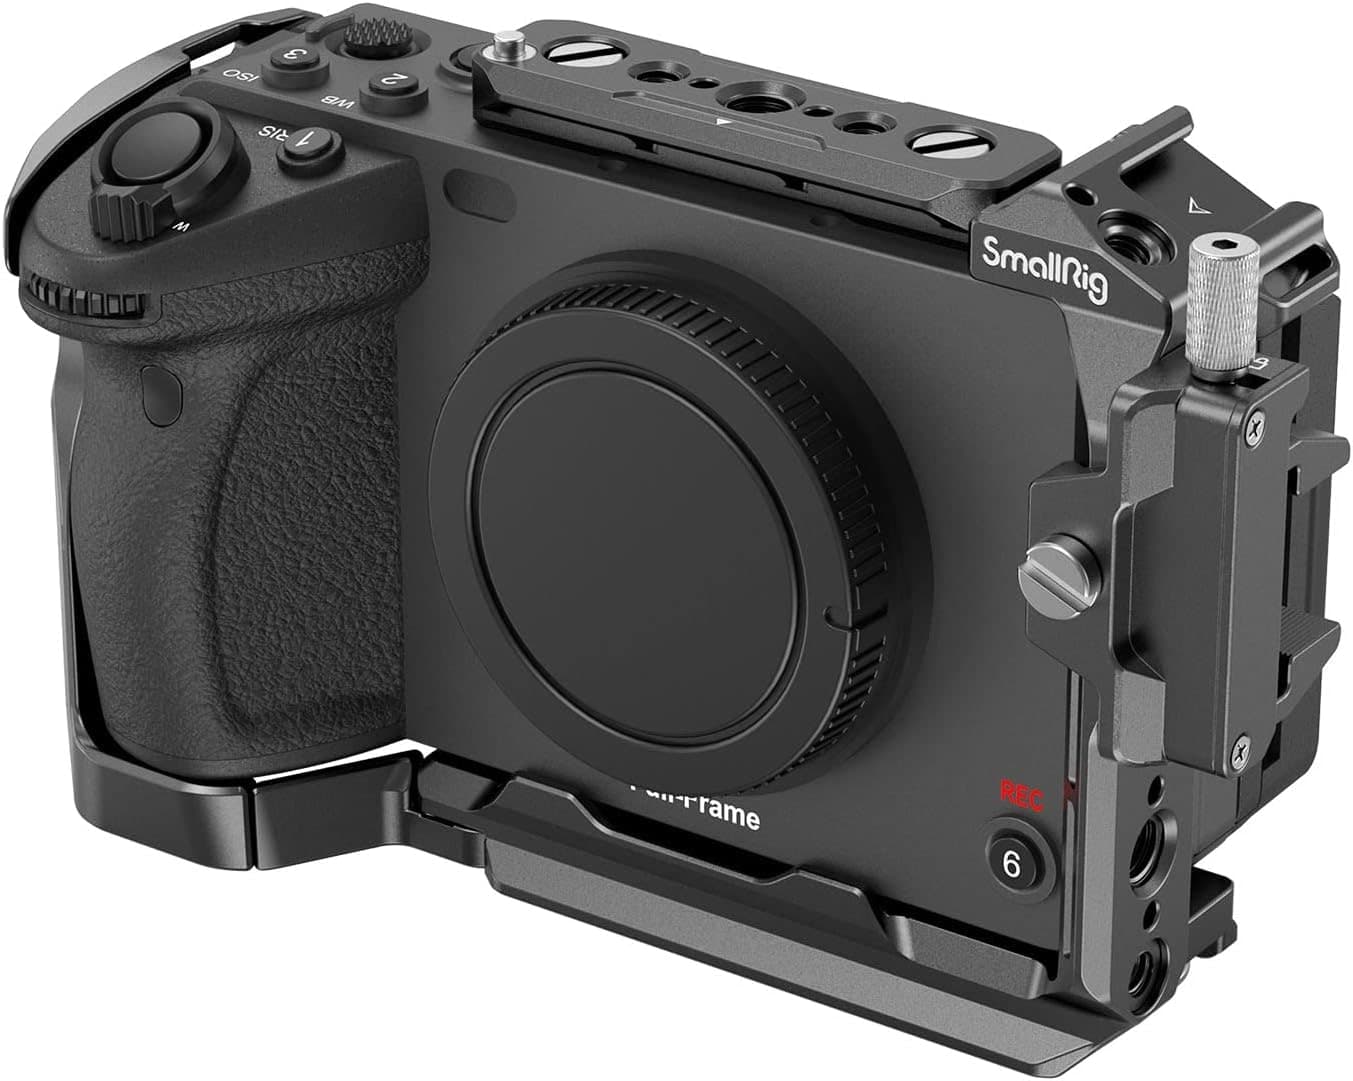
SmallRig Cage for Sony FX3 and FX30
Adds proper mounting points for handles, monitors, mics, and cables without relying on the camera body.
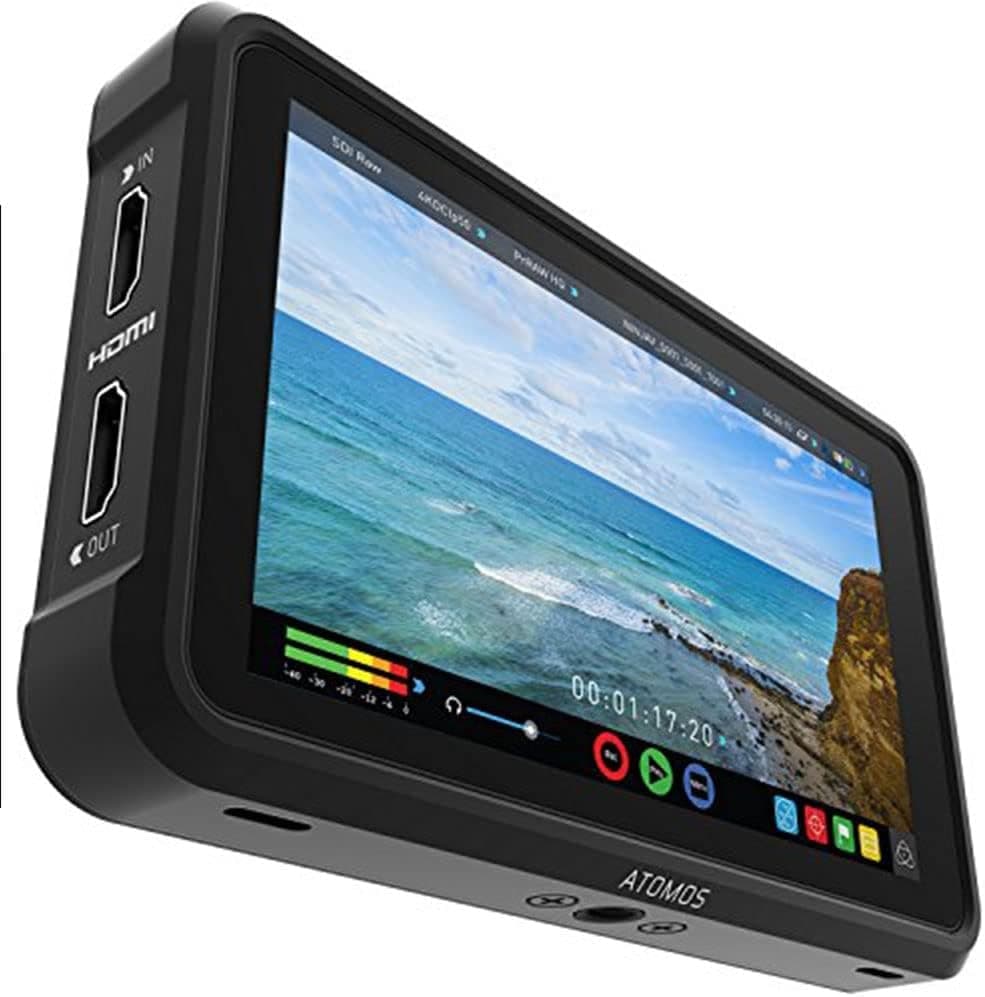
Atomos Ninja V
A bright five-inch screen for focus, exposure tools, LUT preview, and cleaner client monitoring.
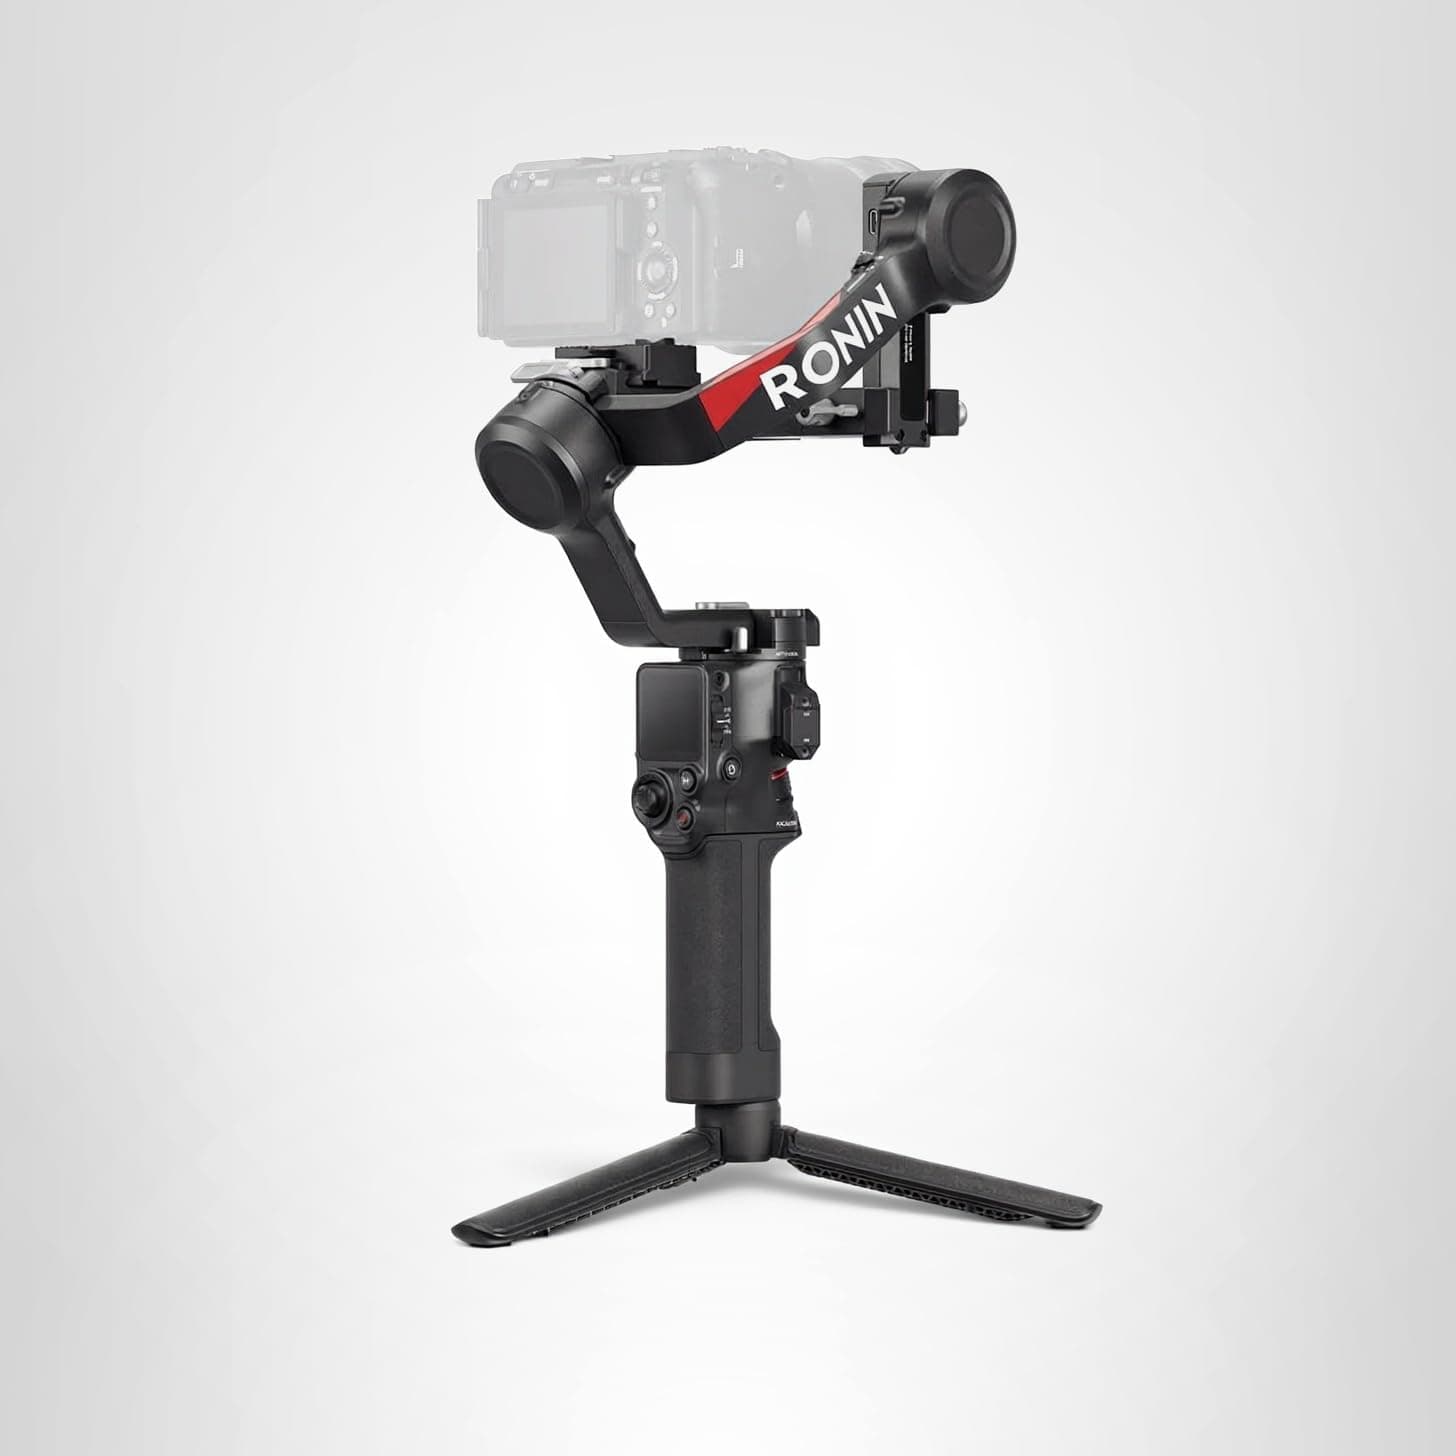
DJI RS 4
The gimbal tier that can handle a built-out mirrorless or compact cinema rig without becoming huge.
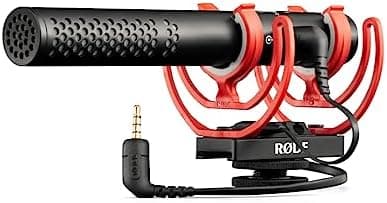
Rode VideoMic NTG
A flexible on-camera shotgun that also works as a small USB mic for quick voiceover or desk work.
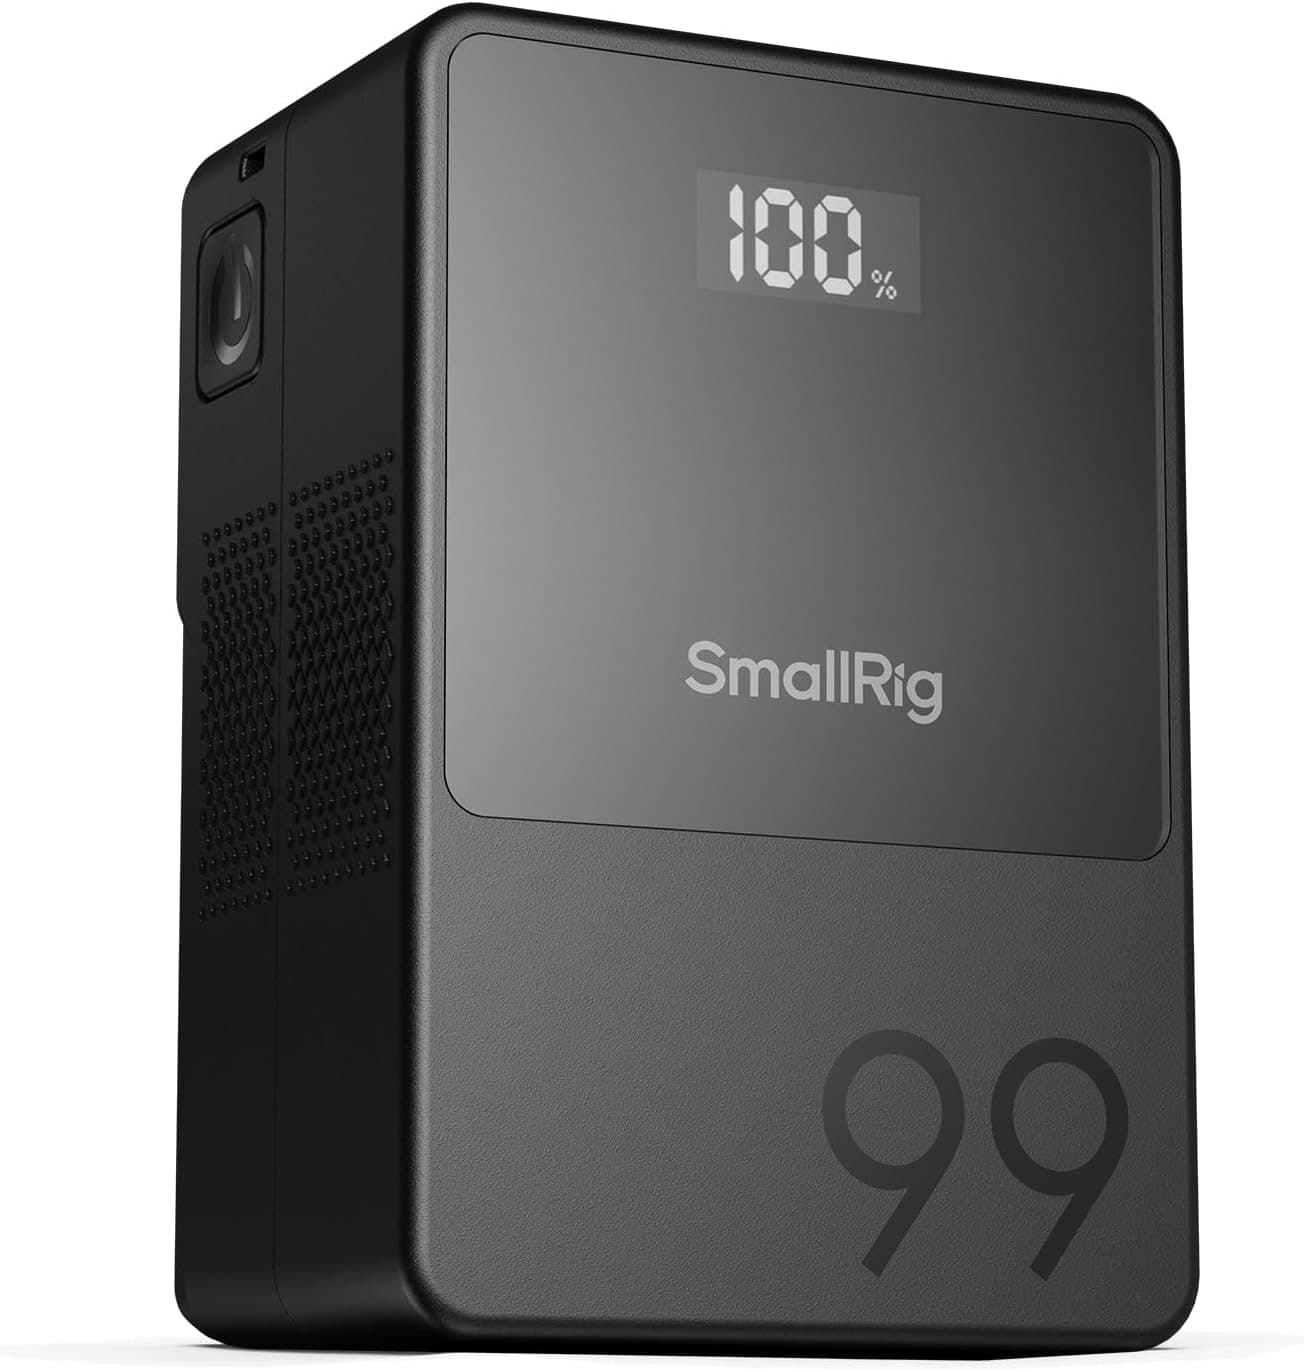
SmallRig VB99
A compact V-mount that can run monitors, lights, or cinema bodies without turning the rig into a brick.
Prices are rough catalog totals. Retailer prices change, and you can swap pieces to fit your system.
Related Gear guides
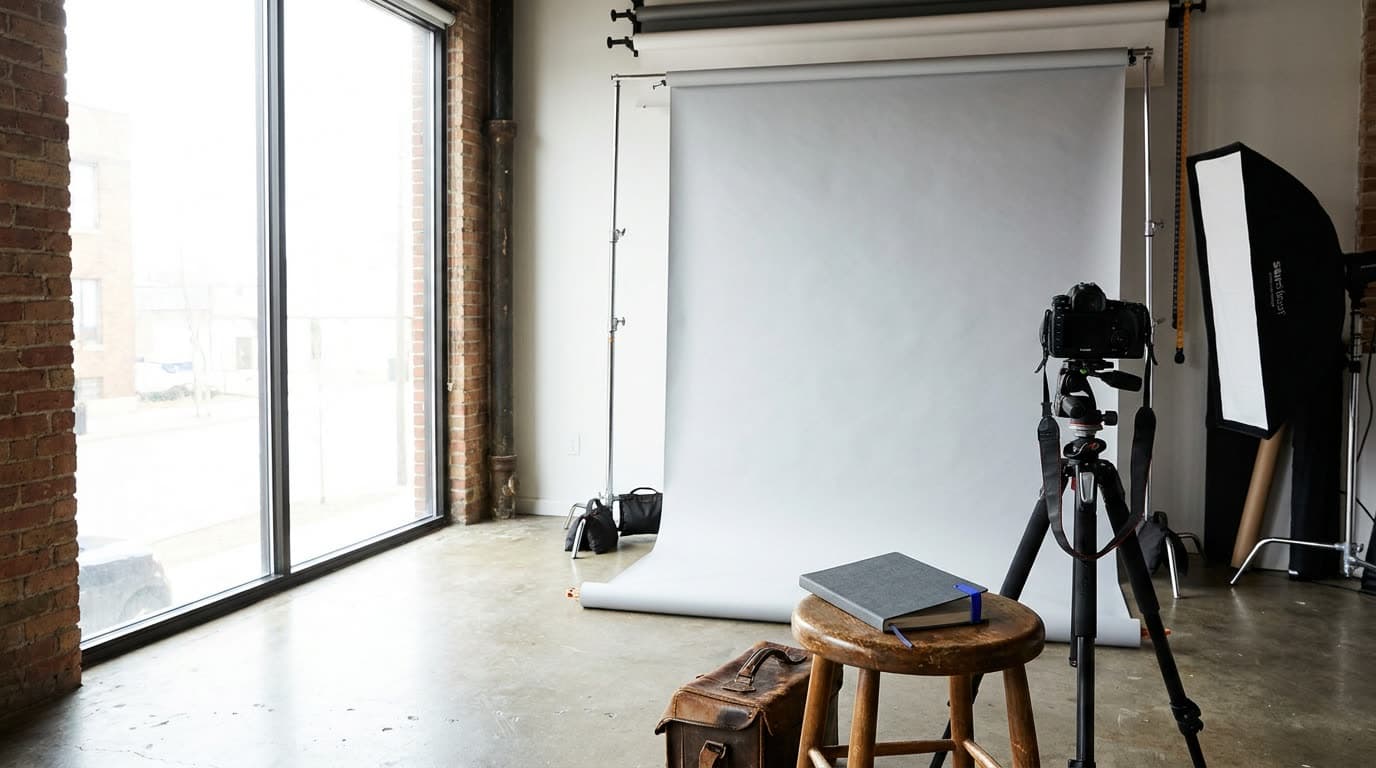
Best Backdrops and Stands in 2026: Studio Background Picks
The best backdrops and stands for home studios, with each pick's real size, height limit, and price, so you know whether it fits headshots, products, or full-length portraits.
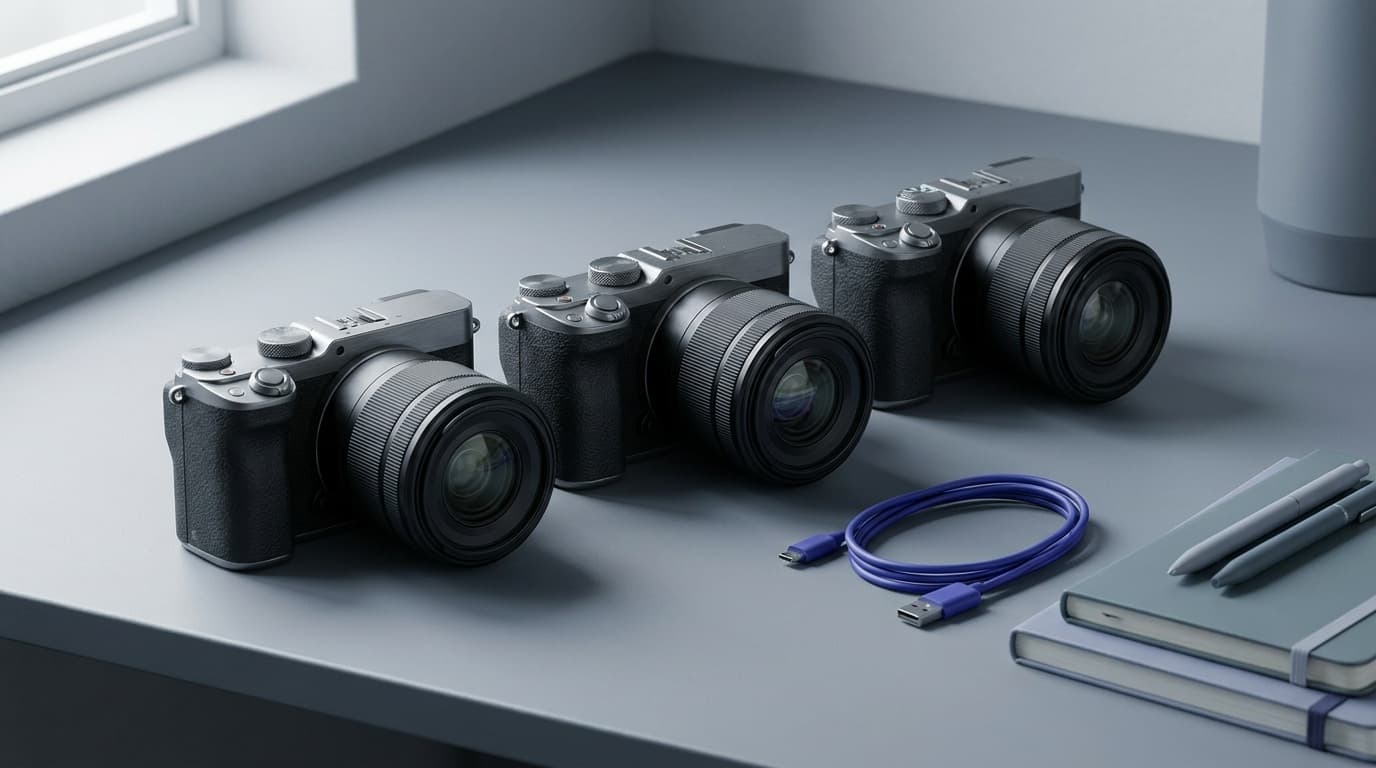
Best Cameras for Beginners in 2026: First Interchangeable-Lens Picks
The best beginner cameras balance an easy interface, good autofocus, and room to grow. Here are six we recommend and how to pick the right first body.
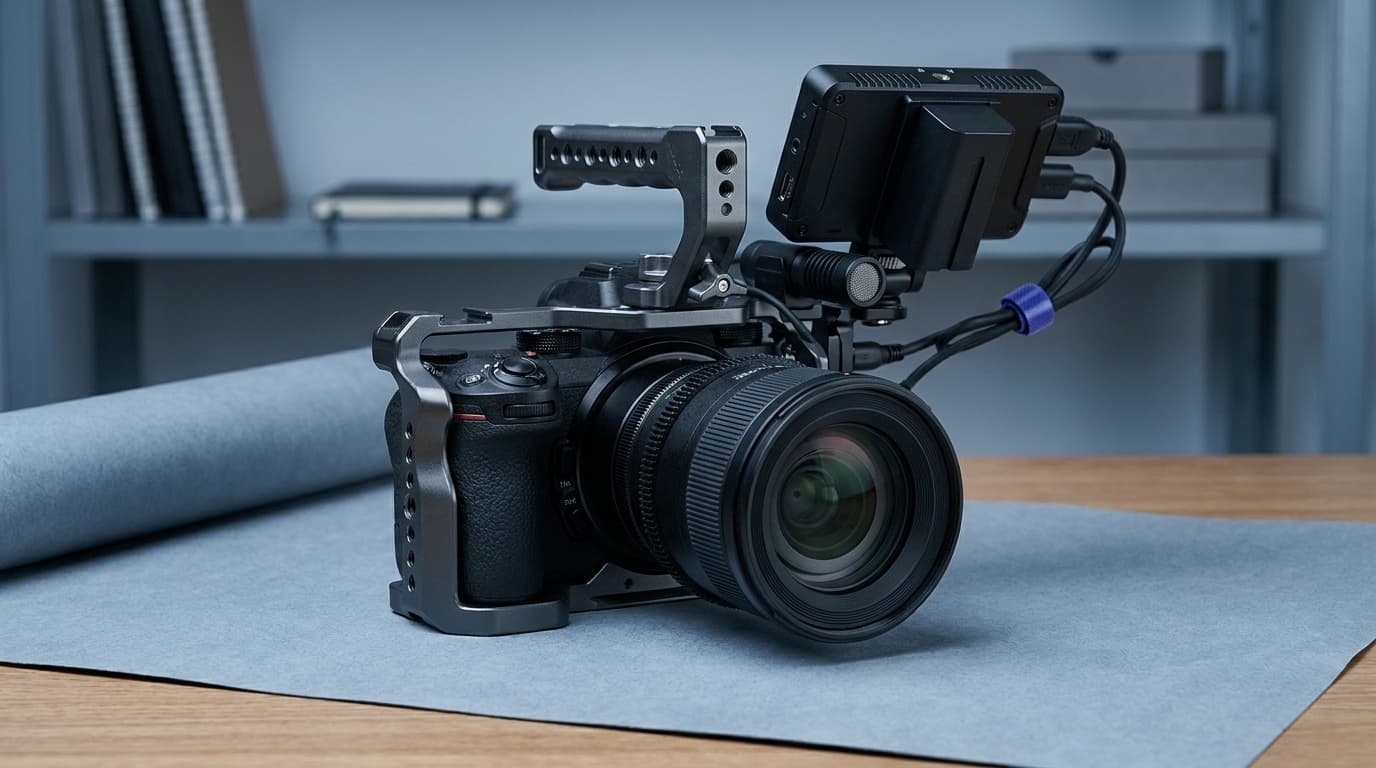
Best Cameras for Video in 2026: Hybrid, Cinema, and Vlogging Picks
Panasonic Lumix S5 II is the value video pick; GH7 suits long recording, and Sony a7 IV is the hybrid choice. Compare six cameras by workflow.
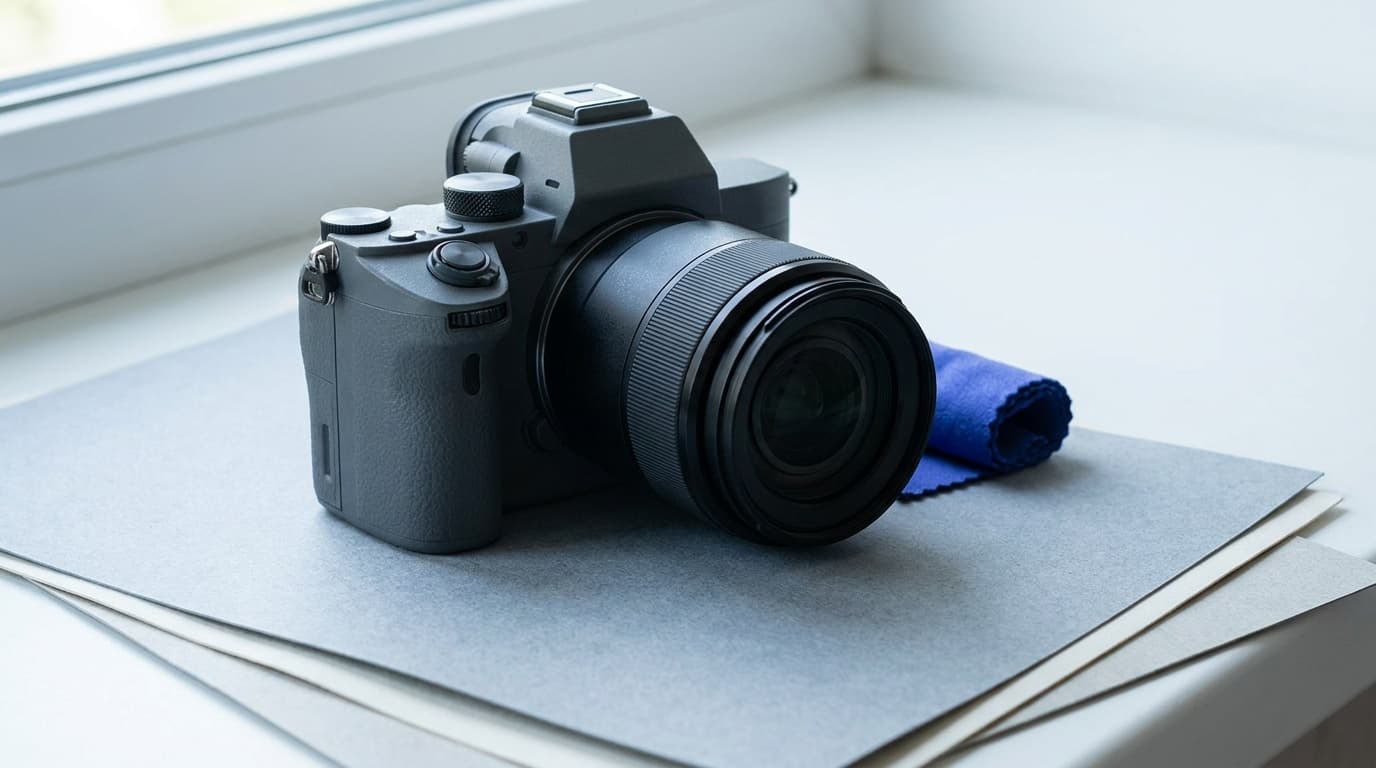
Best Cameras Under $1000 in 2026: Beginner, Value, and Creator Picks
The best cameras under $1000 deliver strong autofocus and image quality without the full-frame price. Here are six picks and how to choose the right one.
Researched, not personally tested: picks compare specifications, available owner feedback, and established expert sources. As an Amazon Associate I earn from qualifying purchases. We may earn a commission from links here, at no extra cost to you. How we research →