We may earn a commission from links on this page, at no extra cost to you.
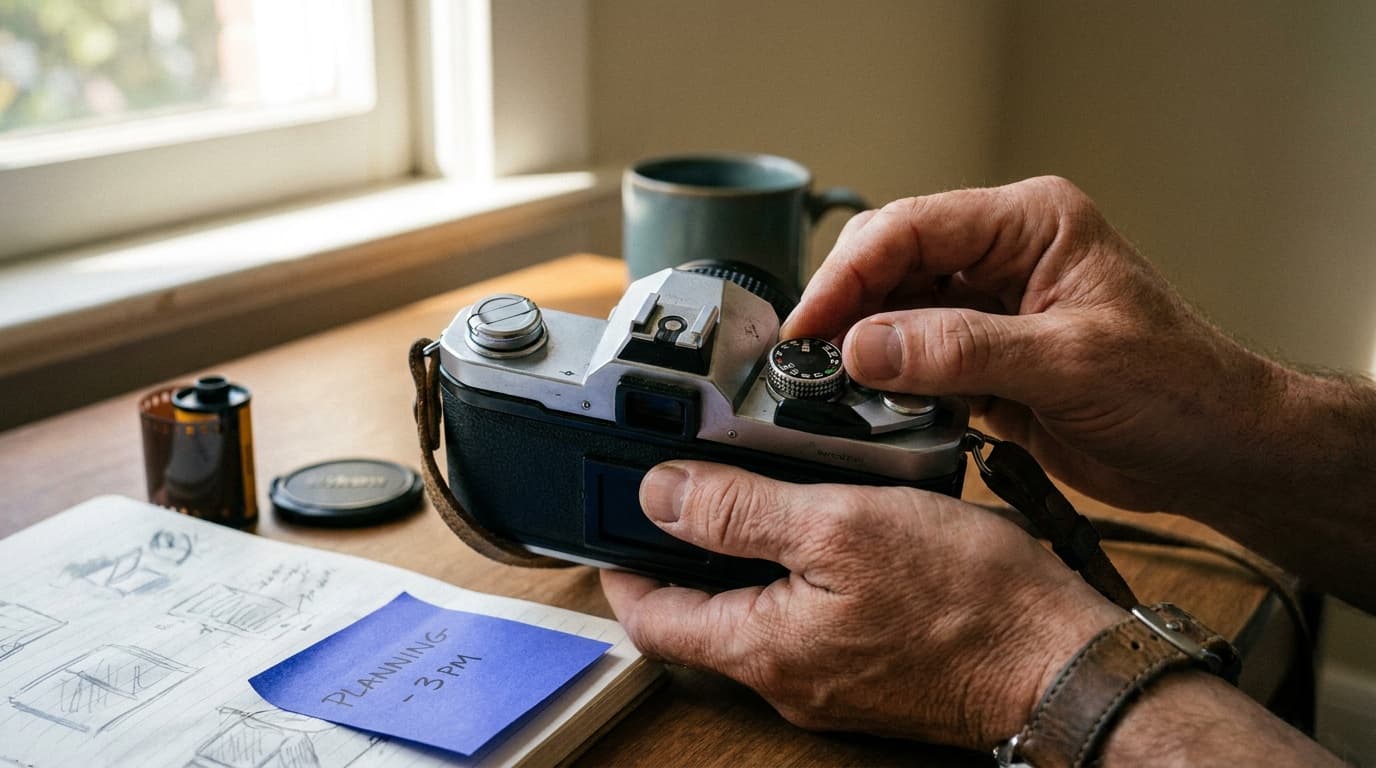
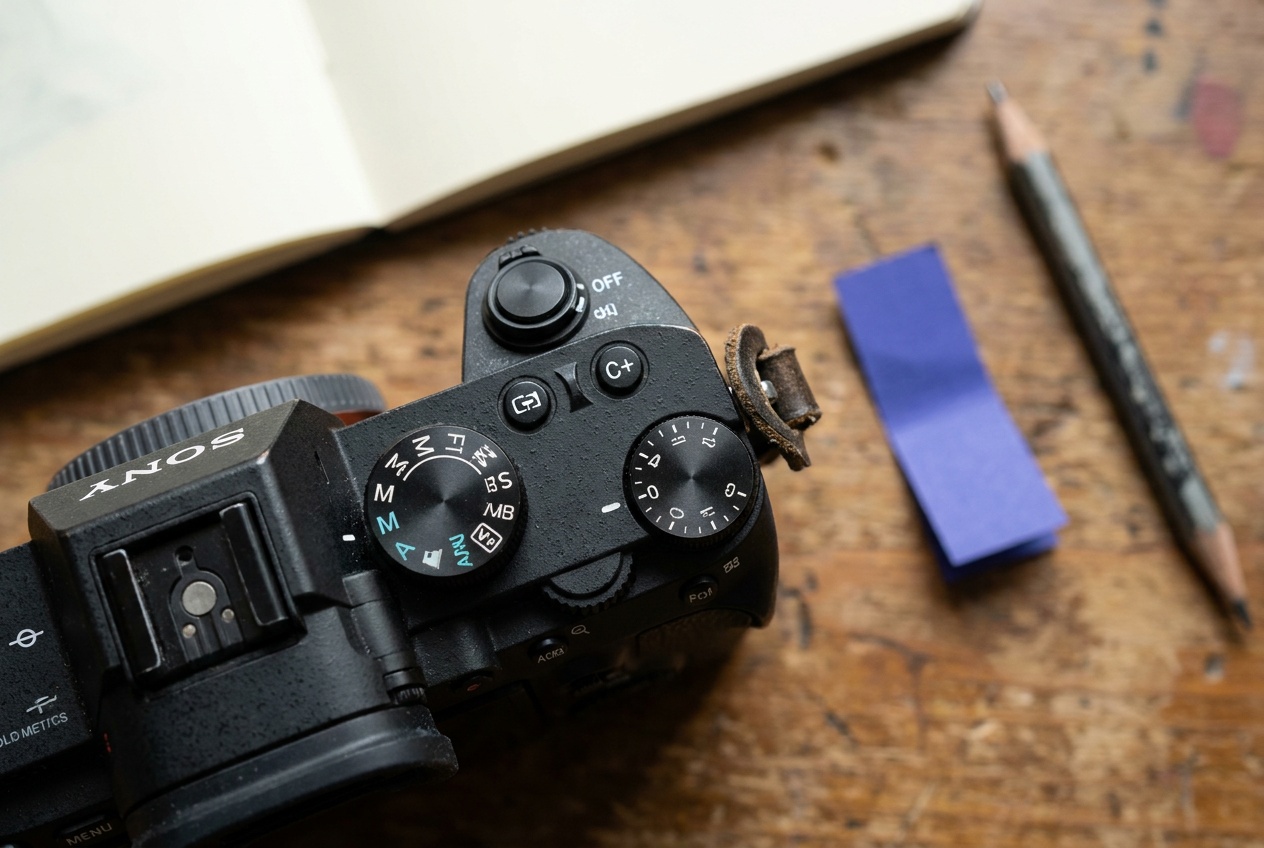
Manual mode (the M on the dial) gives you full control of the three controls in the exposure triangle. The camera stops deciding brightness for you, which sounds intimidating and is not. You are making three small decisions in a fixed order, then checking one number.
What manual mode actually controls
In manual mode you set all three exposure controls by hand:
- Aperture, the f-number, covered in aperture and f-stop explained.
- Shutter speed, the fraction of a second, covered in shutter speed explained.
- ISO, the amplification, covered in ISO explained.
Everything else (focus, white balance, drive mode) works the same as in any other mode. Manual is only about brightness.
The order to set them in
You do not set the three randomly. Start with the control tied to the look you want.
- Decide the priority. Blurred background means aperture first. Frozen or blurred motion means shutter speed first.
- Set that control. For a portrait, maybe f/2.8. For a running dog, maybe 1/1000.
- Set the second control to fill in the look. A handheld street shot might want 1/250 to stay sharp.
- Set ISO last to reach correct brightness. Keep it as low as the scene allows.
A solid daylight baseline to adjust from is f/8 · 1/250 · ISO 200. Indoors you might land closer to f/2.8 · 1/125 · ISO 1600.
Reading the in-camera meter
When you half-press the shutter, the viewfinder shows a small scale, usually running from -2 through 0 to +2. That is the light meter.
- Needle at 0: the camera thinks the exposure is balanced.
- Needle to the minus side: the shot will be darker than the meter wants.
- Needle to the plus side: brighter.
You do not have to obey the meter. It is a starting reference, not a rule. For a snowy scene or a bright sky you will often push past 0 on purpose, which is the idea behind exposure compensation. To check the result instead of trusting the meter, learn how to read a histogram.
Common mistakes
- Setting ISO first and forgetting it. ISO drifts up to 6400 from a dark room last week, then ruins a bright outdoor shot today. Reset it.
- Chasing the meter to 0 on every frame. A backlit subject metered to 0 comes out as a silhouette. Read the scene, not just the needle.
- Forgetting one control changed. You set 1/1000 to freeze motion, then wonder why the next indoor frame is black. Re-check all three when the light changes.
- Avoiding manual entirely. If full manual feels like too much at once, start with aperture priority or shutter priority, which let the camera handle one control while you learn the others.
The exposure calculator lets you test combinations and see how a change to one control trades against the others before you are standing in front of the shot.
When should I use manual mode instead of auto?
Use manual when the light is consistent and you want the same exposure across many frames, such as a studio setup, a concert, or astrophotography. For fast-changing light, a priority mode is often quicker.
Do I keep ISO on auto in manual mode?
You can. Auto ISO in manual mode lets you lock aperture and shutter speed for the look you want while the camera fills in brightness. It is a popular middle ground between full manual and the priority modes.
Why is my manual photo too dark even though the meter said zero?
The meter averages the scene and can be fooled by a bright sky or a dark background. Check the result on the histogram and adjust, rather than trusting a single needle position.
Related Learn guides
Aperture Priority vs Shutter Priority: Which to Use
Aperture priority lets you control depth of field; shutter priority lets you control motion. Here is what each mode locks, what it leaves to the camera, and when to pick which.
Read guide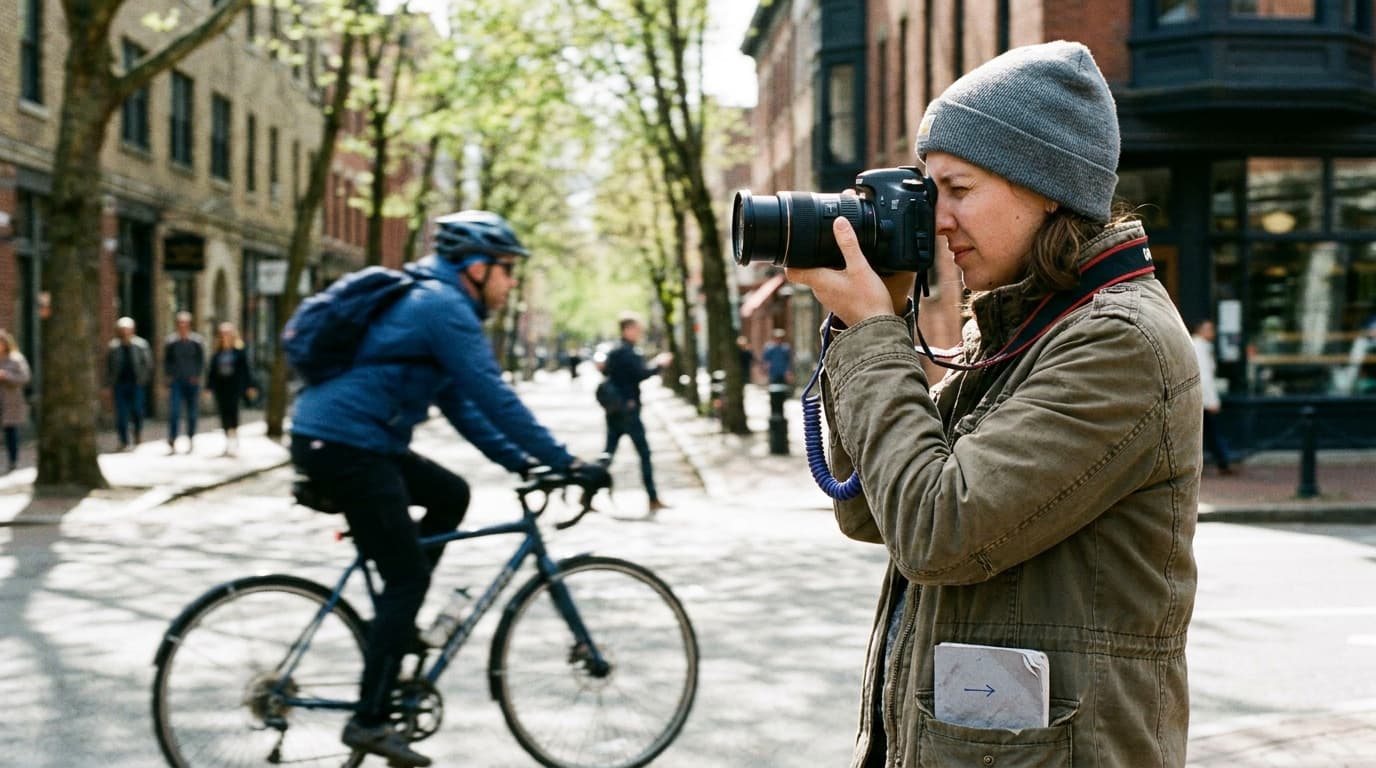
Autofocus Modes Explained: Single, Continuous, and Auto
Single autofocus locks on still subjects; continuous tracks moving ones. Here is what AF-S, AF-C, and the focus area modes do, and which to pick for your shot.
Read guide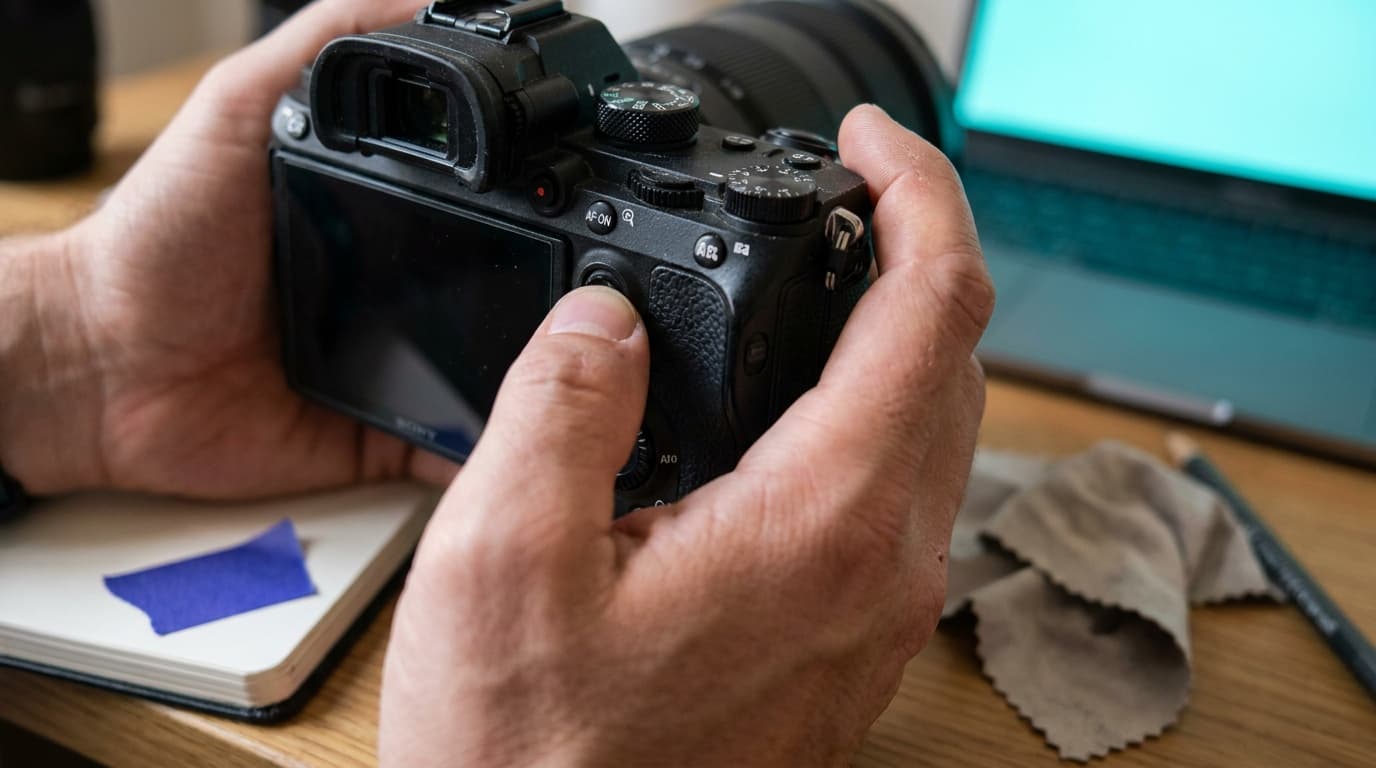
Back Button Focus Explained: What It Is and Why to Use It
Back button focus moves focusing off the shutter button onto a rear button, so the shutter only takes the photo. Here is what it does and how to set it up.
Read guide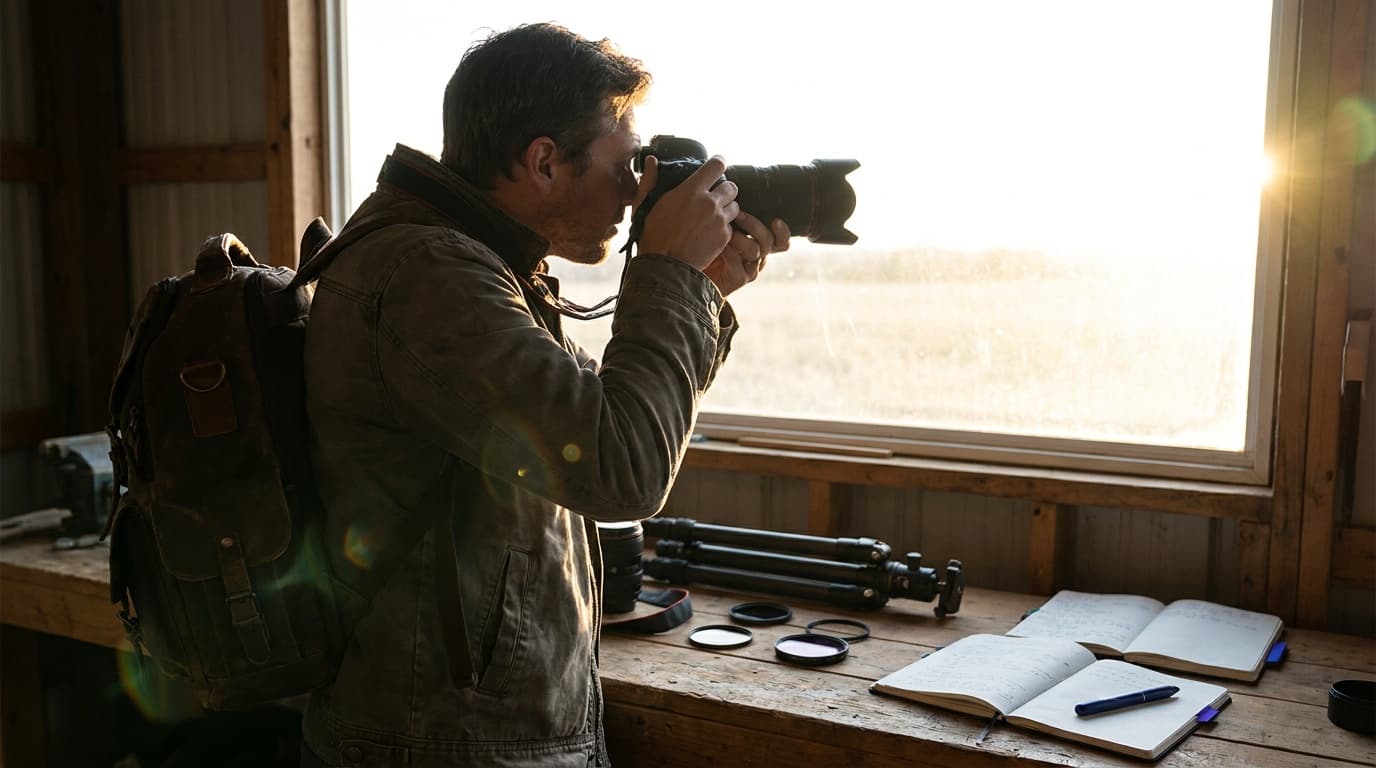
Backlight and Silhouettes: Shooting Into the Light
When the light is behind your subject, it either glows or goes black. Here is how to control which one you get.
Read guideResearched, not personally tested: picks come from specs, verified-owner reviews, and expert sources, scored into the Aperture Score. As an Amazon Associate I earn from qualifying purchases. We may earn a commission from links here, at no extra cost to you. How we research →