We may earn a commission from links on this page, at no extra cost to you.
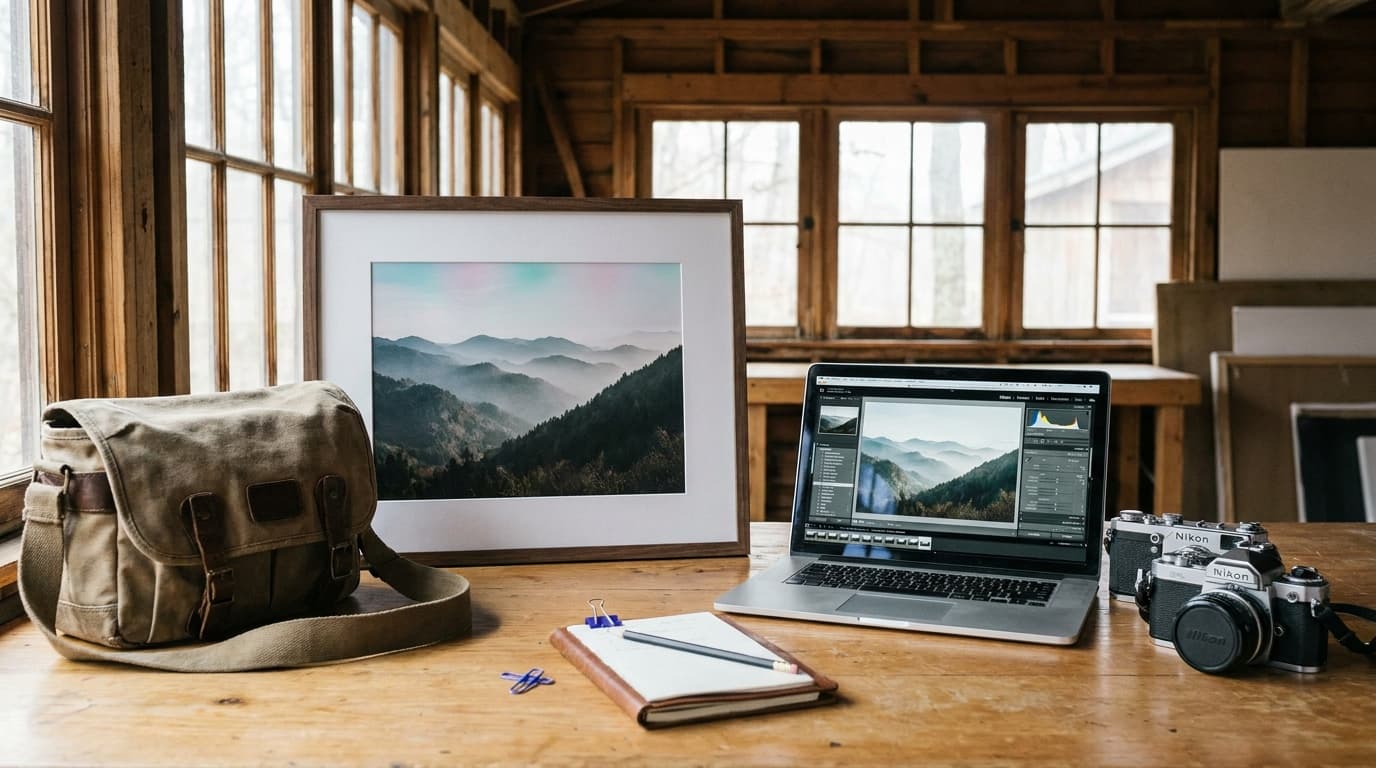
Every photo is processed. A JPEG straight from the camera was sharpened, color-corrected, and contrast-adjusted by the camera's own software. Editing just moves those decisions to you, where you have far more control. It is the second half of the craft, not a way to rescue bad photos.
Raw versus JPEG
A JPEG is a finished, compressed file with the camera's choices baked in. A raw file is the unprocessed sensor data: larger, flatter-looking out of camera, and far more flexible. Raw lets you recover blown highlights, lift shadows, and reset white balance after the fact with no quality loss. Shoot raw when you plan to edit; shoot JPEG when you need speed and small files and trust the camera's look.
The order to edit in
Working in a consistent order keeps edits from fighting each other:
- Exposure and white balance. Get overall brightness and color neutral first, checking the histogram rather than your screen.
- Contrast and tone. Recover highlights, lift shadows, then set black and white points so the image has range without clipping.
- Color. Adjust saturation and vibrance gently, and correct any single color that is off.
- Crop and straighten. Fix the horizon and tighten the composition.
- Sharpening and noise. Last, and lightly. Sharpen for the final output size and clean up ISO noise only as much as needed.
Global versus local
Most edits are global, applied to the whole frame. The next step up is local edits: brushing or masking an adjustment onto just part of the image, like brightening a face or darkening a bright sky. Start with global edits and add local ones only where the photo needs them.
Where this fits
Editing is the verification and finishing step for everything upstream. It pairs naturally with white balance, the histogram, and the exposure triangle: the better the capture, the less the edit has to do.
Do I need expensive software to edit photos?
No. Capable editors range from free tools to subscription apps, and your camera maker likely offers a free raw converter. Start with whatever reads your raw files and has exposure, white balance, and tone controls. The workflow matters more than the brand.
Should I shoot raw or JPEG?
Raw if you plan to edit and want the most latitude to fix exposure and color. JPEG if you need small files, fast turnaround, and are happy with the camera's processing. Many cameras shoot both at once so you can decide later.
Related Learn guides
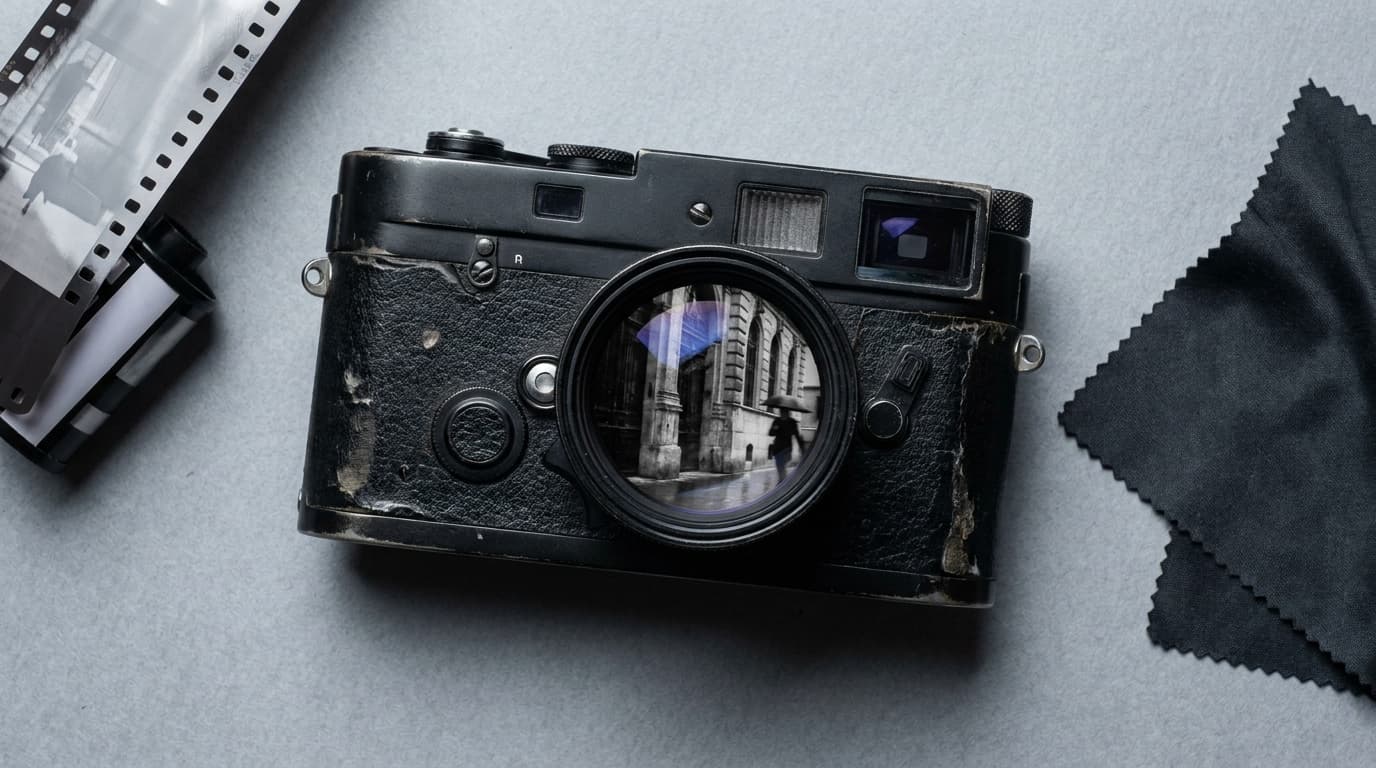
Black and White Photography: How to See and Shoot in Mono
Black and white photography is about light, contrast, and shape rather than color. Here is how to shoot for mono and convert raw files cleanly.
Read guide
Camera Settings for Snow: How to Keep White Snow White
Snow fools your meter into gray, underexposed photos. Here are the settings and the exposure compensation that keep snow bright, clean, and the right color.
Read guide
Color Grading Basics: Giving Your Photos a Consistent Look
Color grading is the creative step after correction, where you shape mood and a signature look. Learn the core tools and how to build a style without overdoing it.
Read guide
Color Temperature and Kelvin Explained: Reading Light by the Numbers
Color temperature in Kelvin describes how warm or cool a light is. Learn the scale from 3200K tungsten to 7500K shade and how to dial it in by hand.
Read guideResearched, not personally tested: picks come from specs, verified-owner reviews, and expert sources, scored into the Aperture Score. As an Amazon Associate I earn from qualifying purchases. We may earn a commission from links here, at no extra cost to you. How we research →