We may earn a commission from links on this page, at no extra cost to you. Picks are researched, not sponsored.
Why custom beats auto and presets
Auto white balance guesses, and presets like Tungsten or Shade are stored averages that assume your light matches a standard. Real light rarely does. A "tungsten" room might have three different bulb types; office fluorescents shift green; an LED panel sits at its own odd temperature, often with a green or magenta tint no preset accounts for. In any of these, a custom white balance reads the actual light in the room and neutralizes it precisely, which is something no preset can do because no preset knows what is in front of you.
The result is color you can trust: skin that looks like skin, whites that stay white, and a set of frames that match each other because they were all balanced to the same reference. This is why studio, product, and copy work lean on custom white balance rather than guessing.
How to set it, step by step
The exact menu wording varies by brand, but the process is the same everywhere. Plan on about thirty seconds.
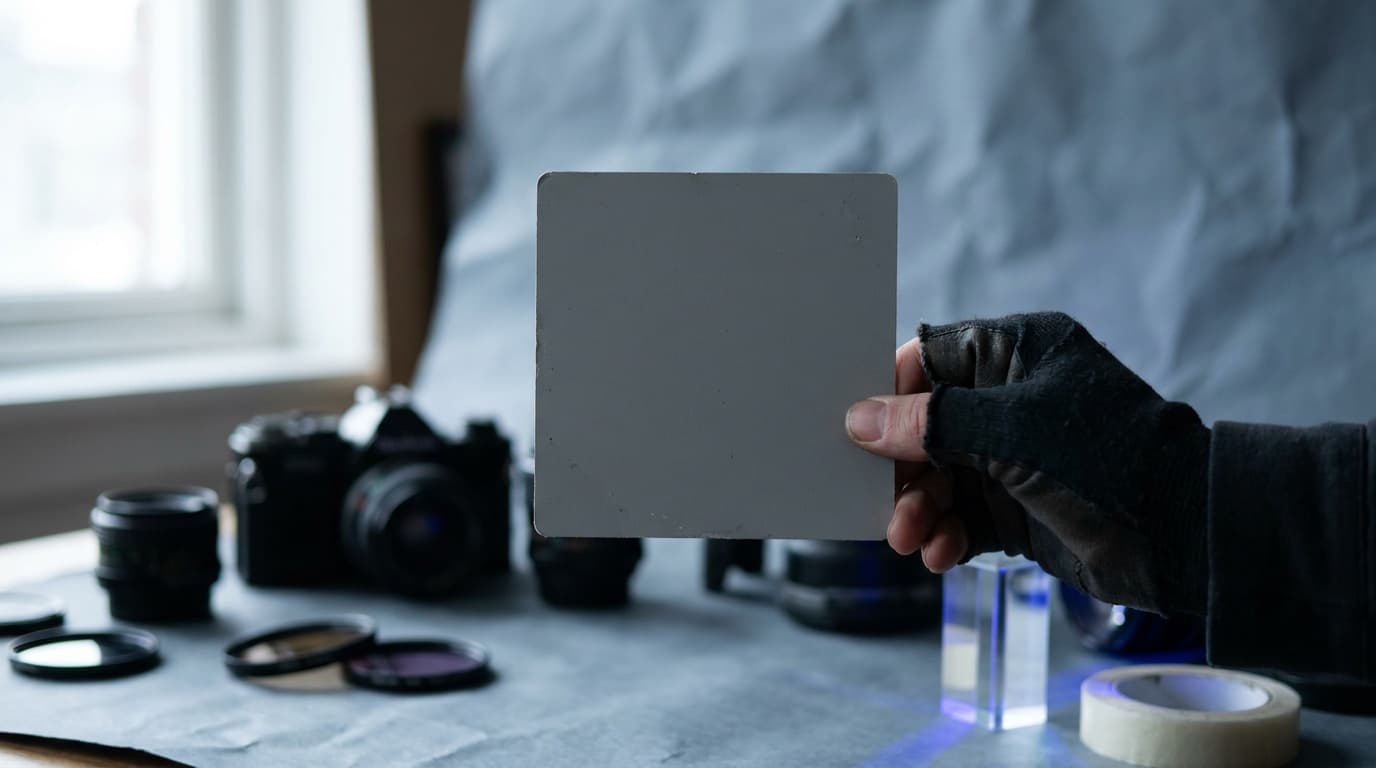
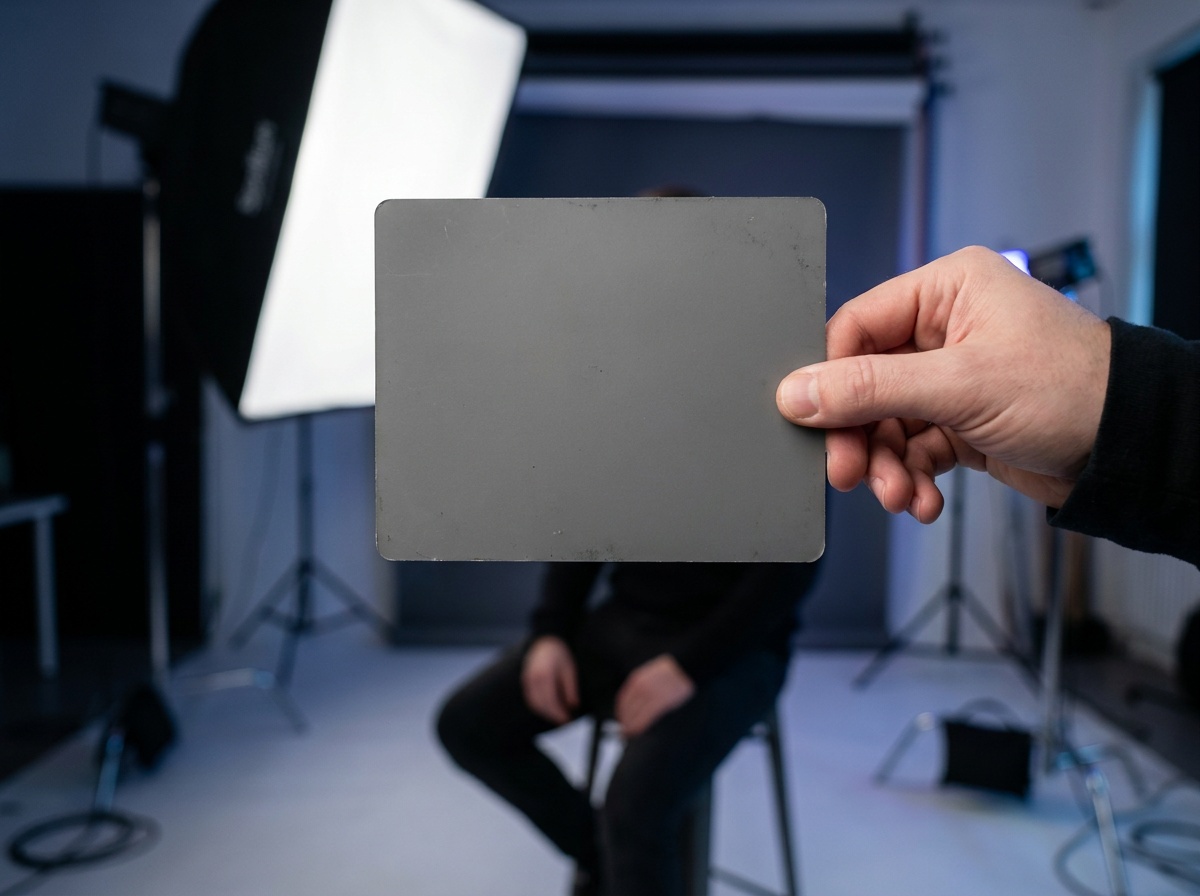
- Put a neutral target in the light. Hold a gray card, or a clean white sheet of paper, where your subject will be, lit by the same light. Fill the frame with it; it does not need to be in focus.
- Expose it normally. Aim for a balanced exposure, not blown out and not dark. A frame around the middle of the histogram is ideal, something like
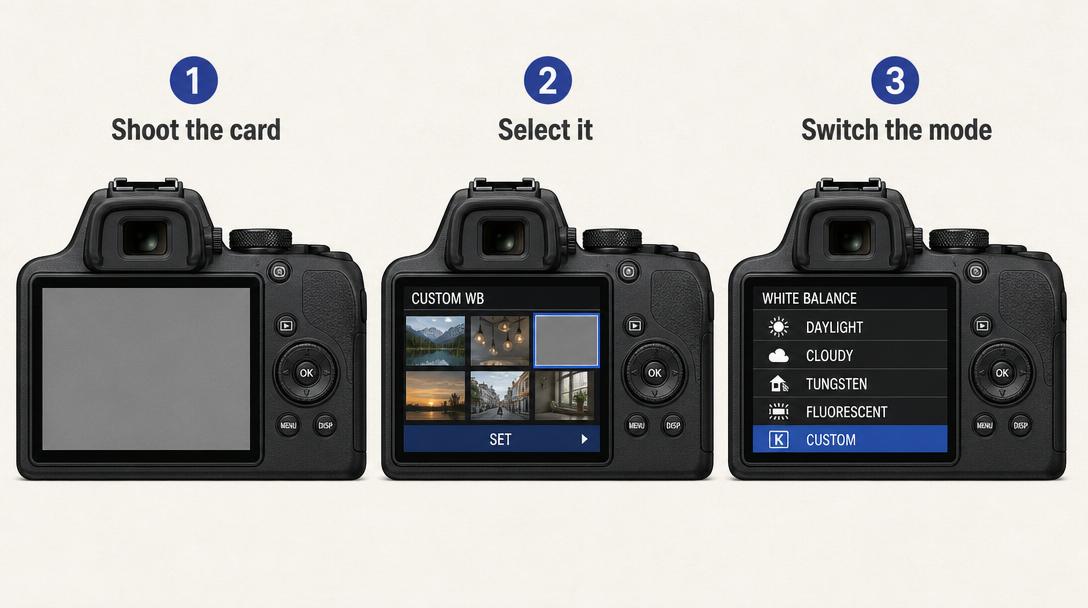
f/8 · 1/125 · ISO 200indoors. Take the shot. - Open the custom white balance menu. Look for "Custom WB," "Preset Manual," "Measure," or a card-with-a-pencil icon depending on your camera. Select your gray card frame as the source.
- Confirm and switch to it. The camera calculates the correction and stores it. Set your white balance mode to Custom so it actually uses that stored value.
- Reset when the light changes. A custom value is tied to one lighting setup. Move to a new room or wait for the sun to shift and you set a fresh one.
Why gray, not white
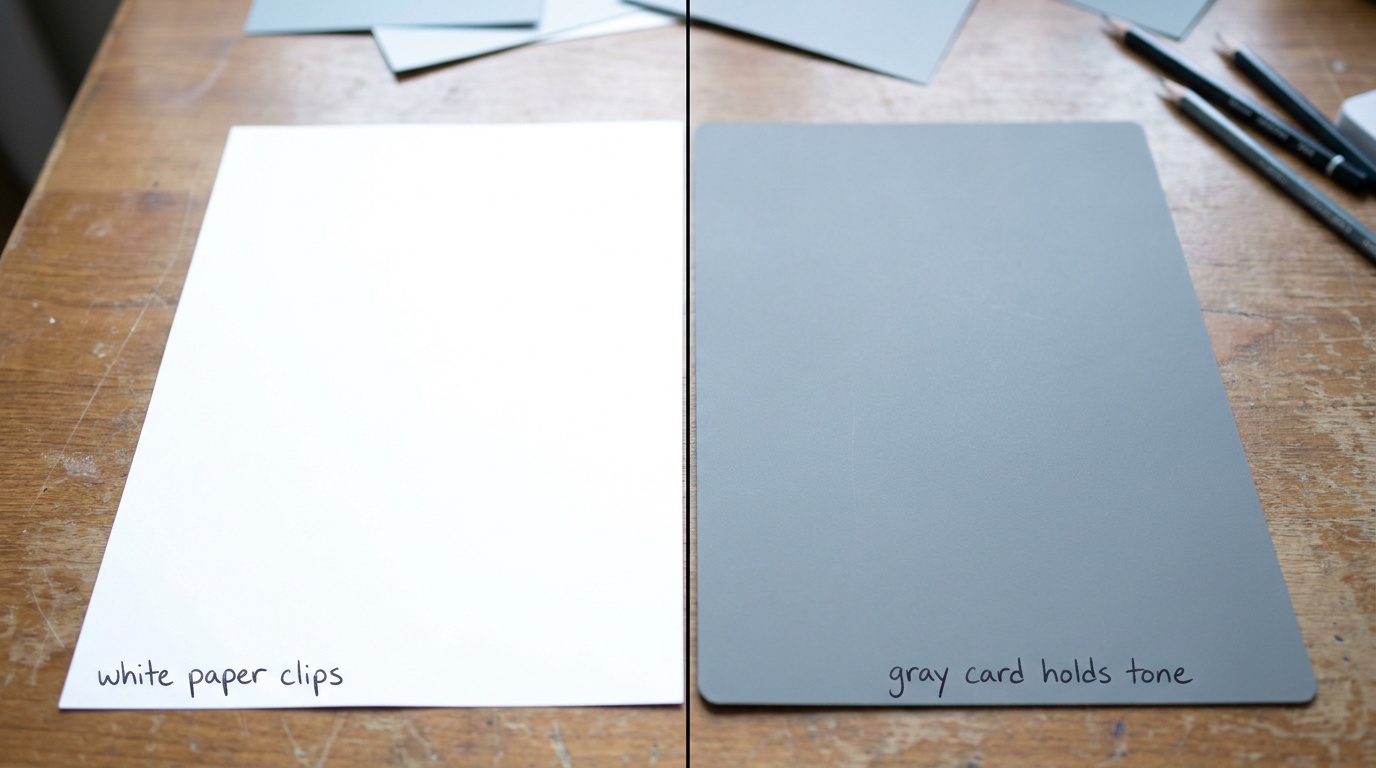
A dedicated card reads 18 percent gray for a reason. Pure white reflects so much light that it clips easily, and a clipped frame gives the camera no color to measure, only blown highlights. Mid gray sits safely in the middle of the tonal range, so it holds color information across a wide range of exposures. White paper works because most printer stock is reasonably neutral, but watch the exposure carefully; gray is forgiving where white is not.
Common mistakes
The biggest mistake is reading the card under different light than your subject. If the card catches a window and your subject is in shade, the balance is wrong. Hold the card exactly where the subject is. The second mistake is letting the card frame clip to pure white, which gives the camera no color information to read; keep that test frame properly exposed. The third is forgetting to switch the white balance mode to Custom after setting it, so the camera quietly keeps using auto and you wonder why nothing changed.
One more: people set a custom value once and leave it on all day. The instant the light changes, that value is stale. Treat it as something you refresh whenever the lighting setup moves, and especially when you walk from one room into another.
When custom white balance is worth it
Custom white balance earns its keep when accuracy is non-negotiable and the light is hard. Product photography on a white background, copy work where colors must match the original, and any mixed artificial light scene all justify the extra thirty seconds. It also pays off across a multi-shot session where consistency matters more than any single frame.
For run-and-gun shooting in changing daylight, it is usually overkill, and auto or a preset keeps you moving. And if you shoot raw, you can lean on a softer in-camera setting and refine color later, though setting custom up front still saves editing time. Either way, accurate color is just one more control to fold in once the exposure triangle is automatic. If you would rather dial a number than measure a card, color temperature and Kelvin covers the manual approach.
Do I need a special gray card, or will white paper do?
A dedicated 18 percent gray card is the most reliable because it is a known neutral that will not clip. Clean white printer paper works for a quick set and is far better than nothing, but watch that the test frame is not blown out, since pure white that clips gives the camera no color to read.
How often do I need to reset a custom white balance?
Every time the light changes meaningfully. Moving to a new room, the sun going behind clouds, or switching from window light to lamps all call for a fresh reading. A custom value is locked to one lighting setup, so when the setup changes, so should the value.
Is custom white balance still worth it if I shoot raw?
It helps but is less critical. Raw lets you set any white balance afterward with no quality loss, so a close in-camera setting is fine. Custom white balance still saves editing time and gives you an accurate preview on the back of the camera, which is useful when you are checking your work as you shoot.
Where in the menu is custom white balance?
It varies by brand. Canon calls it Custom WB, Nikon calls it Preset Manual, Sony calls it Custom Setup, and many cameras use a Measure or card icon. Look under the white balance section of the shooting menu; the manual or a quick web search for your model name plus custom white balance will point you straight to it.
Keep going
Next useful steps
Pick one. Each link continues the same job without starting the research over.
Related Learn guides

Content Credentials and C2PA Explained for Photographers
Content Credentials record a photo's signed provenance and edits. Learn what C2PA proves, what it cannot prove, and how capture-to-export workflows work.

Open Gate Video Explained: When 3:2 Is Worth It
Open Gate records a taller sensor area for flexible 16:9, 9:16, and square crops. See when it helps, what it costs, and how to frame it correctly.

Pre-Capture Photography Explained: Get the Frame Before the Click
Pre-Capture buffers photos before the shutter is fully pressed. Learn how it works, which settings change, and when RAW, flash, or focus may be limited.

RAW vs JPEG: Which File Format Should You Shoot?
RAW keeps all your sensor data for maximum editing freedom; JPEG is smaller and ready to share. Here is how they differ and when each one is the right call.
Researched, not personally tested: picks compare specifications, available owner feedback, and established expert sources. As an Amazon Associate I earn from qualifying purchases. We may earn a commission from links here, at no extra cost to you. How we research →