We may earn a commission from links on this page, at no extra cost to you.
Editing is correction, not transformation
The goal of basic editing is to finish what the camera started, not to disguise the photo. A well-shot frame usually needs only a few nudges: the white balance set true, the exposure brought to where you wanted it, and the brightest and darkest parts pulled back into view. Done well, the edit is invisible. The viewer just sees a clean, well-lit photo and never notices the work.
This is why the strongest habit a beginner can build is restraint. The sliders go a long way, and the temptation is to push every one of them. The photos that hold up are almost always the ones edited with a light hand, where each adjustment is doing a job rather than making a statement.
The core adjustments, in order
Order matters, because each step changes what the next one needs. A reliable sequence:
- White balance. Fix any color cast first, so every later judgment is made on accurate color. If you shot RAW, set it to the right Kelvin value freely.
- Exposure. Set the overall brightness to where you want it. Use the histogram to check you are not clipping the ends.
- Highlights and shadows. Pull highlights down to recover bright detail, lift shadows to open up dark areas. This is where RAW's latitude pays off.
- Contrast and blacks. Add contrast or set the black point so the image has punch without crushing detail.
- Color and saturation. Nudge vibrance for a little life. Go gently; oversaturated color is the fastest way to make an edit look amateur.
- Sharpening and noise. A small amount of sharpening at the end, plus noise reduction if you shot at high ISO.
Common mistakes
The signature beginner mistake is overdoing it: maxed saturation, crushed shadows, and a heavy preset slapped on top. Pushed too far, every slider announces itself. The fix is to make an adjustment, then back it off until it looks natural. The second mistake is editing on an uncalibrated or very bright phone screen and being surprised the photo looks different everywhere else; edit somewhere with steady, neutral light.
A third mistake is skipping white balance and trying to fix color with saturation later, which never quite works. Color casts are a white balance problem; solve them at the source. And a fourth is sharpening early or globally rather than as a final, measured step, which exaggerates noise and edges.
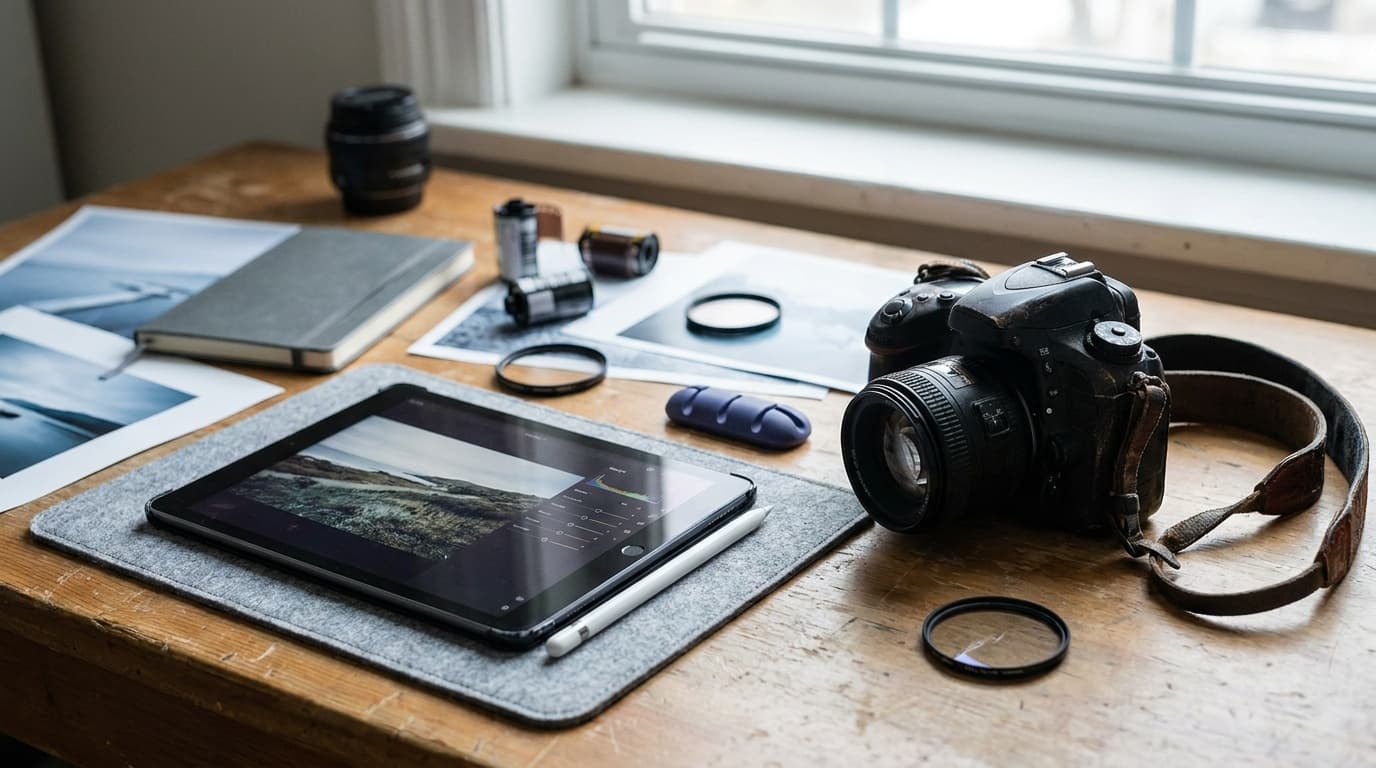
Where to start and what it is for
You do not need to buy anything to begin. Snapseed is free on phones and covers the core adjustments well. Darktable is a free, capable RAW editor on the desktop. Adobe Lightroom is the common paid standard and is worth it once editing becomes routine, but it is not a prerequisite. Pick one, learn its version of the sliders above, and stay there long enough to get fast.
Editing matters most for the shots that justify it: a landscape with a wide range of brightness, a RAW portrait that needs skin tones dialed in, anything shot in hard light. For a quick snapshot, a straight-out-of-camera JPEG may need nothing at all. As your exposure gets more deliberate through the exposure triangle, you will find editing gets easier, because a well-exposed file barely needs rescuing. From here, color grading basics is the natural next step.
What is the best free photo editor for beginners?
On a phone, Snapseed is excellent and free, covering exposure, color, and selective edits. On a desktop, Darktable is a powerful free RAW editor. Both handle the core adjustments well, so you can learn the whole workflow before deciding whether a paid tool like Lightroom is worth it.
In what order should I make my edits?
Set white balance first, then exposure, then highlights and shadows, then contrast and black point, then color and saturation, and finish with sharpening and noise reduction. Working in this order means each step is judged against already-corrected results, which keeps your decisions consistent.
Does editing a JPEG ruin the quality?
Editing it once is fine, but saving a JPEG over itself repeatedly compounds compression and degrades the file. Edit non-destructively where you can, and if you only have a JPEG, do all your edits in one pass and export a single new copy rather than re-saving the same file many times.
Related Learn guides
Black and White Photography: How to See and Shoot in Mono
Black and white photography is about light, contrast, and shape rather than color. Here is how to shoot for mono and convert raw files cleanly.
Read guide
Camera Settings for Snow: How to Keep White Snow White
Snow fools your meter into gray, underexposed photos. Here are the settings and the exposure compensation that keep snow bright, clean, and the right color.
Read guide
Color Grading Basics: Giving Your Photos a Consistent Look
Color grading is the creative step after correction, where you shape mood and a signature look. Learn the core tools and how to build a style without overdoing it.
Read guide
Color Temperature and Kelvin Explained: Reading Light by the Numbers
Color temperature in Kelvin describes how warm or cool a light is. Learn the scale from 3200K tungsten to 7500K shade and how to dial it in by hand.
Read guideResearched, not personally tested: picks come from specs, verified-owner reviews, and expert sources, scored into the Aperture Score. As an Amazon Associate I earn from qualifying purchases. We may earn a commission from links here, at no extra cost to you. How we research →