We may earn a commission from links on this page, at no extra cost to you.
What this means in real life
When you strip out color, the things that were doing quiet work in a color photo, a red shirt against green grass, suddenly do nothing, and the things you might have ignored, the gradient of light across a wall or the shape of a shadow, become the whole subject. Learning black and white is mostly learning to see contrast and form rather than hue. A scene that is flat and uninteresting in mono was probably carried by color, and a scene with strong light and clear shapes often gets stronger without it.
The gear
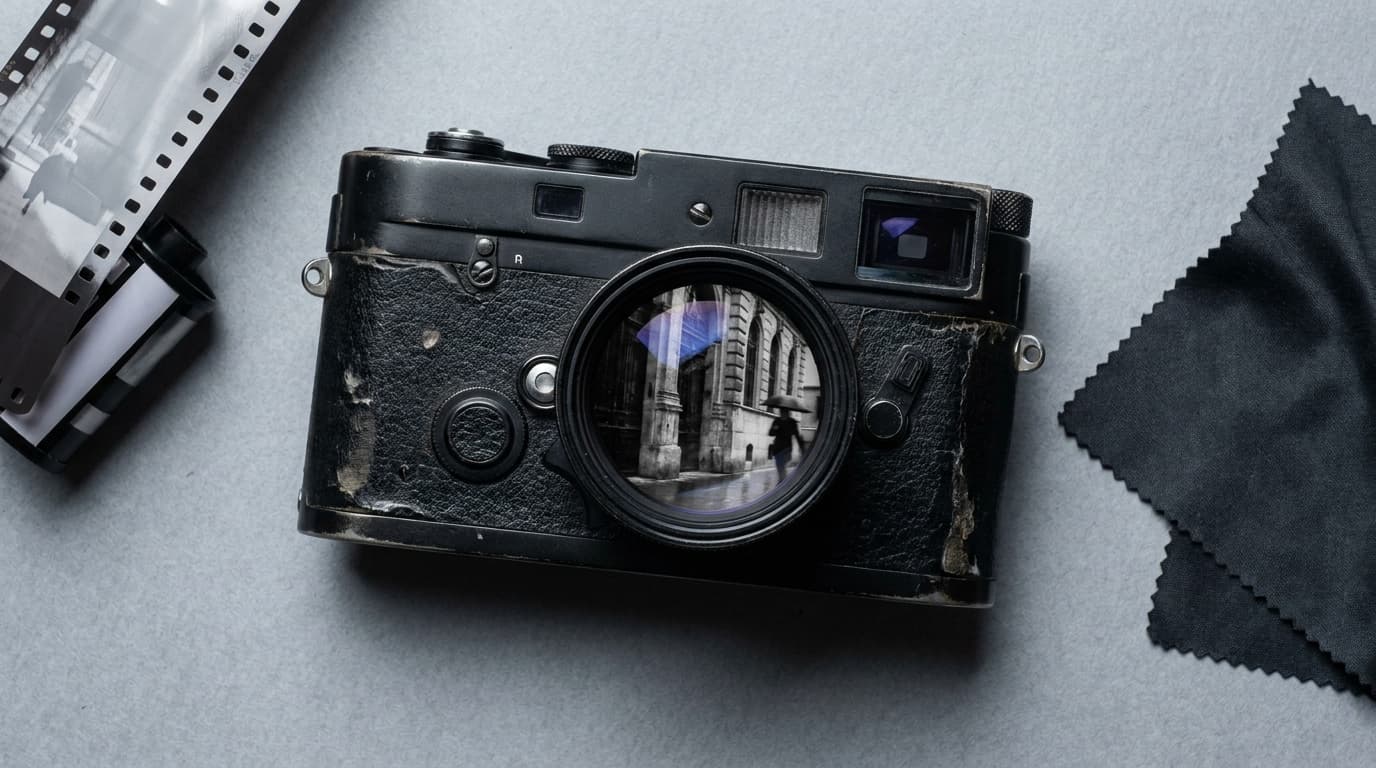
No special gear is required; black and white is a way of seeing, not a kit. Any camera shoots it. The one practical tip is to set your camera's picture style or film simulation to monochrome while shooting in raw. The viewfinder and rear screen then show you a mono preview, which trains your eye on the spot, while the raw file quietly retains all the color data for the conversion. A polarizing filter and graduated filters work the same as in color and can deepen skies dramatically in mono. For landscapes, the landscape lens guide applies unchanged.
The settings
Exposure works exactly as it does in color, so the numbers are ordinary. The discipline is protecting tonal detail.
Because you are shooting raw, the in-camera mono is only a preview. The real conversion happens later, where you control how each original color maps to a shade of gray.
The technique
Look for contrast and light before you look for a subject. Side light that rakes across a textured surface, strong shadows, fog that separates layers into tones, all of these read powerfully in mono. In the conversion, the color channels become your controls: darkening the blue channel deepens a sky and makes clouds pop, lightening the red channel brightens skin. This is the digital version of the colored filters film shooters screwed onto their lenses. Aim for a full tonal range with a true black somewhere and a clean white somewhere, unless you are deliberately going for a soft, low-contrast mood.
Common mistakes
The first is converting in-camera to a finished JPEG, which throws away the color data you need for a good conversion; shoot raw. The second is treating black and white as a fix for a weak color photo, when in fact it demands stronger light and composition, not weaker. The third is a flat result with no true black and no true white, which usually looks muddy; set your black and white points in editing. The fourth is ignoring how individual colors map to gray, leaving a sky and a skin tone at the same dull mid-gray when channel adjustments would separate them.
Should I shoot black and white in-camera or convert later?
Set the camera to a monochrome preview but shoot raw. You get a mono view to compose by while keeping the full-color file, which gives you far more control over the final conversion than a baked-in JPEG ever would.
What makes a good black and white photo?
Strong light and clear shapes. Without color to carry the image, contrast, texture, and form do the work. Scenes with side light, deep shadows, or atmospheric separation tend to translate best.
How do I make skies dramatic in black and white?
Darken the blue channel in your conversion. That deepens the sky and makes white clouds stand out, the same effect film shooters got from a red or orange lens filter. A polarizer at capture adds to it.
Where this fits
Black and white suits street photography, where it pulls attention to gesture and light, and it overlaps with the broader skill set in intro to photo editing, since the conversion lives in post. Underneath, exposure is still the exposure triangle; you are just judging the result in tone rather than color.
Related Learn guides
Camera Settings for Snow: How to Keep White Snow White
Snow fools your meter into gray, underexposed photos. Here are the settings and the exposure compensation that keep snow bright, clean, and the right color.
Read guide
Color Grading Basics: Giving Your Photos a Consistent Look
Color grading is the creative step after correction, where you shape mood and a signature look. Learn the core tools and how to build a style without overdoing it.
Read guide
Color Temperature and Kelvin Explained: Reading Light by the Numbers
Color temperature in Kelvin describes how warm or cool a light is. Learn the scale from 3200K tungsten to 7500K shade and how to dial it in by hand.
Read guide
Composition Fundamentals: Framing a Better Photo
Good composition is mostly a few habits: place the subject deliberately, use lines and frames, and cut the clutter. Here are the fundamentals that lift a snapshot.
Read guideResearched, not personally tested: picks come from specs, verified-owner reviews, and expert sources, scored into the Aperture Score. As an Amazon Associate I earn from qualifying purchases. We may earn a commission from links here, at no extra cost to you. How we research →