We may earn a commission from links on this page, at no extra cost to you. Picks are researched, not sponsored.
What it is
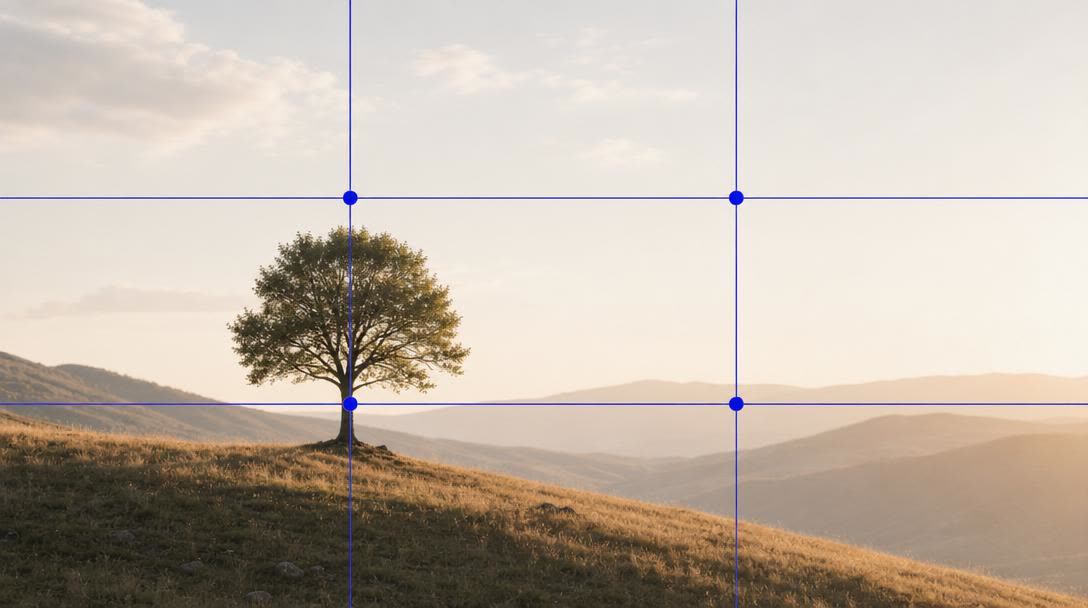
Imagine two evenly spaced lines running across the frame horizontally and two running vertically, splitting it into nine equal rectangles. The four points where those lines cross are the strong spots. The rule of thirds says to place your main subject on or near one of those intersections, and to line up horizons and other long edges along the lines themselves.
Most cameras and phones can overlay this grid in the viewfinder or on the screen. Turn it on. Seeing the lines while you frame makes the habit stick far faster than trying to picture them.
How to use it
Decide what the subject is, then put it on a third instead of in the center. For a portrait, place the eyes near an upper intersection. For a landscape, put the horizon on the lower line if the sky is the story, or the upper line if the foreground is. For a moving subject, leave the open thirds in the direction it is heading so it has room to move into.
The reason this works is simple: dead-center subjects feel static and give the eye nowhere to go. Off-center placement creates a small visual tension and a path for the eye to follow, which reads as more dynamic and more deliberate.

A worked example
Say you are shooting a lone tree on a hillside at sunset. The lazy frame puts the tree dead center and the horizon across the middle, which splits the photo into two equal, competing halves. The composed frame does two things at once: it drops the horizon onto the lower thirds line because the sky is the story, and it slides the tree onto the right vertical line so the eye enters from the left, crosses the open ground, and lands on the trunk. Same scene, same camera, but the second version has a path and a destination. A typical landscape readout for that shot might be 35mm, f/11, 1/125, ISO 100, with the grid overlay on so you can see both placements snap into position before you press the shutter.
When to break it
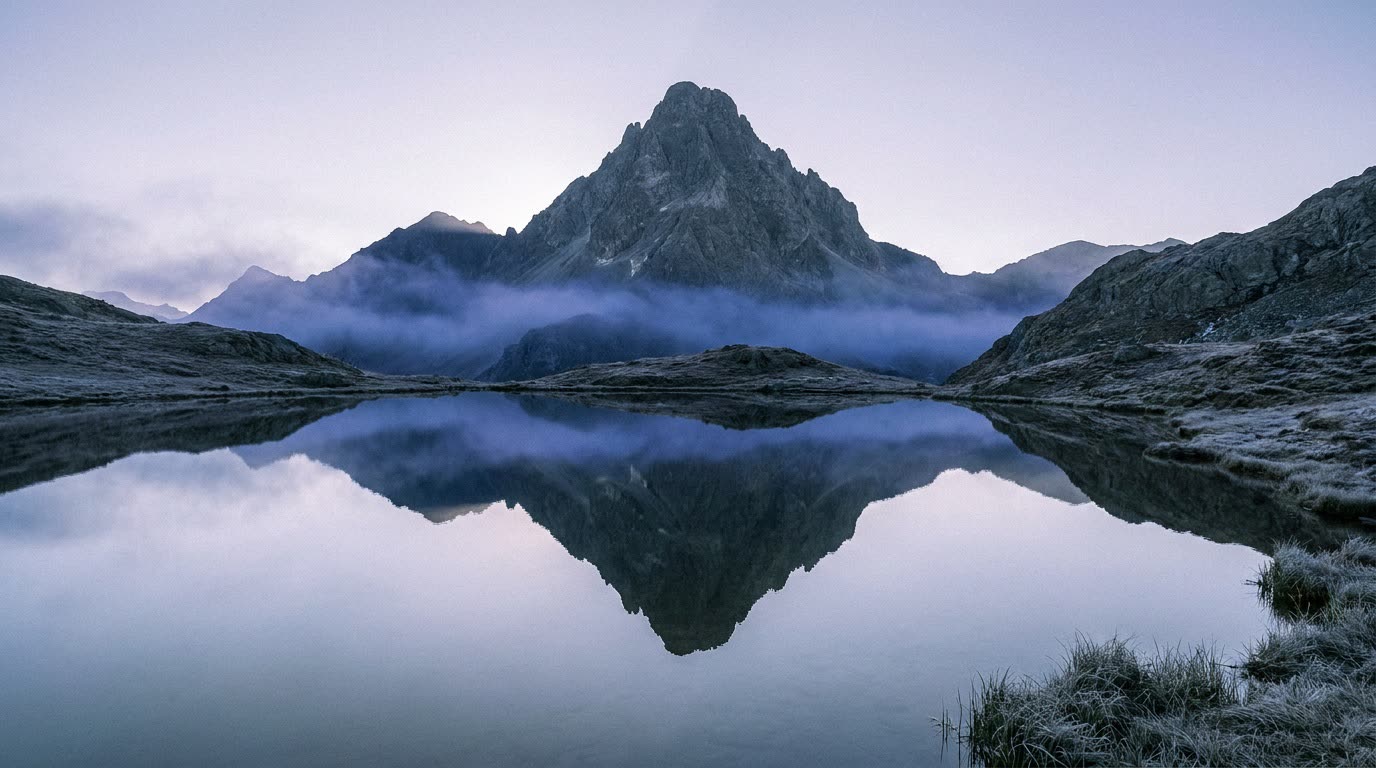
Center your subject when the scene is symmetrical, when you want a still, confrontational, formal feel, or when the subject is genuinely the entire point and surroundings do not matter. A face shot straight on, a reflection, or a single object on a plain background can all be stronger dead center. The rule of thirds is a default, not a requirement. Once you can place a subject anywhere on purpose, centering becomes a choice rather than a mistake.
Common mistakes
- Treating it as a law. Forcing every subject onto a third makes a portfolio feel mechanical. Vary it.
- Cropping to the grid afterward. You can rescue a frame in editing, but you lose resolution and flexibility. Compose to the thirds in the viewfinder.
- Putting the horizon dead center by accident. A centered horizon usually splits the photo into two competing halves. Commit to sky or foreground and place the horizon accordingly.
- Forgetting the facing direction. Placing a subject on the right third while it looks off the right edge crowds it against the wall. Leave the open space in front of where it faces.
Where this fits
The rule of thirds pairs naturally with leading lines, which carry the eye toward the off-center subject, and with negative space, which fills the open thirds. To control how much of the scene around your thirds-placed subject is sharp, you are working with depth of field, which comes from the exposure triangle. It applies in nearly every genre, from landscape photography to portrait photography.
Where exactly do I put the subject on the thirds grid?
On one of the four points where the lines cross, or along a line. For people, the eyes are the natural anchor, so aim the eyes at an upper intersection. For landscapes, line the horizon up with the upper or lower horizontal line depending on whether sky or foreground is the story.
Is the rule of thirds the same as the golden ratio?
They are related but not identical. The golden ratio places the lines slightly closer to center than even thirds do. For practical shooting the difference is small, and the thirds grid is far easier to apply in the moment, which is why most photographers use it.
Should I leave the grid overlay on all the time?
While you are learning, yes. It trains your eye to see the placement. After a few thousand frames the instinct becomes automatic and the grid turns into a light reference rather than something you depend on.
Keep going
Next useful steps
Pick one. Each link continues the same job without starting the research over.
Related Learn guides

Content Credentials and C2PA Explained for Photographers
Content Credentials record a photo's signed provenance and edits. Learn what C2PA proves, what it cannot prove, and how capture-to-export workflows work.

Open Gate Video Explained: When 3:2 Is Worth It
Open Gate records a taller sensor area for flexible 16:9, 9:16, and square crops. See when it helps, what it costs, and how to frame it correctly.

Pre-Capture Photography Explained: Get the Frame Before the Click
Pre-Capture buffers photos before the shutter is fully pressed. Learn how it works, which settings change, and when RAW, flash, or focus may be limited.

RAW vs JPEG: Which File Format Should You Shoot?
RAW keeps all your sensor data for maximum editing freedom; JPEG is smaller and ready to share. Here is how they differ and when each one is the right call.
Researched, not personally tested: picks compare specifications, available owner feedback, and established expert sources. As an Amazon Associate I earn from qualifying purchases. We may earn a commission from links here, at no extra cost to you. How we research →