We may earn a commission from links on this page, at no extra cost to you. Picks are researched, not sponsored.
What it is
A leading line is any strong directional element that the eye naturally follows. Straight lines like roads and fences are the obvious ones, but curves, diagonals, and converging lines work just as well, often better. The line does not have to be a physical object. A row of streetlights, a beam of light, a crack in the pavement, or a long shadow all guide the eye the same way.
The eye follows lines almost automatically. That is the whole point: a line gives you control over where a viewer looks first and where they end up.
How to use it
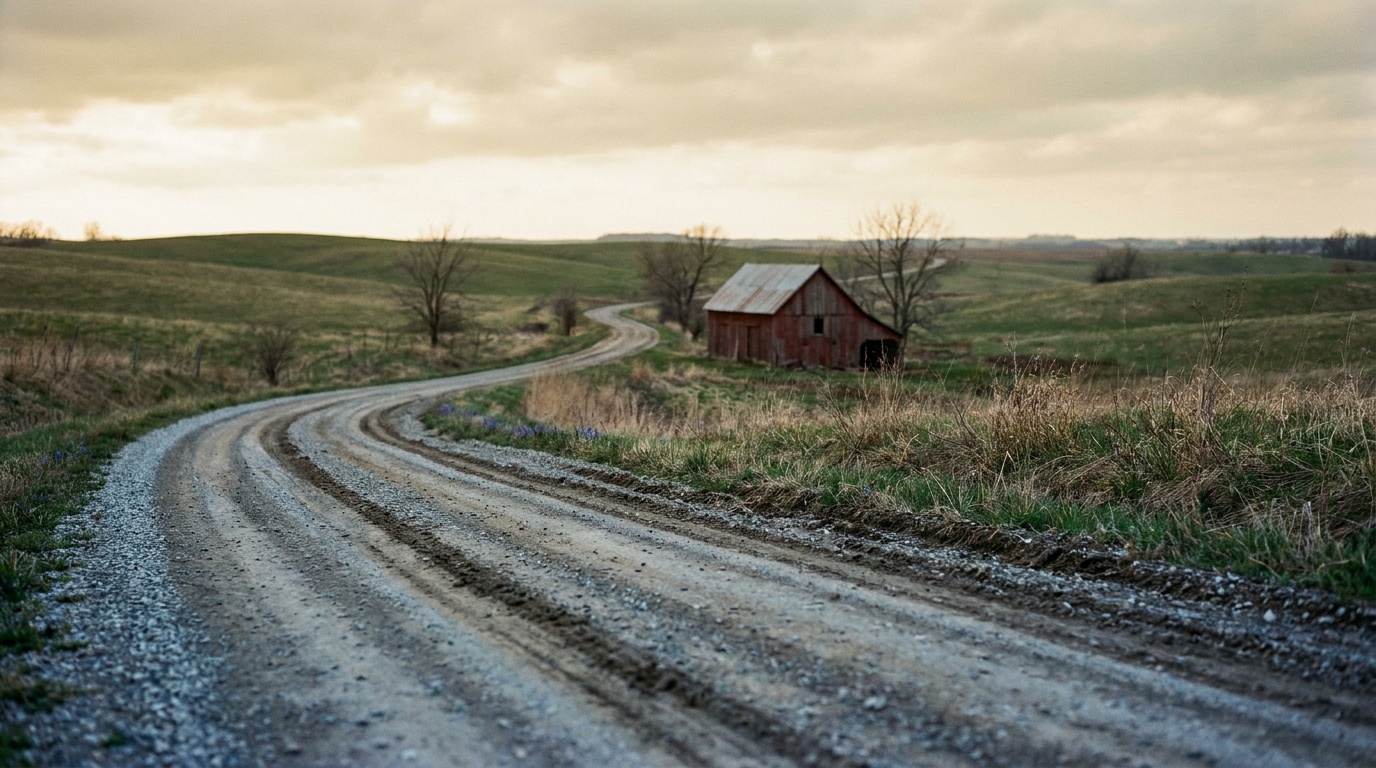
Find the line in the scene, then move your feet until it does what you want. The classic setup runs the line from a bottom corner inward toward the subject, which both leads the eye and creates a sense of depth as the line recedes. Diagonals feel more energetic than horizontals. Converging lines, like railroad tracks shrinking toward a point, pull the eye hard toward the vanishing point, so put your subject there.
Get low and close to the start of the line to exaggerate it. A wide lens stretches the line and amplifies the effect. The subject should sit where the line is heading, so the eye arrives at it naturally instead of wandering off the edge.
The settings that make a line work
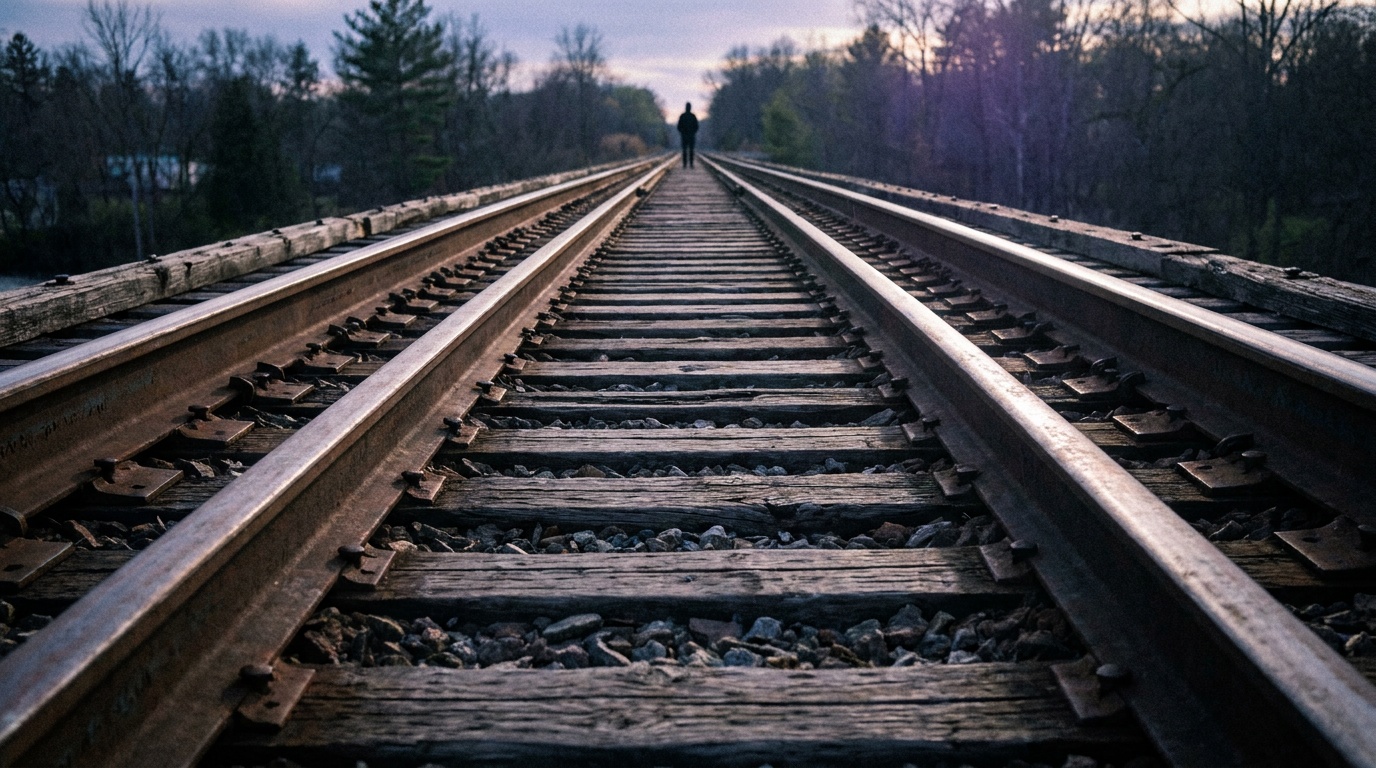
Leading lines are mostly a footwork problem, not an exposure one, but two settings help. Reach for a wide focal length so the line stretches and the near end exaggerates: 16mm to 24mm on full frame is the classic range. Then stop down so the line stays sharp along its whole run, because a line that goes soft halfway loses its pull. A reliable starting readout for a recessed line is 20mm, f/11, 1/160, ISO 100, shot from a low crouch right at the line's near end. For converging lines like rails or a corridor, square up to them so they meet at a true vanishing point rather than skewing off to one side.
When to break it
A line that leads nowhere is a problem, not a tool. If a strong line runs straight out of the frame with no subject at the end, it pulls the eye away and the photo leaks attention. Skip leading lines when the scene is about texture, pattern, or stillness rather than direction, or when the available lines fight your subject instead of pointing at it. Sometimes the strongest move is a clean frame with negative space and no lines at all.
Common mistakes
- Lines that exit the frame empty. If the eye follows a line off the edge to nothing, you have led the viewer out of the photo. Put a subject where the line points.
- Competing lines. Several strong lines heading different directions cancel each other out and confuse the eye. Pick the dominant one.
- Shooting from standing height by default. Most leading lines get stronger when you crouch and shoot from near where the line begins. Move before you settle.
- Ignoring shadows and light as lines. Beginners look only for objects. Late-day shadows and shafts of light are some of the strongest leading lines available, especially in street photography.

Where this fits
Leading lines work hand in hand with the rule of thirds: run the line into a subject placed on a third. They also build depth alongside framing and foreground. To keep a receding line sharp from front to back you may want more depth of field, which is an exposure triangle decision. Lines do heavy lifting in landscape photography, where roads, rivers, and ridgelines carry the eye into the scene.
What counts as a leading line?
Anything with a strong direction the eye can follow: roads, paths, fences, railings, shorelines, rivers, rows of objects, architectural edges, and light or shadow. It does not need to be perfectly straight. Curves and diagonals often work better than straight horizontals.
Where should a leading line start and end?
A reliable default is to start it near a bottom corner of the frame and run it inward toward your subject. Starting near an edge gives the eye a clear entry point, and ending at the subject gives it a destination.
Do leading lines need to point at a subject?
Almost always, yes. A line that leads to nothing pulls the viewer's eye out of the frame. The exception is a line used purely to create depth or rhythm, but even then it is stronger when it resolves at something worth looking at.
Keep going
Next useful steps
Pick one. Each link continues the same job without starting the research over.
Related Learn guides

Content Credentials and C2PA Explained for Photographers
Content Credentials record a photo's signed provenance and edits. Learn what C2PA proves, what it cannot prove, and how capture-to-export workflows work.

Open Gate Video Explained: When 3:2 Is Worth It
Open Gate records a taller sensor area for flexible 16:9, 9:16, and square crops. See when it helps, what it costs, and how to frame it correctly.

Pre-Capture Photography Explained: Get the Frame Before the Click
Pre-Capture buffers photos before the shutter is fully pressed. Learn how it works, which settings change, and when RAW, flash, or focus may be limited.

RAW vs JPEG: Which File Format Should You Shoot?
RAW keeps all your sensor data for maximum editing freedom; JPEG is smaller and ready to share. Here is how they differ and when each one is the right call.
Researched, not personally tested: picks compare specifications, available owner feedback, and established expert sources. As an Amazon Associate I earn from qualifying purchases. We may earn a commission from links here, at no extra cost to you. How we research →