We may earn a commission from links on this page, at no extra cost to you. Picks are researched, not sponsored.
ISO is the third leg of the exposure triangle, and the most misunderstood. It does not capture more light. It amplifies the signal the sensor already recorded. That distinction is why high ISO adds noise: you are turning up the volume on everything, including the random grain.
What does ISO actually do?
ISO controls amplification, not sensitivity. The sensor captures whatever light the aperture and shutter speed let through, and ISO decides how much that recorded signal gets boosted before it becomes an image. A useful analogy is a quiet audio recording: turning up the volume makes the voice louder, but it also makes the tape hiss louder. ISO does the same thing to the faint random static every sensor produces.
The numbers follow a simple ladder: 100, 200, 400, 800, 1600, 3200, 6400, 12800. Each step doubles the brightness, which photographers call one stop. Moving from ISO 100 to ISO 800 is three stops, or eight times brighter. That doubling is what makes ISO interchangeable with the other two controls: one stop of ISO buys you one stop of shutter speed or one stop of aperture, and that trade is the entire logic of the exposure triangle.
One clarification worth making early: ISO does not change how much light reaches the sensor. Only aperture and shutter speed do that. ISO changes what the camera does with the light after the fact. That is why photographers say a photo at ISO 6400 has less actual light in it than the same brightness achieved at ISO 100 with a longer exposure.
What is the difference between low and high ISO?
At low ISO your images are clean, with smooth tones and good color. As you raise ISO, the amplification reveals noise, especially in shadows. Modern cameras handle high ISO far better than older ones, but cleaner is always better when you have the light.
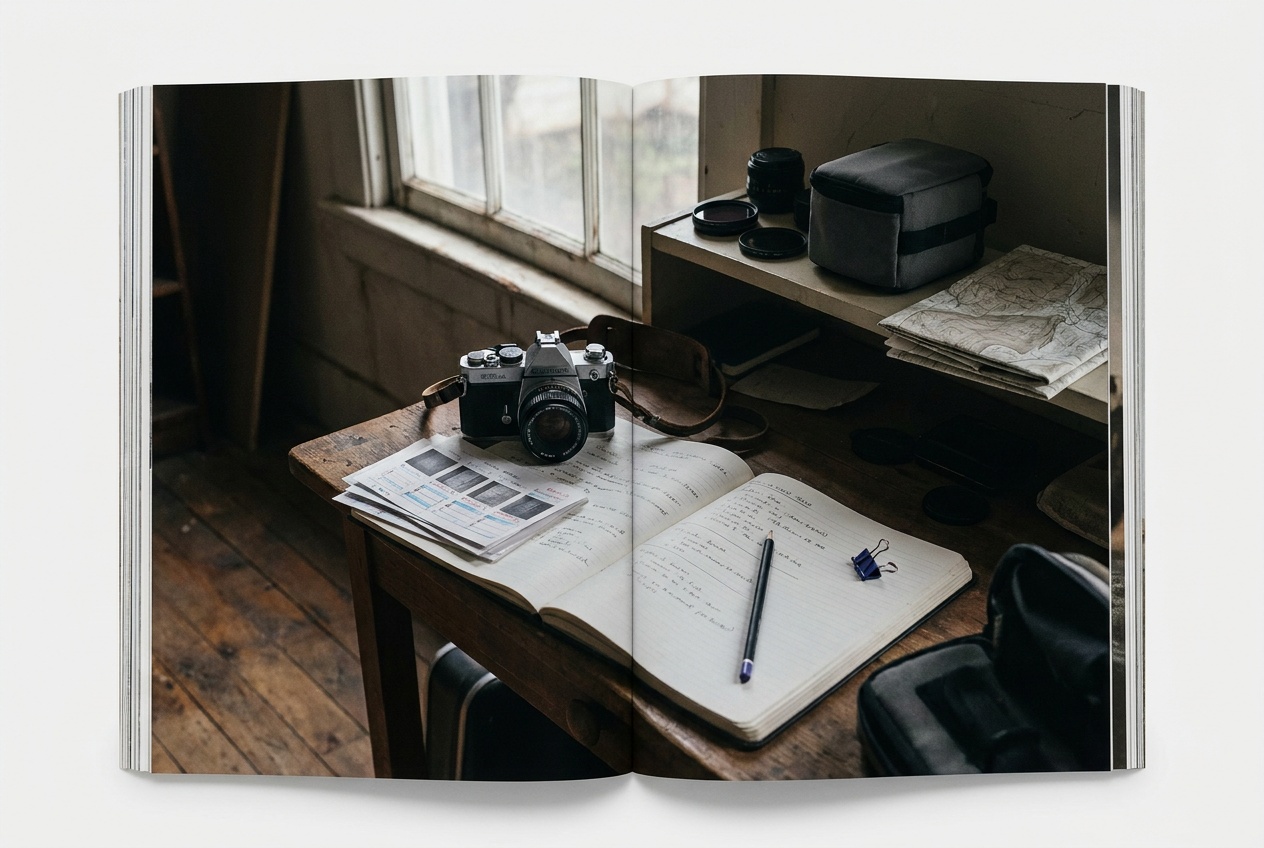
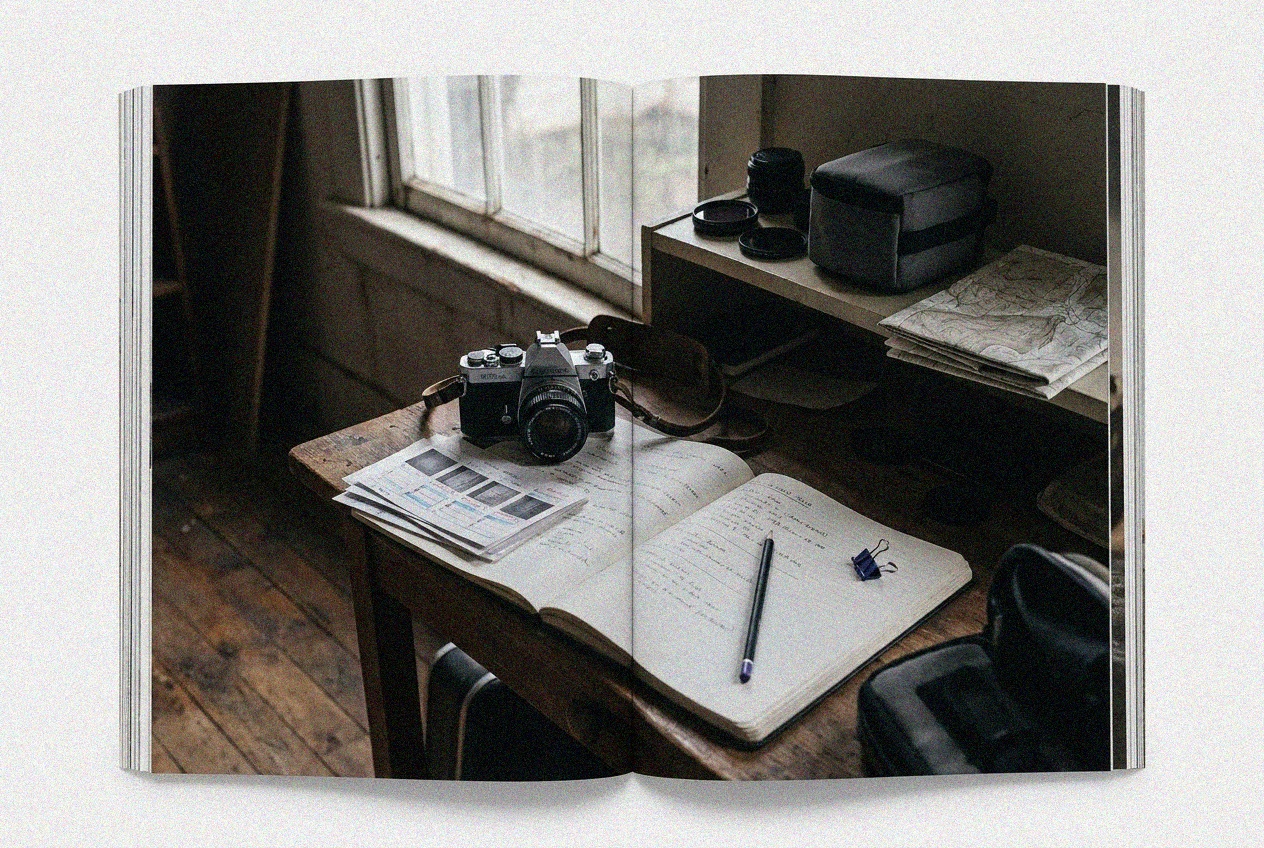
Noise costs more than texture. High ISO also reduces dynamic range (the spread between the brightest and darkest tones the sensor can hold) and mutes color saturation, which is why a high-ISO file often looks flat as well as grainy. Shadows suffer first because they hold the weakest signal, so the amplification has the least real information to work with there.
Sensor size matters here too. A full-frame sensor gathers more total light than an APS-C or Micro Four Thirds sensor at the same settings, so it typically stays clean one to two stops higher. If you shoot a lot in dim rooms, that difference is a real buying consideration; sensor sizes explained covers it.
What is native ISO versus extended ISO?
Native ISO is the range where the sensor's amplification works as designed, and it is where image quality is best. On most cameras that range starts around ISO 100 or 200 (the base ISO) and runs up to somewhere between 12800 and 51200 depending on the model. Base ISO is where you get the most dynamic range and the cleanest file, which is why landscape shooters on tripods park there.
Extended ISO values, often labeled L (below base, such as ISO 50) or H (above the native ceiling), are software tricks rather than real amplification settings. Extended low values clip highlights earlier, and extended high values are just a native-ISO file pushed brighter in processing, with all the extra noise that implies. Stay in the native range when you can; the extended values exist for emergencies, not everyday use.
When should you raise ISO?
Raise ISO when you have already opened the aperture and slowed the shutter speed as far as the shot allows, and the frame is still too dark. A little noise in a sharp, well-timed photo beats a clean photo that is blurry or missed. That is the trade worth making.
Here is that order as a worked example. You are photographing a friend in a dim restaurant. You open the lens to its maximum, f/1.8. You drop the shutter to 1/125, slow enough for a seated person but safe against hand shake. The frame is still two stops dark, so you raise ISO from 400 to 1600. Final settings: f/1.8 · 1/125 · ISO 1600, and the noise at 1600 is invisible at normal viewing sizes on any modern camera. Raising ISO first and ending up at 6400 when 1600 would have worked is the avoidable version of this shot.
What ISO should you use in each situation?
Every scene is different, but light levels are predictable enough that starting ranges are genuinely useful. Use this table as a first guess, then check your exposure and adjust.
| Situation | Typical ISO | Why |
|---|---|---|
| Sunny outdoors | 100-200 | Plenty of light; stay at base for the cleanest file |
| Overcast or open shade | 200-800 | One to two stops less light than full sun |
| Indoors by a window | 400-1600 | Bright rooms still have far less light than daylight |
| Indoor evening, home lighting | 1600-6400 | Household bulbs are dim; expect visible grain |
| Gym or indoor sports | 3200-6400 | You need a fast shutter, so ISO carries the load |
| Concerts and stage light | 1600-6400 | Bright spots and dark gaps; watch the highlights |
| Night street scenes | 3200-12800 | Handheld night work leans hard on ISO |
| Night sky on a tripod | 1600-6400 | The tripod frees the shutter, so ISO can stay moderate |
| Landscape on a tripod | 100 | A long shutter replaces amplification entirely |
The pattern in that table is worth internalizing: ISO climbs only when a tripod or a slower shutter is off the table. The tripod rows sit at low ISO not because the scenes are bright but because a locked-down camera lets the shutter stay open as long as it needs to. That is the whole relationship in one column. For the dim-venue rows, low light photography indoors and the event photography guide go deeper.
What are the most common ISO mistakes?
The first mistake is leaving ISO at 100 indoors because low ISO sounds like quality. The camera compensates with a shutter speed like 1/15, and every shot comes back soft from hand shake. Noise is recoverable; blur is not. If your indoor photos are consistently soft, this is the first thing to check, and why are my photos blurry walks through the other causes.
The second mistake is the opposite fear: refusing to go past ISO 800 on a camera that is perfectly clean at 3200. Cross-checking published lab tests shows most current mirrorless bodies produce very usable files at ISO 3200 to 6400. Test your own camera once, find the ceiling you can live with, and stop guessing.
The third mistake is underexposing at a low ISO and brightening the file later. Lifting shadows two stops in editing amplifies the same noise that ISO would have, and on many cameras the result is worse. Expose correctly in camera, even if that means a higher ISO number. Shooting RAW instead of JPEG gives noise reduction the most data to work with either way.
The fourth mistake is using Auto ISO with no limits configured. Auto ISO is genuinely useful, but set a maximum ISO (your personal ceiling) and a minimum shutter speed so the camera cannot quietly hand you 1/8 of a second or ISO 51200.
Where to go next
ISO only makes sense as one corner of the triangle, so return to the exposure triangle to see how the three controls trade. Then push into the dark: night photography is where ISO judgment gets tested for real.
What is the best ISO setting?
The lowest ISO that still lets you use the aperture and shutter speed you need. In bright light that is ISO 100 to 200. Indoors or at dusk you might need 1600 to 6400.
Is high ISO noise a dealbreaker?
No. Noise is recoverable to a point in editing, and a slightly noisy sharp image is far more useful than a clean blurry one. Shoot the moment, clean it up later.
Does ISO affect image quality?
Yes, in three ways: higher ISO adds visible noise, reduces dynamic range, and mutes color. The effect is gradual, not a cliff. Most modern cameras look excellent through ISO 1600 and stay very usable at 3200 to 6400.
Should I use Auto ISO?
Auto ISO is a good default for handheld shooting, with two conditions: set a maximum ISO you trust (often 3200 or 6400) and a minimum shutter speed fast enough for your subject. With those limits in place, the camera handles brightness while you focus on the moment.
Keep going
Next useful steps
Pick one. Each link continues the same job without starting the research over.
Related Learn guides

Content Credentials and C2PA Explained for Photographers
Content Credentials record a photo's signed provenance and edits. Learn what C2PA proves, what it cannot prove, and how capture-to-export workflows work.

Open Gate Video Explained: When 3:2 Is Worth It
Open Gate records a taller sensor area for flexible 16:9, 9:16, and square crops. See when it helps, what it costs, and how to frame it correctly.

Pre-Capture Photography Explained: Get the Frame Before the Click
Pre-Capture buffers photos before the shutter is fully pressed. Learn how it works, which settings change, and when RAW, flash, or focus may be limited.

RAW vs JPEG: Which File Format Should You Shoot?
RAW keeps all your sensor data for maximum editing freedom; JPEG is smaller and ready to share. Here is how they differ and when each one is the right call.
Researched, not personally tested: picks compare specifications, available owner feedback, and established expert sources. As an Amazon Associate I earn from qualifying purchases. We may earn a commission from links here, at no extra cost to you. How we research →