We may earn a commission from links on this page, at no extra cost to you.
The problem
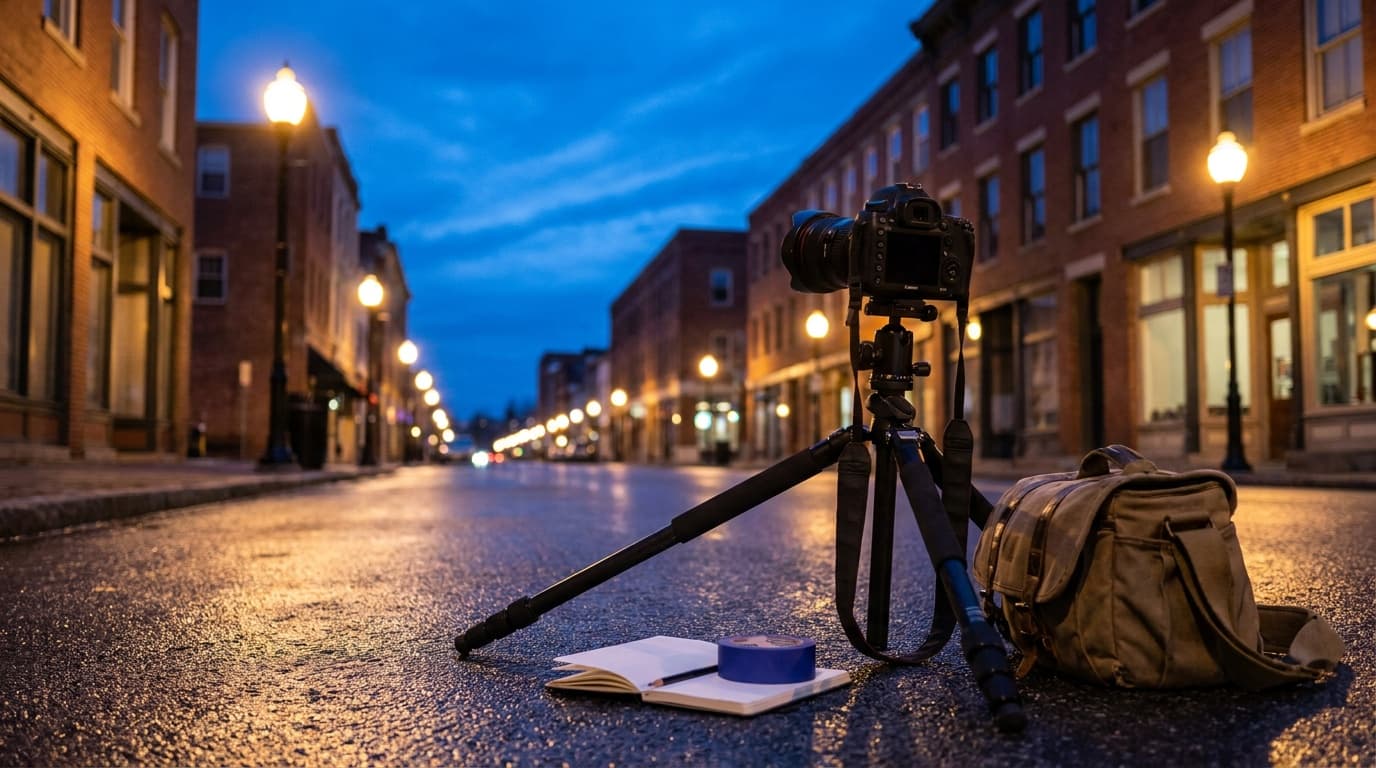
Night is low light taken to its extreme. There is not enough light to freeze a scene at a handheld shutter speed without cranking ISO so high the image turns to noise. Autofocus hunts because it cannot find contrast in the dark. And the scene itself is high contrast in a new way: bright point sources like streetlights and signs sit in a sea of near-black, so the meter has almost nothing reliable to read. Handheld instincts fail here, which is why night photography feels harder than it should.
The settings
The trick is to stop fighting the darkness and let time do the work. On a tripod, a static night scene lands around:
On a tripod, time replaces ISO: a long exposure gathers light cleanly while keeping the file low-noise. Handheld, you have no choice but to trade noise for a usable shutter speed. The two approaches are almost opposite, so decide which one you are in before you set anything. Switch to manual focus or focus on a bright light, since autofocus struggles in the dark.
Interactive exposure demo. Enable JavaScript to drag the exposure for this light.
The fix
The single biggest fix for night work is support. A tripod, or even a wall or railing to set the camera on, unlocks the long exposures that make night scenes clean and sharp. Use a two-second timer or a remote so pressing the shutter does not shake the camera. Shoot raw to hold onto the deep shadows and the bright lights at once. And look for the blue hour, the window just after sunset, when there is still some color in the sky to separate buildings from black and your exposures stay shorter.
The gear that helps
Two things define night results: stability and a camera that handles high ISO well. A body with strong low-light performance buys you cleaner handheld frames, which the camera buying guide gets into. A fast lens that opens to f/1.8 or f/2.8 gathers far more light for the handheld case, covered in the prime vs zoom guide. A tripod is the cheapest upgrade that changes the most.
Where this fits
Twilight and night exteriors are a selling point in real estate photography, where a dusk shot with warm windows glowing makes a listing stand out, and a tripod plus a long exposure is exactly how those are made. The logic is still the exposure triangle, just with the shutter doing far more of the work than usual.
What settings should I use for night photography?
On a tripod, use a low ISO like 100, a moderate aperture like f/8, and a long shutter speed of several seconds to gather light cleanly. Handheld, open the aperture wide and raise ISO to keep a usable shutter speed, accepting more noise. The presence of a tripod decides which approach you take.
Why are my night photos blurry or noisy?
Blurry usually means the shutter was too slow to hold by hand; the fix is a tripod and a long exposure. Noisy usually means ISO was pushed very high to keep a fast shutter; the fix is again a tripod, which lets you lower ISO and let time gather the light instead.
Related Learn guides
Aperture Priority vs Shutter Priority: Which to Use
Aperture priority lets you control depth of field; shutter priority lets you control motion. Here is what each mode locks, what it leaves to the camera, and when to pick which.
Read guide
Autofocus Modes Explained: Single, Continuous, and Auto
Single autofocus locks on still subjects; continuous tracks moving ones. Here is what AF-S, AF-C, and the focus area modes do, and which to pick for your shot.
Read guide
Back Button Focus Explained: What It Is and Why to Use It
Back button focus moves focusing off the shutter button onto a rear button, so the shutter only takes the photo. Here is what it does and how to set it up.
Read guide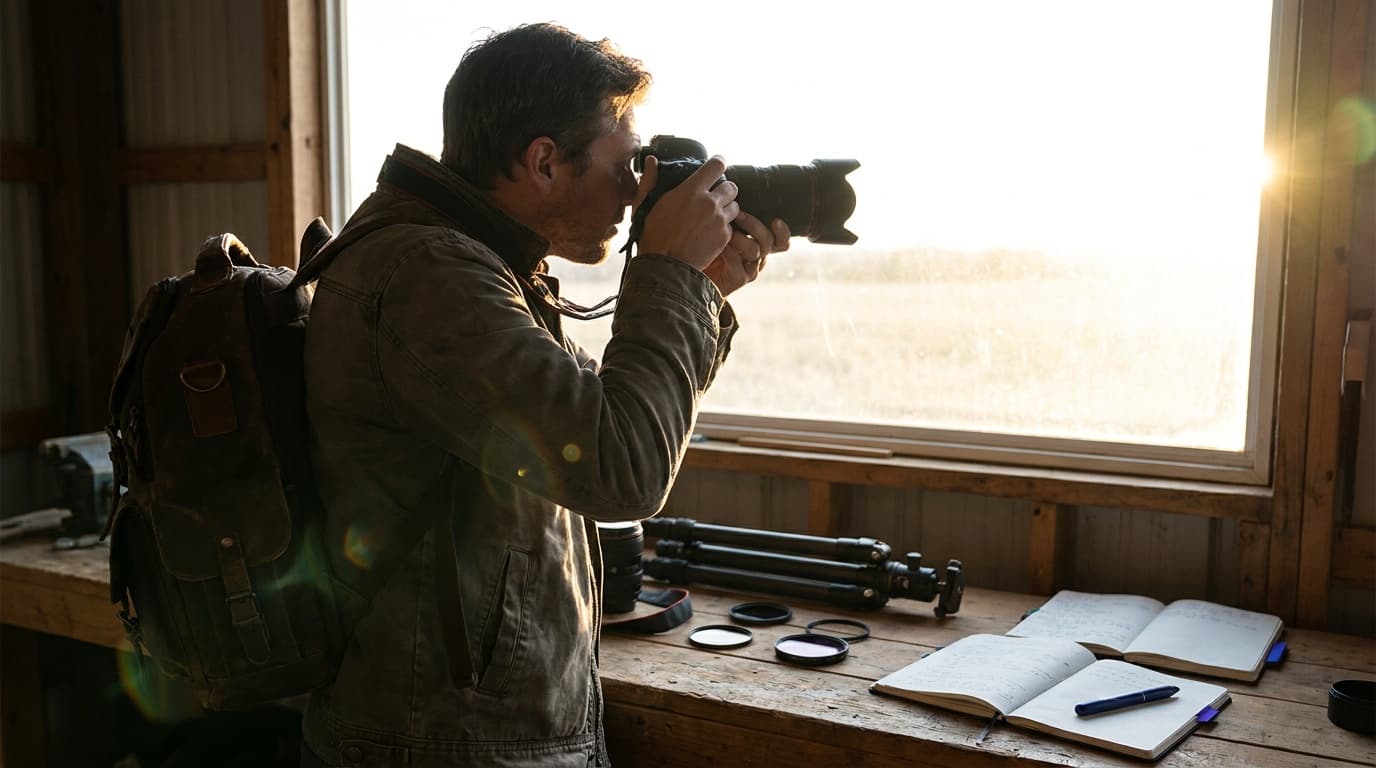
Backlight and Silhouettes: Shooting Into the Light
When the light is behind your subject, it either glows or goes black. Here is how to control which one you get.
Read guideResearched, not personally tested: picks come from specs, verified-owner reviews, and expert sources, scored into the Aperture Score. As an Amazon Associate I earn from qualifying purchases. We may earn a commission from links here, at no extra cost to you. How we research →