We may earn a commission from links on this page, at no extra cost to you. Picks are researched, not sponsored.
Product photography is the most controllable genre. Nothing moves, the light is yours to set, and you can reshoot until it is right. That makes it ideal for a repeatable system: once you have a setup that works, you can run it again and again for consistent results. You do not need a studio, just control over light and a steady camera.
The gear
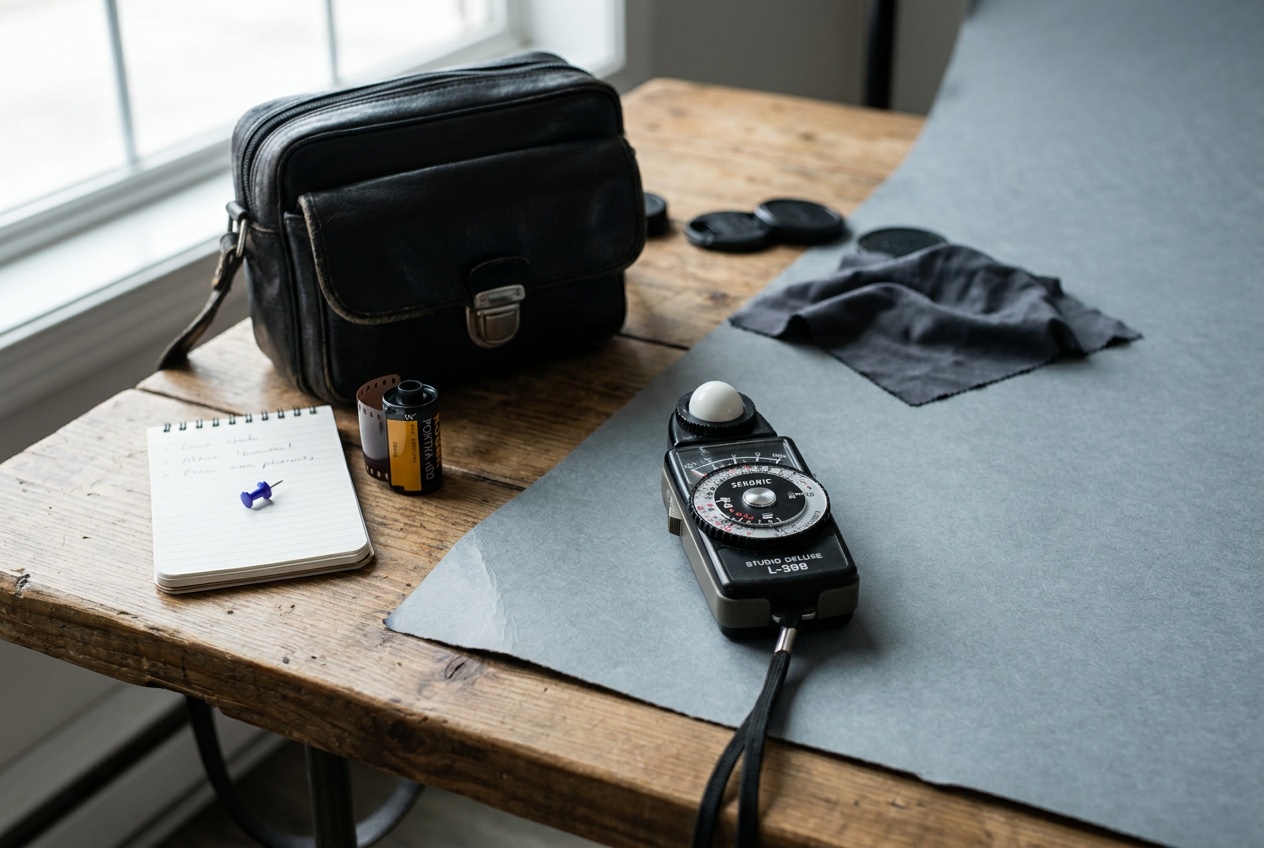
The setup is modest:
- A tripod, so you can use base ISO and a slow shutter and keep the framing identical across shots. This is essential for consistency. See the best tripods guide.
- A standard or short macro lens, roughly 50 to 100mm, which renders products without the distortion a wide lens adds. The prime vs zoom comparison helps you choose.
- A light source you can soften: a large window, or a lamp through a diffuser. A simple sweep of white paper or card makes a clean background.
Camera and sensor size matter less here than light and patience. If you want the buying version, the product photography gear guide covers the macro lenses, lights, backdrops, and stands worth buying first.
The settings
A reliable product baseline is f/8 · 1/60 · ISO 100 on a tripod. A small aperture of f/8 to f/11 keeps the whole product sharp, which buyers expect; for tiny items you may need to focus stack. Keep ISO at 100 for the cleanest, most color-accurate file. Because the camera is locked down, the shutter speed can be as slow as the light requires. The exposure triangle ties these together, and since you control the light fully, you can prioritize sharpness and cleanliness over speed.
Set a custom white balance or shoot a gray card so colors are accurate, which matters most for anything sold online.
Lighting
Light is the whole game. Soft, broad light wraps around a product and avoids harsh, distracting shadows. The easiest source is a large window with the product beside it and a white card on the far side to bounce fill back in. For more control, put a lamp through a diffuser and add a reflector opposite. Side light reveals texture and shape; flat front light looks dull. The guide to shooting in different light covers how soft versus hard light behaves, which applies directly here.
Composition and consistency
Keep the product level and centered for catalog shots, then add a few angled and detail frames for variety. A clean, uncluttered background keeps attention on the item. The key for a store or a set is consistency: same distance, same light, same background across every product, so the collection looks coherent.
Common mistakes
The most common problems are hard, direct light that throws ugly shadows, an aperture too wide so part of the product goes soft, and inconsistent white balance that makes colors wrong. Fix them by softening the light, stopping down to f/8 or f/11, and setting a custom white balance. Reflections on shiny products are the other recurring headache; soften and angle the light, or build a small surround of white card to control what reflects.
What lighting do I need for product photography?
Soft, broad light. A large window is the easiest free source, with a white card opposite to fill the shadows. For more control, a lamp through a diffuser plus a reflector works well. The goal is gentle wraparound light, not a harsh direct beam.
What aperture is best for product photography?
Around f/8 to f/11 to keep the whole product sharp, which is what buyers expect. For very small items where even that is not enough depth, focus stack several frames at f/8 into one fully sharp image.
Do I need a studio for product photography?
No. A window, a sheet of white paper or card for the background, a reflector, and a tripod produce clean, sellable photos. Control over the light and a steady, consistent setup matter far more than a dedicated room.
Practice this
Turn the guide into a working setup
Keep going
Next useful steps
Pick one. Each link continues the same job without starting the research over.
Shoot kits
Buy around the job, not the spec sheet
Studio table
Product studio kit
$5,268
A high-detail body, macro lens, portable strobe, modifier, backdrop, and grip pieces for repeatable product photos at home or in a small studio.
Best small-commerce kit
Buy order: start with the first piece that makes the job possible, then add the support pieces that remove friction.
Camera: start here. If this piece does not make the shoot easier, the rest of the kit can wait.
Safety: add it after the core setup proves useful.
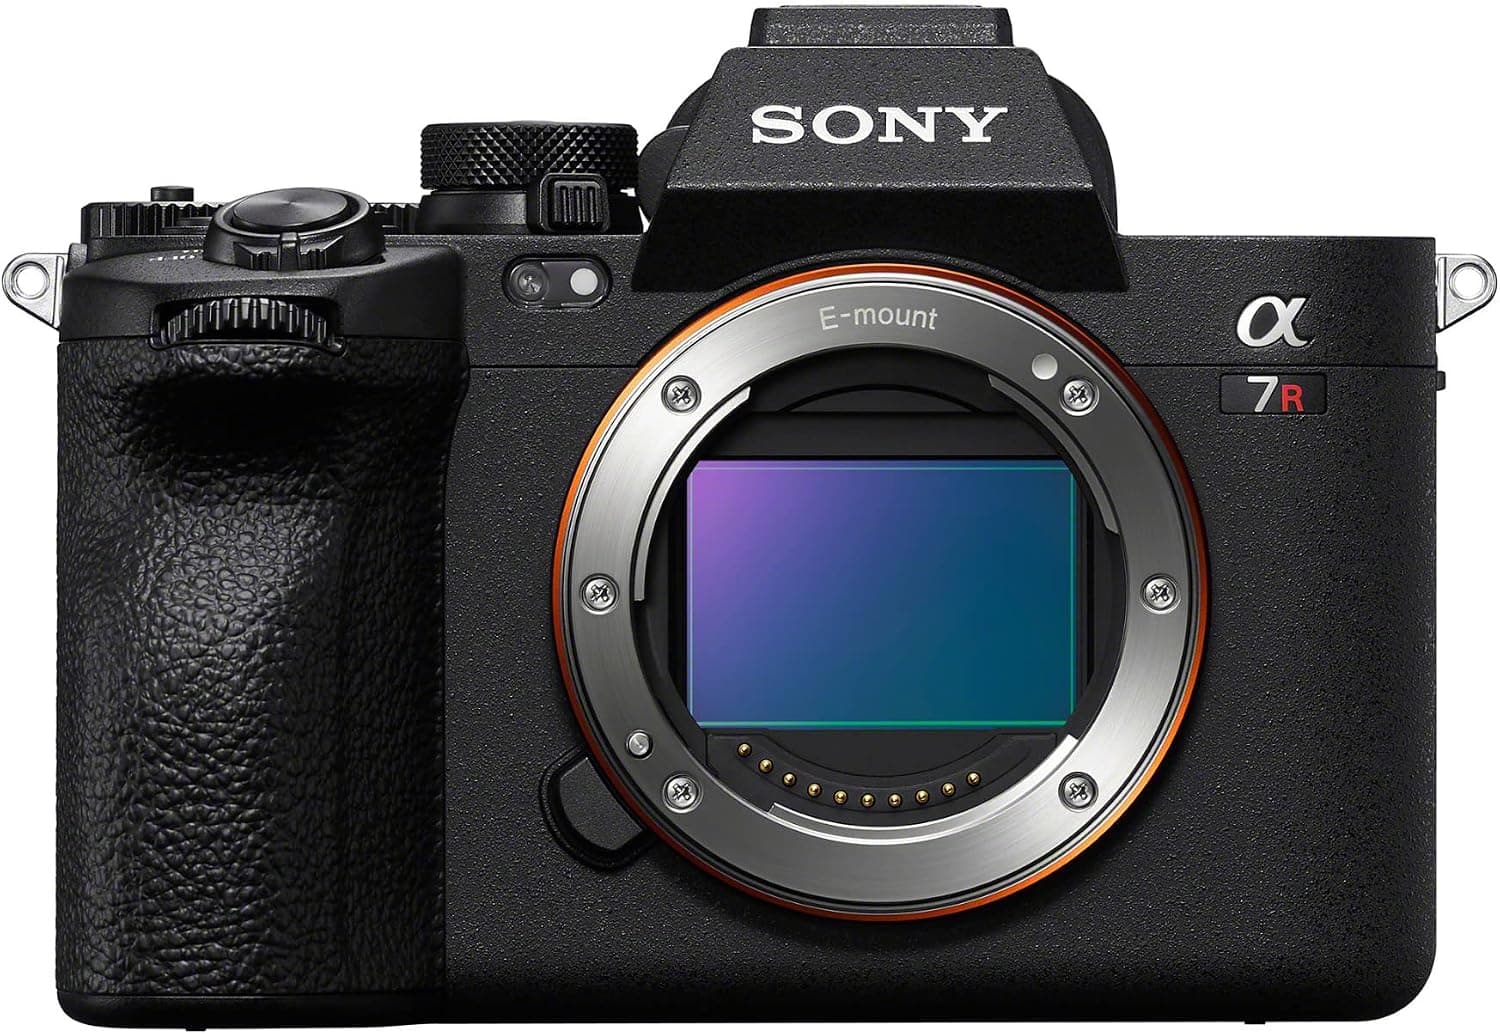
Sony a7R V
High-resolution files give product work enough detail for crops, retouching, and marketplace layouts.
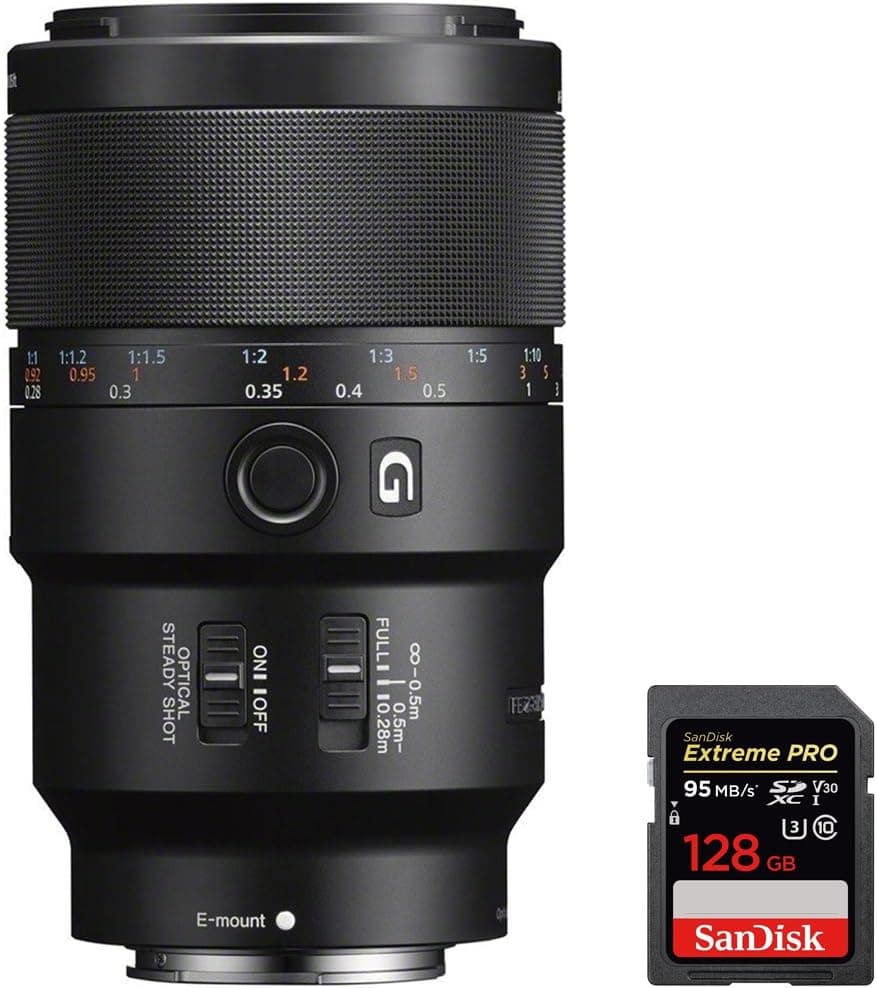
Sony FE 90mm f/2.8 Macro G OSS
True close focus for small products, labels, texture, and detail shots.
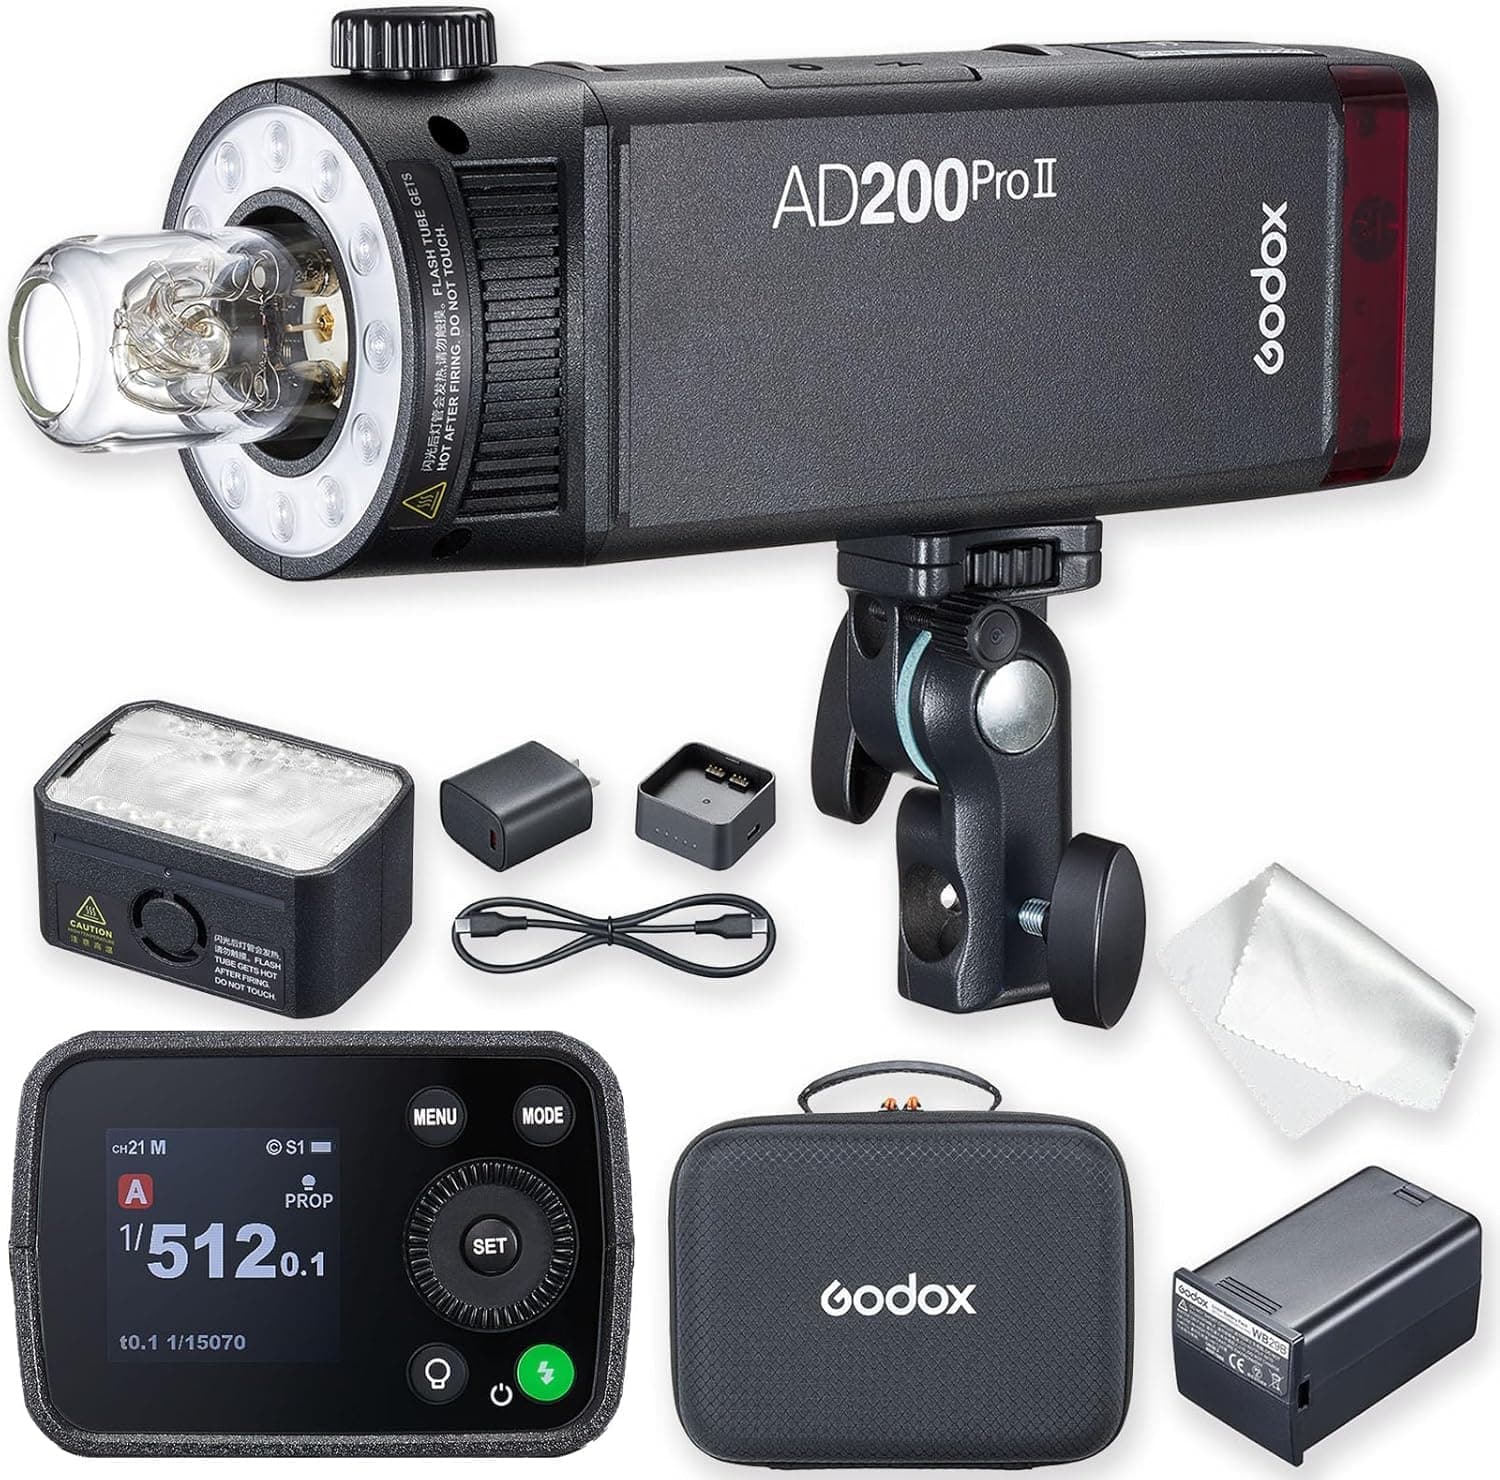
Godox AD200 Pro
More control and output than a speedlight while still staying portable.
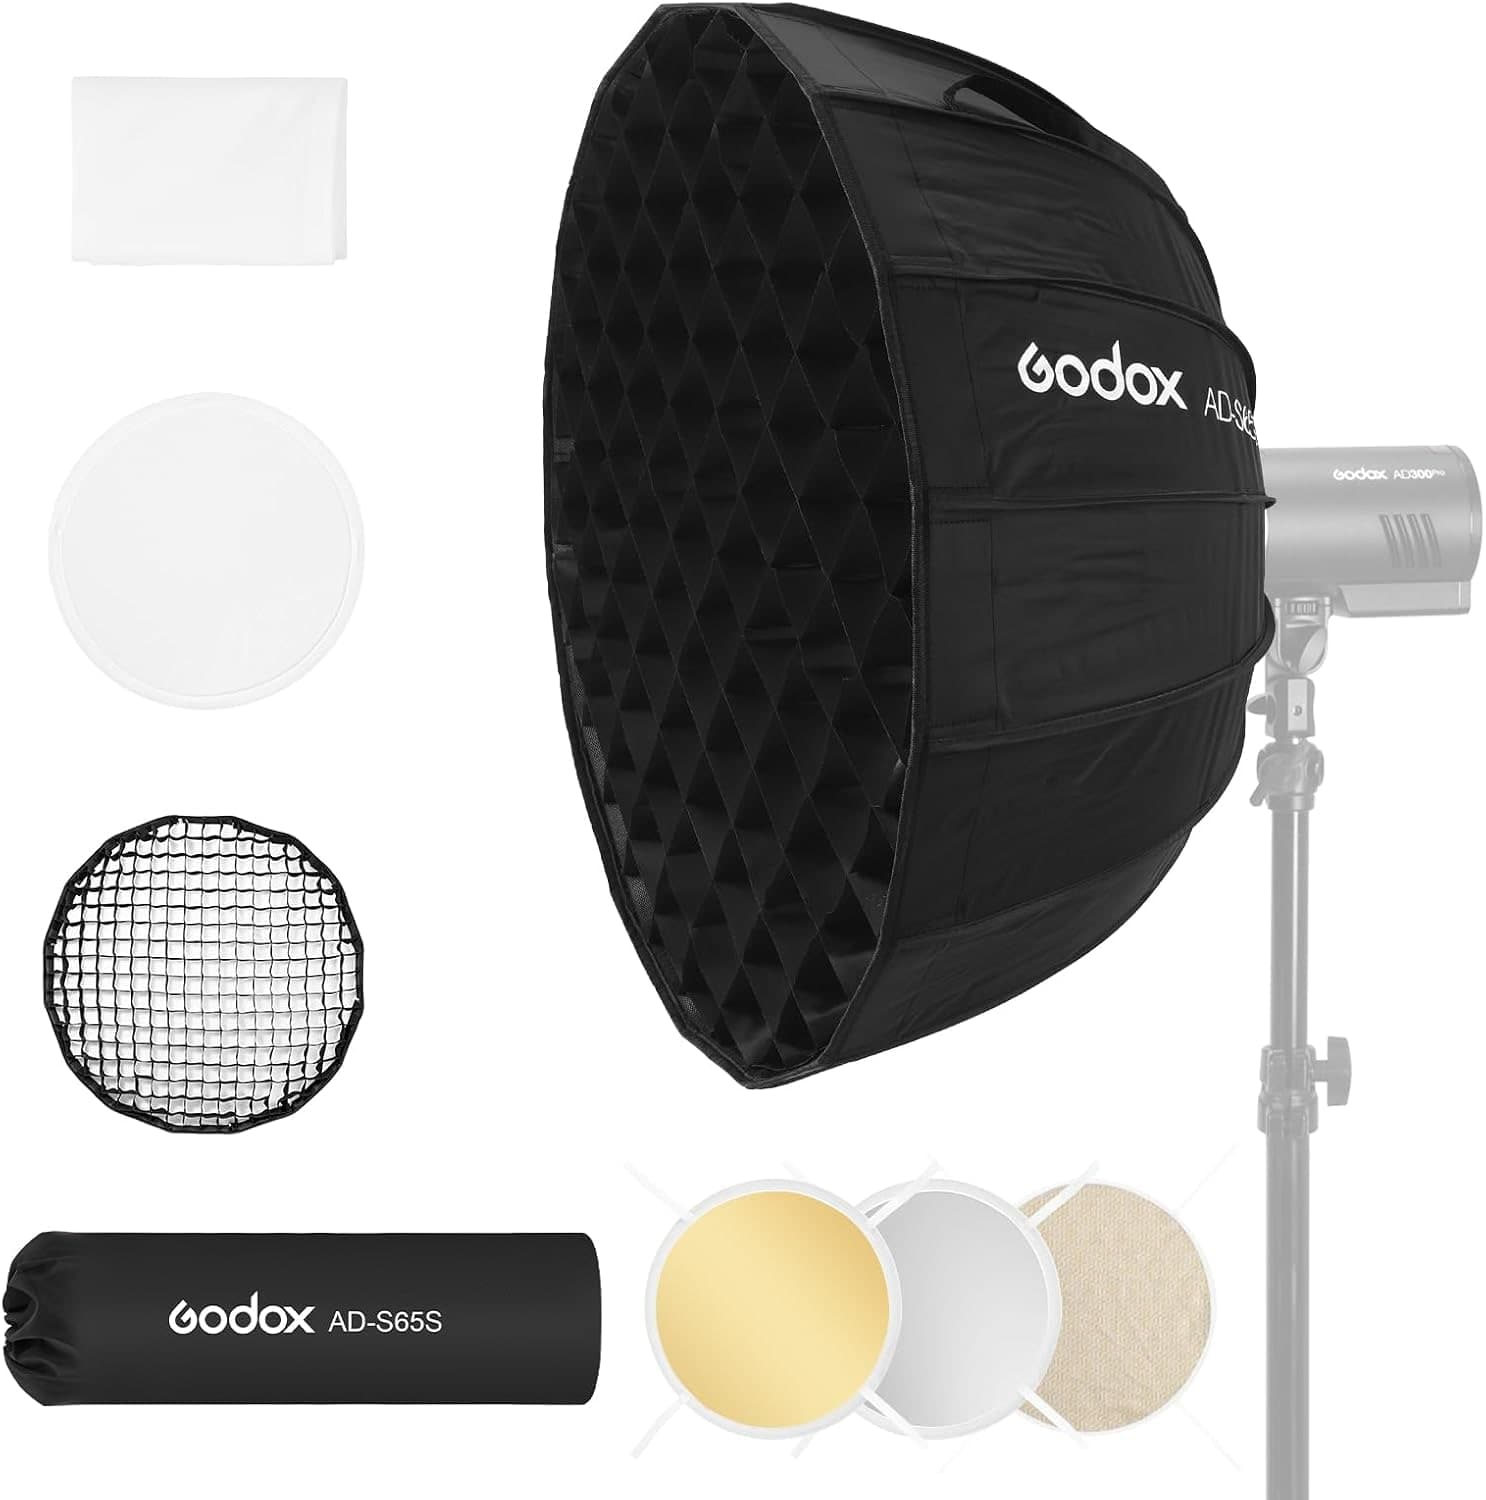
Godox AD-S65S
Soft, controlled light with a round catchlight for bottles, ceramics, food, and tabletop objects.

Savage Seamless Paper
A clean sweep removes distracting horizon lines and makes products read professionally.
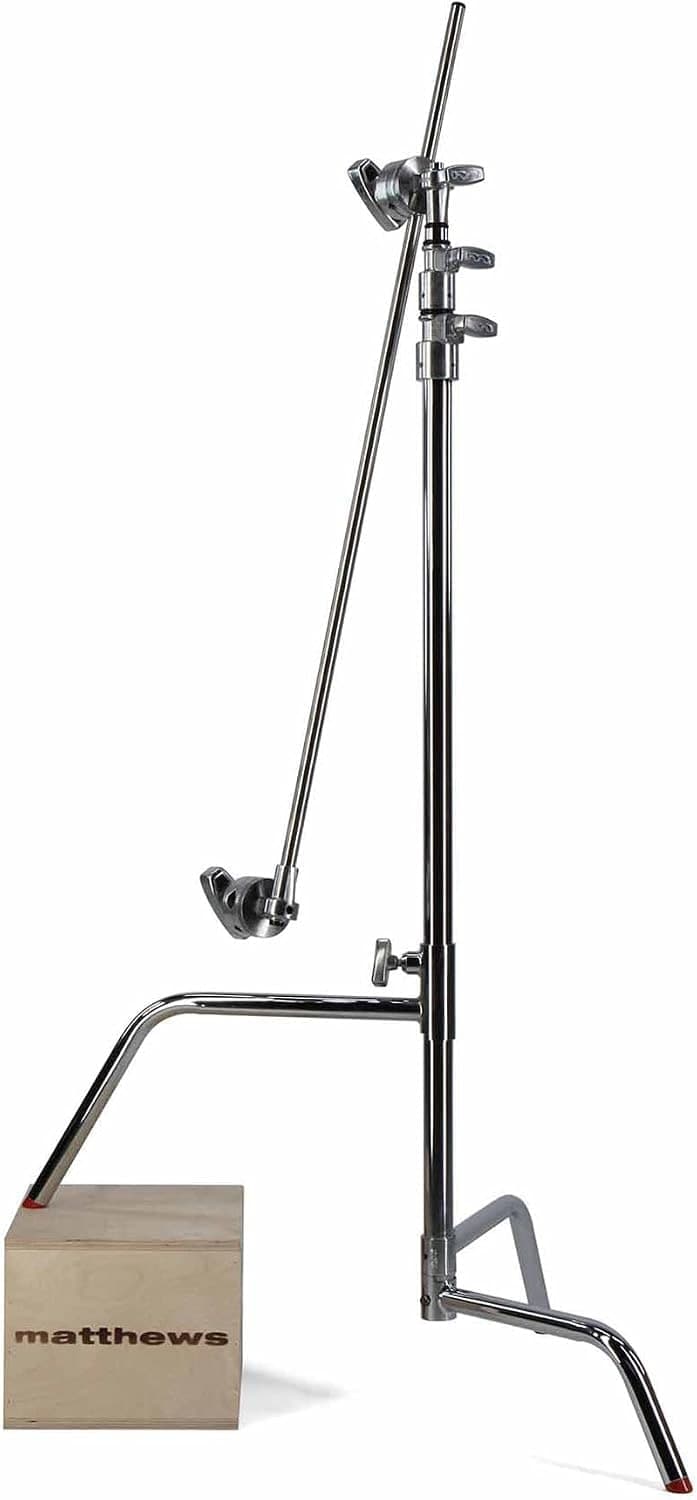
Matthews C-Stand
Holds lights, flags, and reflectors in fixed positions while the product stays untouched.
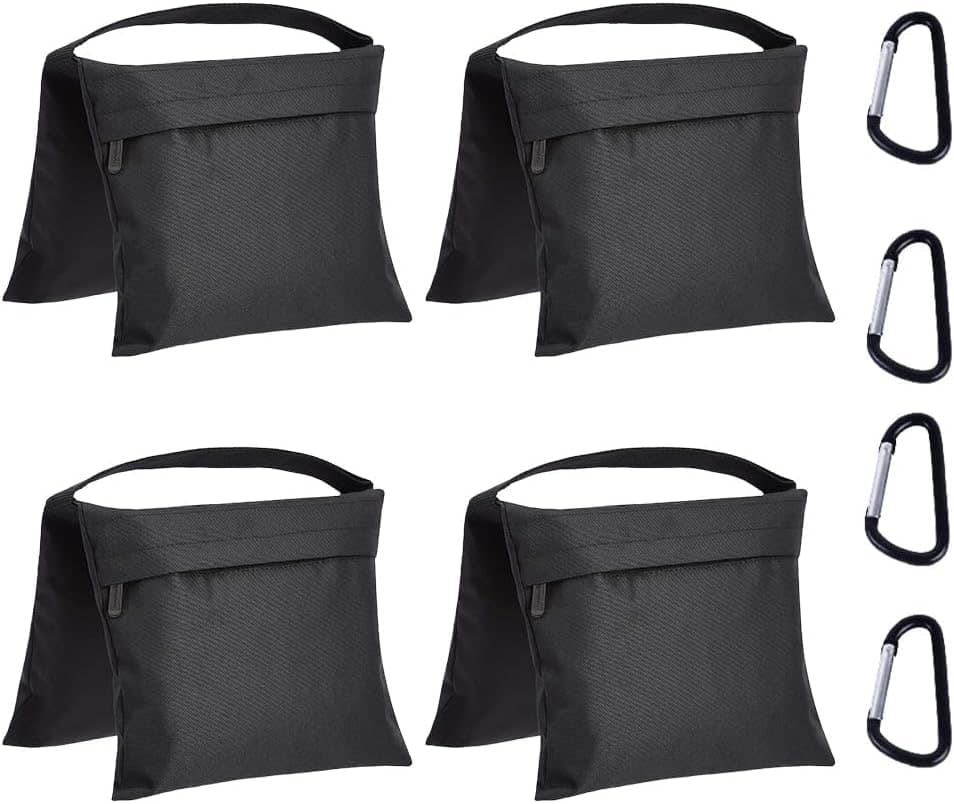
Amazon Basics Photography Sandbags (4-Pack)
Keeps the stand planted when a modifier or boom arm pulls the load off-center.
Prices are rough catalog totals. Retailer prices change, and you can swap pieces to fit your system.
Related Genres guides

Event Photography: Settings and Gear for Low Light and Fast Moments
Event photography means low light, candid moments, and no second takes. Here is the gear, the settings, and the mistakes to skip for sharp, well-lit frames.
Fashion Photography: Light, Posing, and the Look on a Budget
Editorial fashion images come from intentional light, confident posing, and a clear styling concept. Here is how to build the look on a budget with one light and simple gear.
Real Estate Photography: The Complete Starter Guide
How to shoot a listing that sells: the gear, the settings, the room-by-room shot list, and the common mistakes. Plus the tool that builds your shot list for you.
Wedding Photography: How to Shoot a Wedding Without Missing the Moments
Weddings are unrepeatable, so preparation beats reaction. Here are the gear, the settings, the shot list, and the timeline habits that keep you from missing the moments that matter.
Researched, not personally tested: picks compare specifications, available owner feedback, and established expert sources. As an Amazon Associate I earn from qualifying purchases. We may earn a commission from links here, at no extra cost to you. How we research →