We may earn a commission from links on this page, at no extra cost to you.
The single biggest thing separating snapshots from controlled photos is reading the light. The camera does not know whether you are standing in a soft sunset or under a midday sun that is blowing out the sky. You do. This guide breaks the day into seven common lighting conditions, each with its own problem, its own settings, and its own fix.
If the controls below are not yet second nature, work through the exposure triangle first. Everything here is just those three controls (aperture, shutter speed, and ISO) applied to a specific kind of light.
Interactive Light Lab. Enable JavaScript to relight the scene and compare exposures.
The seven conditions
Each of these has its own page with the problem, the settings in plain numbers, the fix, and the gear that helps.
- Golden hour: the hour after sunrise and before sunset. Soft, warm, directional. The easiest light to make look good, and the shortest-lived.
- Harsh midday sun: high overhead, high contrast, hard shadows. The light most beginners struggle with.
- Overcast and flat light: a cloudy sky acts as a giant softbox. Even and forgiving, but it can read as dull if you do not work for color and contrast.
- Low indoor light: rooms are darker than they look. This is where you trade noise against blur and learn where your gear gives out.
- Backlight and silhouettes: the light source is behind your subject. It either glows or goes black, depending on what you tell the meter to do.
- Night: almost no light at all. A tripod and a long exposure replace the handheld habits that stop working after dark.
- Mixed and artificial light: window daylight, warm lamps, and fluorescent tubes in one room. The exposure is easy; the color is the problem.
How to read any light in three questions
Before you touch a dial, ask three things about the light in front of you.
First, how hard is it? Hard light comes from a small or distant source like the bare sun and makes sharp-edged shadows. Soft light comes from a large or diffused source like an overcast sky or a window and makes gentle shadows. Hard light needs taming; soft light needs shaping.
Second, where is it coming from? Front light is flat and safe. Side light shows texture and depth. Backlight is dramatic and risky. The direction decides where your shadows fall and what your meter does.
Third, how much of it is there? This sets your floor. Bright scenes let you keep ISO low and your shutter speed fast. Dark scenes force a choice: open the aperture, slow the shutter, or raise ISO, and each costs you something.
Where this fits
Light is the bridge between knowing your settings and getting consistent results in the field. Pair this cluster with a genre you actually shoot: real estate photography lives and dies on window light and bracketing, while portrait photography is mostly about choosing the right light for a face. The conditions below come up in both.
What is the easiest light for a beginner?
Overcast or open shade. The light is soft and even, your meter is reliable, and there are no harsh shadows or blown highlights to fight. Golden hour looks better but moves fast and is less forgiving of slow setup.
Do I need to change settings every time the light changes?
Usually yes, at least one. The exception is when you are in aperture-priority or shutter-priority mode and let the camera track brightness for you. Even then, you decide things the meter cannot, such as whether a backlit subject should glow or go to silhouette.
Is there one camera setting that fixes bad light?
No. Settings control exposure, not the quality of the light itself. The real fixes are moving your subject, changing your angle to the light, waiting for a cloud, or adding your own light. The settings just record the choice you made.
Related Learn guides
Aperture Priority vs Shutter Priority: Which to Use
Aperture priority lets you control depth of field; shutter priority lets you control motion. Here is what each mode locks, what it leaves to the camera, and when to pick which.
Read guide
Autofocus Modes Explained: Single, Continuous, and Auto
Single autofocus locks on still subjects; continuous tracks moving ones. Here is what AF-S, AF-C, and the focus area modes do, and which to pick for your shot.
Read guide
Back Button Focus Explained: What It Is and Why to Use It
Back button focus moves focusing off the shutter button onto a rear button, so the shutter only takes the photo. Here is what it does and how to set it up.
Read guide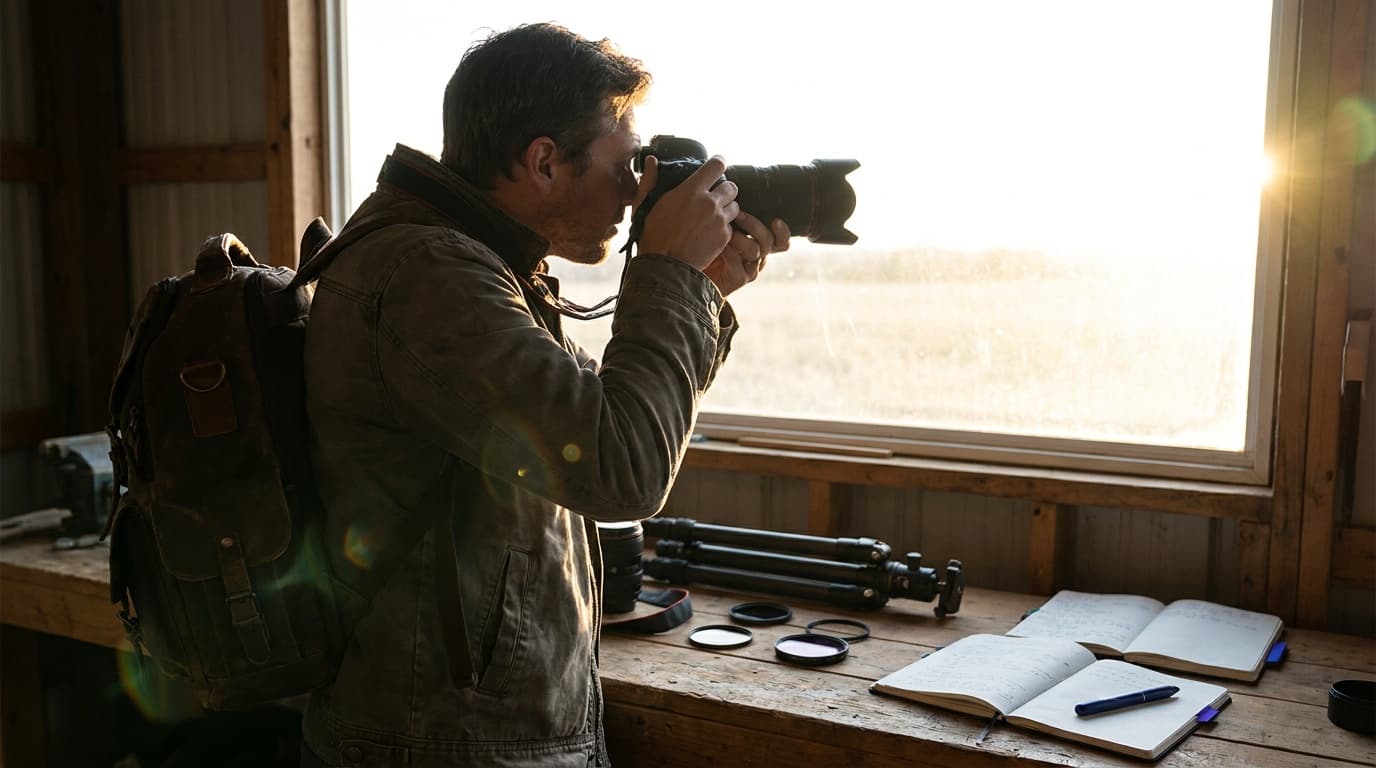
Backlight and Silhouettes: Shooting Into the Light
When the light is behind your subject, it either glows or goes black. Here is how to control which one you get.
Read guideResearched, not personally tested: picks come from specs, verified-owner reviews, and expert sources, scored into the Aperture Score. As an Amazon Associate I earn from qualifying purchases. We may earn a commission from links here, at no extra cost to you. How we research →