We may earn a commission from links on this page, at no extra cost to you.
The problem
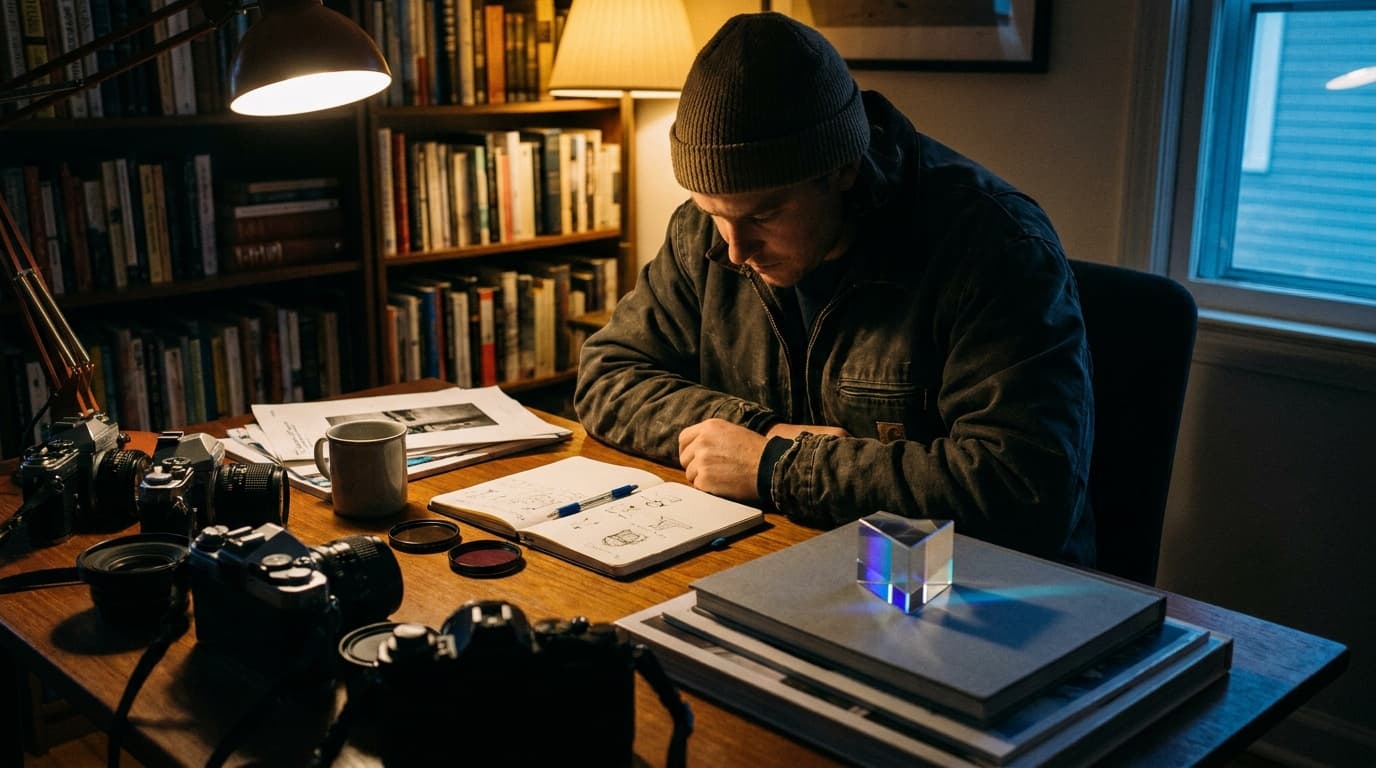
Your eyes adapt to dim rooms, so indoor light always looks brighter than it is to the camera. A living room that feels perfectly lit can be four or five stops below daylight. With that little light, you cannot have it all: a clean low ISO, a fast shutter, and a sharp deep-focus frame all at once. Something has to give. Push the shutter too slow and you get blur from your hands or a moving subject. Push ISO too high and you get noise. The job is choosing which trade hurts the shot least.
The settings
In a typical indoor scene, you are working near the limits of your gear. A reasonable handheld starting point is:
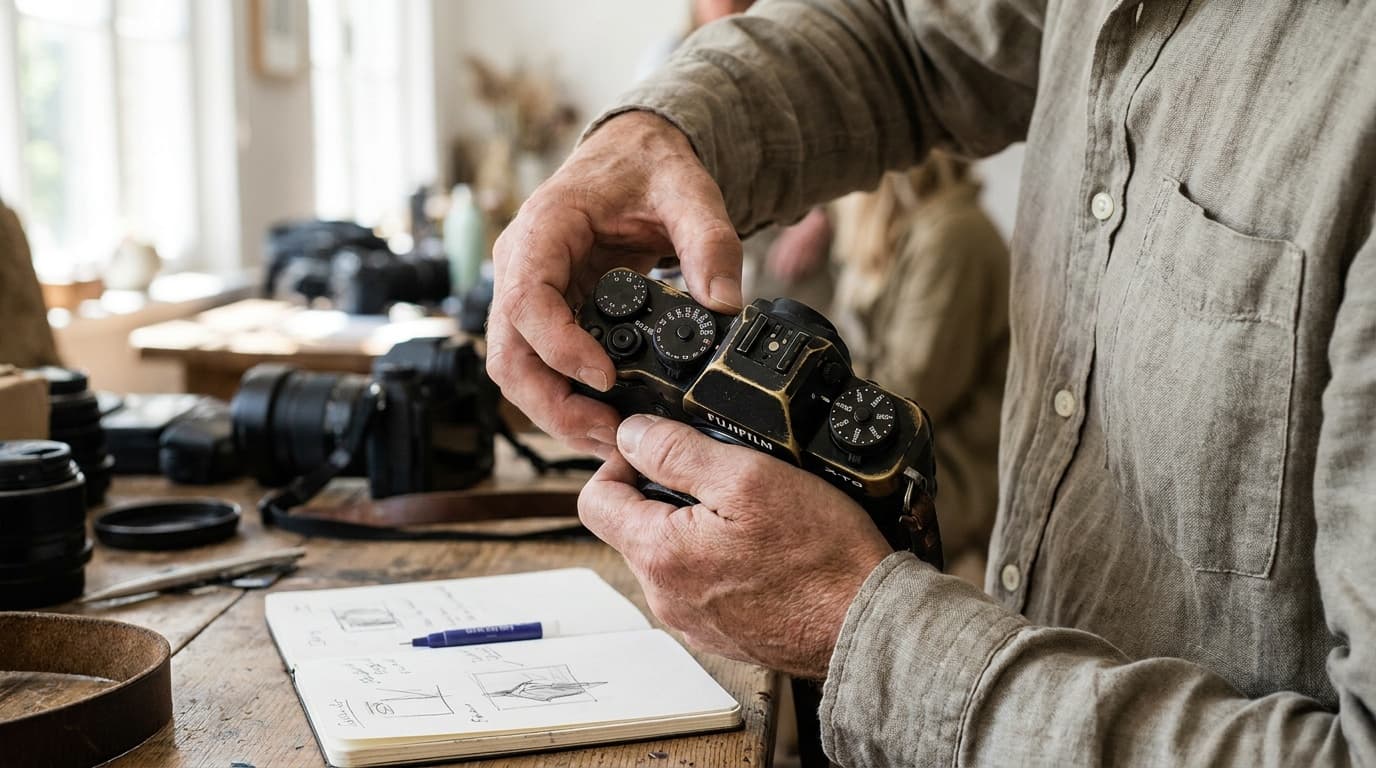
The order of operations matters. Open the aperture first, because it costs you nothing but depth of field. Slow the shutter next, down to about the limit you can hold steady or your subject will hold still. Raise ISO last, since it is the only one of the three that adds noise rather than changing the look.
Interactive exposure demo. Enable JavaScript to drag the exposure for this light.
The fix
The cleanest fix for low light is more light. Position your subject near a window, turn on the lamps in the room, or add a single light of your own. Even a small amount of added or borrowed light lets you drop your ISO and recover detail. When you cannot add light, stabilize instead: brace against a wall, set the camera on a surface, or use a tripod so you can slow the shutter without blur. And keep your subject as still as the shutter speed demands.
The gear that helps
Two things change low-light work the most: a fast lens and stable support. A lens that opens to f/1.8 or f/2.8 gathers far more light than a slow kit zoom, so the prime vs zoom guide is worth reading before you buy. For handheld video in dim rooms, stabilization is what keeps footage usable, which is where the best gimbals guide comes in.
Where this fits
Indoor light is the daily reality of real estate photography, where interiors are dim, windows blow out, and a tripod plus bracketing does the heavy lifting. The trade-off logic here is the same exposure triangle at its hardest, which is exactly why low light is the best teacher of it.
What ISO should I use indoors?
Whatever it takes to keep a safe shutter speed after you have already opened the aperture, often somewhere from ISO 800 to 3200. A slightly noisy sharp photo beats a clean blurry one. If the subject is still and you have a tripod, you can keep ISO low and slow the shutter instead.
How do I avoid blurry photos in low light?
Keep your shutter speed fast enough to freeze both your hands and the subject, usually 1/100 or faster handheld. If that makes the photo too dark, open the aperture and raise ISO rather than slowing the shutter. For still subjects, a tripod lets you use a slow shutter without blur.
Related Learn guides
Aperture Priority vs Shutter Priority: Which to Use
Aperture priority lets you control depth of field; shutter priority lets you control motion. Here is what each mode locks, what it leaves to the camera, and when to pick which.
Read guide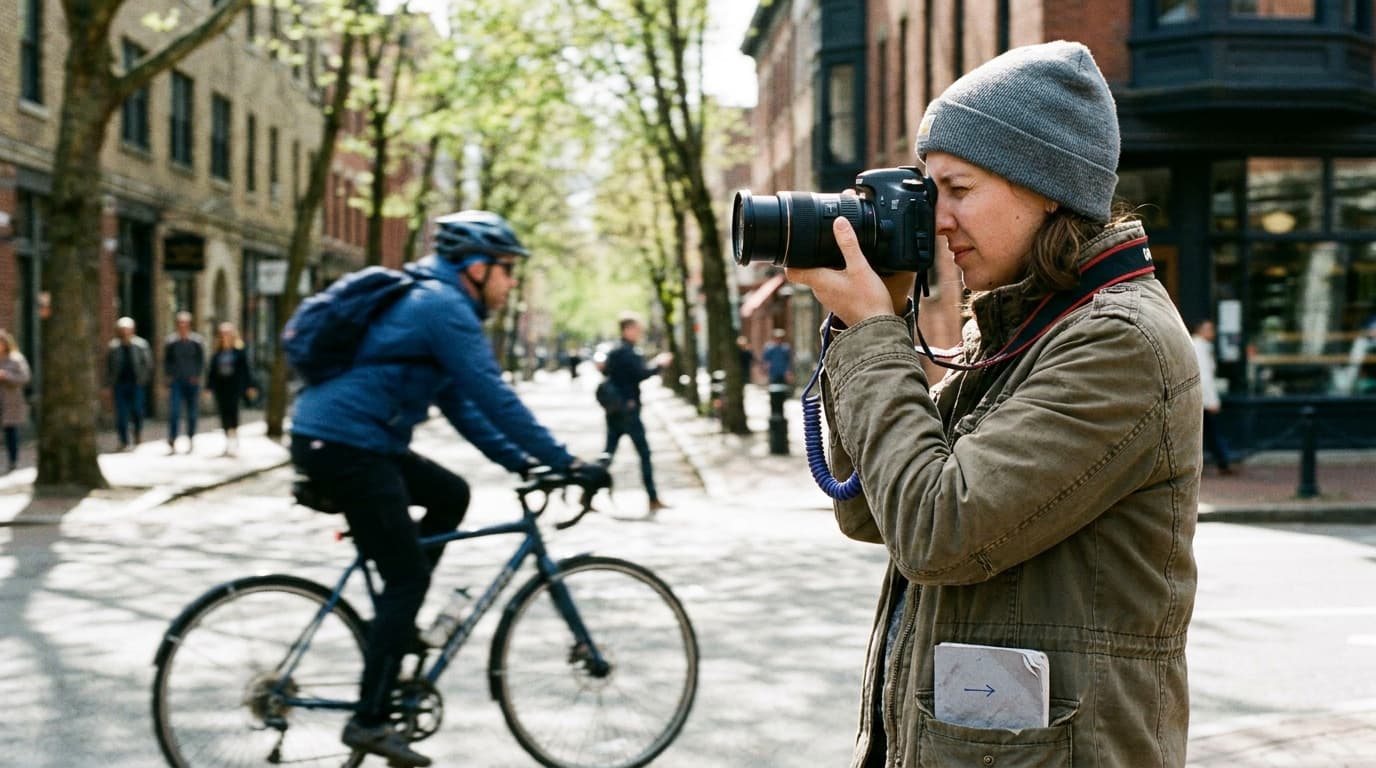
Autofocus Modes Explained: Single, Continuous, and Auto
Single autofocus locks on still subjects; continuous tracks moving ones. Here is what AF-S, AF-C, and the focus area modes do, and which to pick for your shot.
Read guide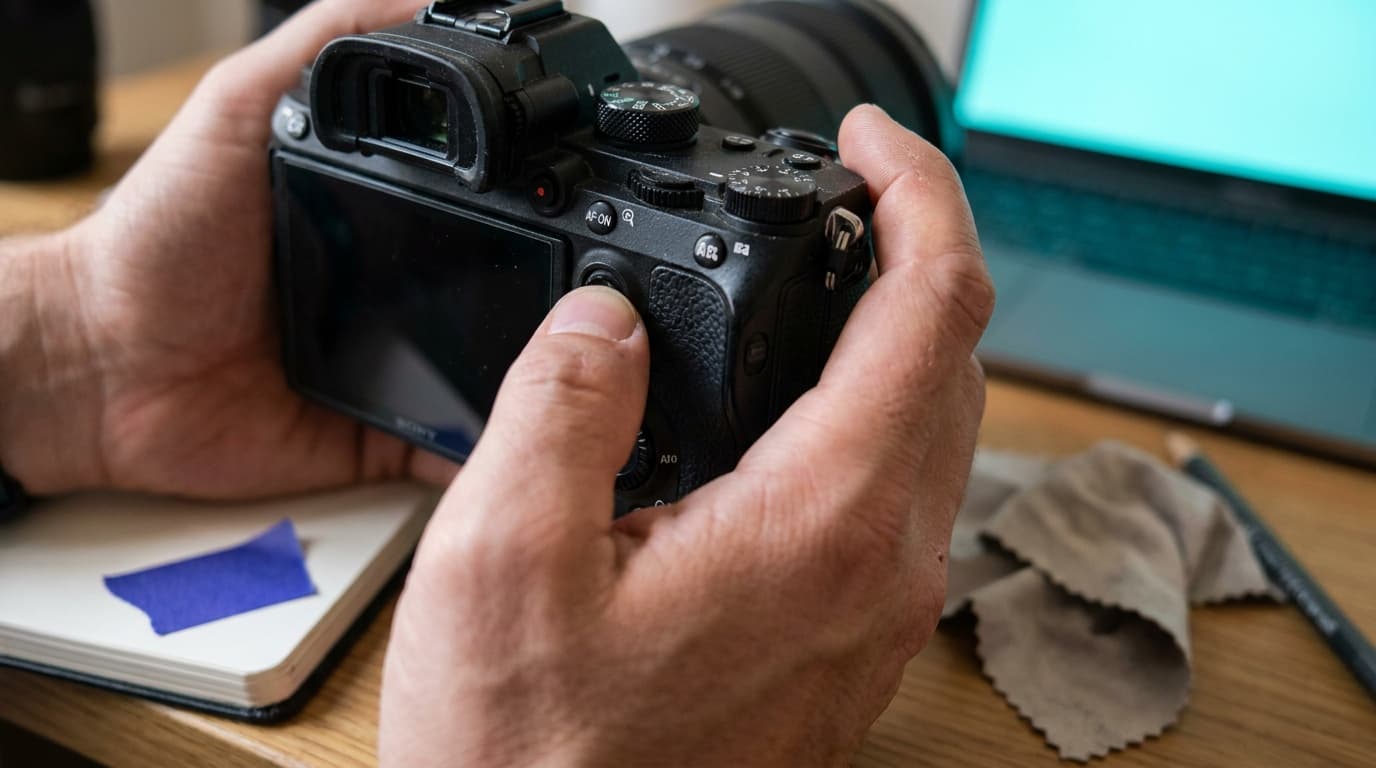
Back Button Focus Explained: What It Is and Why to Use It
Back button focus moves focusing off the shutter button onto a rear button, so the shutter only takes the photo. Here is what it does and how to set it up.
Read guide
Backlight and Silhouettes: Shooting Into the Light
When the light is behind your subject, it either glows or goes black. Here is how to control which one you get.
Read guideResearched, not personally tested: picks come from specs, verified-owner reviews, and expert sources, scored into the Aperture Score. As an Amazon Associate I earn from qualifying purchases. We may earn a commission from links here, at no extra cost to you. How we research →