We may earn a commission from links on this page, at no extra cost to you. Picks are researched, not sponsored.
The problem
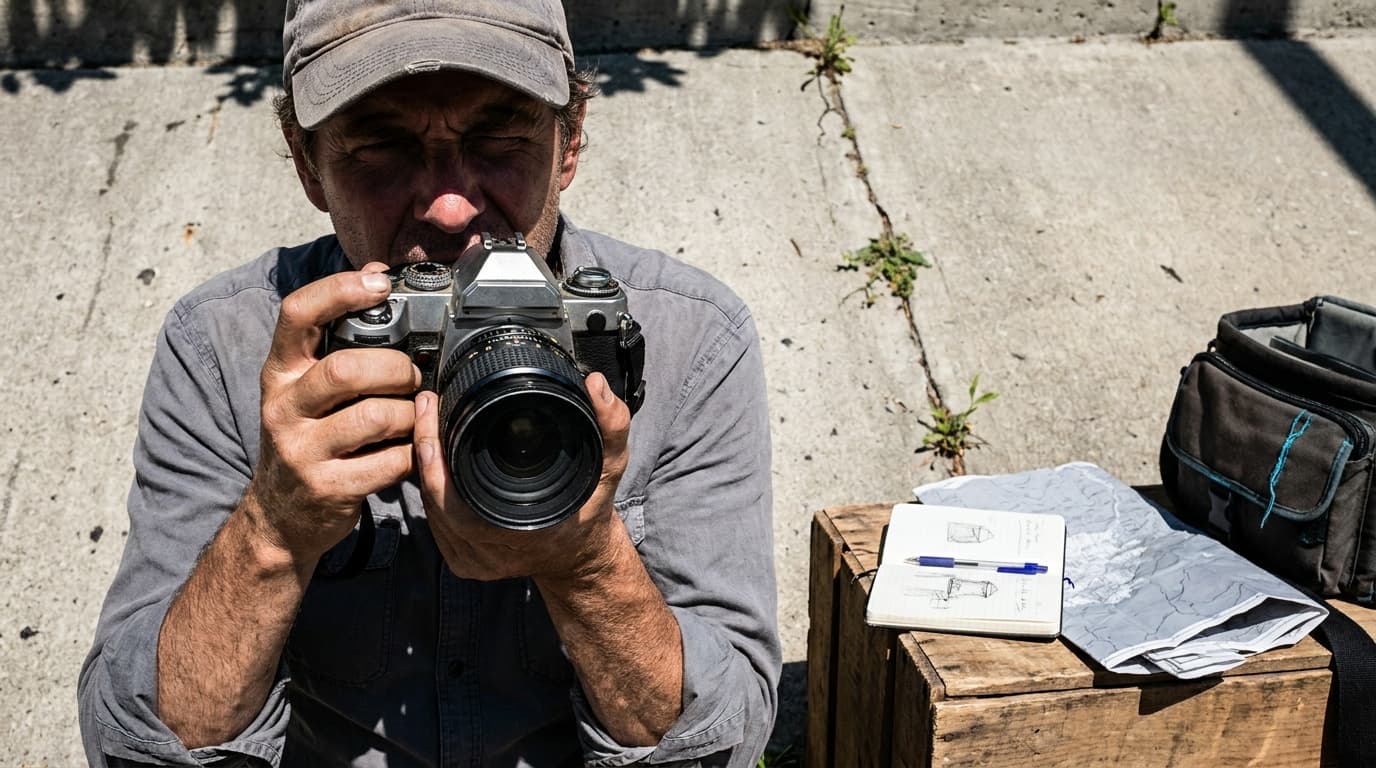
Midday is the light most beginners fight. The sun is directly overhead, so it carves hard shadows straight down: dark sockets under the eyes, a shadow under the nose, and squinting subjects. The contrast between the lit and shadowed parts of a scene is often wider than the sensor can hold, so you lose detail in the highlights, the shadows, or both. The light is bright, so exposure is not the issue. Controlling that contrast is.
The settings
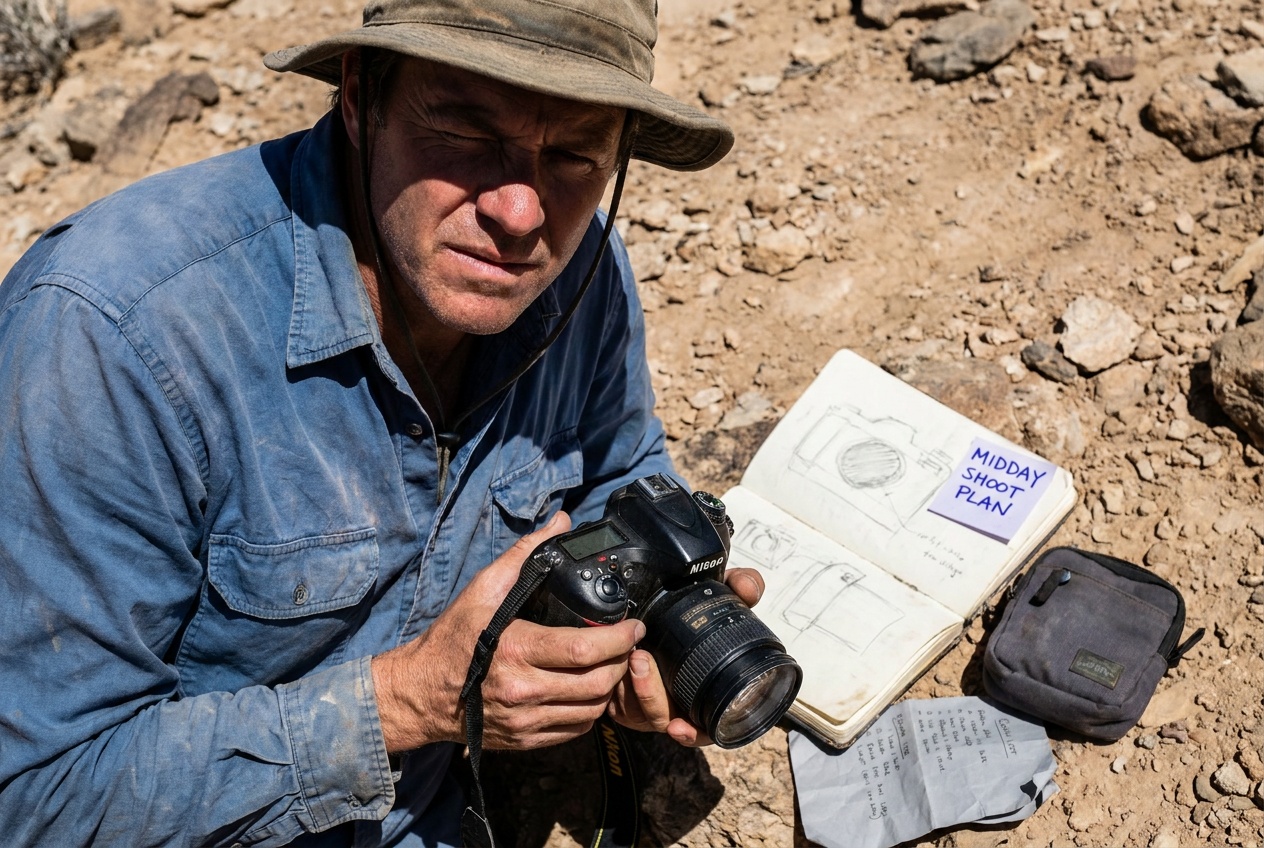
There is so much light at midday that you have headroom to spare. A typical sunlit scene lands around:
Expose for the brightest part you care about. It is far easier to recover a slightly dark shadow later than to rebuild a highlight that has clipped to pure white. If your camera shows blinking highlight warnings on something important, dial the exposure down until they stop.
Interactive exposure demo. Enable JavaScript to drag the exposure for this light.
The fix
The best midday fix is not a setting at all: move your subject. Open shade under a tree, an awning, or the side of a building turns hard light into soft, even light while keeping the bright background. If you cannot move, change your angle so the sun rakes across the scene instead of straight down, or wait for a passing cloud to act as a diffuser. For faces in particular, shade is almost always the answer.
The gear that helps
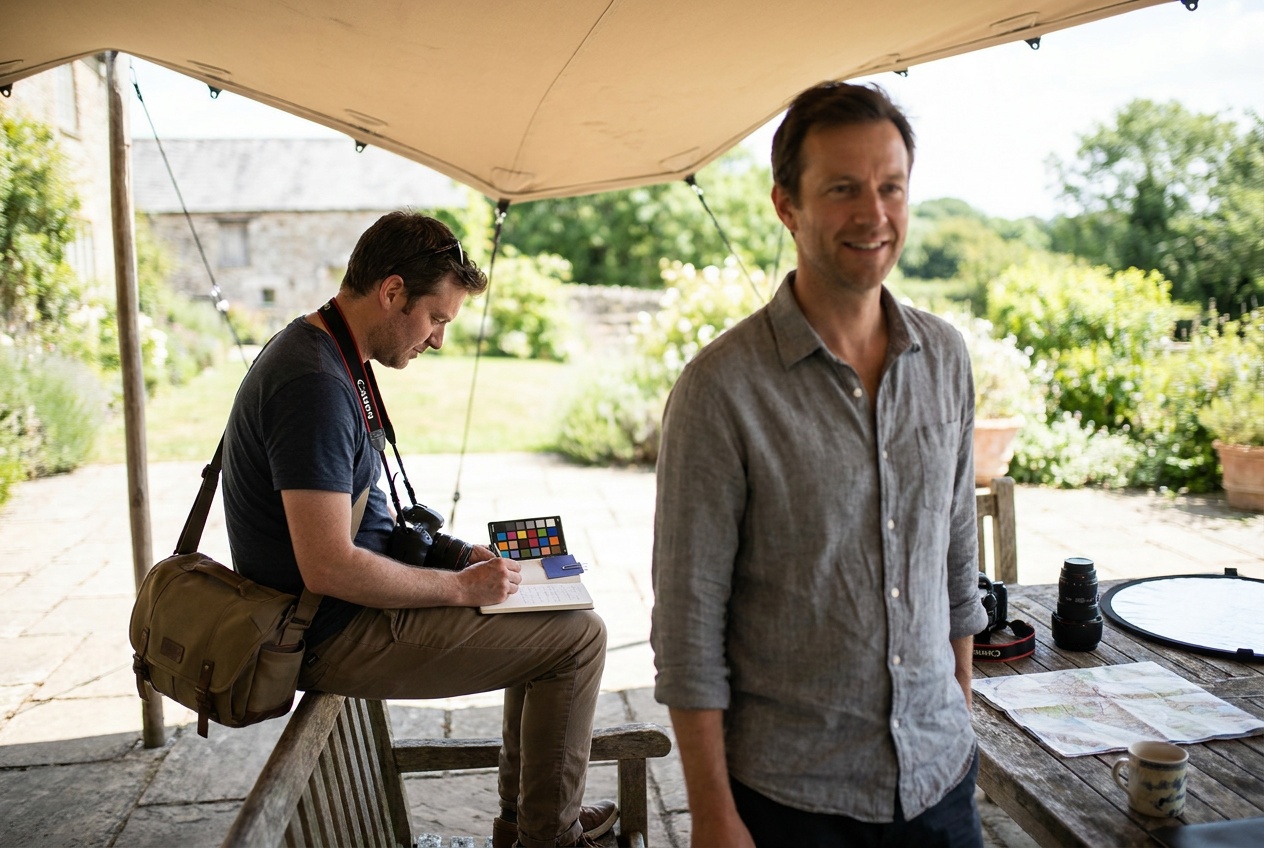
Midday is where a camera with good highlight latitude earns its keep, since you are constantly protecting bright skies and sunlit walls. If you are still choosing a body, the camera buying guide covers what to look for. A lens hood helps cut flare when you are working near the sun, and a hat or any large object can throw shade on a close subject in a pinch.
Where this fits
Midday sun is unavoidable for real estate photography, where exterior shots often have to happen when the light is high and the listing schedule does not wait. The same contrast-control habits, expose for the highlights and tame the range, carry straight over. As always, these moves are the exposure triangle applied to one specific, demanding light.
Why do my midday photos look so harsh?
Because the sun is small, bright, and directly overhead, which produces hard-edged shadows and a contrast range wider than the sensor can capture. The fix is to soften or redirect the light by moving into shade, changing your angle, or waiting for cloud cover, not to change a setting.
What is the best time to avoid harsh sun?
The hours around sunrise and sunset, when the sun is low and the light is softer and warmer. If you must shoot at midday, seek open shade or overcast skies for any subject where harsh shadows are a problem.
Keep going
Next useful steps
Pick one. Each link continues the same job without starting the research over.
Related Learn guides

Content Credentials and C2PA Explained for Photographers
Content Credentials record a photo's signed provenance and edits. Learn what C2PA proves, what it cannot prove, and how capture-to-export workflows work.

Open Gate Video Explained: When 3:2 Is Worth It
Open Gate records a taller sensor area for flexible 16:9, 9:16, and square crops. See when it helps, what it costs, and how to frame it correctly.

Pre-Capture Photography Explained: Get the Frame Before the Click
Pre-Capture buffers photos before the shutter is fully pressed. Learn how it works, which settings change, and when RAW, flash, or focus may be limited.

RAW vs JPEG: Which File Format Should You Shoot?
RAW keeps all your sensor data for maximum editing freedom; JPEG is smaller and ready to share. Here is how they differ and when each one is the right call.
Researched, not personally tested: picks compare specifications, available owner feedback, and established expert sources. As an Amazon Associate I earn from qualifying purchases. We may earn a commission from links here, at no extra cost to you. How we research →