
We may earn a commission from links on this page, at no extra cost to you. Picks are researched, not sponsored.
Sharpness feels like a gear question, so beginners blame the camera. It is almost entirely technique. A modest body run well outshoots an expensive one run carelessly. This is the checklist version, four things to get right every time.
1. Use a fast enough shutter speed
A slow shutter blurs the photo two ways: your hands shake the camera and the subject moves. The baseline rule is the reciprocal rule: keep your shutter speed at least 1 over your focal length. At 50mm, that is 1/50 or faster. For moving subjects, go well beyond it: 1/250 for people · 1/500 for kids and pets · 1/1000 for sports. When in doubt, faster is safer.
2. Focus on the right spot
A perfectly exposed photo focused on the wrong thing is still a failure. Use single-point autofocus and place that point where it matters, usually the near eye for people. For moving subjects, switch to continuous autofocus so the camera tracks them. Learning back button focus separates focusing from the shutter and removes a whole class of mistakes.
3. Hold the camera steady
Even with a fast shutter, sloppy holding costs sharpness. Tuck your elbows in, support the lens from underneath with your left hand, breathe out as you press, and squeeze the shutter rather than jab it. In low light, brace against a wall or doorframe. When the shutter has to drop below your handheld limit, use a tripod. The dedicated guide is how to avoid camera shake.
4. Pick an aperture in the sweet spot
Lenses are not equally sharp at every aperture. Wide open at f/1.8 they are usually a little soft, and stopped all the way down to f/16 they soften again from diffraction. Most lenses are sharpest a couple of stops from wide open, often f/5.6 · f/8. When sharpness across the frame matters more than background blur, shoot there. See what aperture is sharpest.
Putting the checklist together
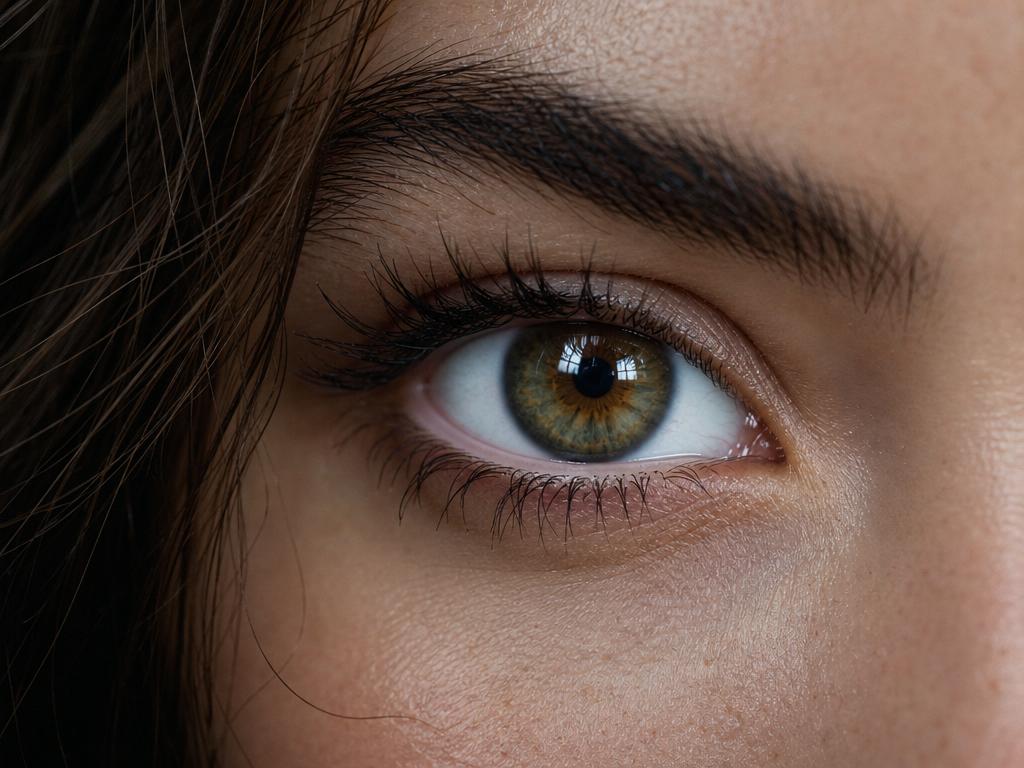
A dependable everyday recipe in good light: f/8 · 1/250 · ISO 200, single-point autofocus on the subject, elbows in. Indoors or at dusk, raise ISO and open the aperture to keep the shutter fast rather than letting it crawl. The whole point of the exposure triangle is making those trades on purpose.
Common mistakes
The most common mistake is letting the camera choose the shutter speed in Auto or Program, then wondering why indoor shots are soft. The camera optimizes for exposure, not for your shaky hands. Take control with Aperture Priority and watch the shutter speed it picks.
Other frequent errors: focusing on the wrong eye in a portrait, leaving autofocus on a wide area mode that grabs the nearest object instead of the subject, and pushing ISO so high to keep shooting that noise reduction smears fine detail. A subtle one is a dirty lens or a cheap filter; wipe the front element and remove low-quality filters before blaming technique.
Why are my photos not sharp even with a good camera?
A good camera does not pick your shutter speed, focus point, or holding technique. Run the checklist: fast enough shutter, single-point focus on the eyes, steady hands, sweet-spot aperture. The body is rarely the limit.
What is the sharpest aperture?
Most lenses peak a couple of stops down from wide open, commonly f/5.6 to f/8. Wide open is slightly soft and very narrow apertures like f/16 lose sharpness to diffraction.
Do I need a tripod for sharp photos?
Only when the light forces your shutter below your handheld limit, or for long exposures and precise compositions. In good daylight a fast shutter and steady hands are enough. In low light a tripod is the most reliable fix.
Sharpness is a habit, not a setting. Run the four checks until they are automatic. If your photos are still soft, diagnose the cause with why are my photos blurry.
Practice this
Turn the guide into a working setup
Keep going
Next useful steps
Pick one. Each link continues the same job without starting the research over.
Shoot kits
Buy around the job, not the spec sheet
Beginner photo
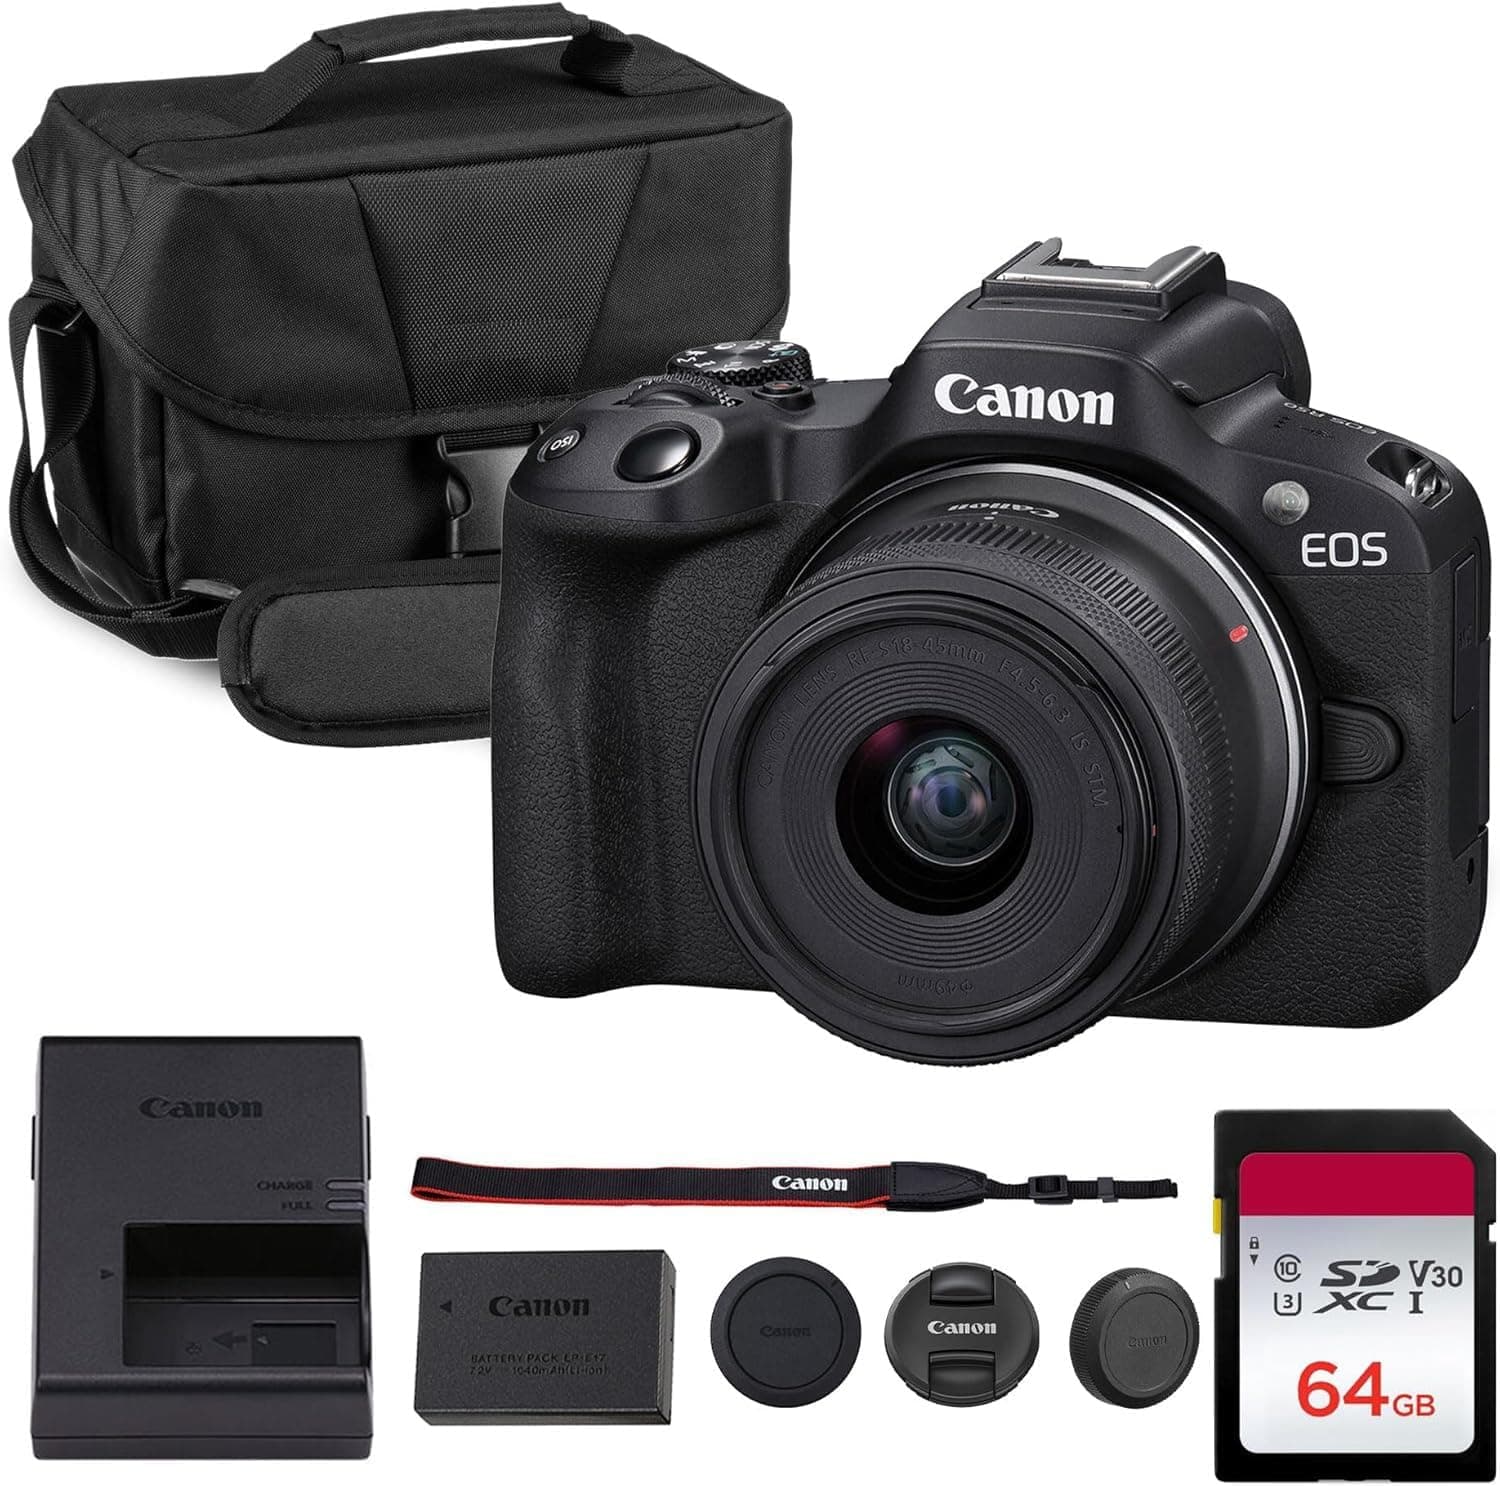
First real camera kit
$1,068
An affordable body, a sharp prime, a reliable card, and a small carry setup that does not turn learning into a hauling problem.
Best learning kit
Buy order: start with the first piece that makes the job possible, then add the support pieces that remove friction.
Camera: start here. If this piece does not make the shoot easier, the rest of the kit can wait.
Carry: add it after the core setup proves useful.
Canon EOS R50
Small, approachable, and good enough to learn exposure, autofocus, and lens choice properly.
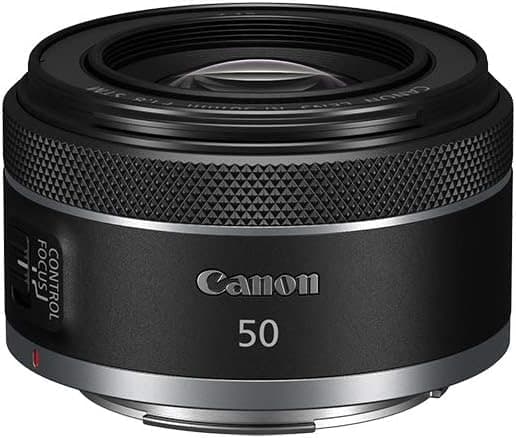
Canon RF 50mm f/1.8 STM
Cheap, bright, and useful for portraits, detail shots, and learning depth of field.
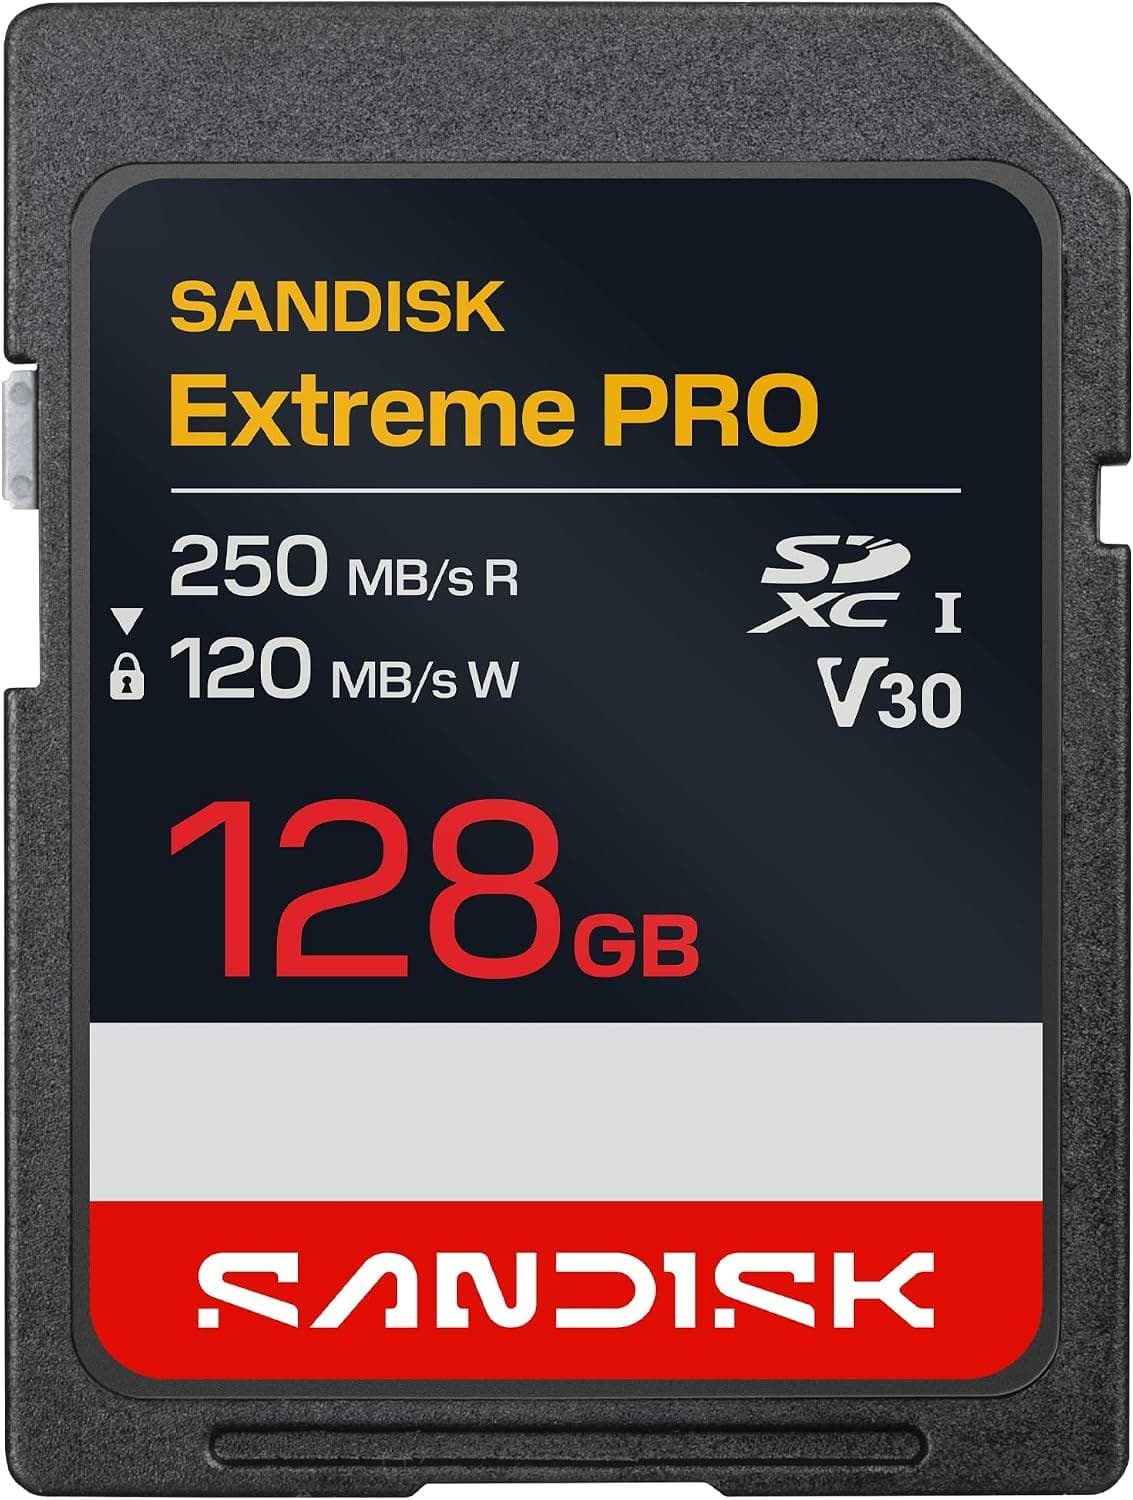
SanDisk Extreme Pro SDXC 128GB
Fast enough for normal stills and video without making storage the exciting purchase.
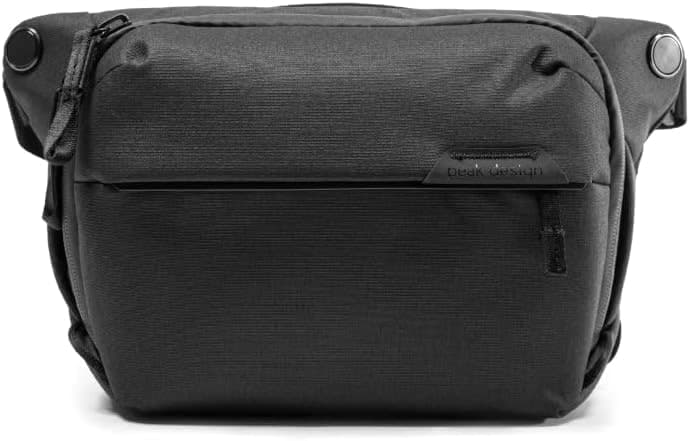
Peak Design Everyday Sling 6L V2
Room for a small body and lens without dragging a full backpack everywhere.
Prices are rough catalog totals. Retailer prices change, and you can swap pieces to fit your system.
Related Learn guides

Content Credentials and C2PA Explained for Photographers
Content Credentials record a photo's signed provenance and edits. Learn what C2PA proves, what it cannot prove, and how capture-to-export workflows work.

Open Gate Video Explained: When 3:2 Is Worth It
Open Gate records a taller sensor area for flexible 16:9, 9:16, and square crops. See when it helps, what it costs, and how to frame it correctly.

Pre-Capture Photography Explained: Get the Frame Before the Click
Pre-Capture buffers photos before the shutter is fully pressed. Learn how it works, which settings change, and when RAW, flash, or focus may be limited.

RAW vs JPEG: Which File Format Should You Shoot?
RAW keeps all your sensor data for maximum editing freedom; JPEG is smaller and ready to share. Here is how they differ and when each one is the right call.
Researched, not personally tested: picks compare specifications, available owner feedback, and established expert sources. As an Amazon Associate I earn from qualifying purchases. We may earn a commission from links here, at no extra cost to you. How we research →