We may earn a commission from links on this page, at no extra cost to you. Picks are researched, not sponsored.
Camera shake is the most common reason a handheld photo comes out soft, and it gets worse as the light gets dimmer, because the camera slows the shutter to gather enough light. The signature look is a whole frame smeared, often in one direction, with nothing in the photo perfectly sharp. Here is how to stop causing it.
1. Keep the shutter fast enough
This is the main fix. The reciprocal rule says keep your shutter speed at least 1 over your focal length. At 35mm, that means 1/35 or faster, so round to 1/50. At 200mm, you want 1/200 or faster. Longer lenses magnify shake, so they need faster shutters. When the frame goes dark, do not let the shutter creep below this limit without a plan.
2. Hold the camera properly
Technique buys you sharpness for free.
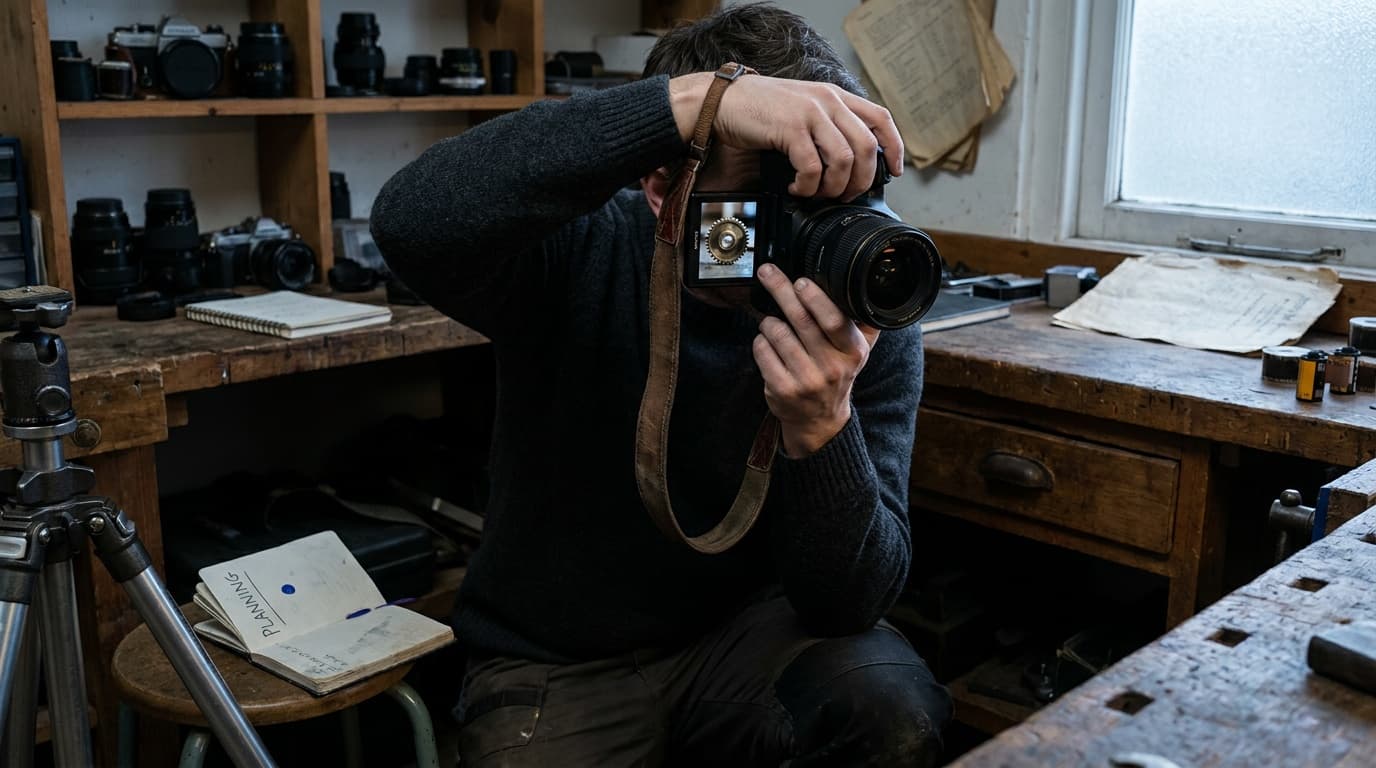
- Tuck both elbows against your ribs so your arms form a stable triangle.
- Support the lens from underneath with your left hand, do not pinch it from the side.
- Bring the camera to your eye and let your face be a third contact point.
- Breathe out and pause as you press, the way a shooter does.
- Squeeze the shutter gently; do not stab it.
For an even steadier base, brace your shoulder or back against a wall, set the camera on a railing or table, or kneel and rest your elbow on your knee.
3. Turn on stabilization
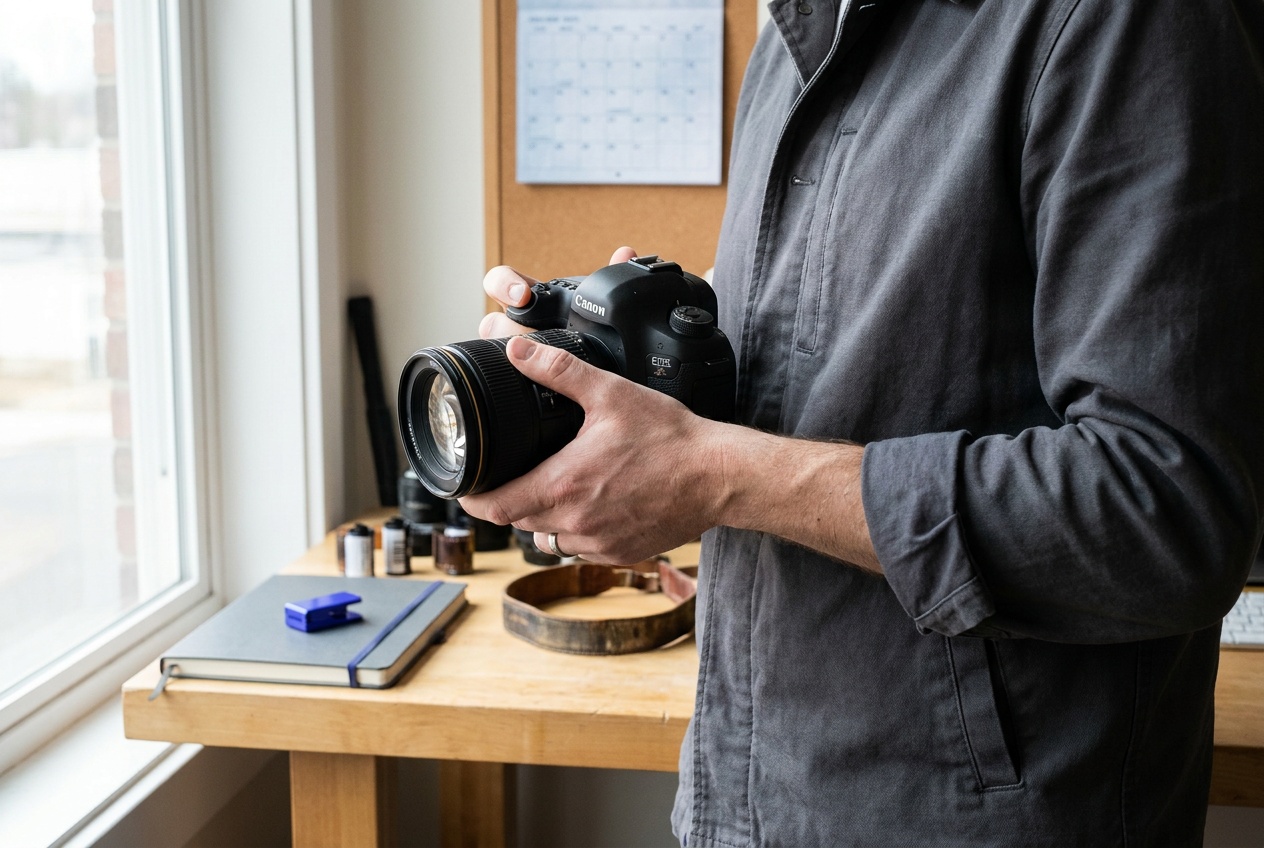
Most modern cameras and many lenses have stabilization, labeled IBIS (in-body) or IS, VR, or OSS (in-lens). It counteracts small movements and buys you roughly two to four stops of slower shutter before shake shows. That can be the difference between 1/15 working and not. Stabilization helps your hands; it does nothing for a subject that moves, so it is not a substitute for a fast shutter on action.
4. Use a tripod when the light is gone
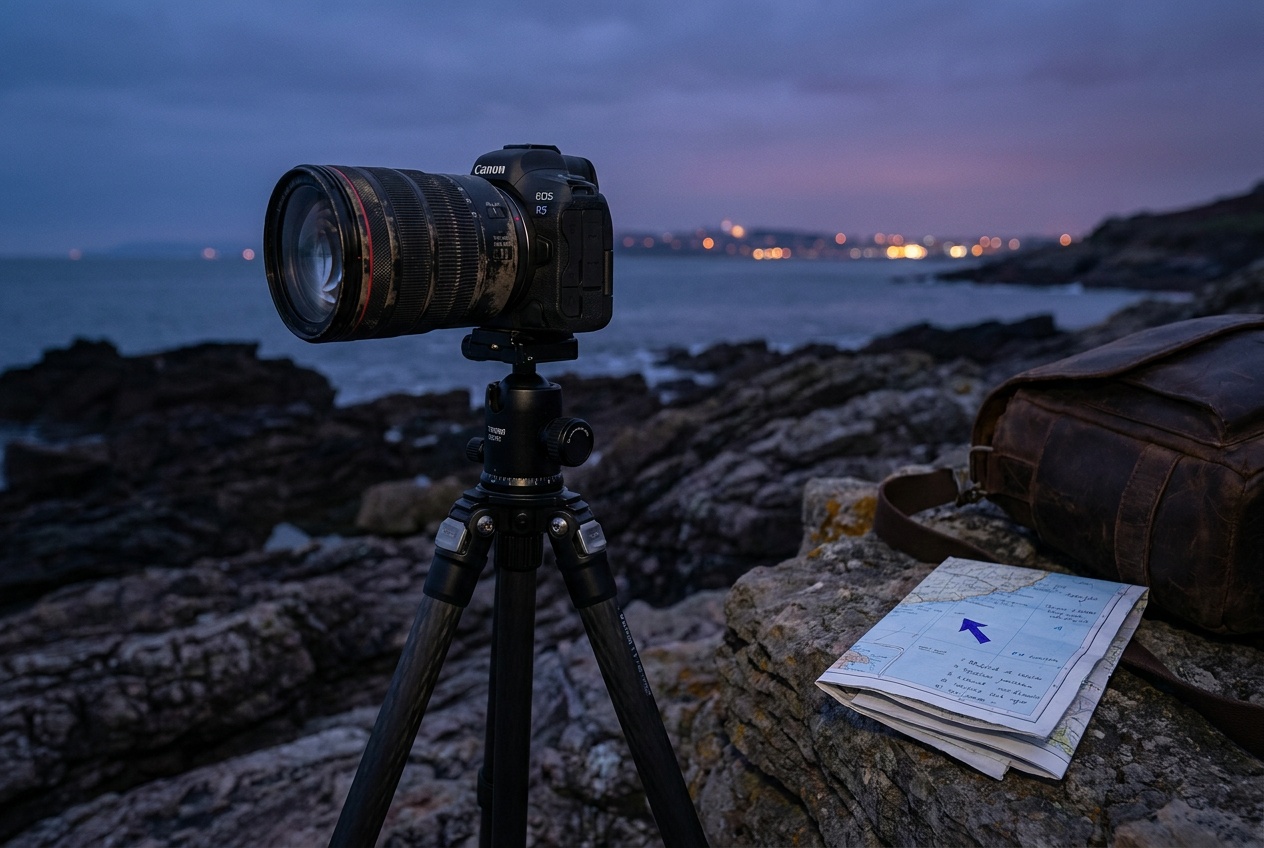
When you genuinely need a slow shutter, for a night scene, an interior, a long exposure, or a low-light shot below your handheld limit, the answer is to stop holding the camera. A tripod removes shake entirely and lets you drop ISO back down for a cleaner file. A remote release or the two-second self-timer stops the shake from your finger pressing the button. The roundup is the best tripods.
Common mistakes
The biggest mistake is trusting Auto indoors. The camera will happily pick 1/15 or 1/8 to keep the exposure bright, far below a safe handheld speed, and you get shake without knowing why. Switch to Aperture Priority or Manual and keep an eye on the shutter speed.
Other errors: leaning on stabilization as if it fixes everything (it does not freeze moving subjects), zooming to 200mm and forgetting the shutter must keep pace, and leaving stabilization on while the camera is locked on a tripod, where on some systems it can introduce tiny movements. Turn stabilization off on a sturdy tripod.
What shutter speed stops camera shake?
As a baseline, 1 over your focal length: 1/50 at 50mm, 1/200 at 200mm. Stabilization lets you go a few stops slower. If the whole frame is smeared, your shutter was too slow for the lens and how steady you were.
Does image stabilization stop all blur?
No. Stabilization counters camera movement, so it helps with shake, but it cannot freeze a moving subject. For a running child you still need a fast shutter like 1/500, stabilized or not.
How do I take sharp photos in low light without a tripod?
Beating shake is half of getting consistently sharp images. The other half is focus and aperture, covered in how to take sharp photos. For the trade between light, shutter, and ISO behind all of this, read the exposure triangle.
Practice this
Turn the guide into a working setup
Shoot kits
Buy around the job, not the spec sheet
Travel landscape
Travel landscape kit
$4,465
A light full-frame body, wide zoom, serious travel tripod, filters, and a bag that can handle rough days outside.
Light but not flimsy
Buy order: start with the first piece that makes the job possible, then add the support pieces that remove friction.
Camera: start here. If this piece does not make the shoot easier, the rest of the kit can wait.
Carry: add it after the core setup proves useful.
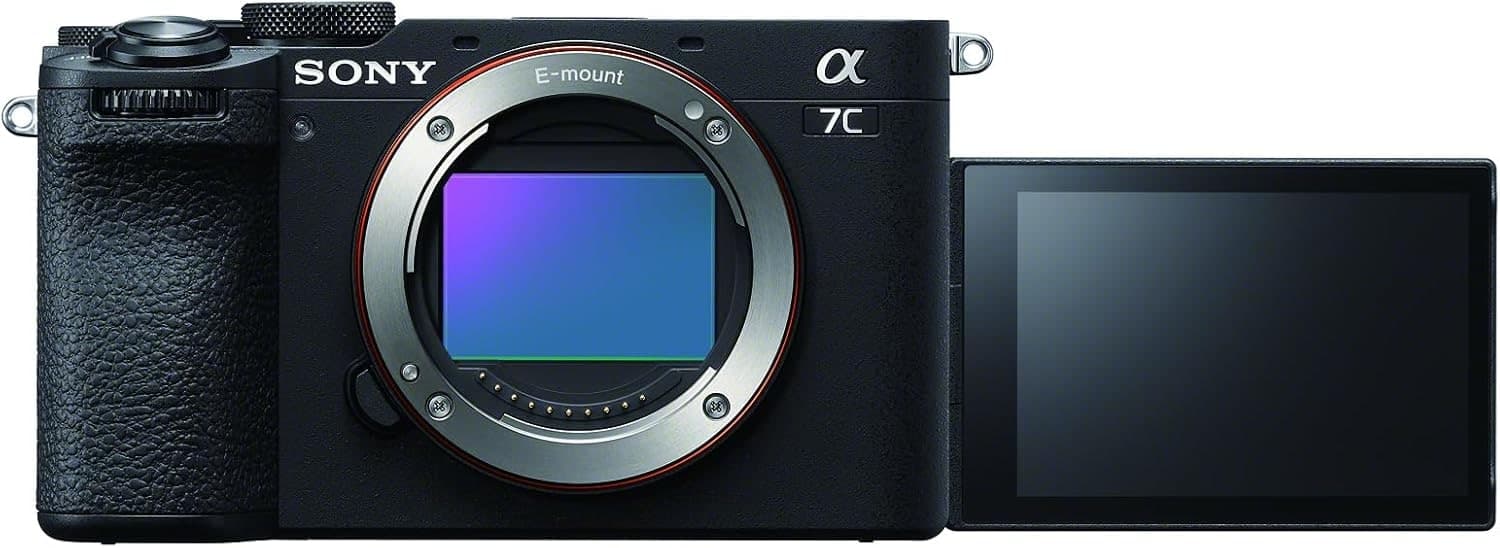
Sony a7C II
Full-frame files in a smaller body, with autofocus and stabilization that travel well.
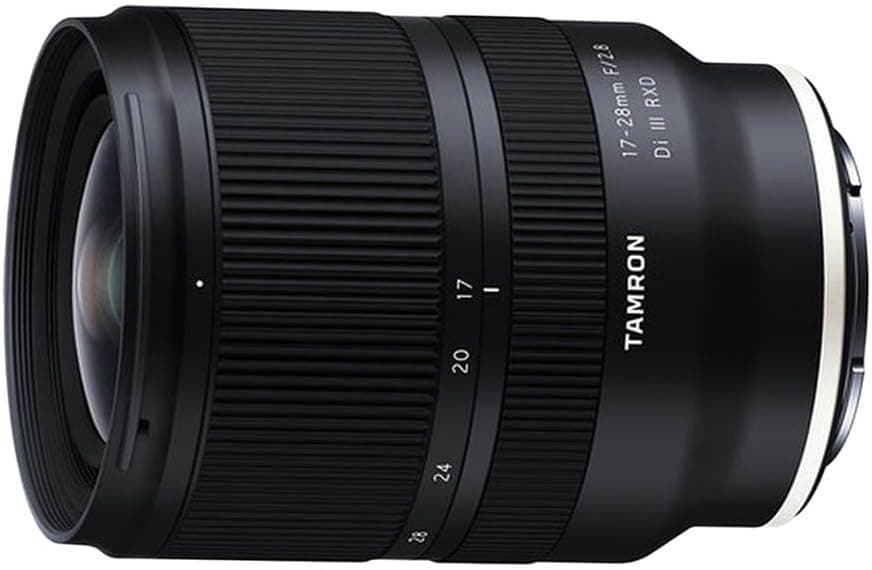
Tamron 17-28mm f/2.8 Di III RXD
Wide enough for landscapes and interiors without the size of a premium 16-35mm.
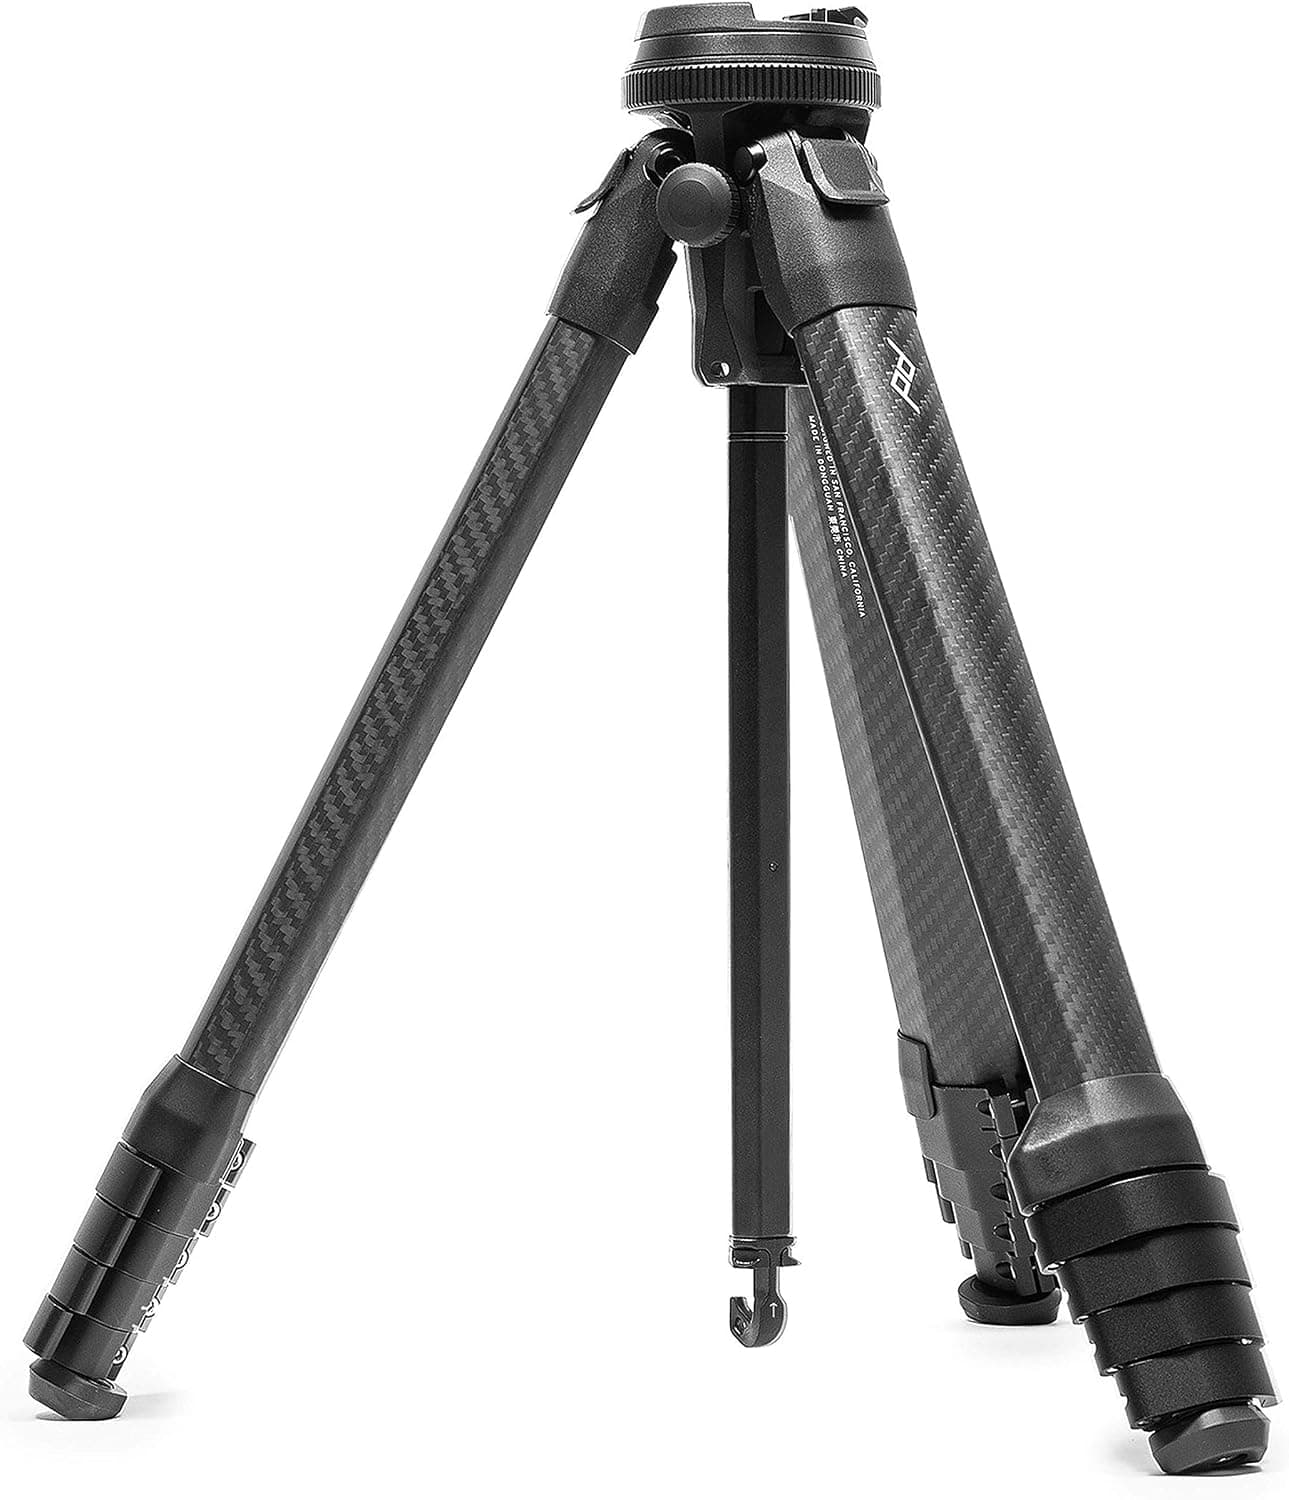
Peak Design Travel Tripod (Carbon)
The point of a travel tripod is bringing it. This one packs small and stays serious.
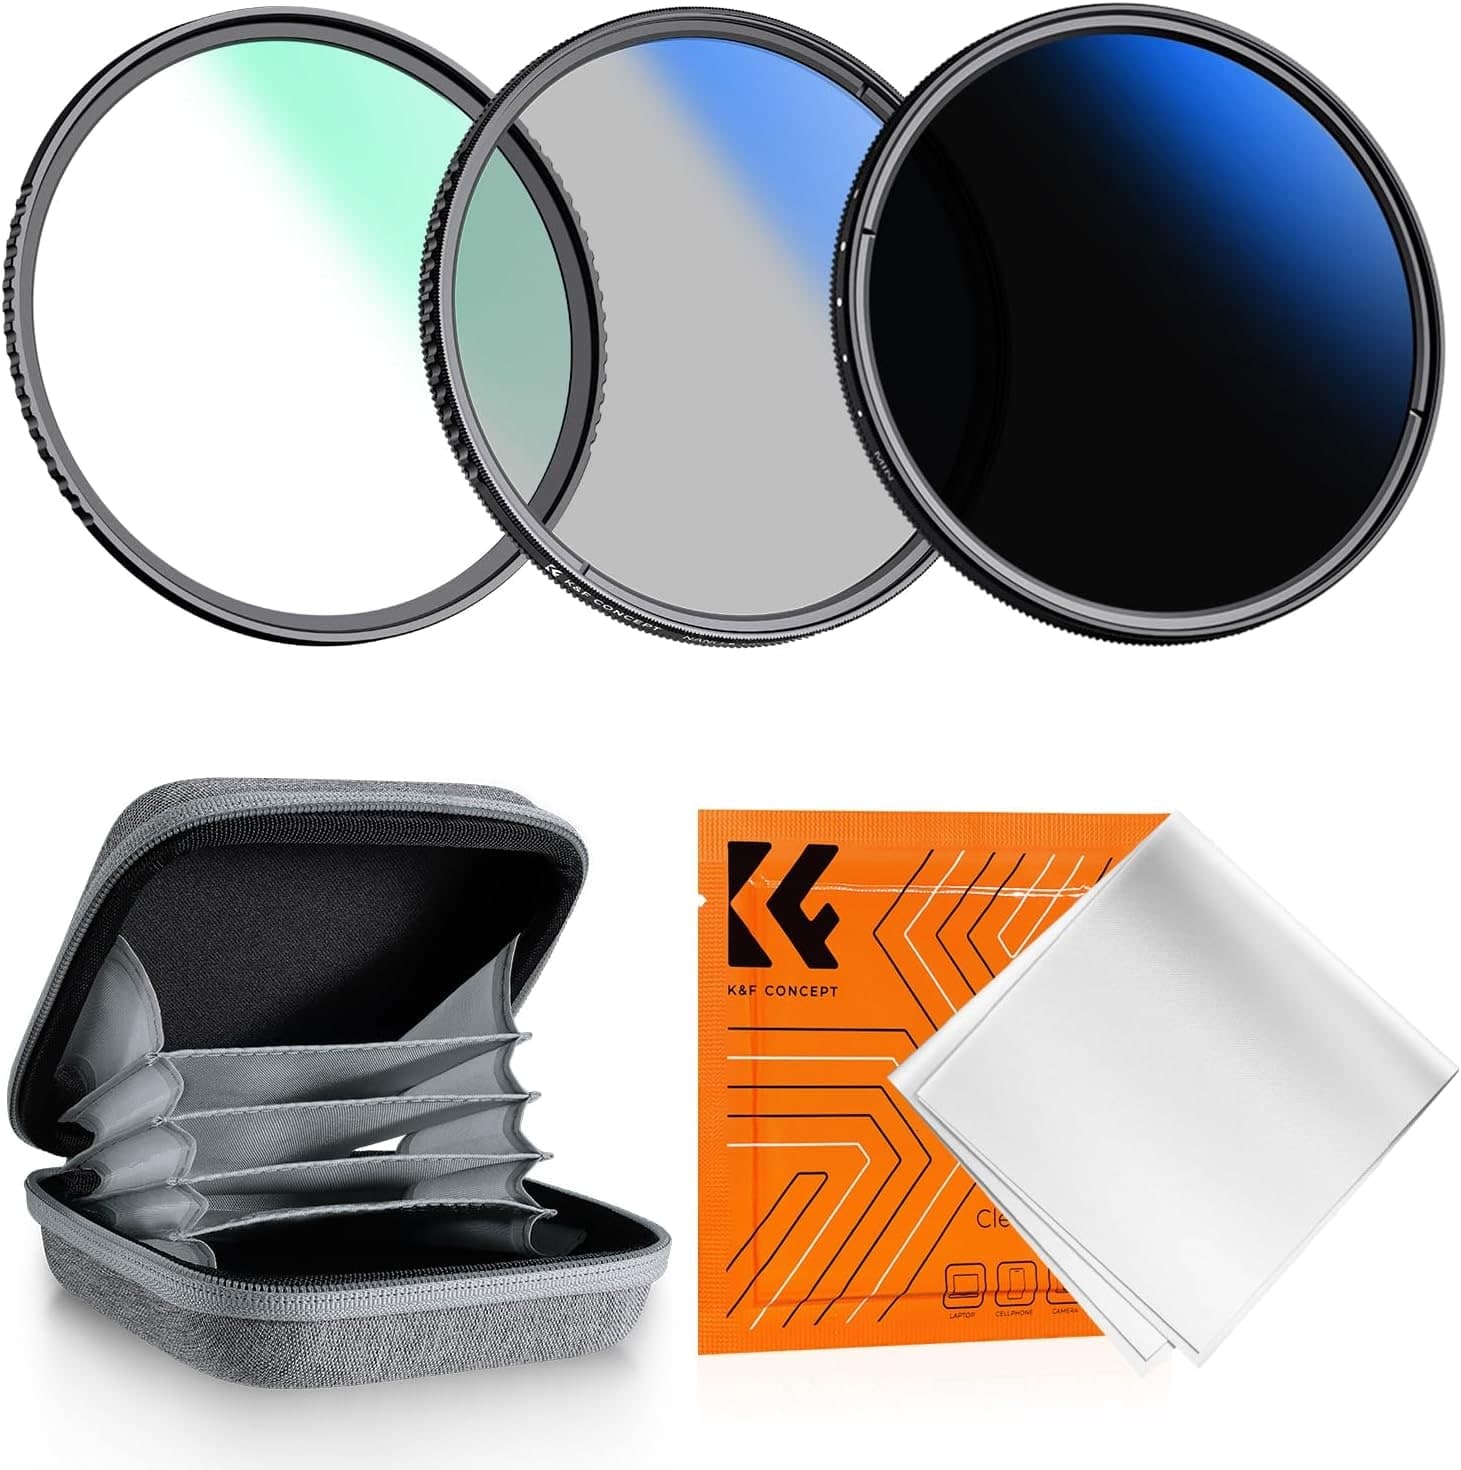
K&F Concept 77mm UV/CPL/ND2-400 Filter Kit
CPL and ND coverage for water, skies, reflections, and slower shutters.
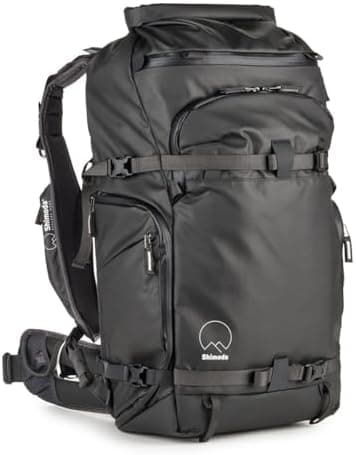
Shimoda Action X30 V2
A real harness matters once camera gear and outdoor layers share the same bag.
Prices are rough catalog totals. Retailer prices change, and you can swap pieces to fit your system.
Related Learn guides

Content Credentials and C2PA Explained for Photographers
Content Credentials record a photo's signed provenance and edits. Learn what C2PA proves, what it cannot prove, and how capture-to-export workflows work.

Open Gate Video Explained: When 3:2 Is Worth It
Open Gate records a taller sensor area for flexible 16:9, 9:16, and square crops. See when it helps, what it costs, and how to frame it correctly.

Pre-Capture Photography Explained: Get the Frame Before the Click
Pre-Capture buffers photos before the shutter is fully pressed. Learn how it works, which settings change, and when RAW, flash, or focus may be limited.

RAW vs JPEG: Which File Format Should You Shoot?
RAW keeps all your sensor data for maximum editing freedom; JPEG is smaller and ready to share. Here is how they differ and when each one is the right call.
Researched, not personally tested: picks compare specifications, available owner feedback, and established expert sources. As an Amazon Associate I earn from qualifying purchases. We may earn a commission from links here, at no extra cost to you. How we research →