We may earn a commission from links on this page, at no extra cost to you. Picks are researched, not sponsored.
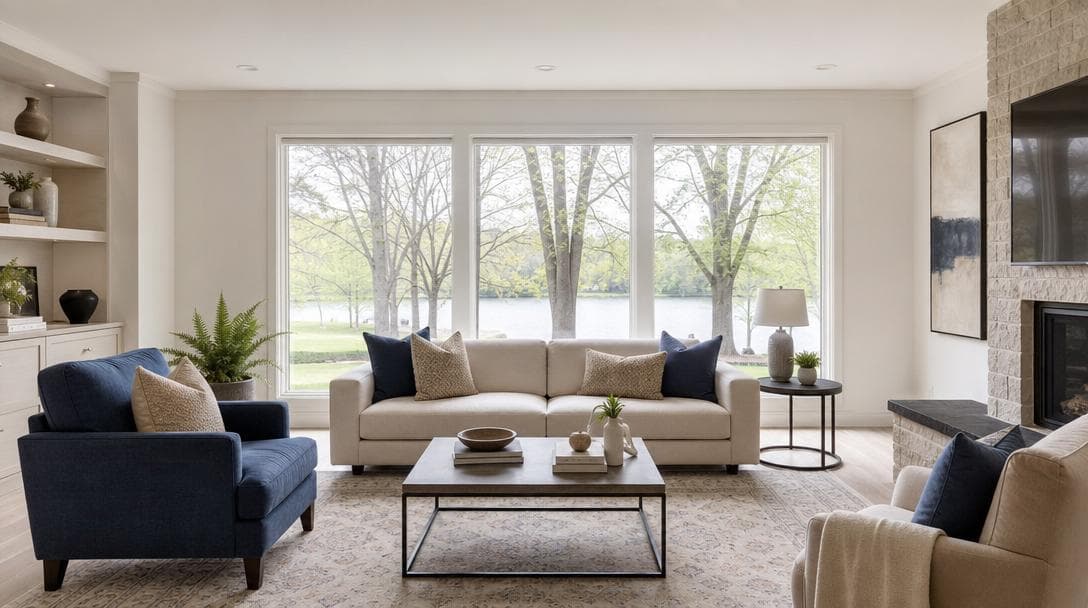
Real estate photography is one of the most learnable and most monetizable genres. The brief is simple: make the space look bright, spacious, and true to life. The execution is a repeatable system, which is exactly why it suits a checklist and a shot list.
The gear
You do not need much, but a few things matter:
- A wide lens in the 16 to 24mm range so rooms read as spacious. Wider than that and walls start to bend. See prime vs zoom.
- A tripod, so you can shoot at low ISO with bracketed exposures and keep verticals straight.
- For video, a gimbal for smooth walkthroughs. The best gimbals guide covers the picks.
If you want the buying version, the best cameras for real estate photography compares the body paths, while the real estate photography gear guide covers the wide lens, tripod, gimbal, flash, drone, and cards worth buying first.
The settings
A reliable interior baseline is f/8 · ISO 400 · bracketed shutter. Shoot at a narrow aperture like f/8 so the whole room is sharp front to back, keep ISO low at 100 to 400 on the tripod, and bracket your shutter speed so you can blend a version that holds both the bright windows and the darker interior. A common bracket is five frames two stops apart (-2, -1, 0, +1, +2 EV), which captures everything from the blown-out window to the shadowed corner. Keep the camera level, with the lens at the height of about half the wall, so vertical lines stay vertical and the room does not look like it is tipping.
White balance matters more than beginners expect: mixed daylight and warm bulbs make a room go orange or split warm-and-cool, so set a consistent white balance and correct it the same way across the set. Shoot raw so you have the latitude to blend exposures and fix color without quality loss.
Flash or bracketing
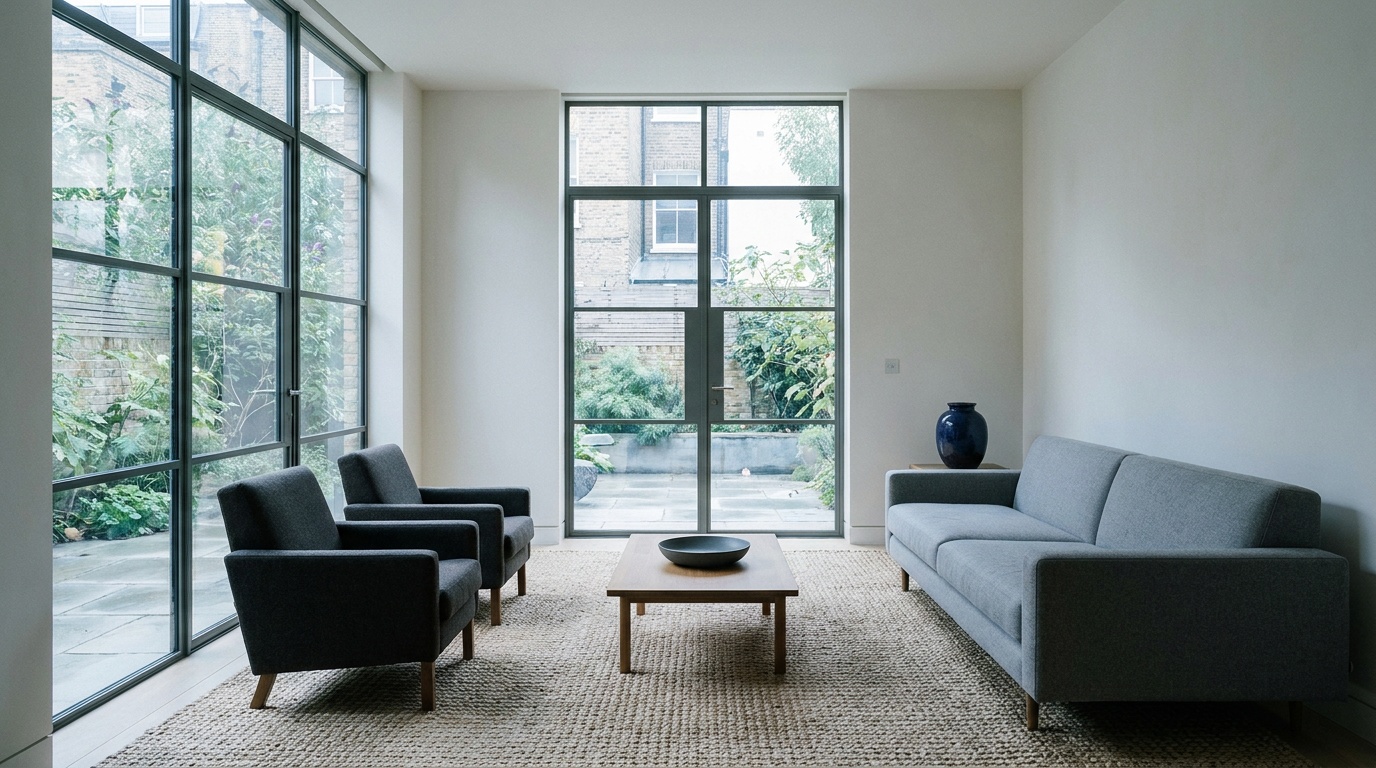
Two methods get you clean, true-to-life interiors. Bracketing alone (HDR) blends the five exposures in software and needs no extra gear. The flambient method adds a bounced flash to the ambient frames, firing the flash off the ceiling to neutralize color casts and fill shadows, then blending that with the bracketed ambient and a separate window-exposed frame. Flambient gives the cleanest, most natural result, but plain bracketing is more than enough to start and is the faster workflow on a busy listing day.
The room-by-room shot list
Every room gets a straight-on shot from the doorway and a second shot from a slight angle to show depth. The straight-on shot is a two-point perspective: square the camera to one wall so the side walls run cleanly to the corners and verticals stay parallel. Kitchens and bathrooms get a detail or two, an island, a faucet, a tiled feature. Exteriors get a square front shot and a three-quarter angle, ideally shot in soft light or the warm window of early evening when the house lights glow. For video, add a slow side-pan and a threshold push-in. Rather than memorize all of this, the Shot-List Generator lays out the property and produces the ordered list with settings and gear for each shot.
Staging and the small details
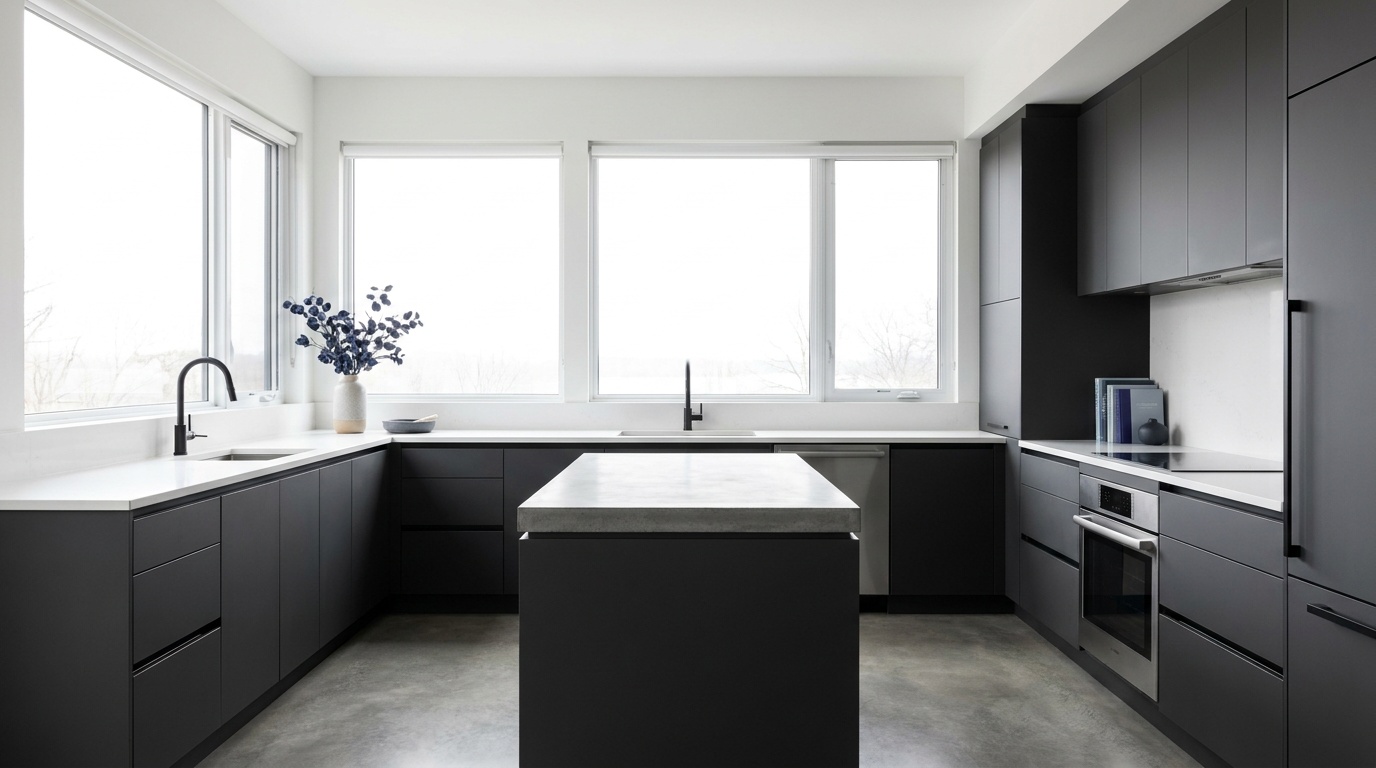
Before any frame, do a quick declutter pass: clear countertops, hide cords and bins, square the furniture, and turn on every light so the rooms feel warm and lived in. Photograph the property at its tidiest, since a clean room reads as a bigger, more cared-for one. Open blinds for the view but be ready to bracket harder when they are open. These few minutes of staging do more for a listing than any editing trick.
Common mistakes
The usual errors are easy to fix: tilted verticals from not leveling the camera, rooms too dark because the windows were not bracketed, color casts from mixed light left uncorrected, and going so wide that the space looks distorted and untrustworthy. Clutter is the other frequent one, since a messy counter undoes an otherwise clean shot. Shoot level, stage the room, expose for the whole range, set a consistent white balance, and stay around 16 to 24mm.
Know the rules
If you are flying a drone for aerials or shooting in a regulated area, check the law first. Aerial real estate work runs into airspace and privacy rules; start with the rules by location pillar, and for Part 107 and drone certification depth, see Drone Authority.
What lens is best for real estate photography?
A wide lens around 16 to 24mm on full frame, or roughly 10 to 16mm on APS-C. Wide enough to show the room, not so wide that walls bow outward.
Do I need flash for interiors?
Not to start. A tripod plus bracketed exposures blended in editing handles most rooms and looks natural. Flash adds control later but is not required for clean, sellable photos.
Practice this
Turn the guide into a working setup
Keep going
Next useful steps
Pick one. Each link continues the same job without starting the research over.
Shoot kits
Buy around the job, not the spec sheet
Listing work
Real estate shoot kit
$2,759
A compact Sony APS-C body, a very wide lens, a stable tripod, and a gimbal for walkthrough clips. The buy order assumes you already have a capable body.
Best first paid-shoot kit if you own a camera body
Buy order: start with the first piece that makes the job possible, then add the support pieces that remove friction.
Wide lens: start here. If this piece does not make the shoot easier, the rest of the kit can wait.
Motion: add it after the core setup proves useful.
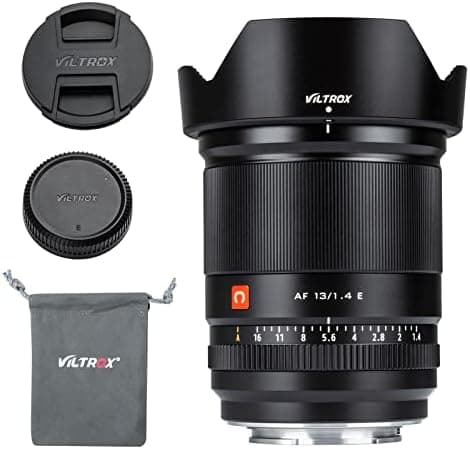
Viltrox 13mm f/1.4
Wide enough for interiors on APS-C without making every room look fake.
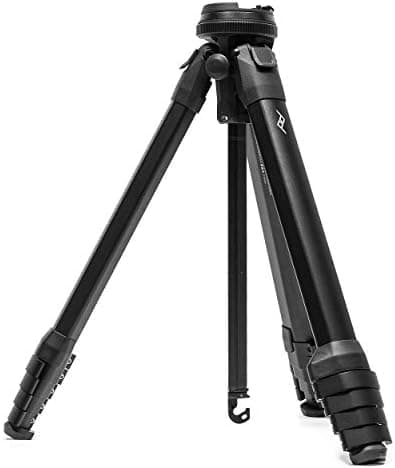
Peak Design Travel Tripod (Aluminum)
Tall enough for clean interiors, compact enough to keep in the car.
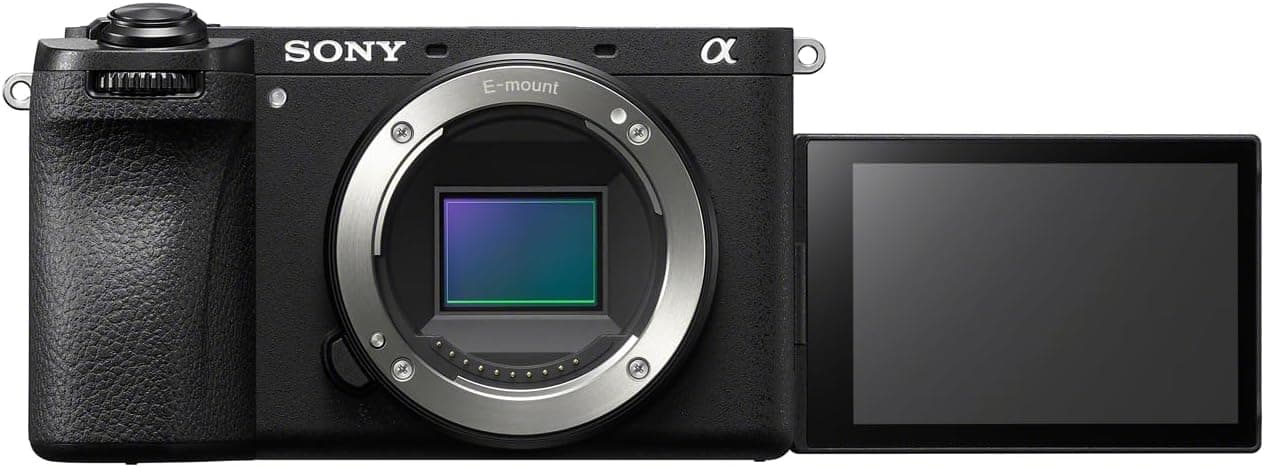
Sony a6700
Strong autofocus, IBIS, and 4K video in a body that can work for stills and walkthroughs.
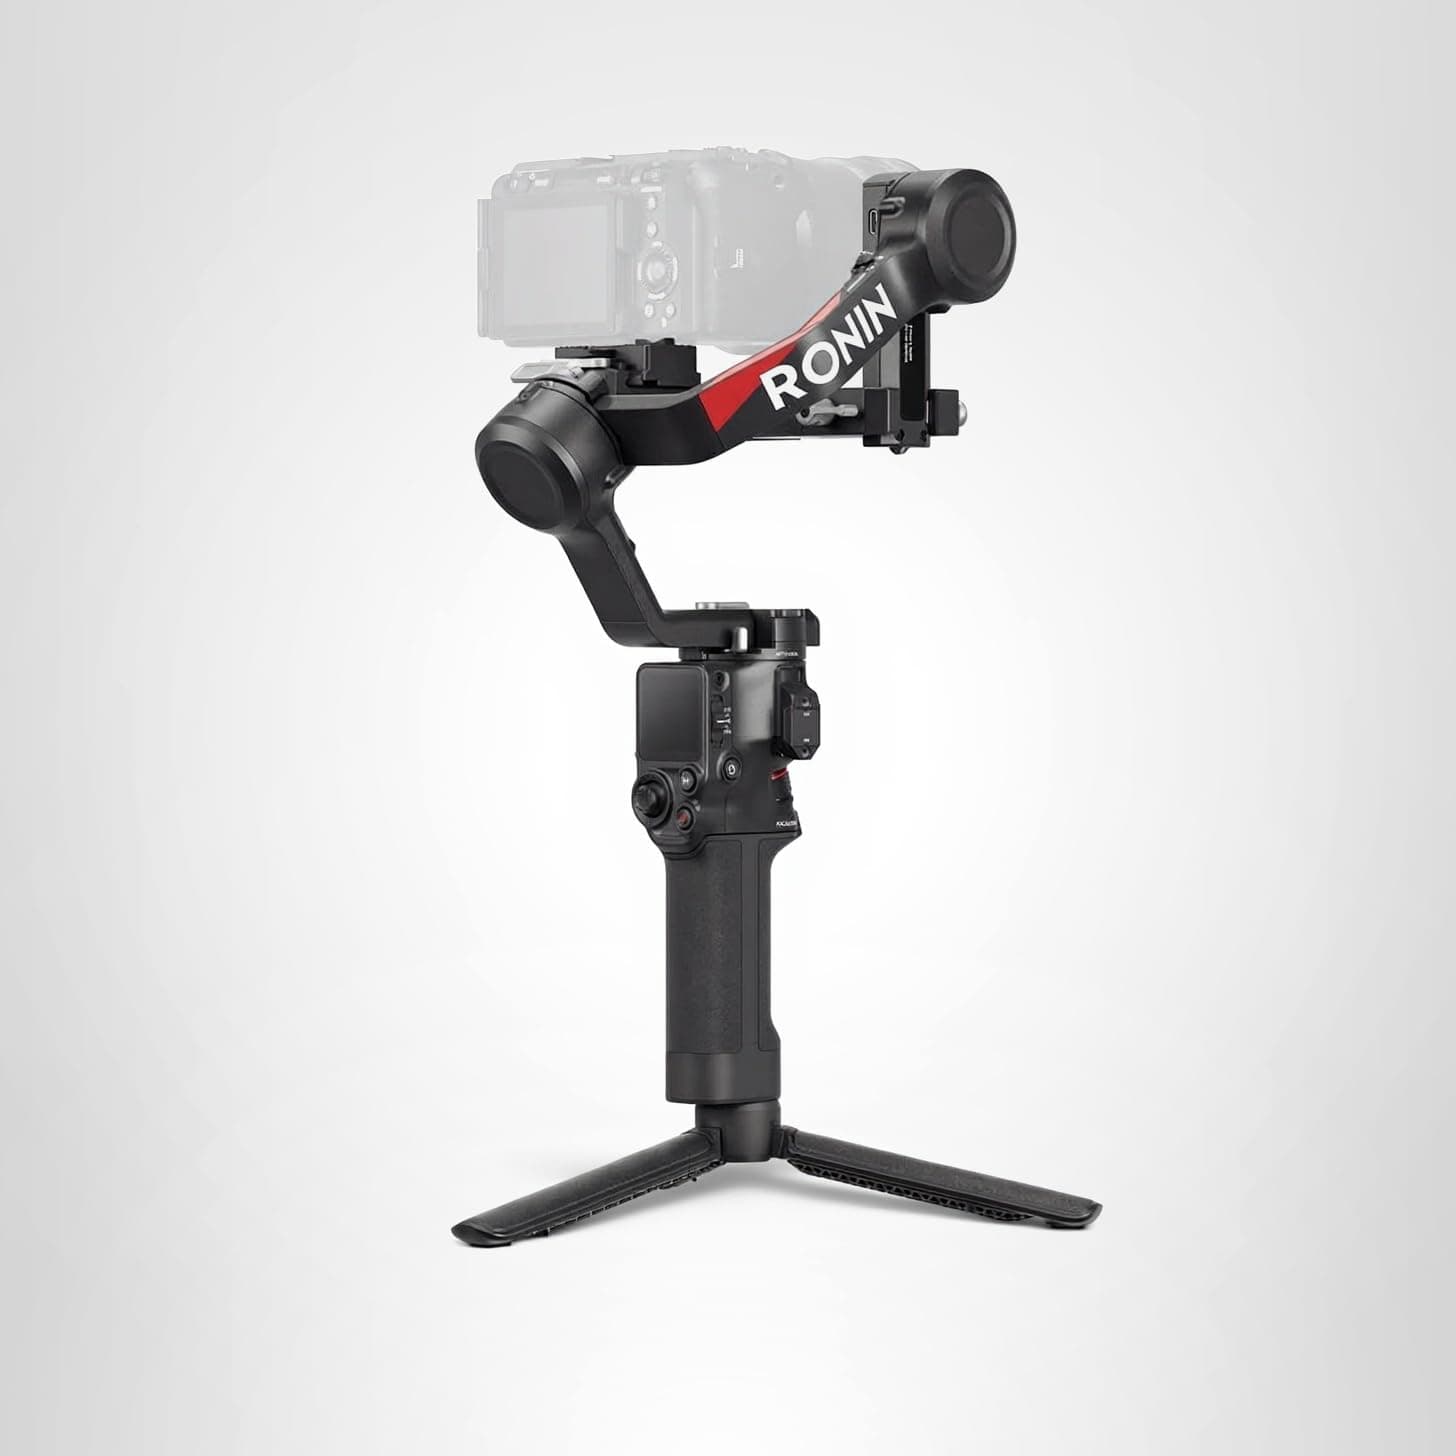
DJI RS 4
Smooth side-pans and push-ins for listing video once stills are covered.
Prices are rough catalog totals. Retailer prices change, and you can swap pieces to fit your system.
Related Genres guides

Event Photography: Settings and Gear for Low Light and Fast Moments
Event photography means low light, candid moments, and no second takes. Here is the gear, the settings, and the mistakes to skip for sharp, well-lit frames.
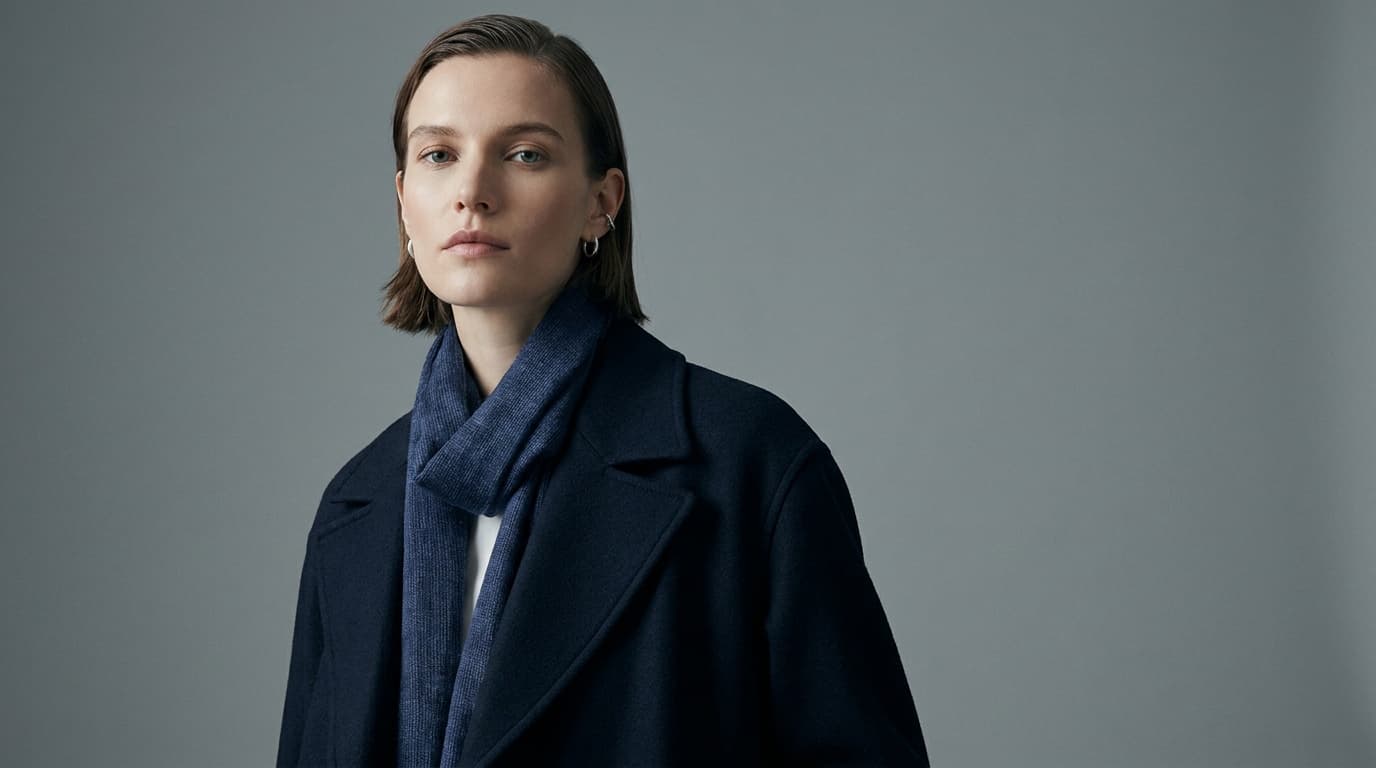
Fashion Photography: Light, Posing, and the Look on a Budget
Editorial fashion images come from intentional light, confident posing, and a clear styling concept. Here is how to build the look on a budget with one light and simple gear.
Product Photography: A Simple, Repeatable Setup
Clean product photos need controlled light, a sharp aperture, and a tripod, not a studio. Here is the gear, the settings, and the lighting that gets professional results.
Wedding Photography: How to Shoot a Wedding Without Missing the Moments
Weddings are unrepeatable, so preparation beats reaction. Here are the gear, the settings, the shot list, and the timeline habits that keep you from missing the moments that matter.
Researched, not personally tested: picks compare specifications, available owner feedback, and established expert sources. As an Amazon Associate I earn from qualifying purchases. We may earn a commission from links here, at no extra cost to you. How we research →