We may earn a commission from links on this page, at no extra cost to you.
What this means in real life
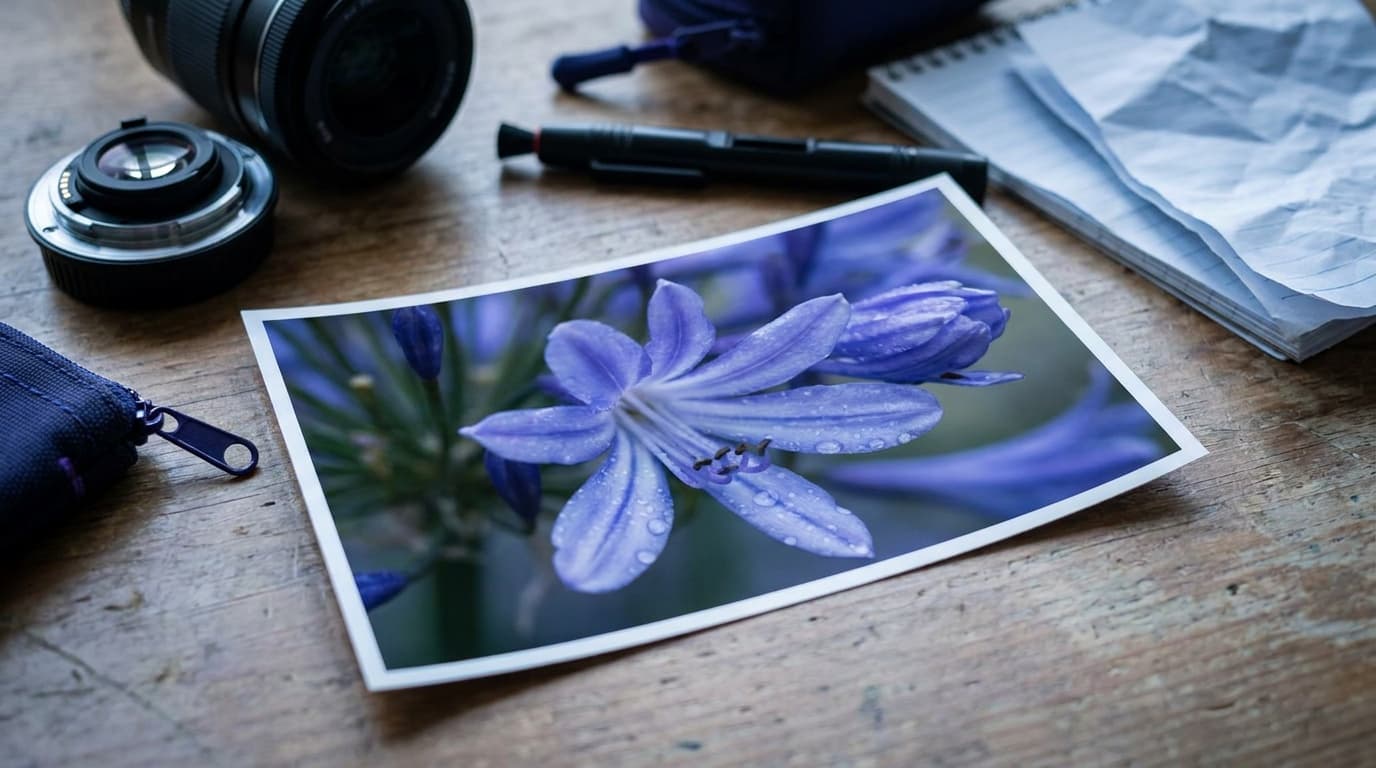
Even a small aperture has limits. In macro work the depth of field can be a millimeter thin, so a single frame leaves most of the subject soft. In a landscape with a rock right at your feet and mountains far away, no single focus point catches both. Stopping the aperture all the way down to f/22 widens the zone, but it also softens the whole image through diffraction. Focus stacking sidesteps the compromise: instead of one frame trying to do everything, you take several, each sharp in a different slice, and let software keep only the sharp parts of each.
When to stack
Stack when the near-to-far distance is too great for one frame at a clean aperture. That is most common in macro and close-up work, and in landscapes with a strong, very close foreground. If everything in your scene is roughly the same distance away, you do not need to stack; a single well-focused frame at f/8 to f/11 is sharper and simpler. Stacking also assumes a still subject, so it suits flowers in calm air, products, and rock-solid landscapes, not wind or motion.
The settings
Lock everything down so only the focus changes between frames.
Keep the aperture in the lens's sharp range, around f/5.6 to f/11, rather than stopping fully down, because the whole point is to avoid diffraction softening. Lock exposure in manual mode so the frames blend cleanly, and lock white balance too. The focus steps should overlap so no slice of the scene falls between two frames. This is a deliberate, methodical extension of the exposure triangle discipline: nothing moves but the focus ring.
The technique
Mount the camera on a tripod and trigger with a remote or self-timer so the frames align. Switch to manual focus and step it by hand, or use the camera's focus-bracketing mode if it has one, which automates the steps for you. Move from the nearest point to the farthest in small, overlapping increments. Then merge the frames: most editing suites have a focus-merge or stack-and-blend command that picks the sharpest pixels from each frame. This is a core tool for astrophotography foregrounds and for any landscape photography scene with a dramatic close element, where you want the foreground rock and the distant peak equally crisp.
Common mistakes
Leaving gaps between focus steps is the classic error, and it shows up as a soft band running through the final image. Letting the subject or camera move between frames breaks the alignment, so a tripod and a still subject are essential. Changing exposure between frames, often from shooting in an automatic mode, makes the blend uneven. Stopping the aperture down too far defeats the purpose, since diffraction then softens every frame you stack. And forgetting to lock focus and exposure in manual lets the camera quietly re-decide between shots.
How many frames do I need for focus stacking?
It depends on the depth of the scene and the aperture. A flat-ish landscape may need only 3 to 5 frames, while a deep macro subject can need 10 to 30 or more. The rule is simple: enough overlapping focus steps that no slice of the subject is left soft.
Can I focus stack handheld?
It is possible for a quick 3-frame landscape stack if the software aligns the frames, but a tripod is strongly recommended. Macro stacking, with its razor-thin focus slices and many frames, really does need a tripod and a still subject to align cleanly.
Why not just use a small aperture like f/22 instead?
Stopping down that far widens depth of field but softens the entire image through diffraction. Focus stacking lets you shoot at a sharp aperture like f/8 and still get front-to-back sharpness, so the final result is crisper than a single f/22 frame.
Related Learn guides
Black and White Photography: How to See and Shoot in Mono
Black and white photography is about light, contrast, and shape rather than color. Here is how to shoot for mono and convert raw files cleanly.
Read guide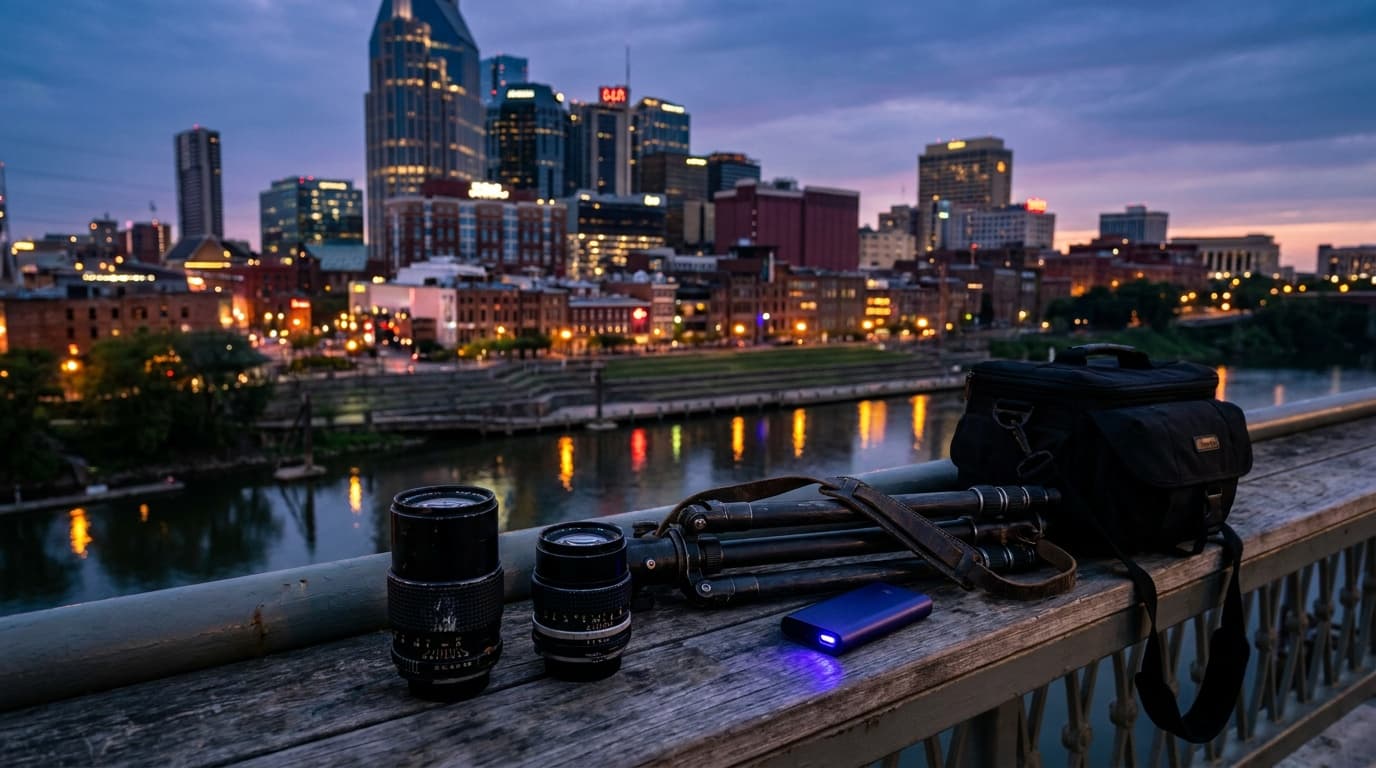
Blue Hour Photography: The Best 20 Minutes After Sunset
Blue hour is the short window of deep blue sky and glowing city lights just after sunset. Here are the settings, the timing, and how to make the most of it.
Read guide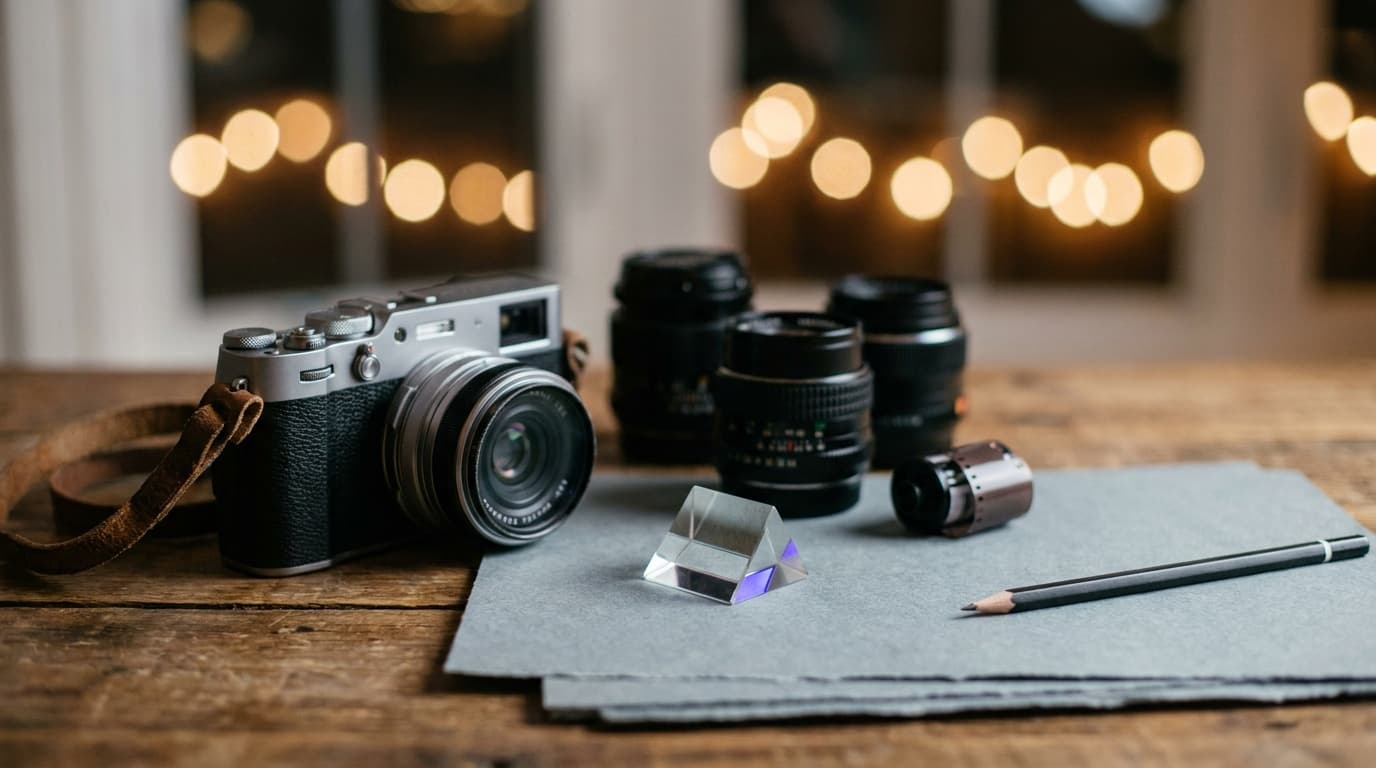
Bokeh Explained: What Makes Background Blur Look Good
Bokeh is the quality of the out-of-focus blur, not just the amount. Here is what creates it, what makes it look smooth, and how to get more of it.
Read guide
Camera Settings for Snow: How to Keep White Snow White
Snow fools your meter into gray, underexposed photos. Here are the settings and the exposure compensation that keep snow bright, clean, and the right color.
Read guideResearched, not personally tested: picks come from specs, verified-owner reviews, and expert sources, scored into the Aperture Score. As an Amazon Associate I earn from qualifying purchases. We may earn a commission from links here, at no extra cost to you. How we research →