We may earn a commission from links on this page, at no extra cost to you.
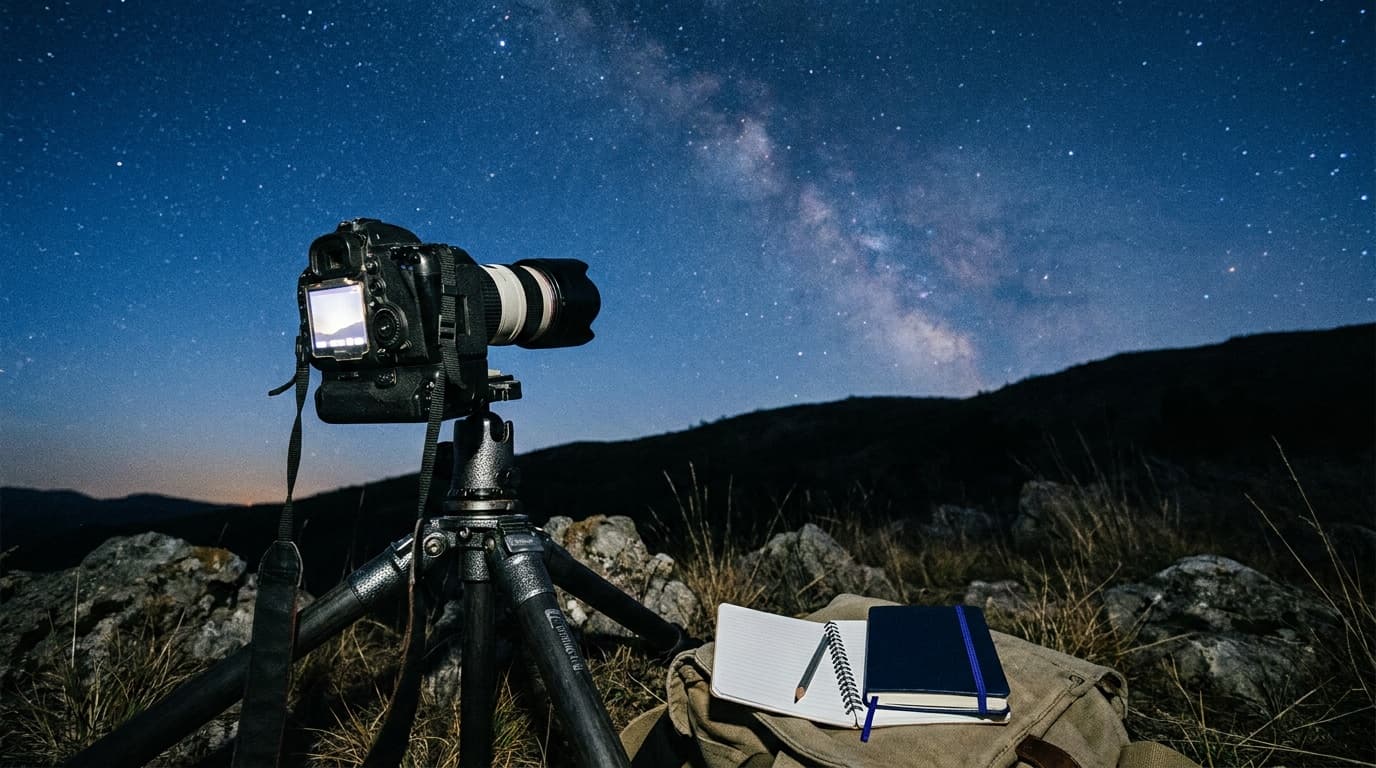
Astrophotography looks technical, and the editing can be, but the capture comes down to a few settings and the right conditions. The two things you cannot fake are a dark sky and a stable camera. Get those, plus a lens that gathers enough light, and the Milky Way is within reach of an ordinary camera.
The gear
A short, specific list:
- A sturdy tripod. Every astro shot is a long exposure, so any movement ruins it. This is non-negotiable; see the best tripods guide.
- A fast wide lens, ideally f/2.8 or wider and in the 14 to 24mm range. Width takes in more sky and a fast aperture gathers the faint light. The prime vs zoom comparison is worth reading, since fast wide primes are popular for this.
- A camera that handles high ISO cleanly. Larger sensors have a real advantage in low light, so a full-frame or larger format helps but is not required.
A remote release or the camera's self-timer avoids shake when you press the shutter.
The settings
A common Milky Way baseline is f/2.8 · 20s · ISO 3200. Open the aperture to its widest to gather the most light. For shutter speed, keep it long enough to collect light but short enough that stars stay points rather than trails. A rough guide is the 500 rule: divide 500 by your focal length to get the maximum seconds before stars streak, so a 20mm lens allows about 25 seconds. Push ISO up to 3200 or higher; some noise is expected and is cleaned up later. The exposure triangle explains why night work forces a wide aperture and a high ISO together.
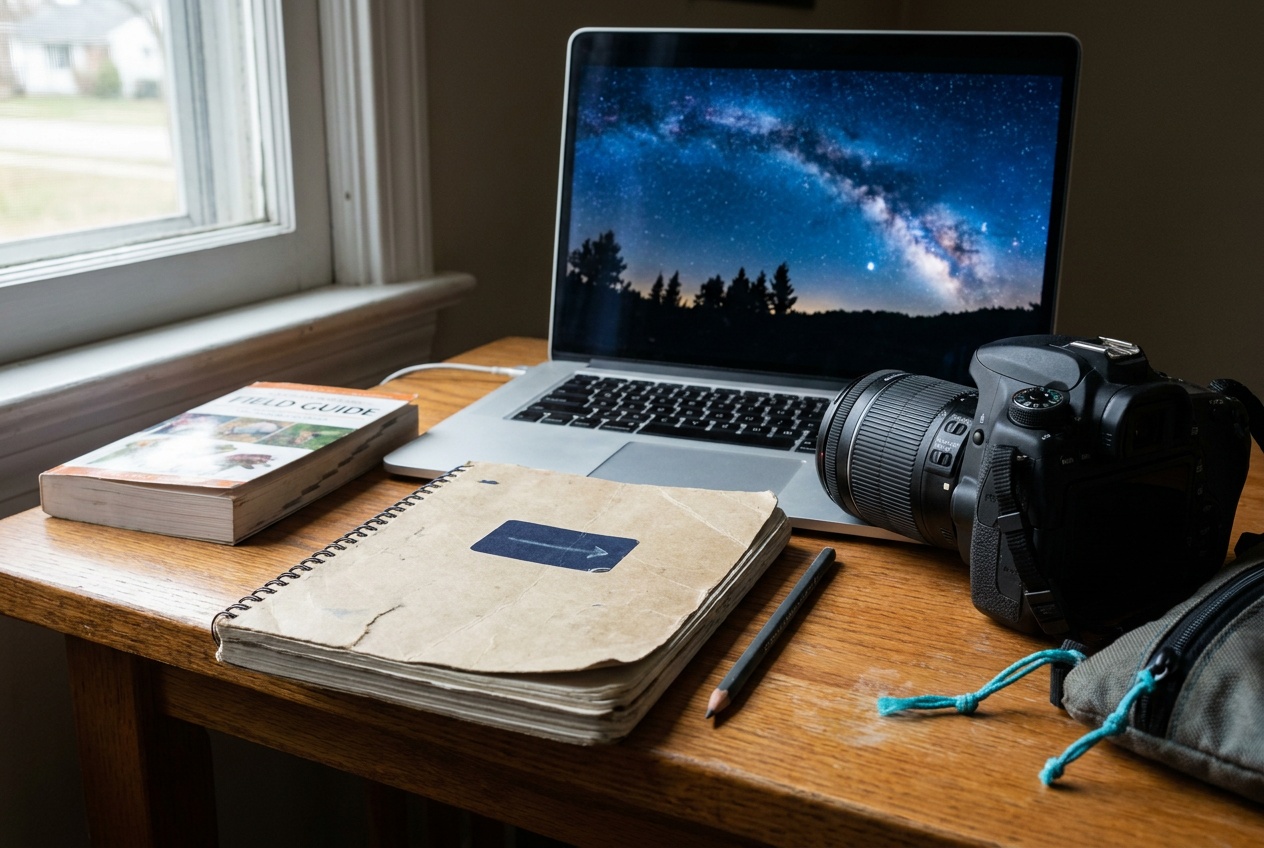
Focus is the part people get wrong. Autofocus fails in the dark, so switch to manual, enable live view, magnify a bright star, and turn the focus ring until it is the smallest, sharpest point.
Conditions matter most
No setting beats a genuinely dark sky. Light pollution from cities washes out the stars, so drive away from town and use a dark-sky map to find a good spot. Shoot when the moon is below the horizon or in a new-moon phase, since moonlight brightens the sky like a soft floodlight. The Milky Way core is brightest in the warmer months and is best photographed well after dark. General night-shooting technique carries over from the night photography guide.
Composition
A sky full of stars alone can feel empty. A strong foreground, a tree, a ridgeline, a building, gives the image scale and a sense of place. Use the brightest part of the Milky Way as a visual anchor and compose around it. A short separate exposure for the foreground, blended later, lets you keep both the land and the stars properly exposed.
Common mistakes
The frequent failures are a shaky tripod, exposures so long the stars trail, and missed focus because autofocus was left on. Fix them with a solid tripod, the 500 rule, and careful manual focus on a bright star. The other big one is shooting under too much light, whether from a city or a bright moon. The darker the sky, the better the result, so plan around location and the lunar phase.
What settings do I use for Milky Way photography?
A typical starting point is the widest aperture your lens offers, often f/2.8, an exposure of 15 to 25 seconds, and ISO 3200 or higher. Use the 500 rule to find the longest exposure before stars trail, and focus manually on a bright star.
What lens is best for astrophotography?
A fast, wide lens, ideally f/2.8 or wider and around 14 to 24mm. The width captures more sky and the fast aperture gathers the faint starlight, which is what the night demands.
Why are my stars blurry or streaked?
Streaked stars usually mean the exposure was too long for your focal length; use the 500 rule to find the limit. Soft, blurry stars usually mean missed focus, so switch to manual, magnify a bright star in live view, and dial in the sharpest point.
Related Genres guides
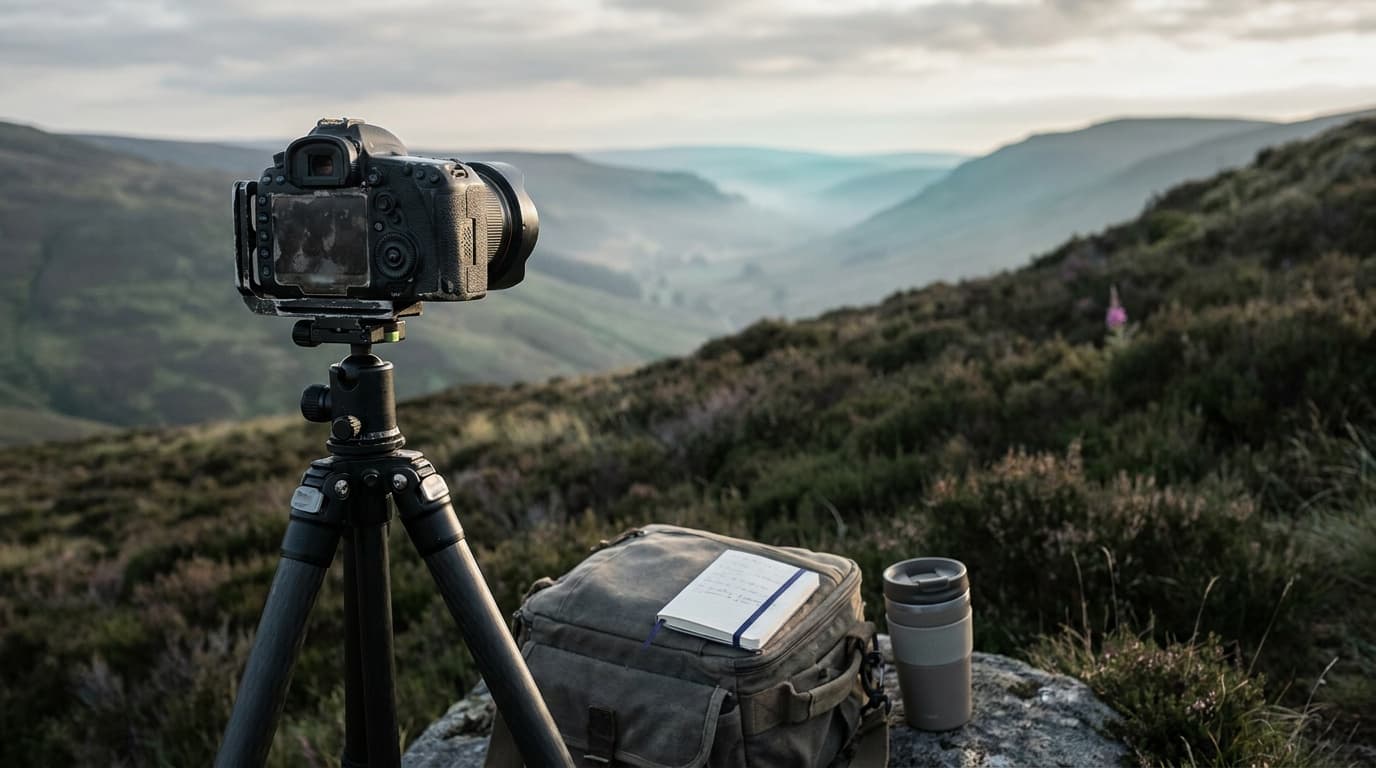
Landscape Photography: A Practical Starter Guide
Sharp, well-exposed landscapes come down to a tripod, a small aperture, good light, and patience. Here is the gear, the settings, and the mistakes to skip.
Read guide
Portrait Photography Basics That Actually Matter
Flattering portraits come down to a few choices: a longer lens, a wide aperture, soft light, and focus on the eyes. Here is the short version that gets you 90 percent there.
Read guide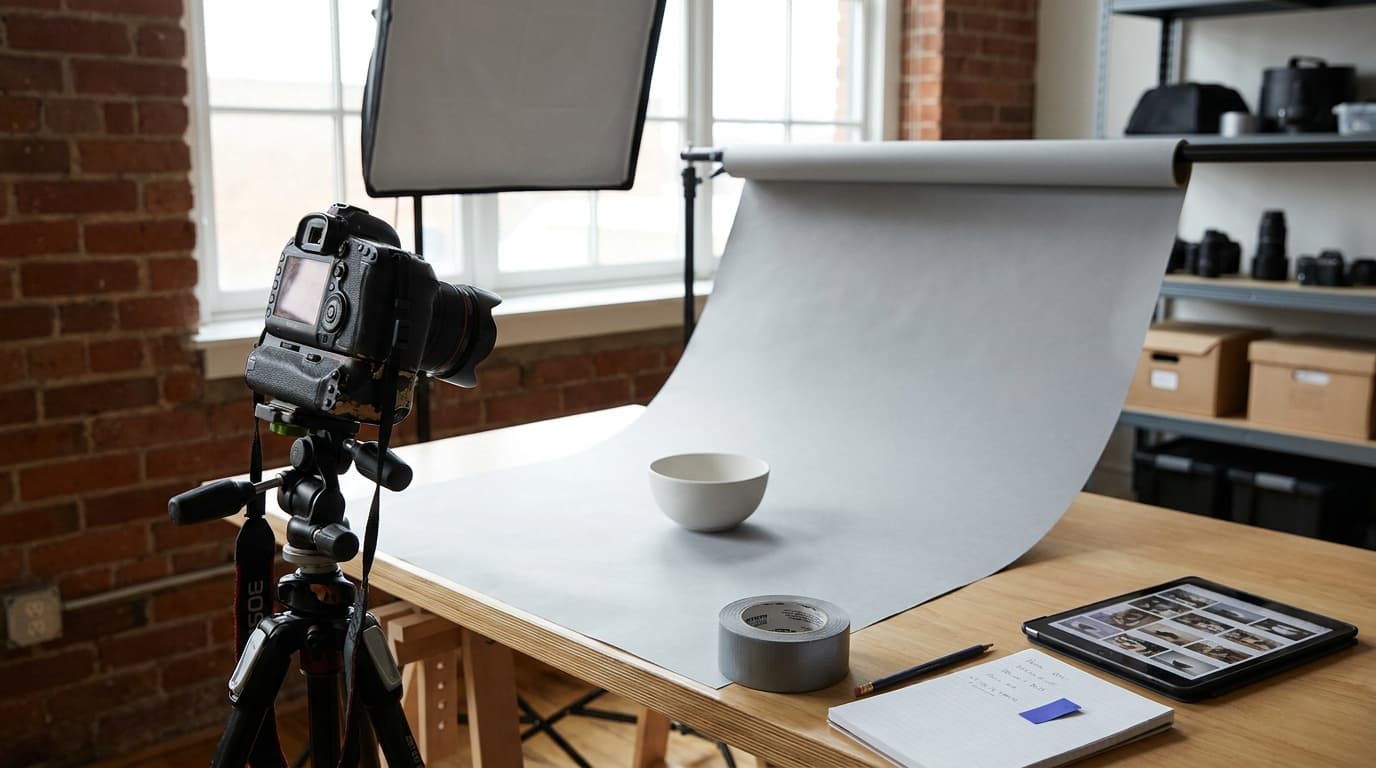
Product Photography: A Simple, Repeatable Setup
Clean product photos need controlled light, a sharp aperture, and a tripod, not a studio. Here is the gear, the settings, and the lighting that gets professional results.
Read guide
Real Estate Photography: The Complete Starter Guide
How to shoot a listing that sells: the gear, the settings, the room-by-room shot list, and the common mistakes. Plus the tool that builds your shot list for you.
Read guideResearched, not personally tested: picks come from specs, verified-owner reviews, and expert sources, scored into the Aperture Score. As an Amazon Associate I earn from qualifying purchases. We may earn a commission from links here, at no extra cost to you. How we research →