We may earn a commission from links on this page, at no extra cost to you. Picks are researched, not sponsored.
A blurry photo is frustrating because the moment is gone. The good news is that blur has a small number of causes, and once you can name which one you are looking at, the fix is obvious. This is the diagnostic version: read the photo, then fix the cause.
The four causes of blur
Almost every blurry photo is one of these.
1. Camera shake
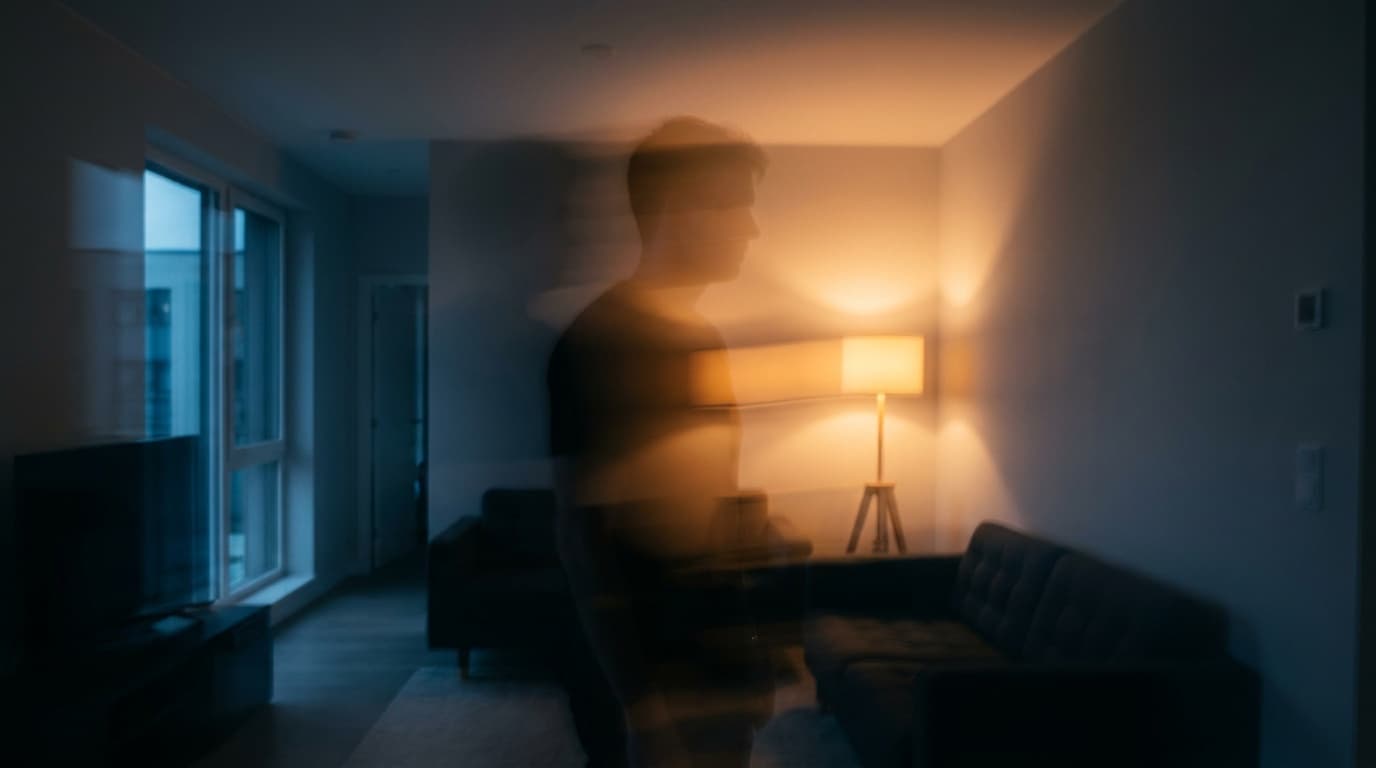
Your hands move while the shutter is open, so the whole frame smears, often in one direction. This is the most common cause in low light, because the camera slows the shutter to gather enough light. The fix is a faster shutter speed, steadier holding, stabilization, or a tripod. The full breakdown is in how to avoid camera shake.
2. Subject motion
The subject moved faster than your shutter could freeze. A telltale sign: the background is sharp but the person, pet, or car is smeared. The fix is a faster shutter speed. People walking need around 1/250 · kids and pets 1/500 · sports and birds 1/1000 or faster.
3. Missed focus
The lens focused on the wrong thing, so a different plane is sharp instead of your subject. Look closely: is something else in the frame perfectly sharp? Then focus missed. The fix is single-point autofocus aimed at the eyes, and for moving subjects, continuous autofocus. Back button focus helps a lot here.
4. Too narrow an aperture
Stopping all the way down to f/16 or f/22 softens the whole image through a physics effect called diffraction. If your photo is evenly a little soft everywhere and you shot at a very high f-number, this is likely it. Most lenses are sharpest around f/5.6 · f/8. See what aperture is sharpest.
How to tell which one you have
You can usually diagnose blur from the photo alone.
- Whole frame uniformly smeared, often diagonally: camera shake.
- Only the moving subject is soft, background sharp: subject motion.
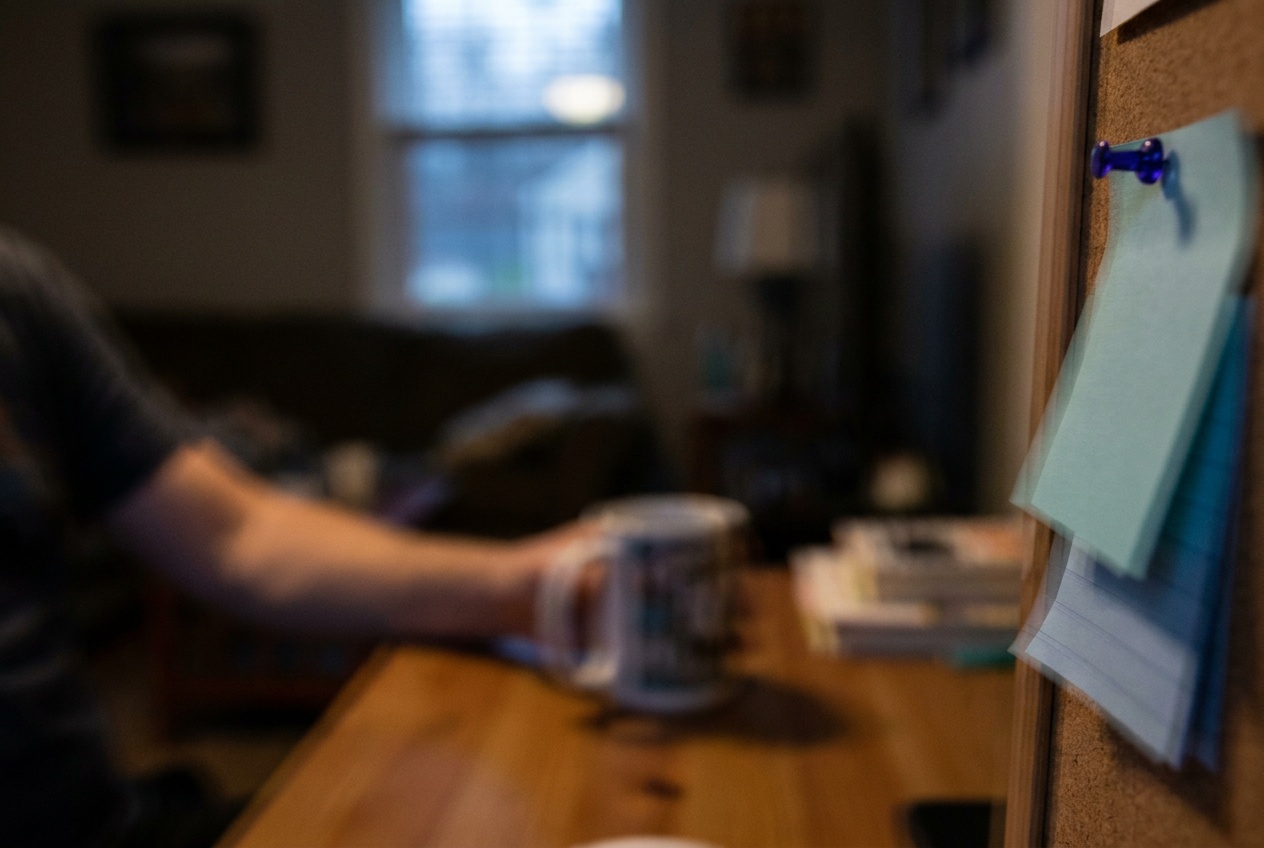
- Something else in the frame is tack sharp: missed focus.
- Everything is slightly, evenly soft and you used a high f-number: diffraction.
Common mistakes
The biggest mistake is treating all blur as one problem and reaching for the same fix. Raising shutter speed will not save a shot where focus landed on the background. Beginners also trust the green Auto mode to pick a safe shutter speed indoors; it often will not, and you get shake. A third common error is "spray and pray" with a wide aperture like f/1.8, where the sharp zone is so thin that a small focus error misses the eyes entirely.
A quieter mistake is pixel-peeping a photo that is actually fine. Check sharpness at a normal viewing size first. A photo that looks sharp on the back of the camera and on a phone may not survive a 100 percent crop, and that is usually okay.
The general fix
When in doubt, this sequence solves most blur. Raise your shutter speed to at least 1 over your focal length, faster if the subject moves. Use single-point autofocus on the eyes. Open the aperture or raise ISO to afford that shutter speed. If the light is too low to do all of that handheld, put the camera on a tripod. The deeper technique guide is how to take sharp photos.
Why are my photos blurry even in daylight?
Usually subject movement or a too-slow shutter for the focal length. Raise the shutter speed. If the whole frame is soft, suspect shake or missed focus; if only the moving parts are soft, it is subject motion.
Why are my photos blurry indoors?
Is blur the camera's fault or mine?
Almost always technique, not the body. The same camera takes sharp photos in good light. The variables you control, shutter speed, focus point, and how steady you hold the camera, decide sharpness far more than the price of the gear.
Blur is the first thing every beginner fights, and naming the cause is most of the battle. For the underlying trade between light, shutter, and aperture, start with the exposure triangle.
Practice this
Turn the guide into a working setup
Keep going
Next useful steps
Pick one. Each link continues the same job without starting the research over.
Shoot kits
Buy around the job, not the spec sheet
Beginner photo
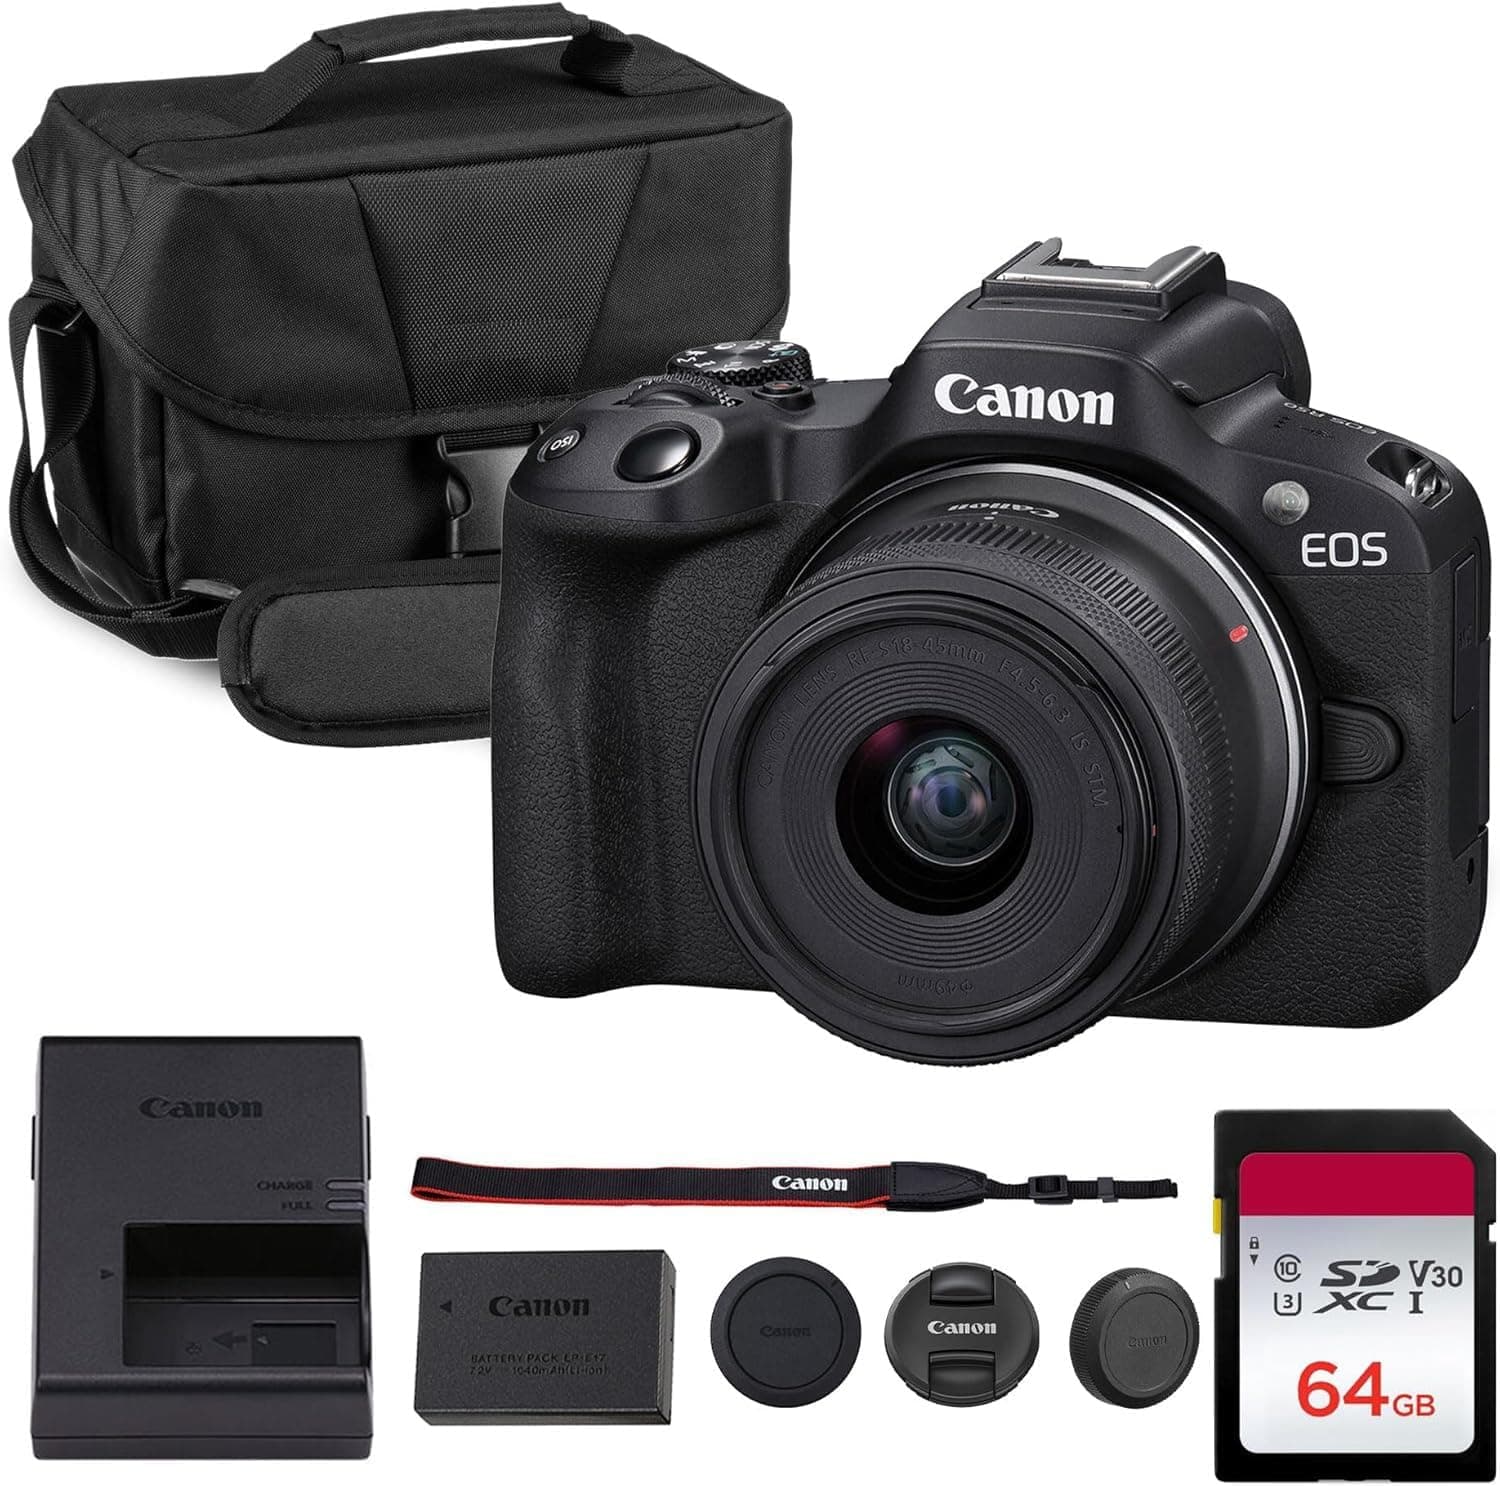
First real camera kit
$1,068
An affordable body, a sharp prime, a reliable card, and a small carry setup that does not turn learning into a hauling problem.
Best learning kit
Buy order: start with the first piece that makes the job possible, then add the support pieces that remove friction.
Camera: start here. If this piece does not make the shoot easier, the rest of the kit can wait.
Carry: add it after the core setup proves useful.
Canon EOS R50
Small, approachable, and good enough to learn exposure, autofocus, and lens choice properly.
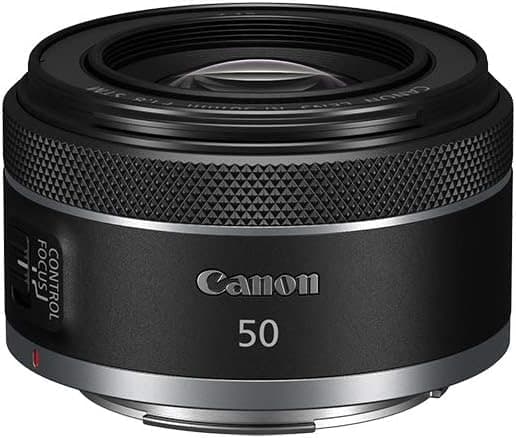
Canon RF 50mm f/1.8 STM
Cheap, bright, and useful for portraits, detail shots, and learning depth of field.
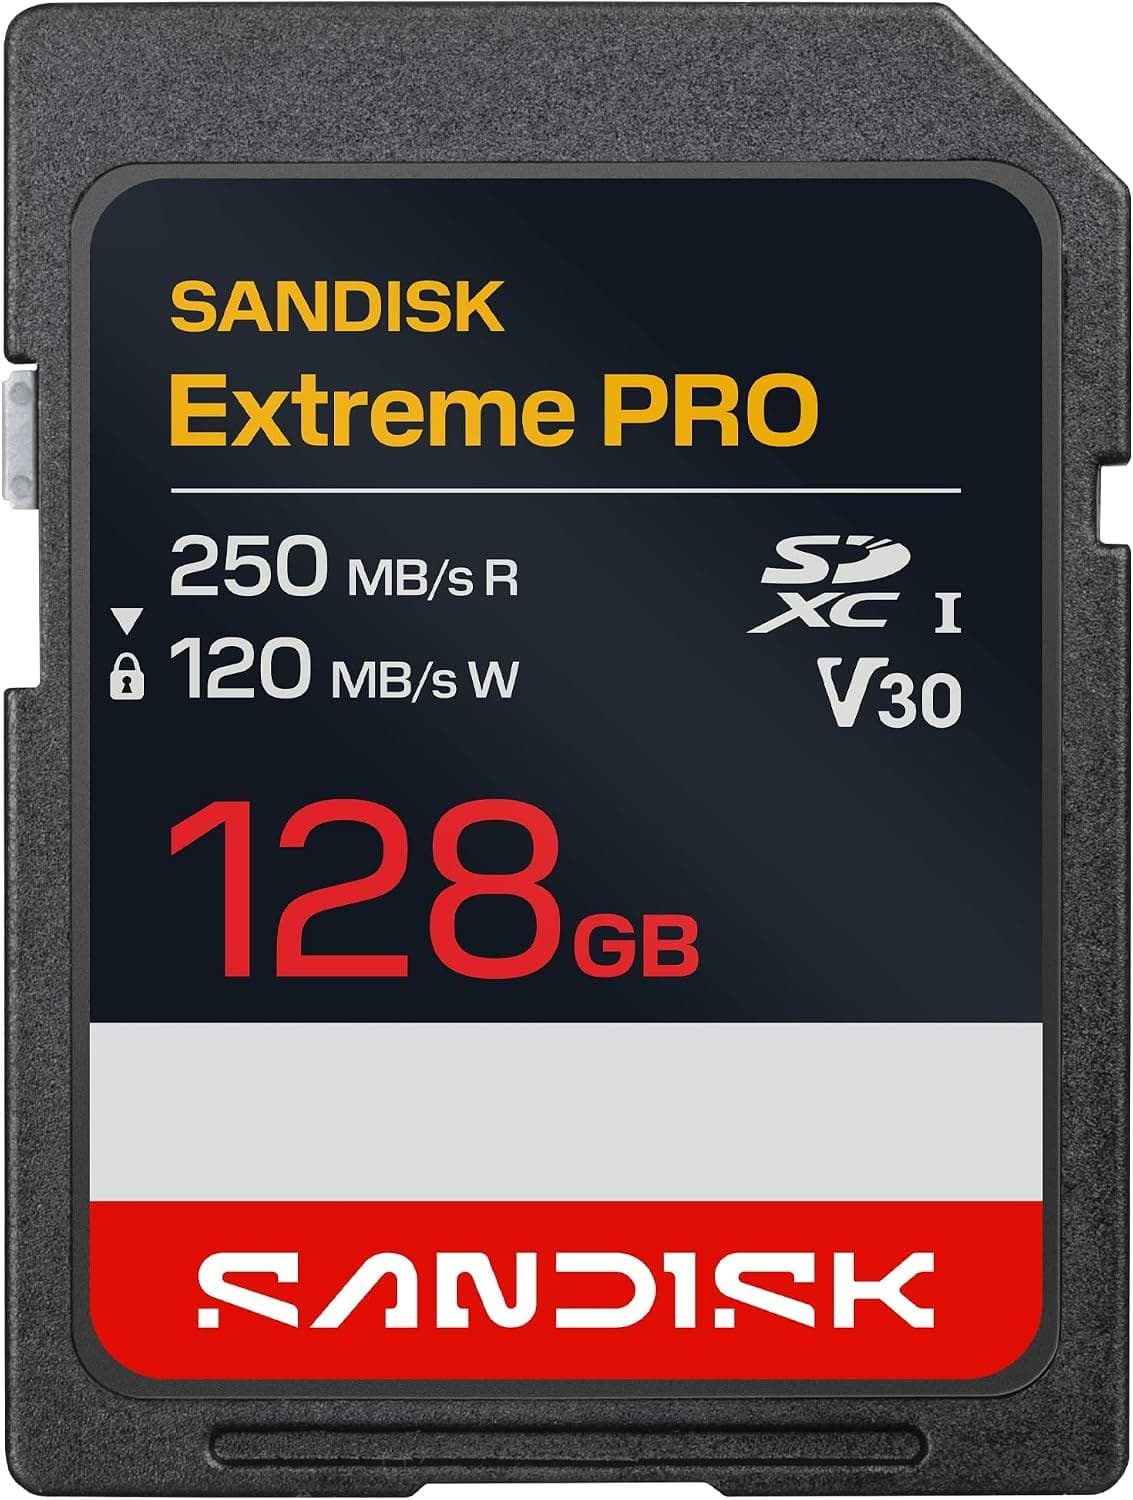
SanDisk Extreme Pro SDXC 128GB
Fast enough for normal stills and video without making storage the exciting purchase.
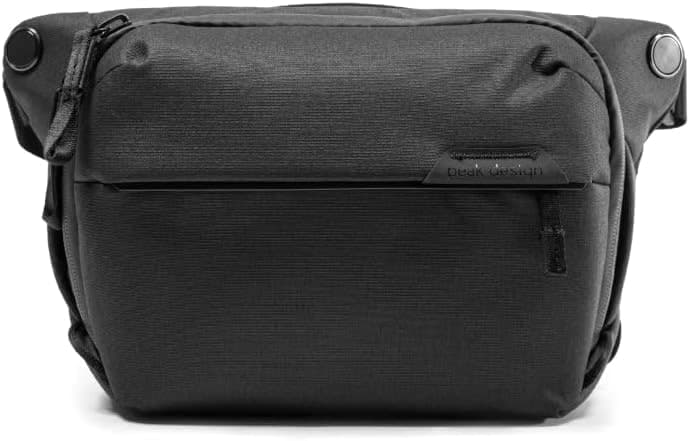
Peak Design Everyday Sling 6L V2
Room for a small body and lens without dragging a full backpack everywhere.
Prices are rough catalog totals. Retailer prices change, and you can swap pieces to fit your system.
Related Learn guides

Content Credentials and C2PA Explained for Photographers
Content Credentials record a photo's signed provenance and edits. Learn what C2PA proves, what it cannot prove, and how capture-to-export workflows work.

Open Gate Video Explained: When 3:2 Is Worth It
Open Gate records a taller sensor area for flexible 16:9, 9:16, and square crops. See when it helps, what it costs, and how to frame it correctly.

Pre-Capture Photography Explained: Get the Frame Before the Click
Pre-Capture buffers photos before the shutter is fully pressed. Learn how it works, which settings change, and when RAW, flash, or focus may be limited.

RAW vs JPEG: Which File Format Should You Shoot?
RAW keeps all your sensor data for maximum editing freedom; JPEG is smaller and ready to share. Here is how they differ and when each one is the right call.
Researched, not personally tested: picks compare specifications, available owner feedback, and established expert sources. As an Amazon Associate I earn from qualifying purchases. We may earn a commission from links here, at no extra cost to you. How we research →