We may earn a commission from links on this page, at no extra cost to you.
The Kelvin scale, the counterintuitive part first
Color temperature comes from physics: heat a piece of metal and it glows first dull red, then orange, then white, then bluish as it gets hotter. The temperature of that glow, measured in Kelvin, is the same scale photographers borrowed to describe light. The part that trips everyone up is that the scale runs backward from how we talk about color. Low Kelvin numbers look warm and orange, high Kelvin numbers look cool and blue. A "hot" 7500K shade is the blue one; a "cool" 3200K bulb is the orange one.
Here is the practical range you will meet in real shooting:
How setting Kelvin works in camera
When your white balance preset says Daylight or Shade, it is just storing a Kelvin number. Most cameras also let you set the number directly, usually labeled K in the white balance menu. This is the most precise control you have, and it works in a way that feels backward until it clicks: the number you dial is the temperature of the light you are telling the camera to neutralize.
So if you dial in 5500K, the camera assumes the light is neutral daylight and corrects accordingly. If you then dial up to 7500K, you are telling the camera "the light is very warm," so it cools the file to compensate, and the photo gets bluer. Dial down to 3200K and you tell it "the light is cool," so it warms the file. In short: higher Kelvin setting equals warmer photo, lower Kelvin setting equals cooler photo. That is the opposite of the light scale, and remembering which direction is which is half the skill.
Common mistakes
The first mistake is confusing the light's temperature with the setting's effect and pushing the slider the wrong way. When a photo looks too orange, people sometimes raise the Kelvin number, which makes it worse. To cool an orange photo, lower the number. The second mistake is chasing a single perfect Kelvin value in mixed light. When two light sources sit at different temperatures in one frame, no single number satisfies both, and you have to choose which one to favor, usually the one on your subject's face.
A third mistake is dialing Kelvin by hand when you have not learned to read the result. Set a value, take a frame, and look at a known neutral in the scene. If a white wall reads warm, nudge the number down; if it reads blue, nudge it up. Two test frames usually get you there.
When precise Kelvin matters
Dialing exact Kelvin earns its keep in three situations. The first is matching shots across a session, where leaving the camera on auto would let the color drift frame to frame. The second is mixed or artificial light, where presets are too blunt and you want to land between two of them. The third is deliberate mood: setting a warmer-than-accurate value to push a sunset further into gold, or a cooler value to make a blue-hour landscape feel colder than neutral.
For everything else, a preset or auto is plenty, and the Kelvin number is a tool you reach for when you have a specific reason. If you shoot raw, you can also set Kelvin to the exact value after the fact, which takes the pressure off getting it perfect in the moment. The same exposure logic from the exposure triangle applies here: learn the tool, then use it only when the shot calls for it.
Why does a higher Kelvin number make my photo warmer, not cooler?
Because the number describes the light you are telling the camera to neutralize, not the result. A high number says "the light is very warm," so the camera adds blue to balance it, and the file ends up warmer overall only if you set it higher than the actual light. Relative to a correct setting, raising Kelvin warms the photo and lowering it cools the photo.
What Kelvin value should I use for indoor tungsten light?
Around 3200K, which matches a standard incandescent household bulb. If the room uses warmer or dimmer bulbs you may go a touch lower. The Tungsten white balance preset sets roughly this value for you.
Can I change Kelvin after the photo is taken?
If you shot raw, yes, completely and with no quality loss, because raw stores white balance as a tag rather than baking it in. If you shot JPEG, you can still nudge it but with less room before colors break down. See raw vs JPEG for the difference.
Related Learn guides
Black and White Photography: How to See and Shoot in Mono
Black and white photography is about light, contrast, and shape rather than color. Here is how to shoot for mono and convert raw files cleanly.
Read guide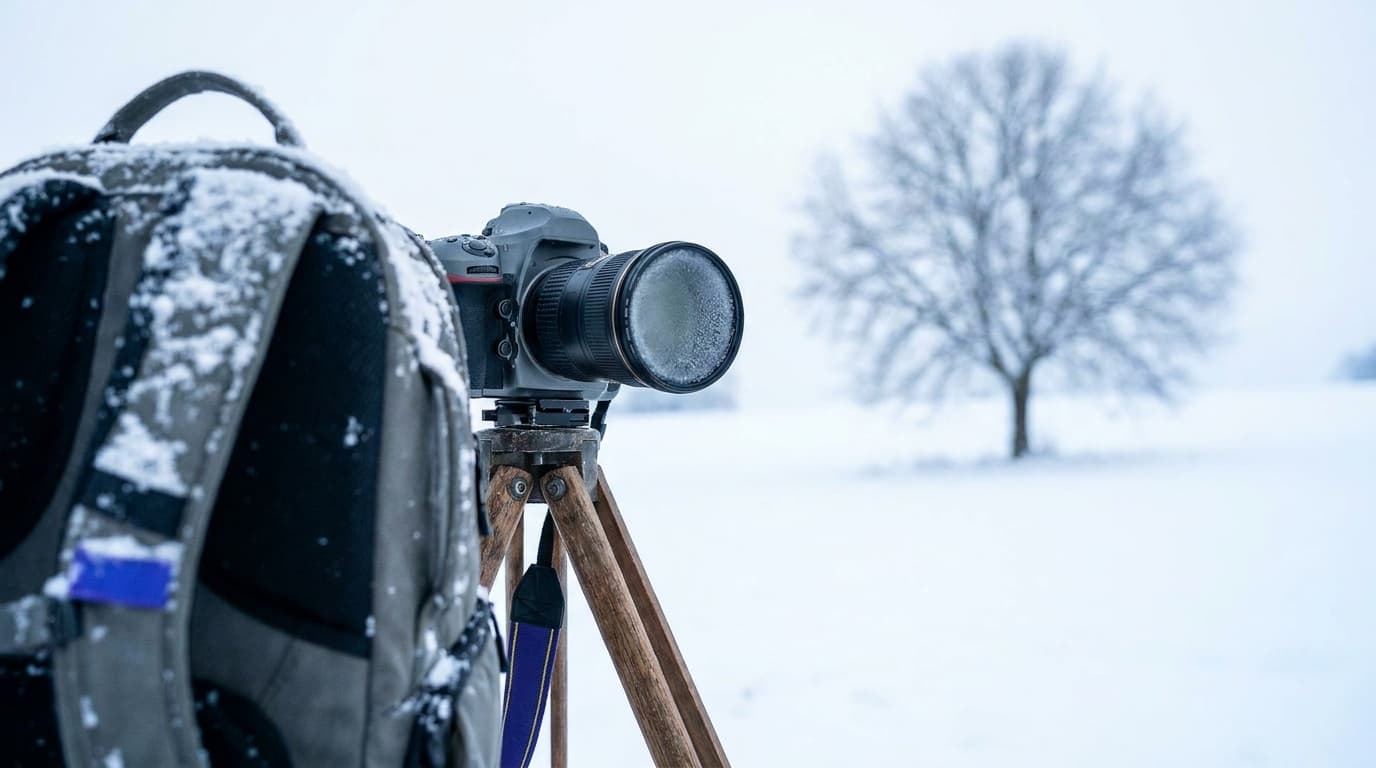
Camera Settings for Snow: How to Keep White Snow White
Snow fools your meter into gray, underexposed photos. Here are the settings and the exposure compensation that keep snow bright, clean, and the right color.
Read guide
Color Grading Basics: Giving Your Photos a Consistent Look
Color grading is the creative step after correction, where you shape mood and a signature look. Learn the core tools and how to build a style without overdoing it.
Read guide
Composition Fundamentals: Framing a Better Photo
Good composition is mostly a few habits: place the subject deliberately, use lines and frames, and cut the clutter. Here are the fundamentals that lift a snapshot.
Read guideResearched, not personally tested: picks come from specs, verified-owner reviews, and expert sources, scored into the Aperture Score. As an Amazon Associate I earn from qualifying purchases. We may earn a commission from links here, at no extra cost to you. How we research →