We may earn a commission from links on this page, at no extra cost to you. Picks are researched, not sponsored.
What this means in real life
The reason most phone sunset photos disappoint is dynamic range. Your eye adapts constantly across the scene, but the sensor captures one exposure. Expose for the glowing sky and the foreground goes black; expose for the foreground and the sky blows out to a pale wash with no color. The two are simply too far apart in brightness for a single frame to hold both with detail. You have two honest ways out: embrace the gap and shoot the foreground as a silhouette against the colored sky, or shoot several exposures and blend them so both ends survive. Either works; pick based on whether you want foreground detail.
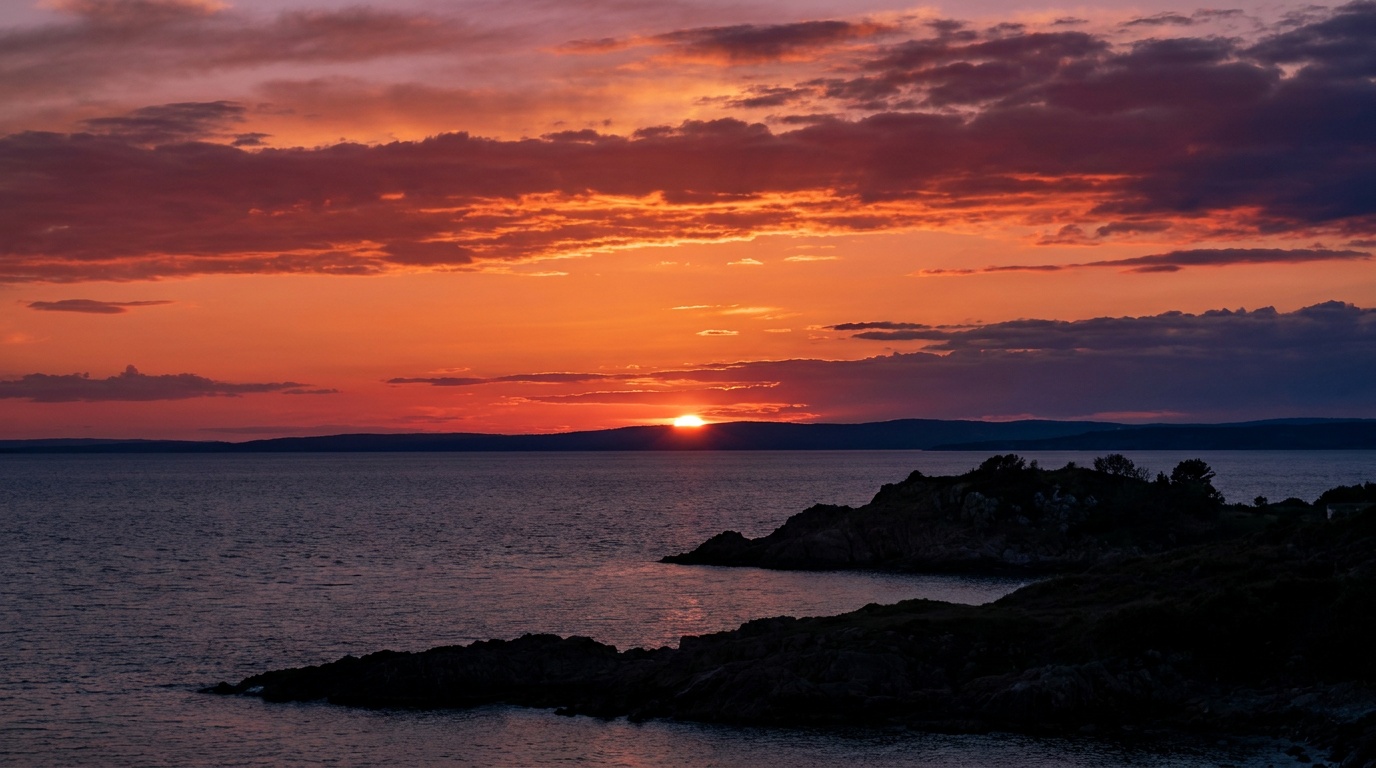
The gap is usually three to five stops between the bright sky near the sun and a shaded foreground, which is more than most cameras hold in one raw frame. That number is why bracketing exists. Arrive at least an hour before the listed sunset time so you can scout a composition and lock the tripod down before the light starts moving fast.
The gear
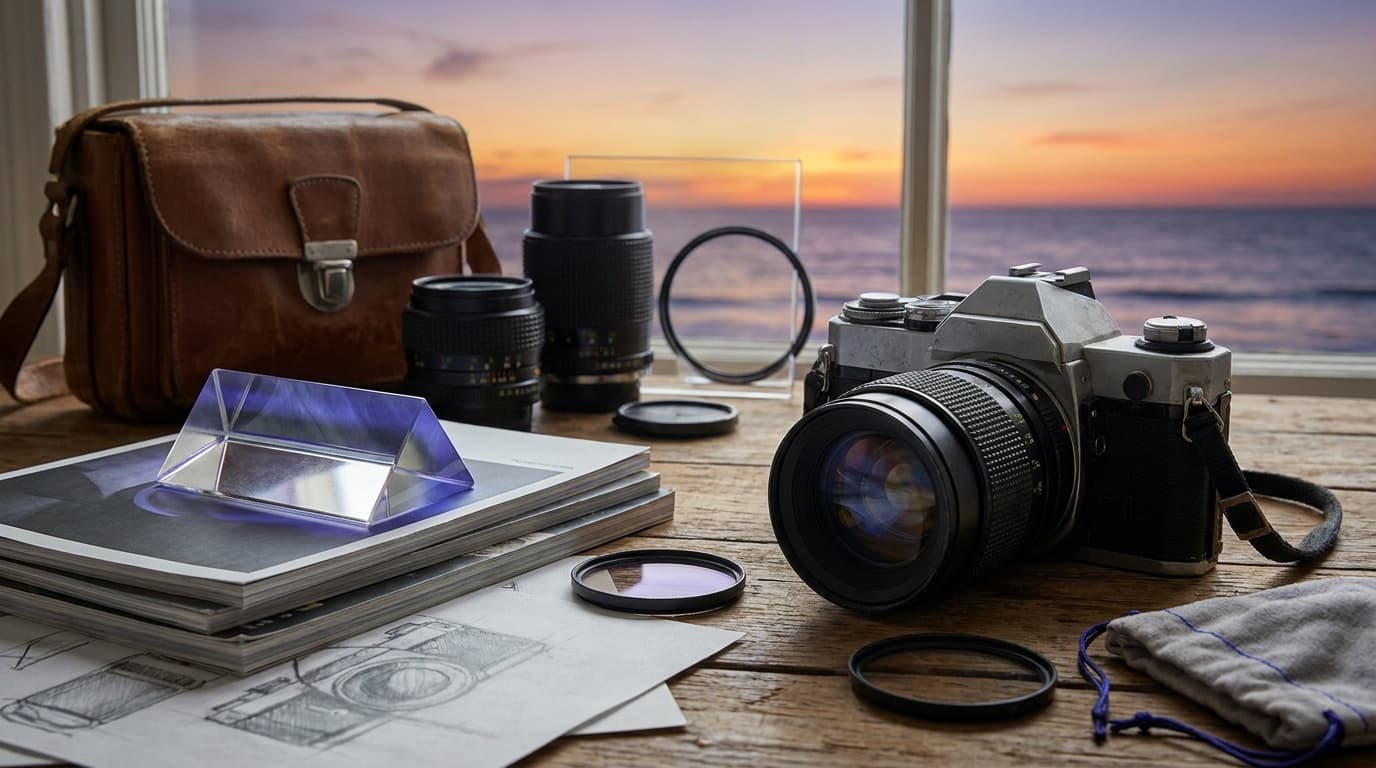
A tripod matters more than people expect, because the light is dropping and your shutter is getting slow, and because bracketing only blends cleanly if the frames line up perfectly. A graduated ND filter darkens the bright sky relative to the land in a single frame, which can replace bracketing for simpler horizons. A wide lens captures the sweep of color; a longer one isolates the sun near the horizon. A remote release keeps the slow frames sharp.
The settings
Start here and let the histogram and the sky tell you where to go.
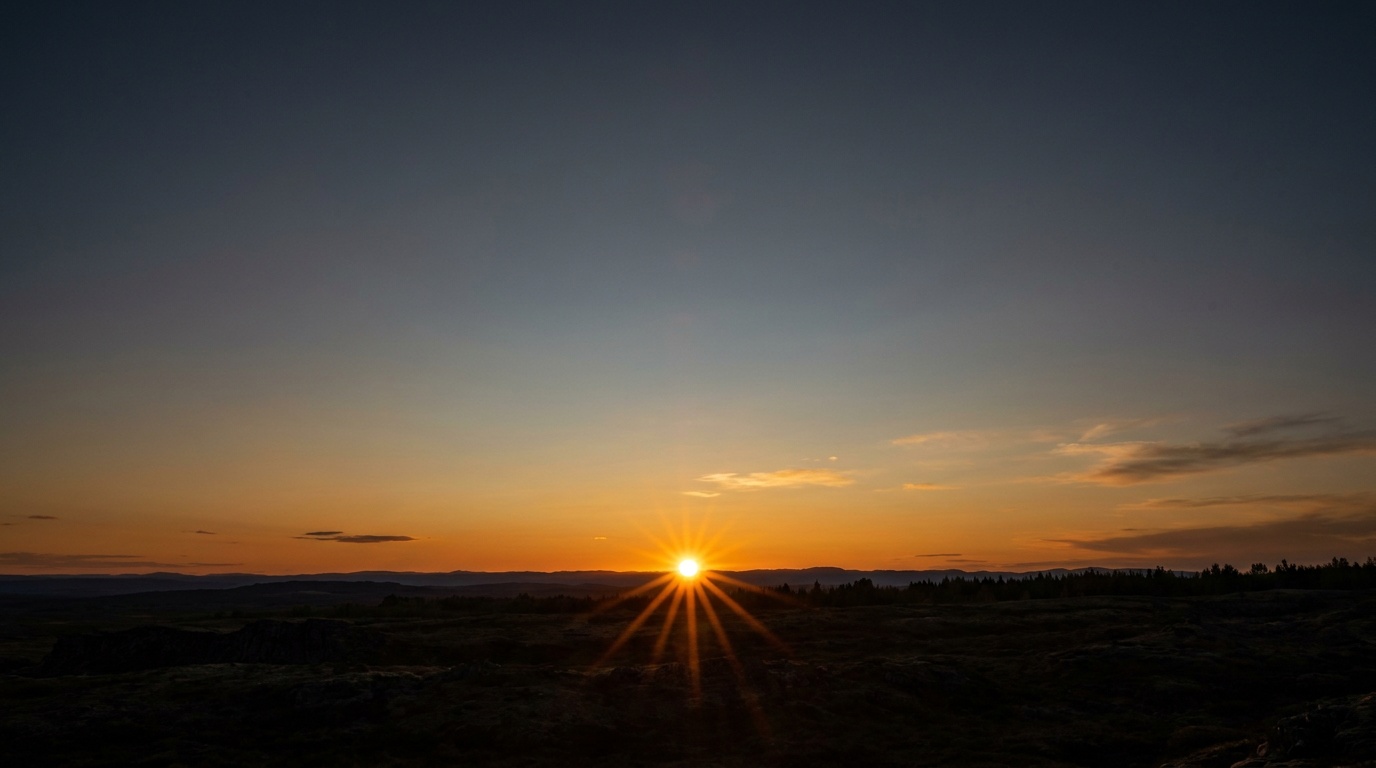
Keep ISO at base while there is still light, raising it only once the sun is well down. A small aperture like f/11 or f/16 keeps the landscape sharp and turns a partly hidden sun into a star. Use exposure compensation or manual to deliberately underexpose a touch, which deepens the sky color and protects the highlights near the sun. A practical bracket is three frames at minus one, zero, and plus one stop; if the contrast is brutal, widen it to minus two and plus two. This is the exposure triangle applied to a scene that refuses to fit in one frame.
Technique
Spot-meter on a bright part of the sky away from the sun itself, then set exposure from that so the sky keeps its color. To bracket, lock the camera down and shoot three or more frames stepped a stop or two apart, then blend them in editing for full range top to bottom. If you would rather keep it to one frame, decide whether you want a silhouette, in which case expose for the sky, or detail, in which case use a graduated filter to hold the sky back. Never stare at the sun through the viewfinder; use live view. The most important habit is to keep shooting after the sun sets, because the afterglow during the golden hour and the blue hour that follows is often the richest color of the evening.
Composition
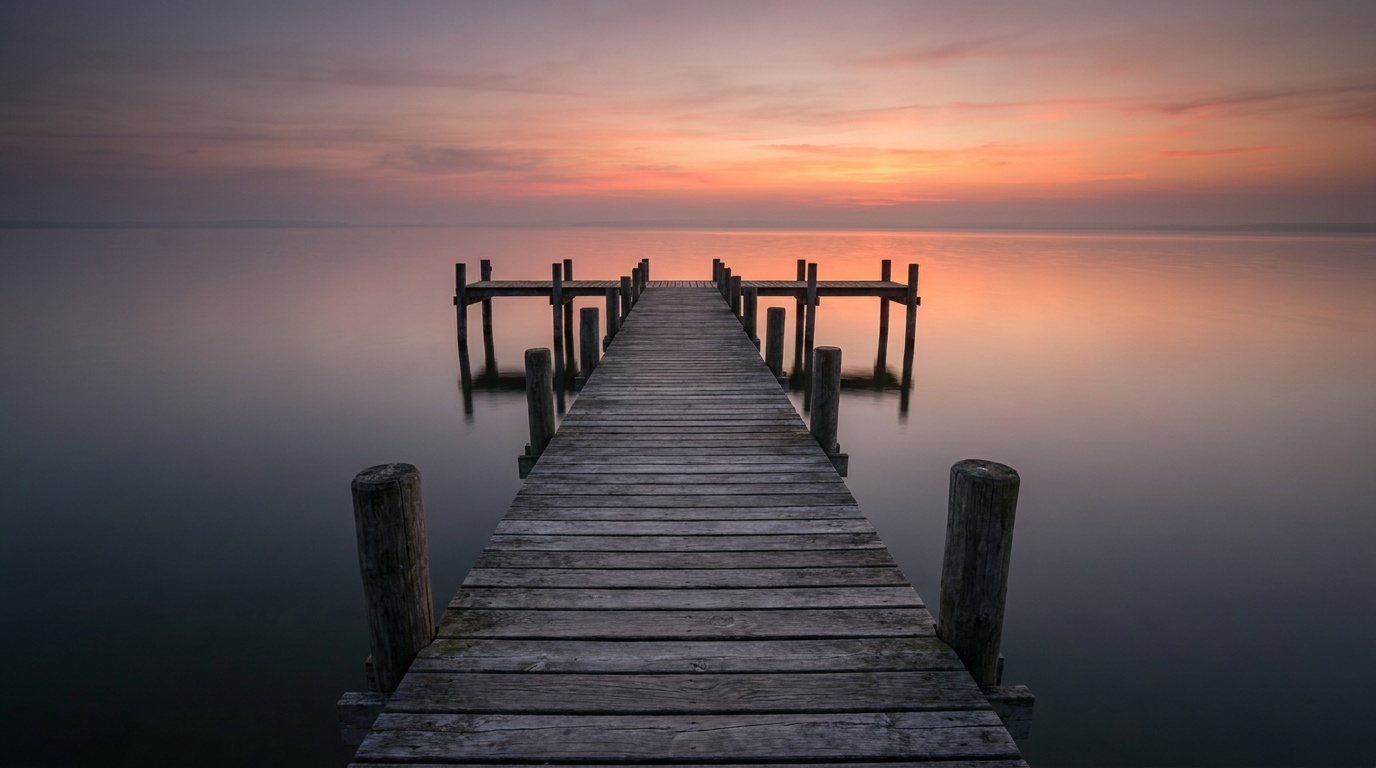
Resist centering the horizon. Put it low to feature a dramatic sky or high to feature reflective water or land, following the rule of thirds. Place a strong foreground element, a tree, a pier, a figure, between the camera and the light to give the frame depth and a focal point. Water, wet sand, and clouds catch and spread the color, so they earn their place in the frame. These choices are the bread and butter of landscape photography, and the timing instinct overlaps with the golden hour light it sits inside.
Common mistakes
The biggest is leaving everything on auto and letting the meter average the scene into a flat, colorless result. The second is packing up the moment the sun touches the horizon, missing the best ten minutes. The third is overexposing the sky and clipping the color, which underexposing slightly prevents. The fourth is a centered horizon and an empty foreground, which gives the eye nothing to hold. Meter for the sky, shoot raw, stay late, and build a foreground.
Why do my sunset photos lose the color I saw?
Your camera is averaging the bright sky and dark land into one exposure and overexposing the sky, which washes the color out. Spot-meter on the sky, underexpose slightly, and shoot raw so you can deepen the color in editing.
Should I expose for the sky or the foreground at sunset?
For a single frame, expose for the bright sky and accept the foreground as a silhouette, since that holds the color. If you want foreground detail too, bracket several exposures and blend them, or use a graduated ND filter.
When is the best light at sunset?
Often after the sun has actually set. The afterglow and blue hour in the ten to twenty minutes following sunset frequently produce the richest, most saturated sky, so keep shooting rather than leaving early.
Practice this
Turn the guide into a working setup
Related Learn guides

Content Credentials and C2PA Explained for Photographers
Content Credentials record a photo's signed provenance and edits. Learn what C2PA proves, what it cannot prove, and how capture-to-export workflows work.

Open Gate Video Explained: When 3:2 Is Worth It
Open Gate records a taller sensor area for flexible 16:9, 9:16, and square crops. See when it helps, what it costs, and how to frame it correctly.

Pre-Capture Photography Explained: Get the Frame Before the Click
Pre-Capture buffers photos before the shutter is fully pressed. Learn how it works, which settings change, and when RAW, flash, or focus may be limited.

RAW vs JPEG: Which File Format Should You Shoot?
RAW keeps all your sensor data for maximum editing freedom; JPEG is smaller and ready to share. Here is how they differ and when each one is the right call.
Researched, not personally tested: picks compare specifications, available owner feedback, and established expert sources. As an Amazon Associate I earn from qualifying purchases. We may earn a commission from links here, at no extra cost to you. How we research →