We may earn a commission from links on this page, at no extra cost to you. Picks are researched, not sponsored.
Your camera's meter assumes the world averages out to a neutral mid-gray. Most of the time that assumption works. When it does not, the camera guesses wrong, and exposure compensation is how you correct it in one move without leaving your priority mode.
What the +/- button actually does
Exposure compensation is measured in stops, usually labelled EV, in steps like +1/3, +2/3, +1. One full stop doubles or halves the light. You dial in an amount and the camera shifts the exposure by that much, on top of whatever the light meter decided.
Which control moves depends on your mode:
- Aperture priority: the camera changes the shutter speed.
- Shutter priority: the camera changes the aperture.
- Program / auto ISO: the camera changes whatever it is managing.
It does not work in full manual mode with ISO fixed, because there you are already setting everything yourself. With auto ISO in manual, it shifts the ISO.
When to add positive compensation
Add light (+) when the scene is mostly bright and the camera tries to darken it to gray:
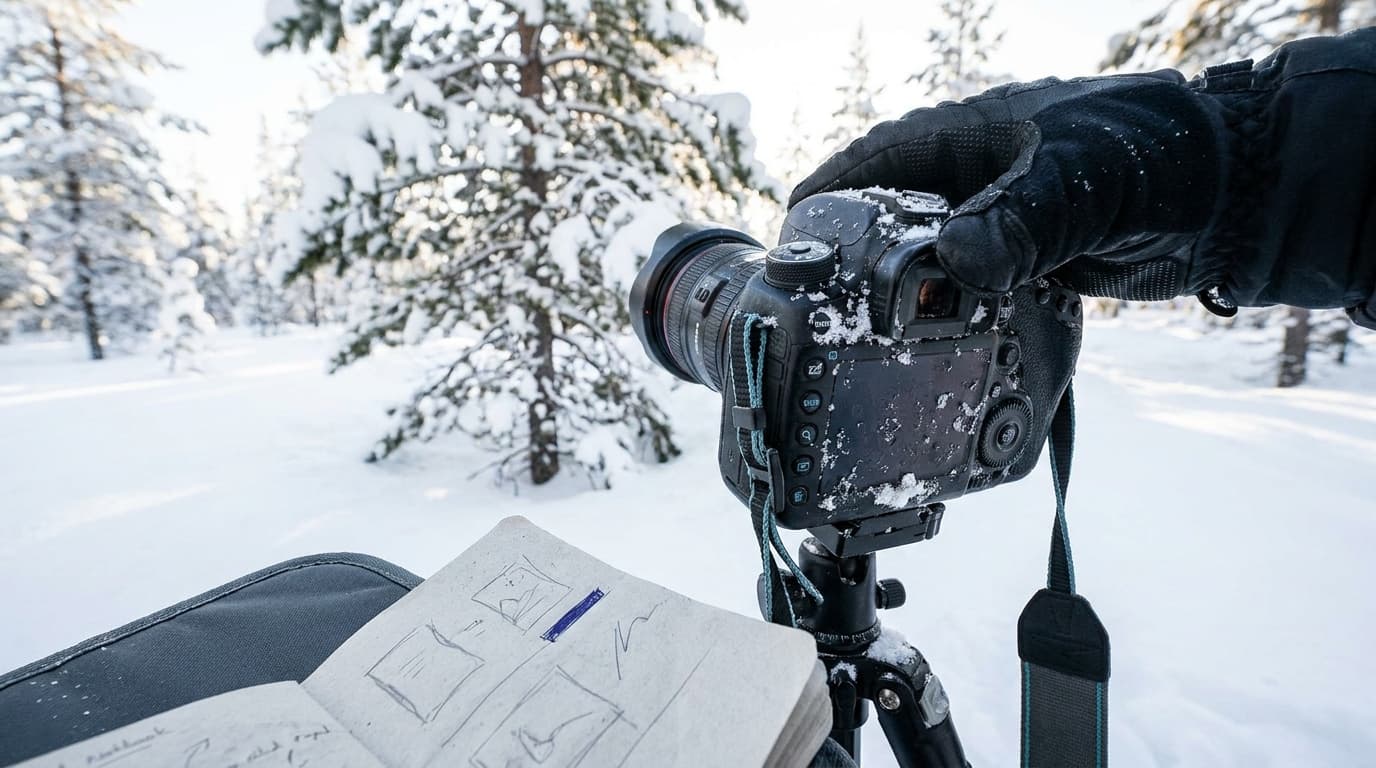
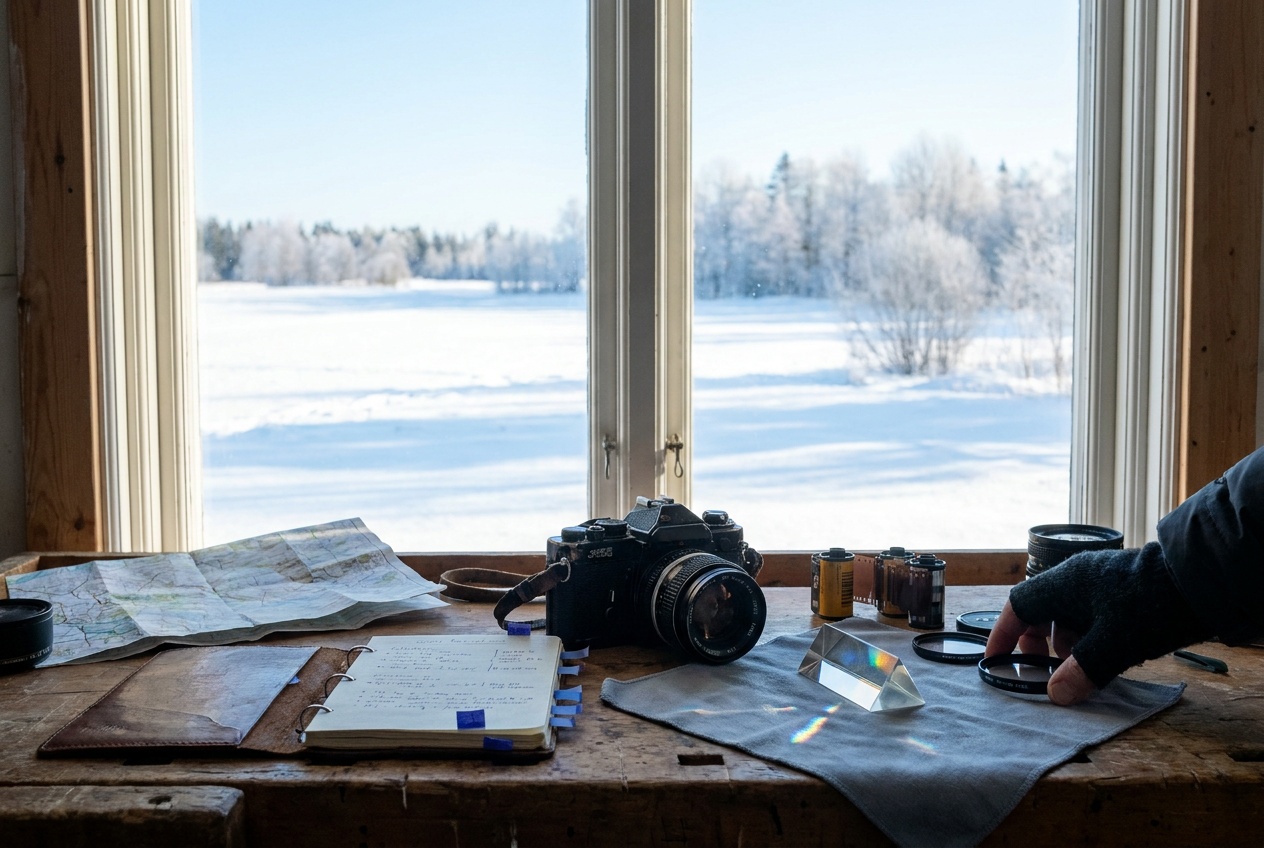
- Snow or a white sand beach: +1 to +2 keeps it white instead of dingy gray.
- A bright overcast sky filling the frame: +2/3 to +1.
- A backlit subject: + brings the face up.
When to add negative compensation
Take light away (-) when the scene is mostly dark and the camera tries to brighten it:
- A spotlit performer on a black stage: -1 to -2 keeps the background black.
- A dark, moody portrait: dial down to protect the shadows.
- A bright sky you want richer: a touch of - deepens the blue.
A useful habit: in even daylight, leave it at 0 (try f/8 · 1/250 · ISO 200), and only reach for the dial when the scene is dominated by very light or very dark tones.
Common mistakes
- Leaving it dialed in. You set +1 for snow last week and every shot since has been too bright. Always reset to 0 when the conditions change. This is the single most common exposure-compensation error.
- Spinning the wrong dial. On many cameras the compensation dial sits right next to a control dial. Confirm the scale in the viewfinder moved before you shoot.
- Using it to fix focus or blur. Compensation only changes brightness. A blurry shot needs a faster shutter speed, not more light.
- Guessing instead of checking. Dial it in, then confirm with the histogram rather than trusting the rear screen, which lies in bright sun.
The exposure calculator lets you see how a one-stop shift ripples through the exposure triangle, which makes compensation feel less abstract.
Does exposure compensation work in manual mode?
Not with a fixed ISO, because you are already setting aperture, shutter speed, and ISO yourself. If you shoot manual with auto ISO, exposure compensation shifts the ISO the camera picks.
How much exposure compensation should I use for snow?
Start at +1 and check the result. Bright, sunlit snow filling the frame often needs +1.5 to +2 to look white rather than gray. Adjust based on how the histogram sits.
Why does my camera ignore exposure compensation?
Either you are in full manual with a fixed ISO, where it has no control to move, or your flash is overriding the ambient exposure. Switch to a priority mode, or use flash exposure compensation instead.
Practice this
Turn the guide into a working setup
Shoot kits
Buy around the job, not the spec sheet
Beginner photo
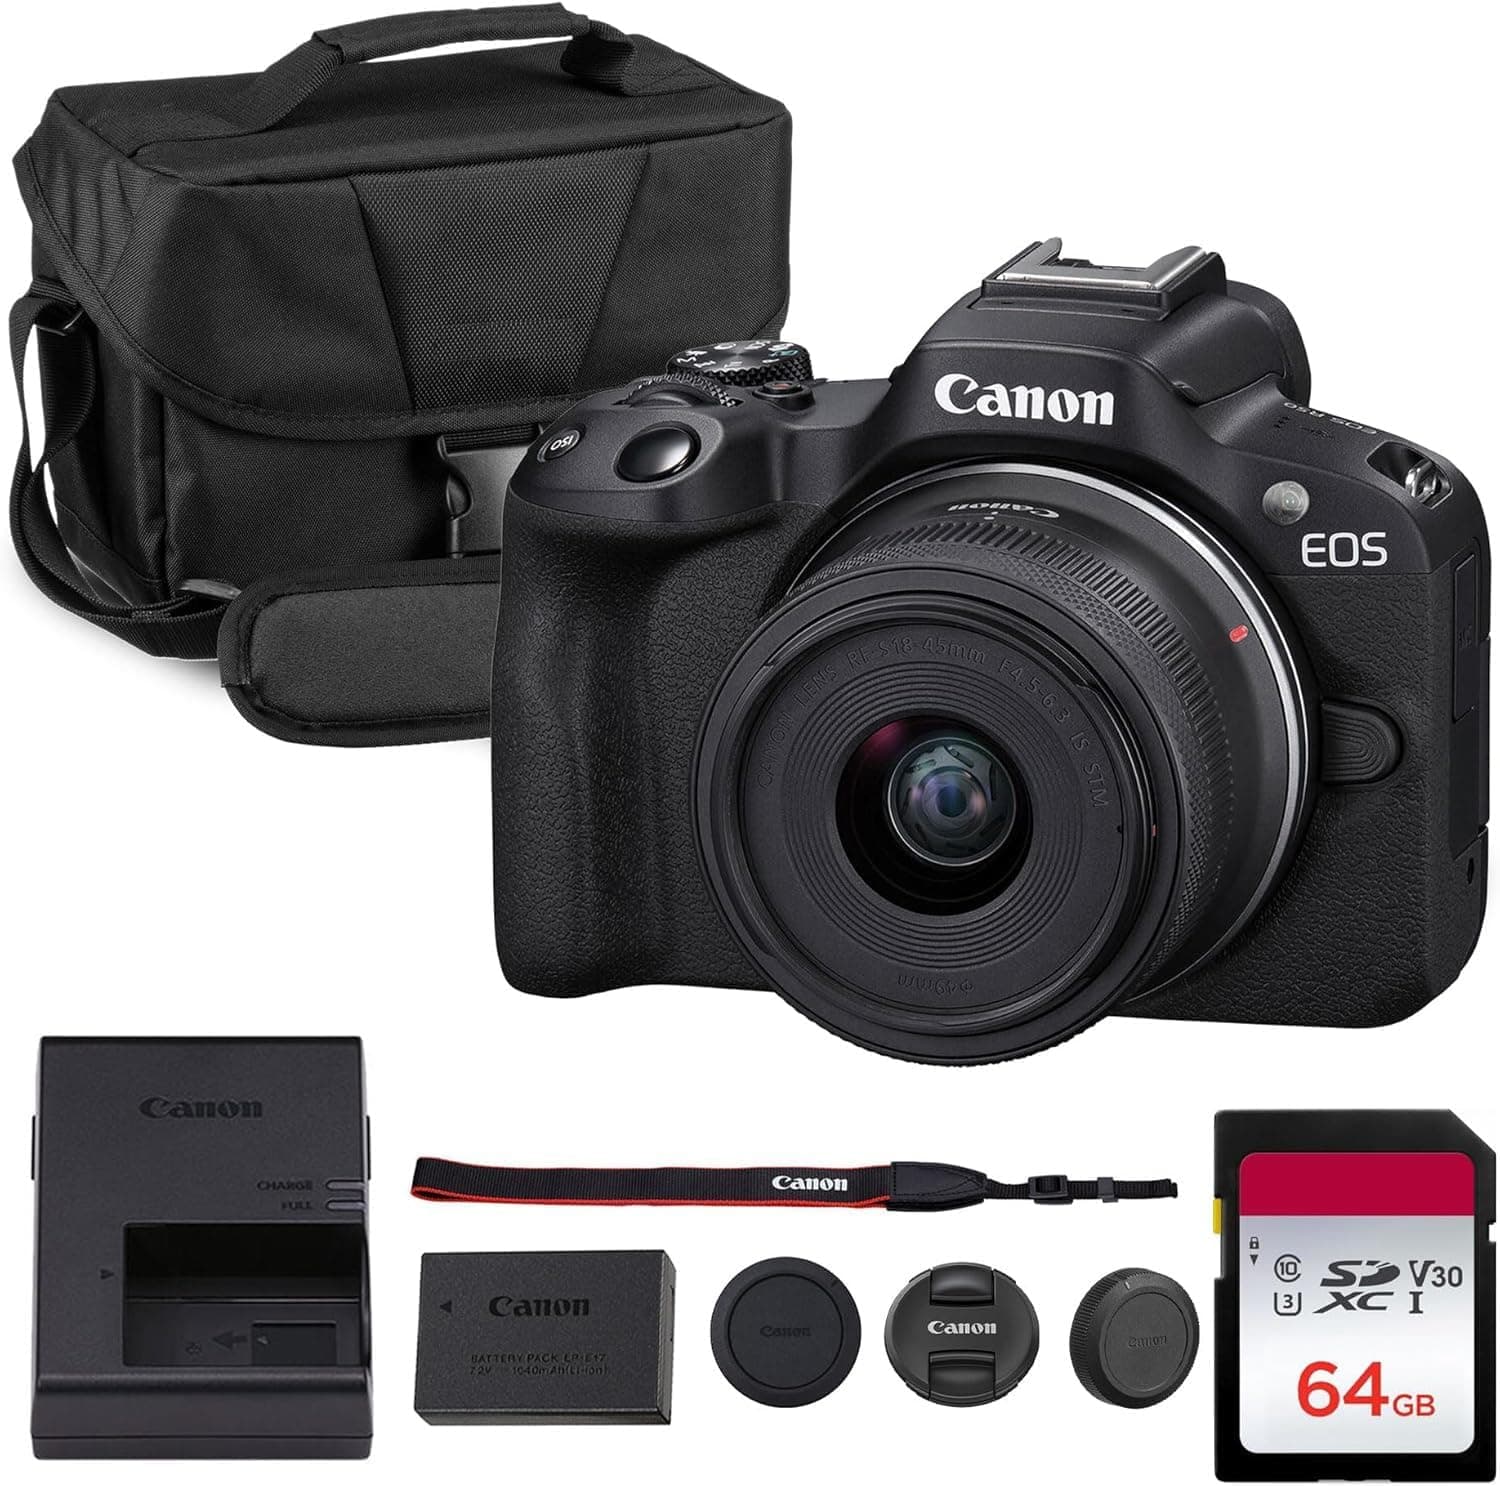
First real camera kit
$1,068
An affordable body, a sharp prime, a reliable card, and a small carry setup that does not turn learning into a hauling problem.
Best learning kit
Buy order: start with the first piece that makes the job possible, then add the support pieces that remove friction.
Camera: start here. If this piece does not make the shoot easier, the rest of the kit can wait.
Carry: add it after the core setup proves useful.
Canon EOS R50
Small, approachable, and good enough to learn exposure, autofocus, and lens choice properly.
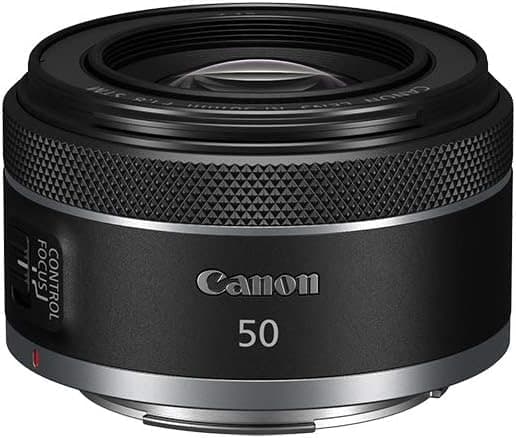
Canon RF 50mm f/1.8 STM
Cheap, bright, and useful for portraits, detail shots, and learning depth of field.
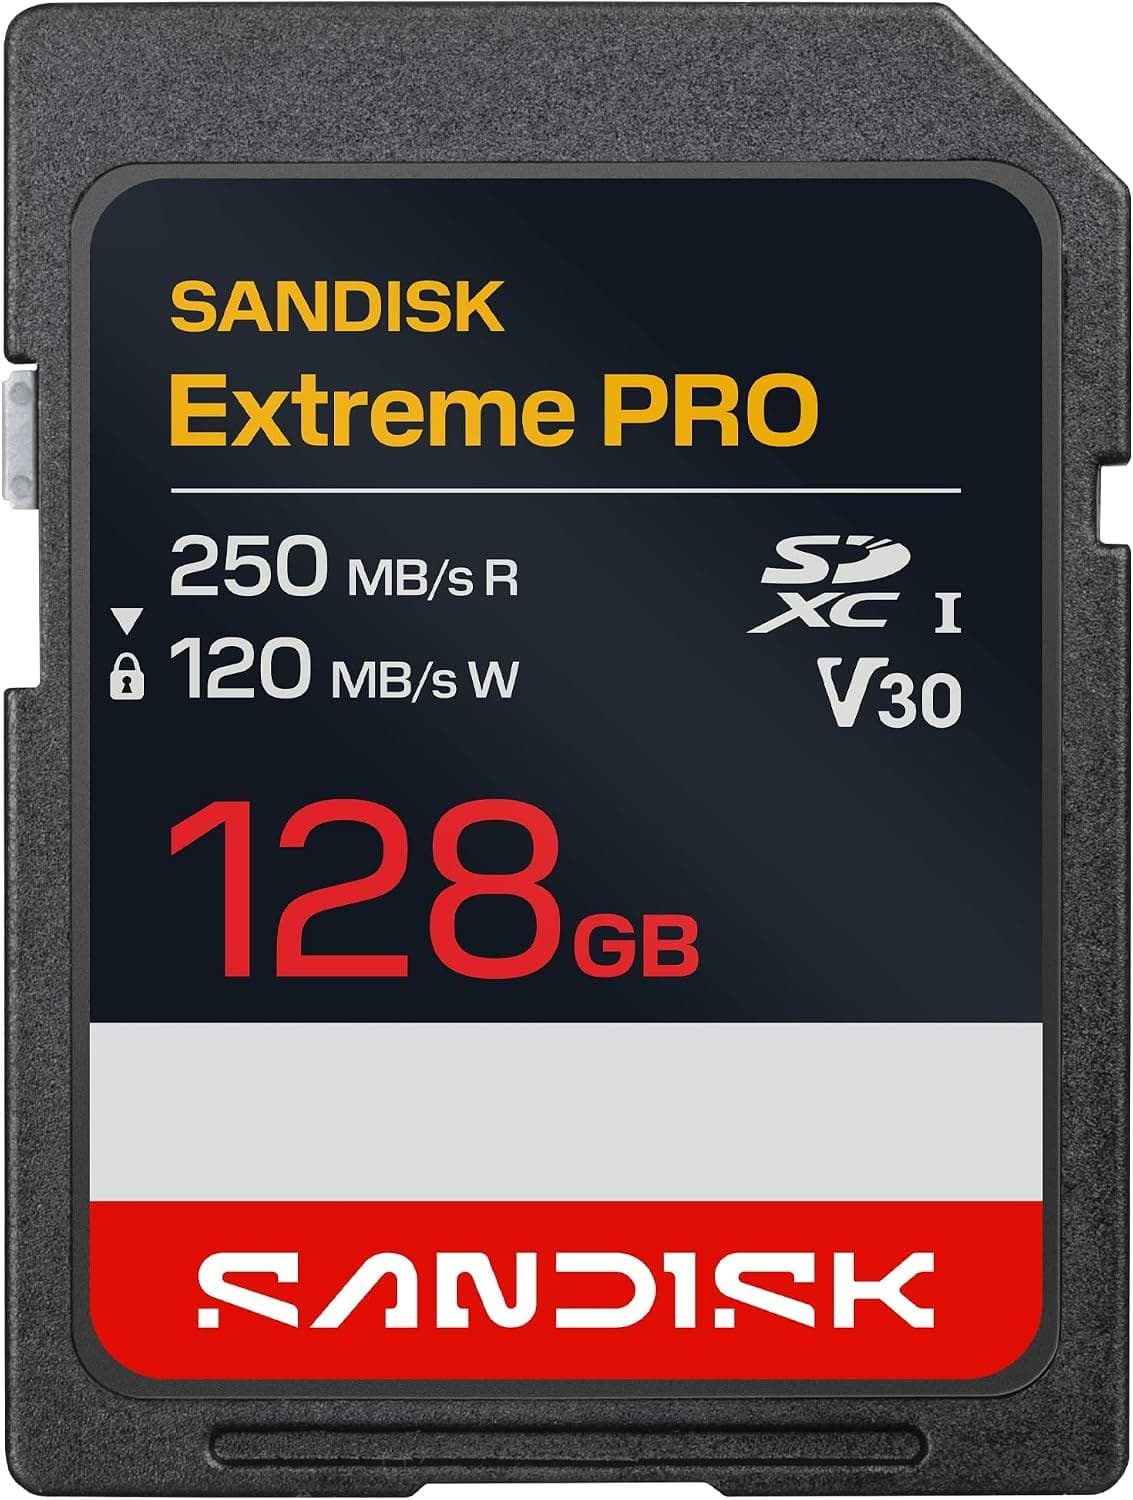
SanDisk Extreme Pro SDXC 128GB
Fast enough for normal stills and video without making storage the exciting purchase.
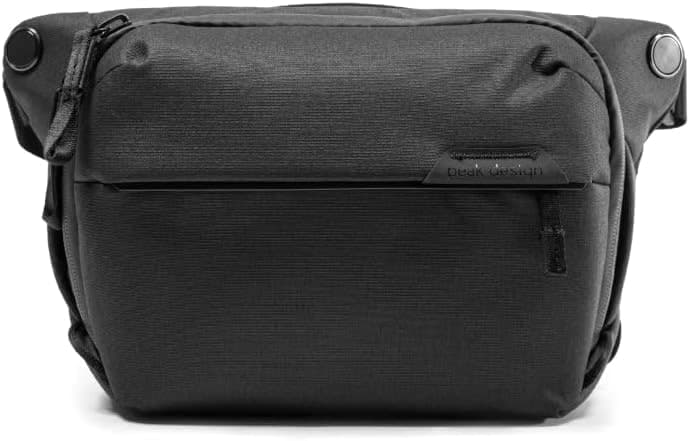
Peak Design Everyday Sling 6L V2
Room for a small body and lens without dragging a full backpack everywhere.
Prices are rough catalog totals. Retailer prices change, and you can swap pieces to fit your system.
Related Learn guides

Content Credentials and C2PA Explained for Photographers
Content Credentials record a photo's signed provenance and edits. Learn what C2PA proves, what it cannot prove, and how capture-to-export workflows work.

Open Gate Video Explained: When 3:2 Is Worth It
Open Gate records a taller sensor area for flexible 16:9, 9:16, and square crops. See when it helps, what it costs, and how to frame it correctly.

Pre-Capture Photography Explained: Get the Frame Before the Click
Pre-Capture buffers photos before the shutter is fully pressed. Learn how it works, which settings change, and when RAW, flash, or focus may be limited.

RAW vs JPEG: Which File Format Should You Shoot?
RAW keeps all your sensor data for maximum editing freedom; JPEG is smaller and ready to share. Here is how they differ and when each one is the right call.
Researched, not personally tested: picks compare specifications, available owner feedback, and established expert sources. As an Amazon Associate I earn from qualifying purchases. We may earn a commission from links here, at no extra cost to you. How we research →