We may earn a commission from links on this page, at no extra cost to you. Picks are researched, not sponsored.
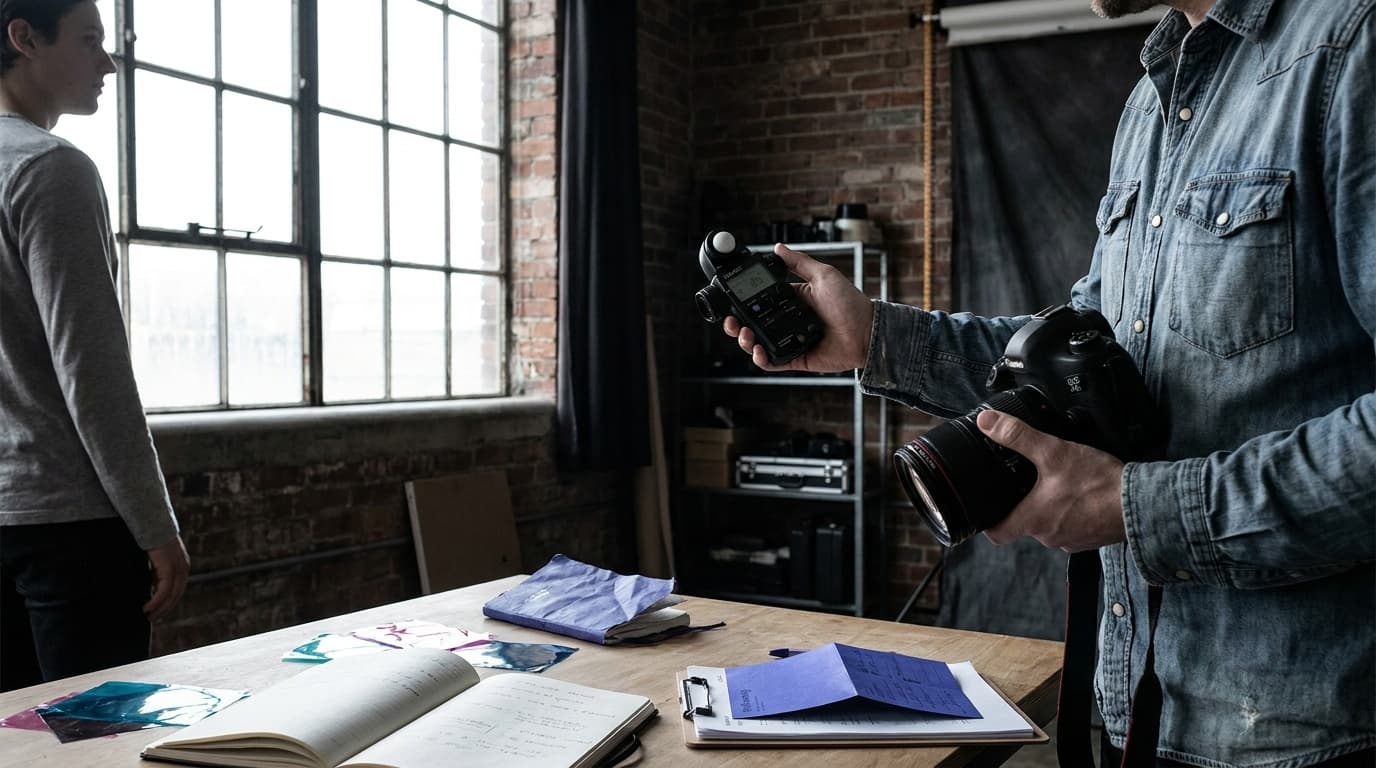
Your camera's light meter measures brightness and suggests an exposure. Metering modes control where it looks. Pick the wrong area to measure and a perfectly capable camera will underexpose a face or blow out a sky. The meter feeds every mode in the exposure triangle, so this setting matters whether you shoot manual or a priority mode.
The three metering modes
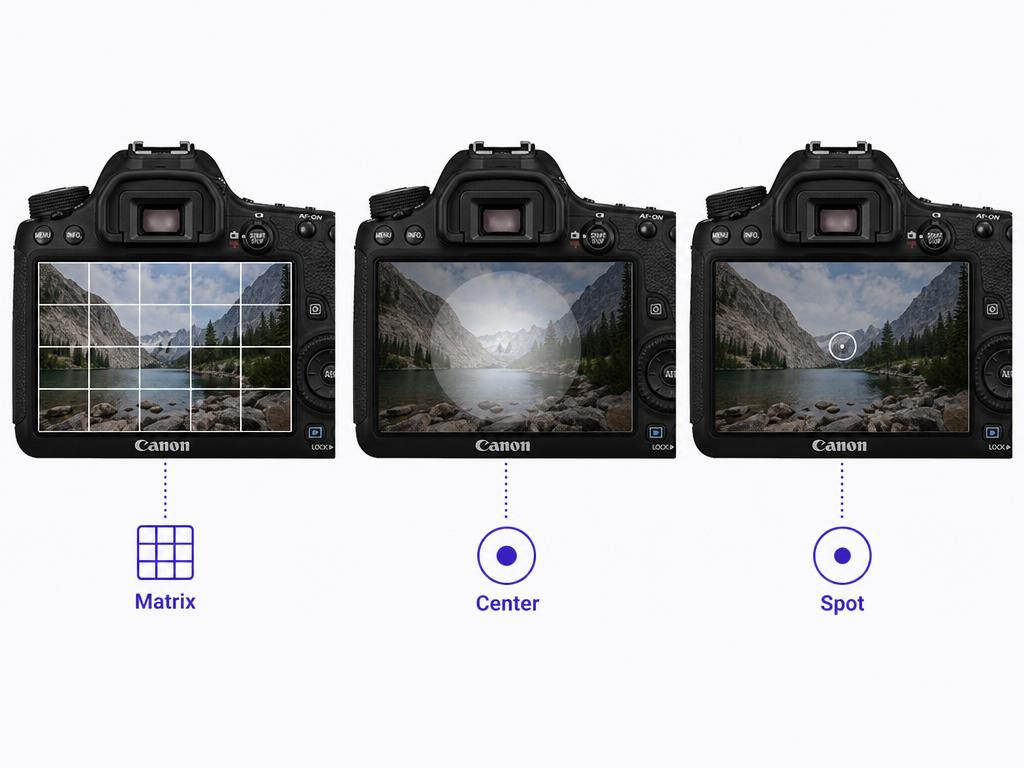
Matrix / evaluative metering
The camera splits the frame into zones, reads them all, and balances for an average that usually looks right. This is the default and the right choice for evenly lit scenes: landscapes, group shots, most daylight photography. Nikon calls it matrix, Canon calls it evaluative, Sony calls it multi.
Center-weighted metering
The camera reads the whole frame but gives the center far more importance. Useful when your subject is roughly central and you do not want a bright edge or corner to throw off the reading. A classic case is a portrait against a busy background.
Spot metering
The camera reads only a small circle, often a few percent of the frame, usually at the center or the active focus point. This is the precision tool. Use it when one part of the scene is the part that must be exposed correctly and the rest can fall where it lands.
When to use spot metering
Spot is the mode beginners skip and then wish they had known about. Reach for it when the subject and the background are very different brightnesses:
- A backlit face: spot meter on the cheek and the face exposes correctly, even if the bright sky behind goes lighter.
- A spotlit performer on a dark stage: spot meter on the performer and ignore the black surroundings.
- The moon: a tiny bright object in a huge dark frame fools every other mode.
Spot metering pairs naturally with exposure compensation when the thing you metered is not a neutral mid-tone.
How metering connects to the rest
Whatever the meter reads, it still moves the same three controls. In aperture priority it changes the shutter speed; in shutter priority it changes the aperture; in manual it just shows you where 0 sits. To verify the actual result rather than the meter's guess, check the histogram.
A useful daylight reference exposure to sanity-check the meter against is f/8 · 1/250 · ISO 200.
Common mistakes
- Leaving spot metering on by accident. Then every wide landscape exposes for one random point. Return to matrix when you are done with the tricky shot.
- Spot metering on the wrong tone. The meter assumes whatever you point it at is mid-gray. Spot a white wedding dress and the camera darkens it to gray. Add positive exposure compensation, or meter a mid-tone instead.
- Blaming the camera for backlight. A dark subject against a bright window is a metering choice, not a camera fault. Switch to spot or center-weighted.
- Forgetting the focus point link. On many cameras spot metering follows the active focus point. Move the point and you move the meter.
What metering mode should I leave my camera on?
Matrix or evaluative metering for everyday shooting. It handles the majority of evenly lit scenes well. Switch to spot only when the subject and background brightness differ sharply.
Why does my backlit subject come out as a silhouette?
Matrix metering averaged the bright background into the exposure, so the camera darkened everything and your subject fell into shadow. Spot meter on the subject, or add positive exposure compensation, to bring the face back.
Does metering mode matter in manual mode?
Yes. In manual mode the metering mode changes what the meter scale reads, so it changes where 0 falls. You still decide the final exposure, but the reference you are aiming at depends on which area the camera is measuring.
Practice this
Turn the guide into a working setup
Shoot kits
Buy around the job, not the spec sheet
Beginner photo
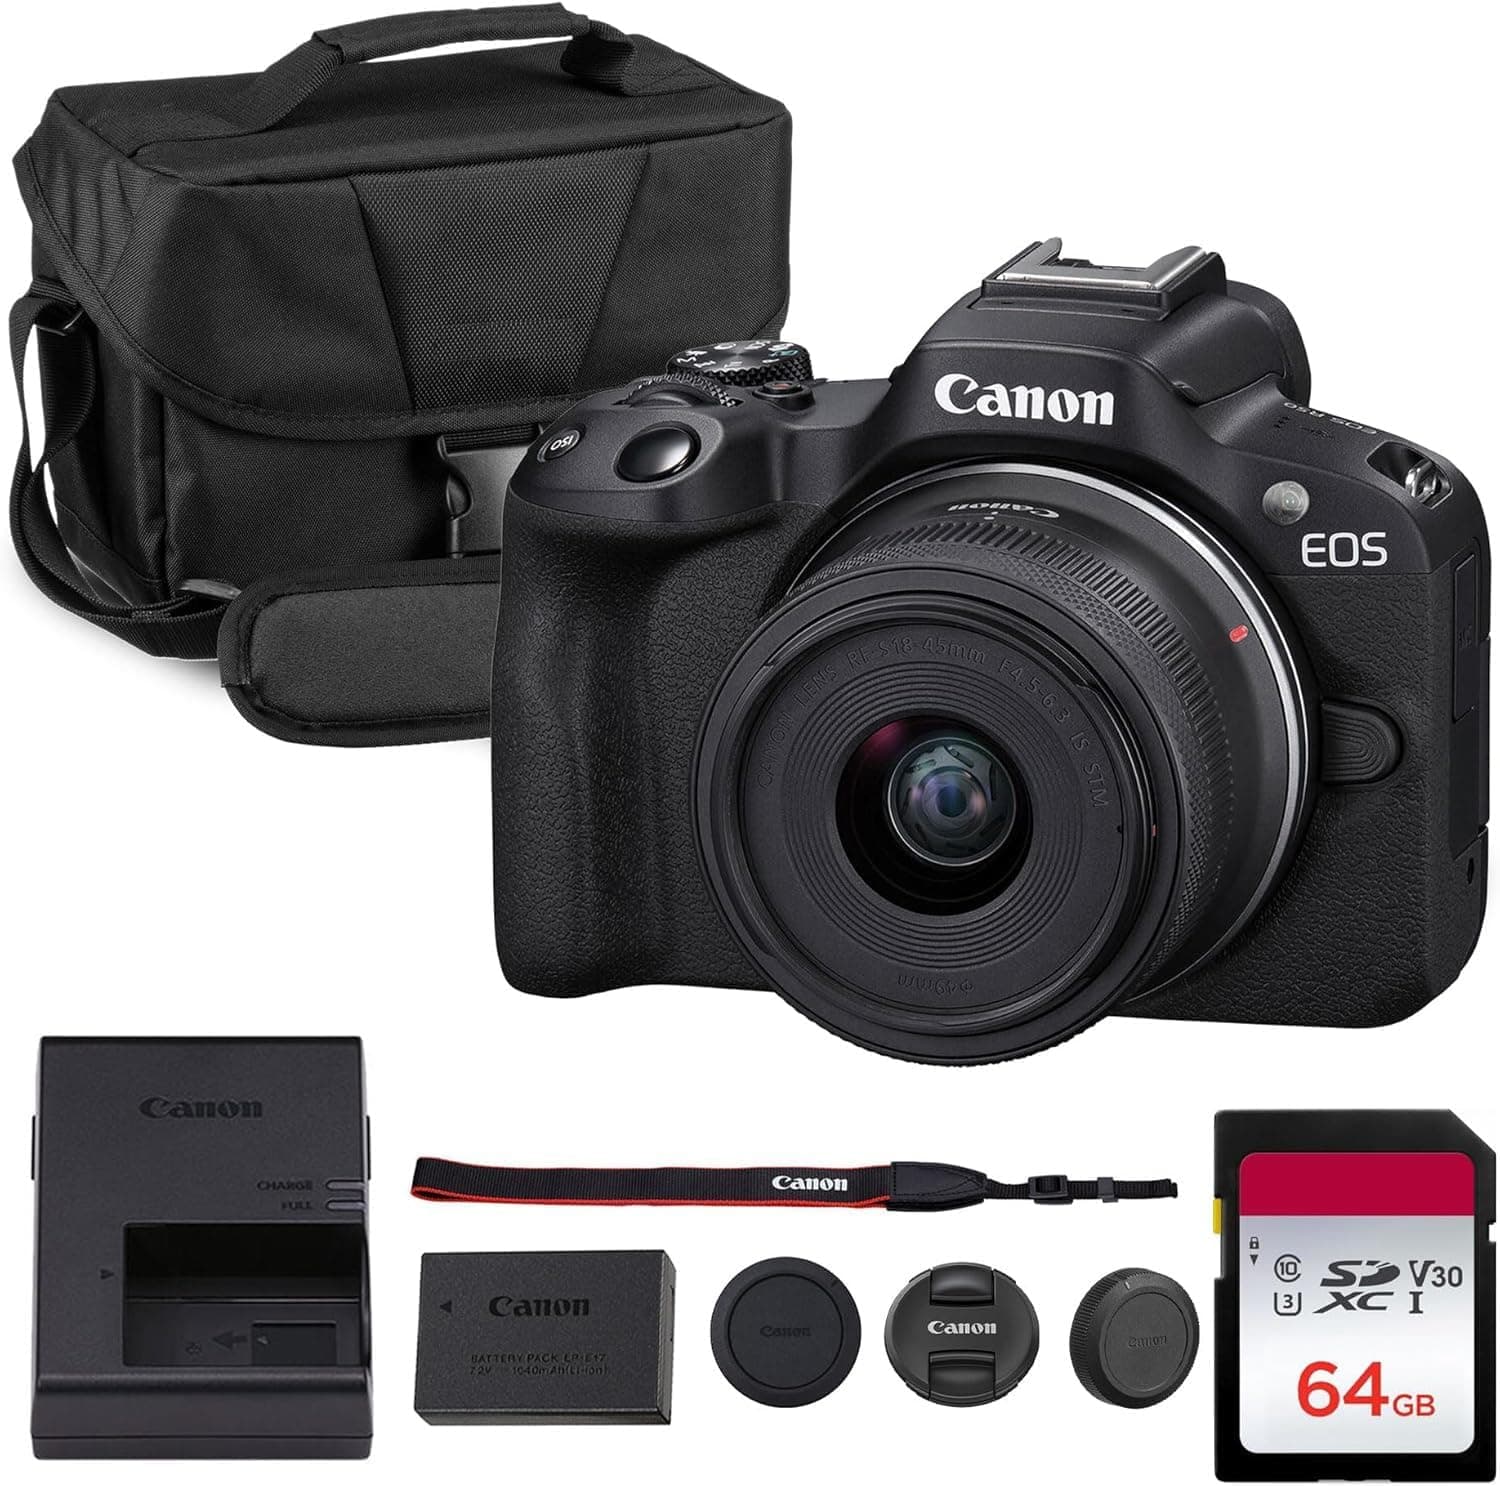
First real camera kit
$1,068
An affordable body, a sharp prime, a reliable card, and a small carry setup that does not turn learning into a hauling problem.
Best learning kit
Buy order: start with the first piece that makes the job possible, then add the support pieces that remove friction.
Camera: start here. If this piece does not make the shoot easier, the rest of the kit can wait.
Carry: add it after the core setup proves useful.
Canon EOS R50
Small, approachable, and good enough to learn exposure, autofocus, and lens choice properly.
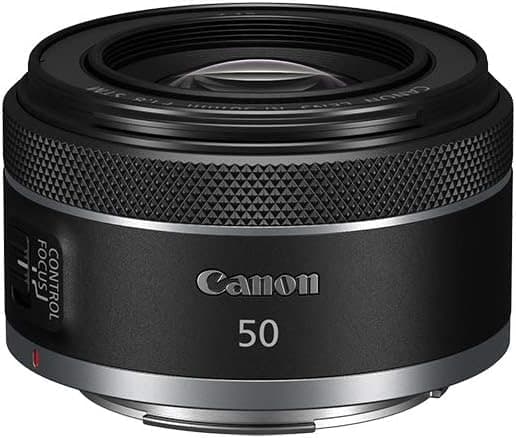
Canon RF 50mm f/1.8 STM
Cheap, bright, and useful for portraits, detail shots, and learning depth of field.
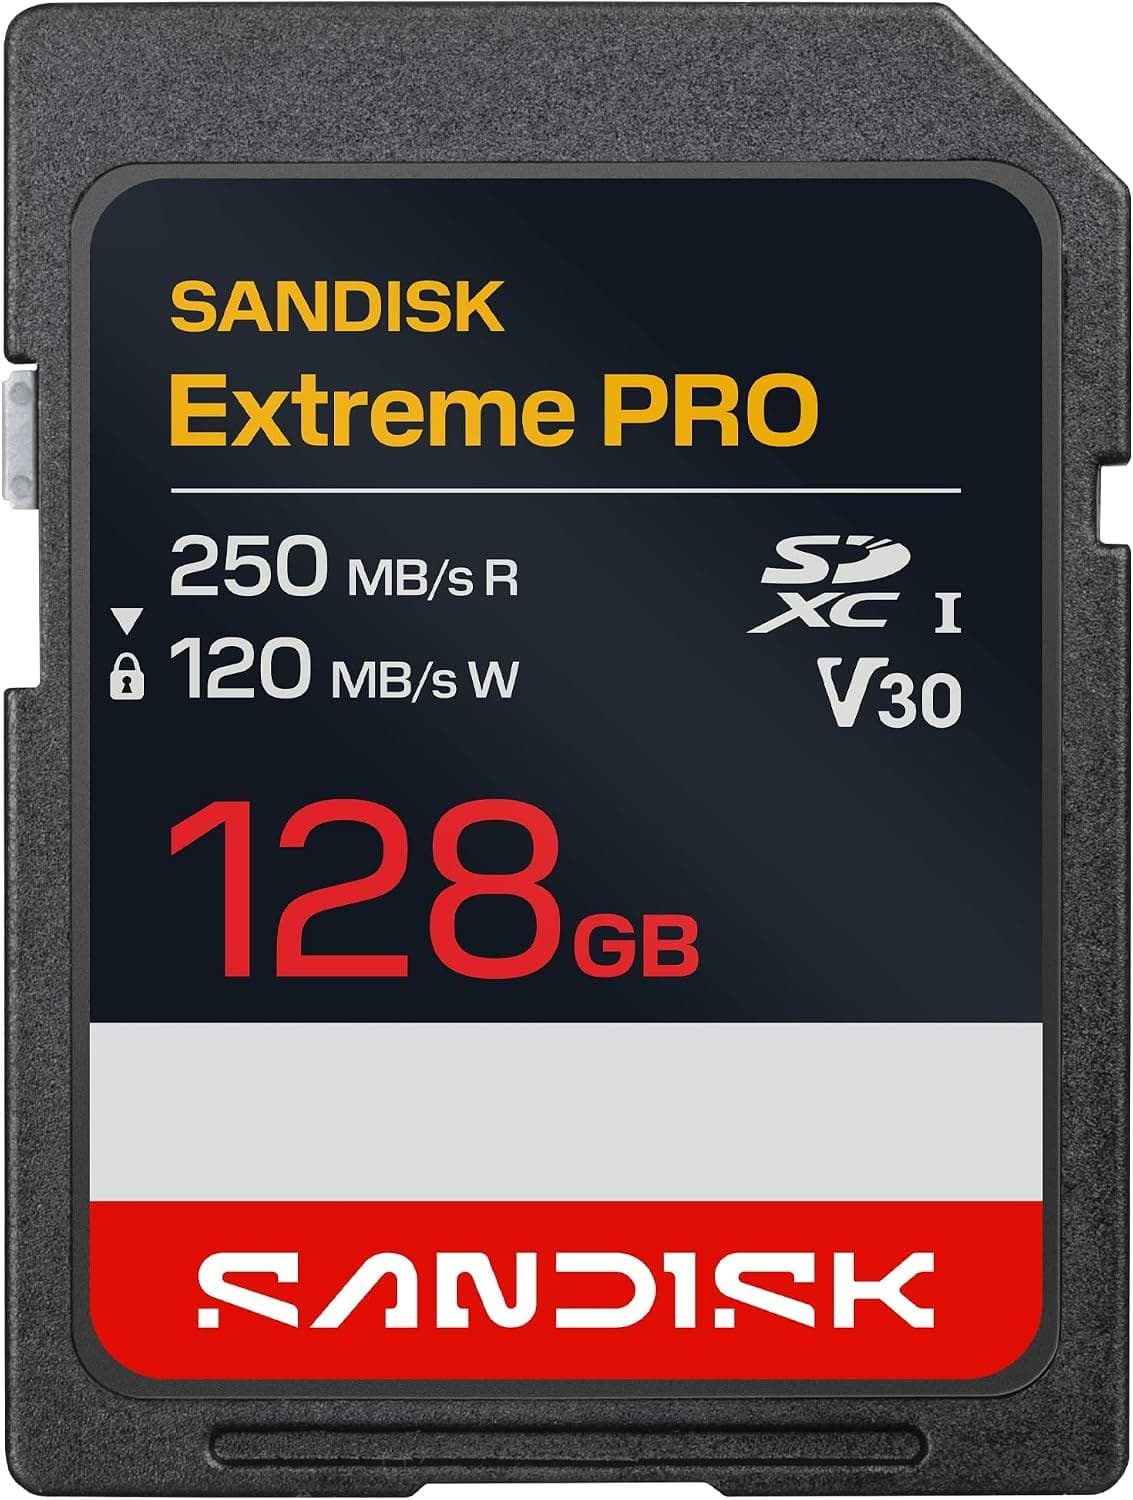
SanDisk Extreme Pro SDXC 128GB
Fast enough for normal stills and video without making storage the exciting purchase.
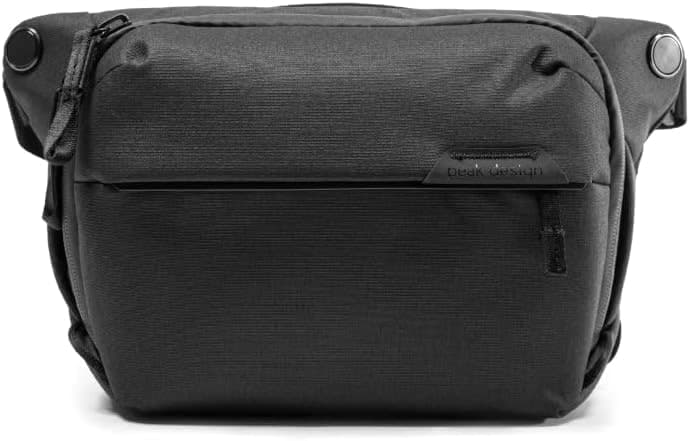
Peak Design Everyday Sling 6L V2
Room for a small body and lens without dragging a full backpack everywhere.
Prices are rough catalog totals. Retailer prices change, and you can swap pieces to fit your system.
Related Learn guides

Content Credentials and C2PA Explained for Photographers
Content Credentials record a photo's signed provenance and edits. Learn what C2PA proves, what it cannot prove, and how capture-to-export workflows work.

Open Gate Video Explained: When 3:2 Is Worth It
Open Gate records a taller sensor area for flexible 16:9, 9:16, and square crops. See when it helps, what it costs, and how to frame it correctly.

Pre-Capture Photography Explained: Get the Frame Before the Click
Pre-Capture buffers photos before the shutter is fully pressed. Learn how it works, which settings change, and when RAW, flash, or focus may be limited.

RAW vs JPEG: Which File Format Should You Shoot?
RAW keeps all your sensor data for maximum editing freedom; JPEG is smaller and ready to share. Here is how they differ and when each one is the right call.
Researched, not personally tested: picks compare specifications, available owner feedback, and established expert sources. As an Amazon Associate I earn from qualifying purchases. We may earn a commission from links here, at no extra cost to you. How we research →