We may earn a commission from links on this page, at no extra cost to you.
The problem
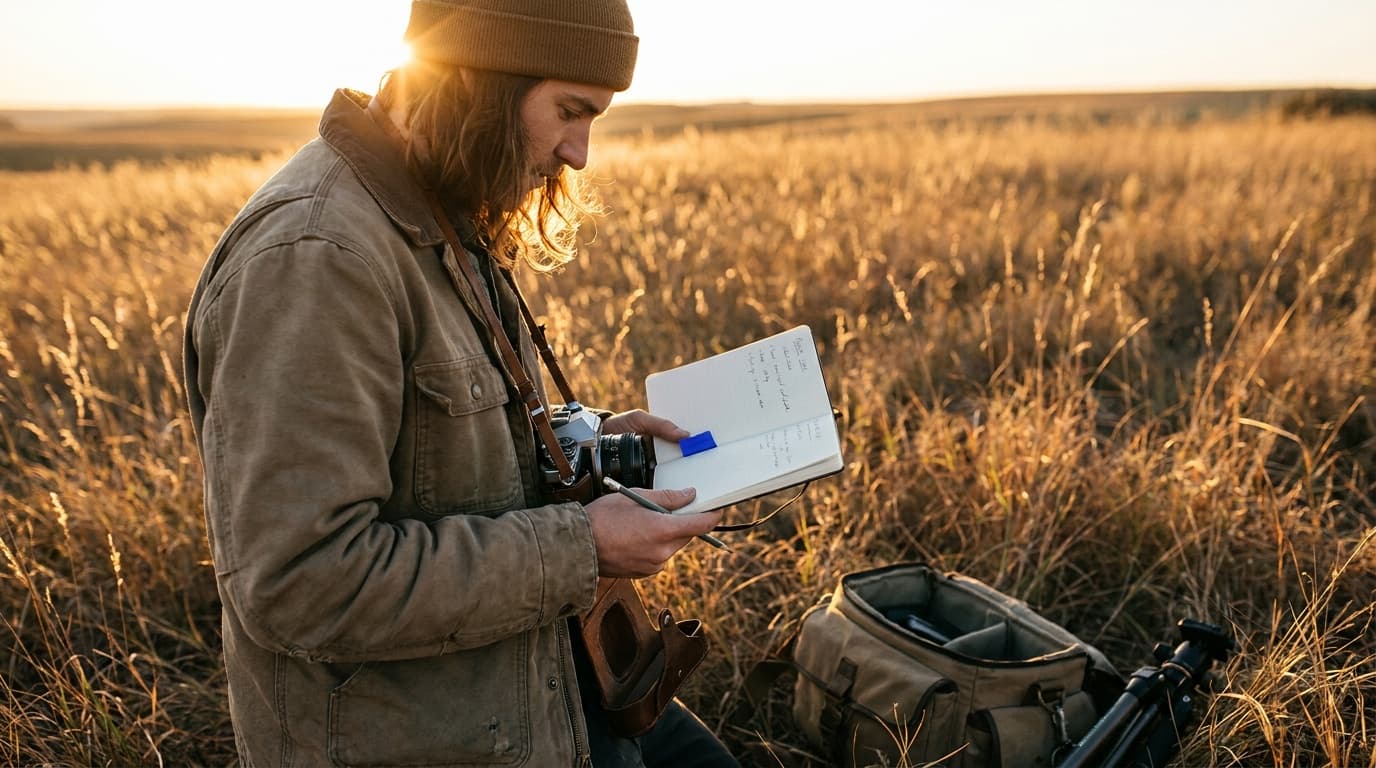
Golden hour looks easy because the light is beautiful on its own. The catch is that it is moving the whole time. In the space of twenty minutes the sun drops, the color warms further, and the overall brightness falls by more than a stop. Settings that were perfect at the start of the window are underexposed by the end. The light is also strongly directional, so where you place your subject relative to the sun changes the shot completely.
The settings
Golden hour is bright enough to keep quality high but dim enough that you have room to work. A typical front-lit or side-lit frame early in the window lands around:
Shoot wide open or close to it. The soft light will not blow out the way midday sun does, so you can let the aperture do the work of separating your subject from a glowing background. As the sun sinks, your priority order is: keep the shutter speed safe first, then raise ISO, and only stop down the aperture if you specifically want more of the scene sharp.
Interactive exposure demo. Enable JavaScript to drag the exposure for this light.
The fix
The real control at golden hour is direction, not dials. Put the sun behind your subject for a rim of warm light and a glowing edge, off to the side for texture and depth, or in front of them for an even warm wash. Expose for your subject's face, not the bright sky, and let the background go as bright as it wants. If you want the sky to keep detail, wait until the sun is right at the horizon and the brightness difference shrinks.
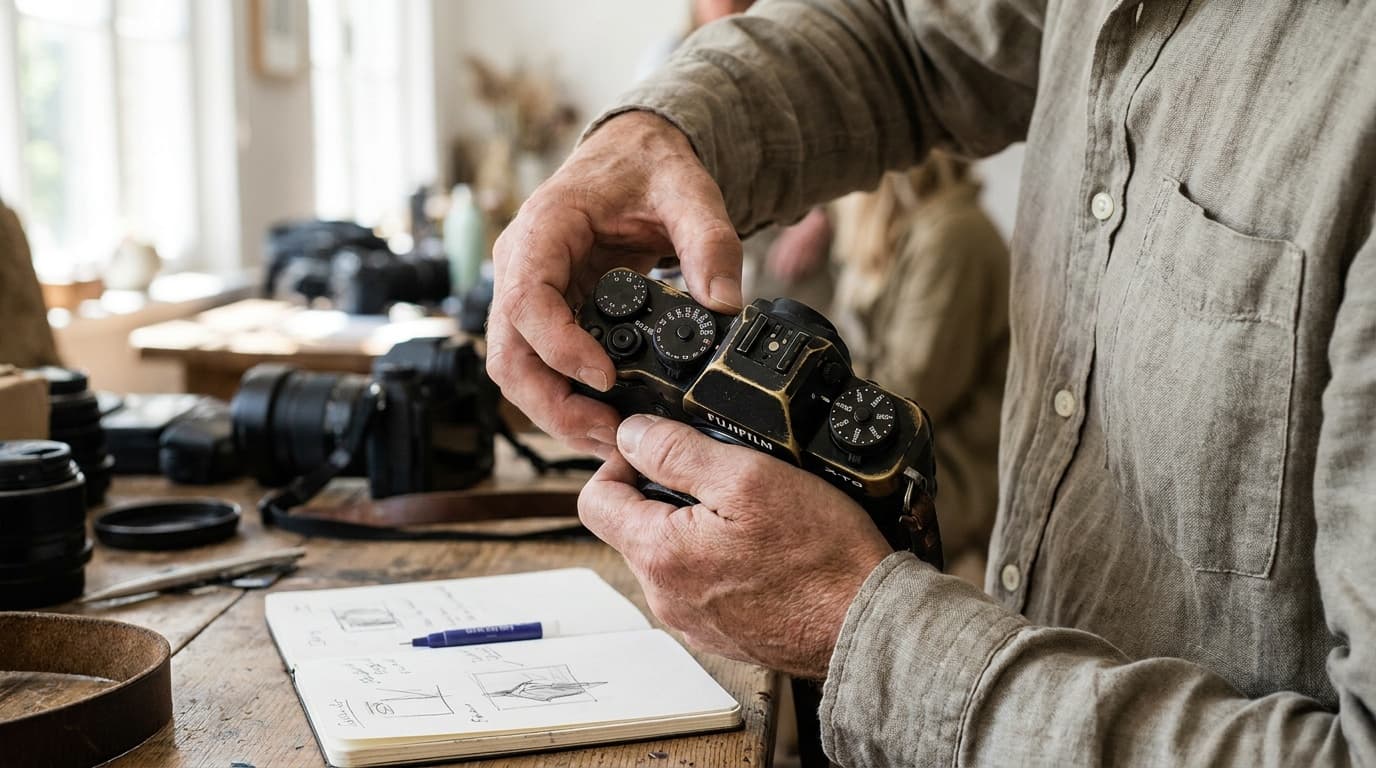
The gear that helps
A lens that opens wide, around f/2.8 or faster, is what lets you make the most of the glow and the shallow depth. If you are deciding between a fast prime and a zoom for this kind of work, the prime vs zoom guide lays out the trade-off. You do not need anything else; golden hour rewards a simple setup and good timing.
Where this fits
Golden hour is the classic light for portrait photography, where the warm tone flatters skin and the low angle gives catchlights in the eyes. The settings above are just the exposure triangle applied to a fast-fading window, so the more fluent you are with those three controls, the more you get out of the twenty minutes you have.
When exactly is golden hour?
Roughly the hour after sunrise and the hour before sunset, though the best light is often the first or last twenty minutes of that window. A sun-position app will give you exact times for your location and date.
Should I use a low or high ISO at golden hour?
Start low, around ISO 100, while the light is still strong. Raise it only as the sun drops and your shutter speed starts to get too slow to hold steady. Protecting a usable shutter speed matters more than chasing the cleanest possible file.
Related Learn guides
Aperture Priority vs Shutter Priority: Which to Use
Aperture priority lets you control depth of field; shutter priority lets you control motion. Here is what each mode locks, what it leaves to the camera, and when to pick which.
Read guide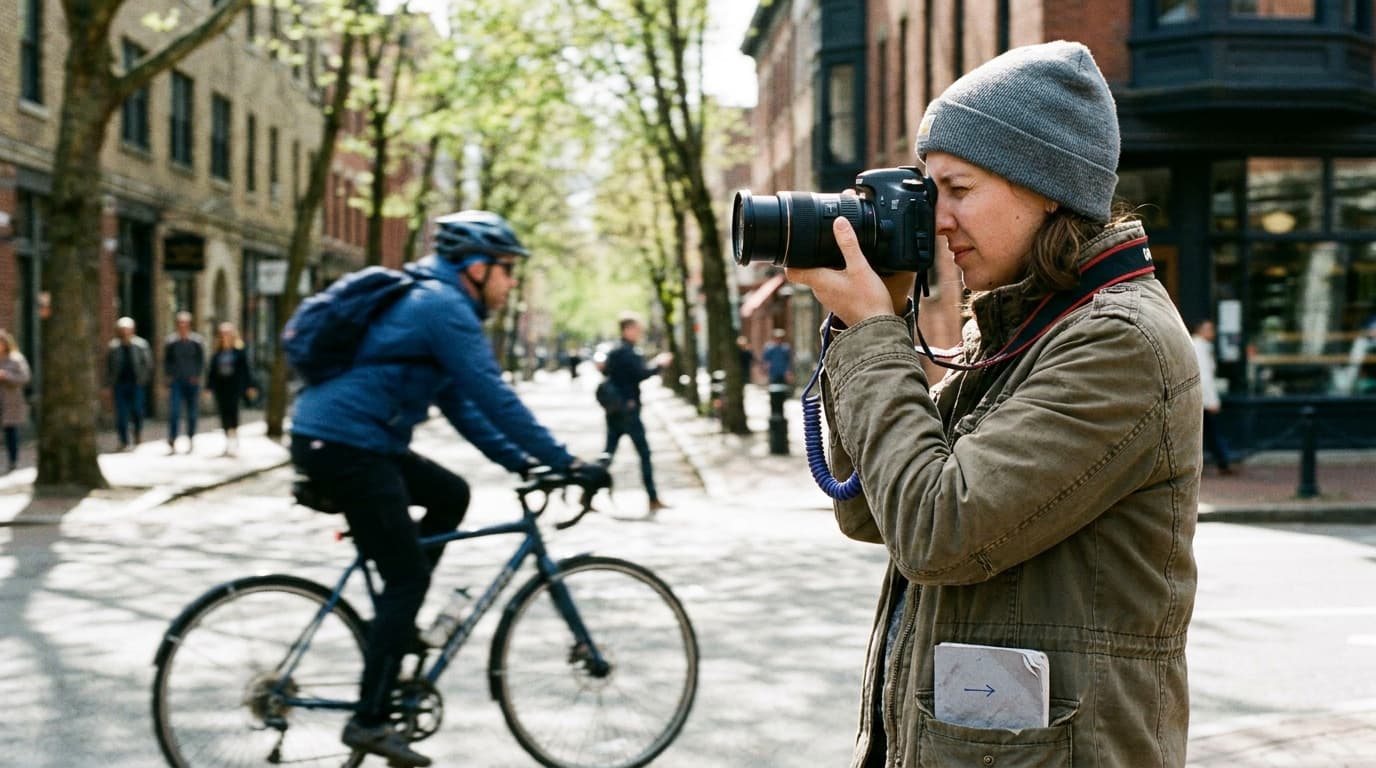
Autofocus Modes Explained: Single, Continuous, and Auto
Single autofocus locks on still subjects; continuous tracks moving ones. Here is what AF-S, AF-C, and the focus area modes do, and which to pick for your shot.
Read guide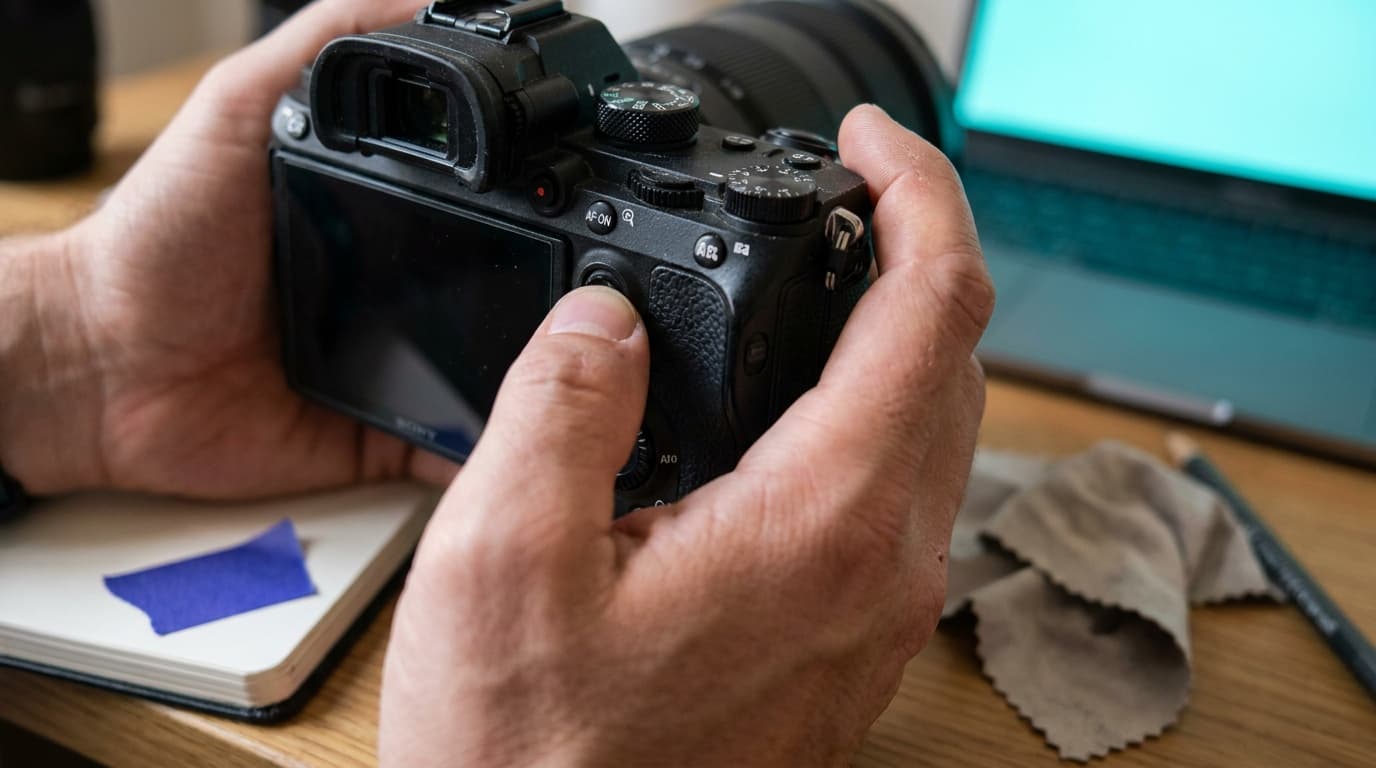
Back Button Focus Explained: What It Is and Why to Use It
Back button focus moves focusing off the shutter button onto a rear button, so the shutter only takes the photo. Here is what it does and how to set it up.
Read guide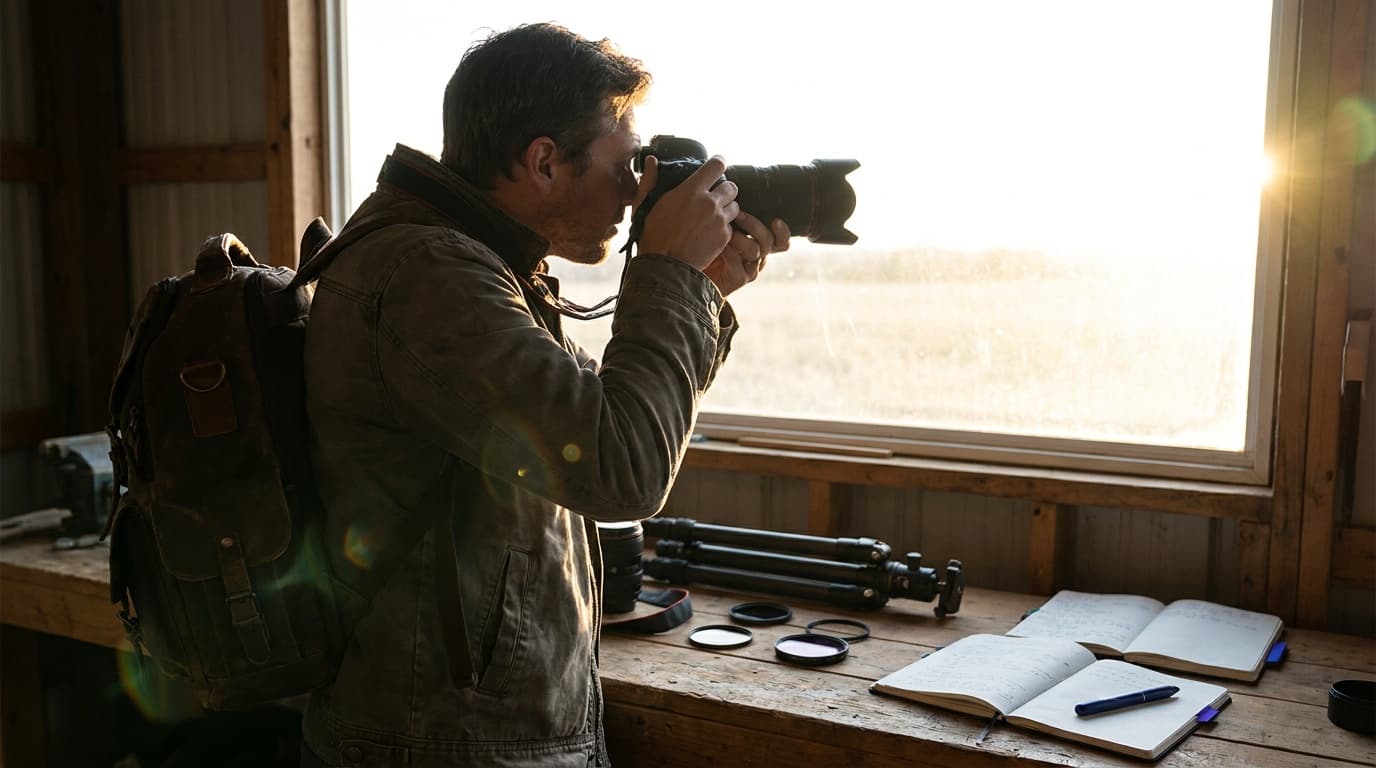
Backlight and Silhouettes: Shooting Into the Light
When the light is behind your subject, it either glows or goes black. Here is how to control which one you get.
Read guideResearched, not personally tested: picks come from specs, verified-owner reviews, and expert sources, scored into the Aperture Score. As an Amazon Associate I earn from qualifying purchases. We may earn a commission from links here, at no extra cost to you. How we research →