
We may earn a commission from links on this page, at no extra cost to you. Picks are researched, not sponsored.
What the two formats actually are
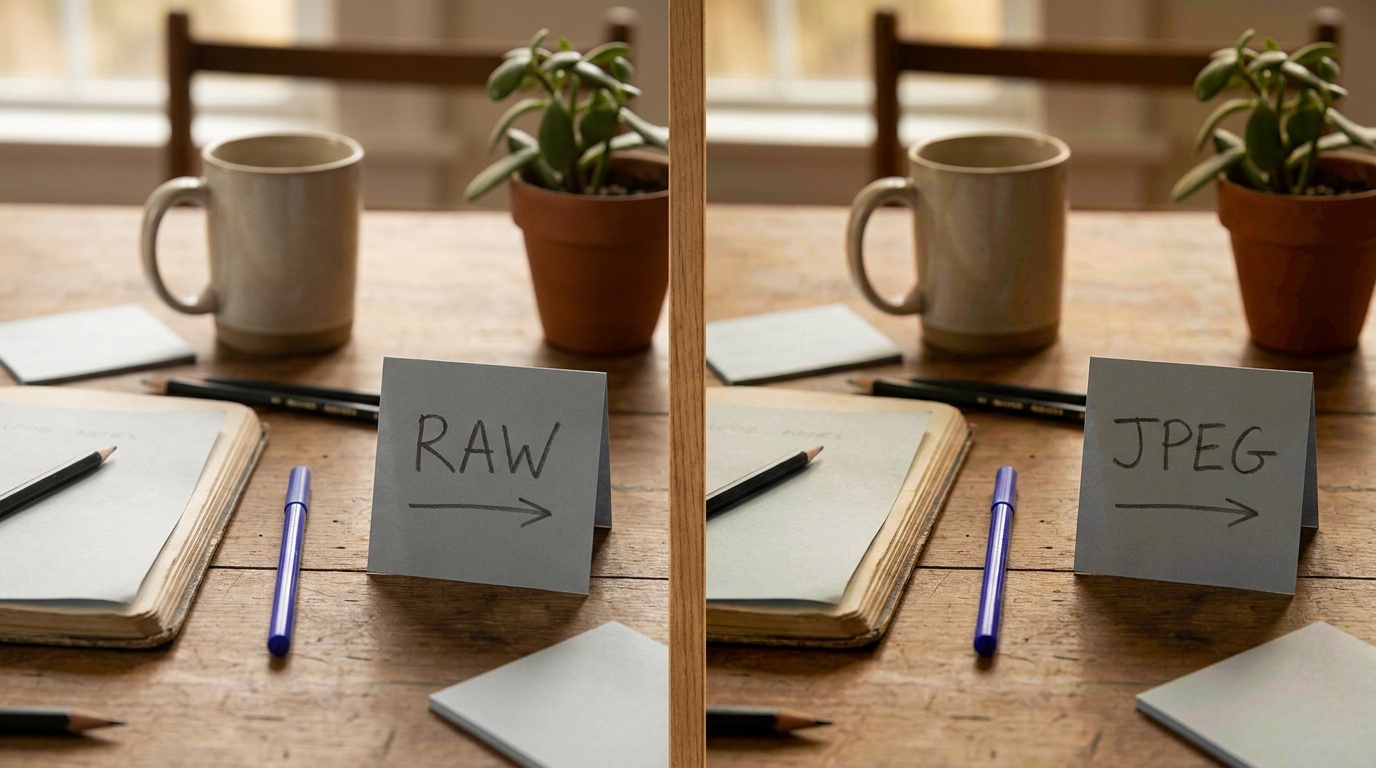
A RAW file is the unprocessed readout from your camera's sensor. Nothing is baked in: white balance, contrast, sharpening, and color are all stored as instructions rather than applied, which is why a RAW file looks flat straight out of the camera and needs editing to come alive. The upside is that all the original information is still there to work with. Most cameras record RAW at 12 or 14 bits per channel, which is 4,096 or 16,384 tonal steps, versus the 256 steps of an 8-bit JPEG.
A JPEG is what you get when the camera takes that same sensor data, applies its own choices for white balance, contrast, color, and sharpening, then compresses the result down to 8 bits and discards the data it no longer needs. The file is small and looks finished immediately. The cost is that those choices are now permanent, and the discarded data cannot be recovered. A JPEG is a developed photo; a RAW file is the negative.
The practical differences
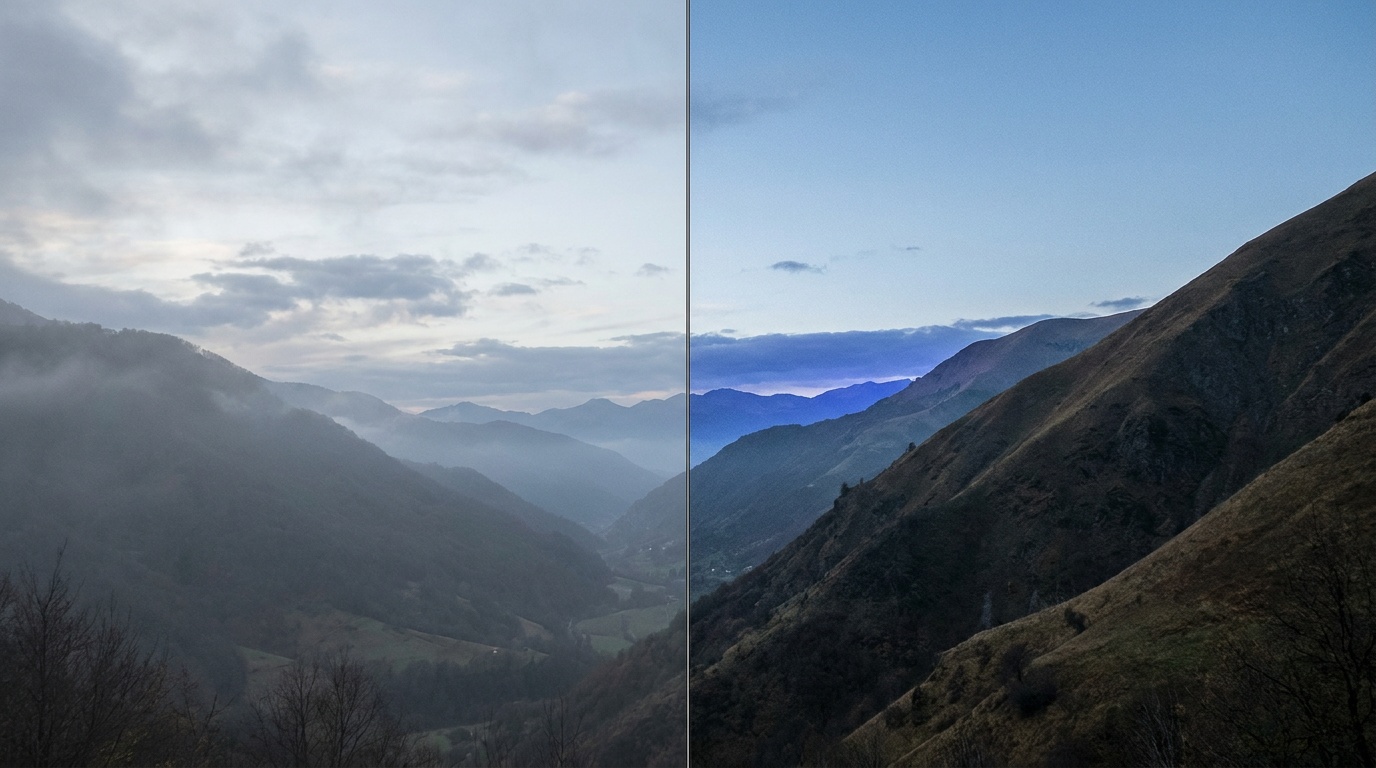
The clearest difference shows up when a shot is not perfect. With a RAW file you can pull back a blown sky, lift deep shadows, and reset white balance to any value as if you had set it correctly in camera, all without the image falling apart. Do the same edits to a JPEG and you hit a wall fast: pushed shadows turn blocky, recovered highlights stay gray, and a heavy white balance shift smears the color.
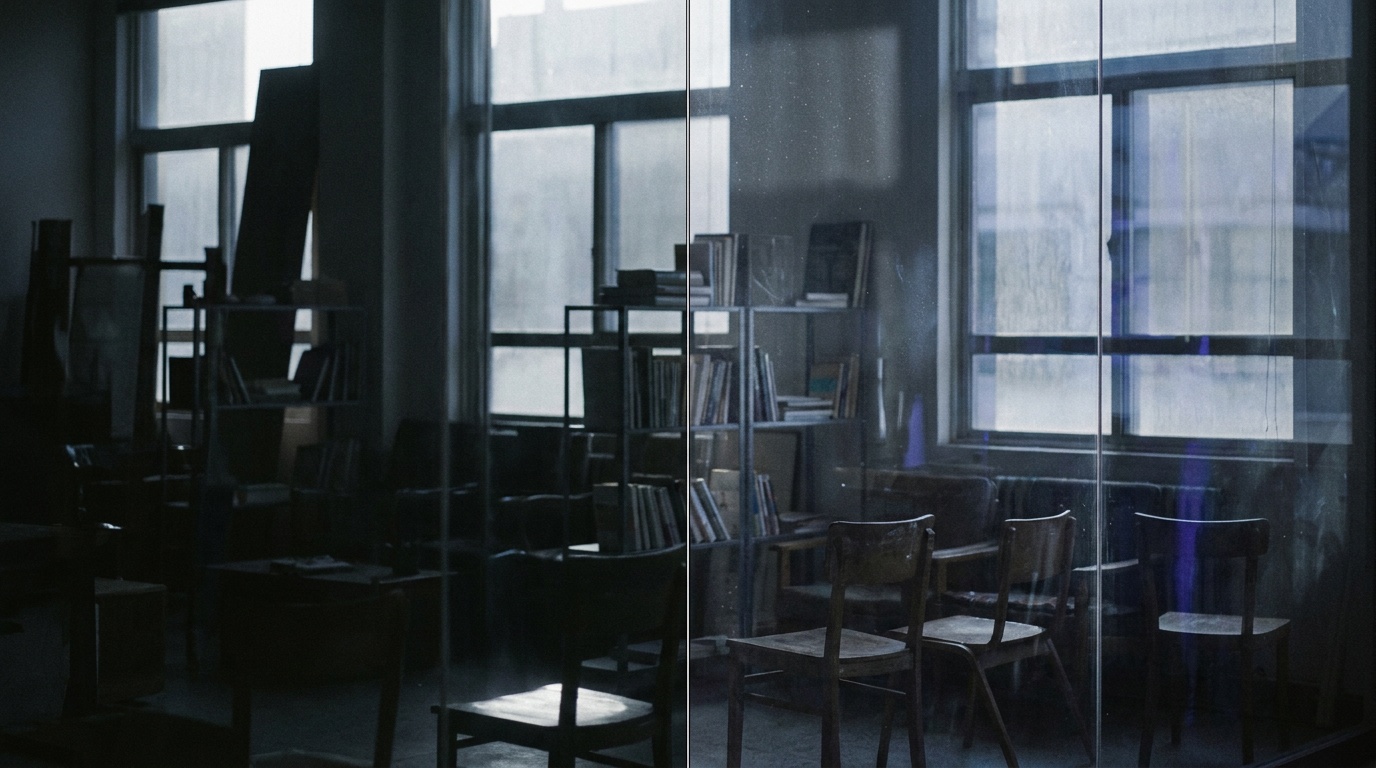
The reason is bit depth. The brightest stop of light uses up half of a RAW file's available values, the next stop half of what remains, and so on, so the extra bits in a 14-bit RAW translate directly into more usable detail in the darkest tones. That is why RAW recovers shadows that a JPEG has already crushed.
The trade-offs run the other way too. RAW files are several times larger, often 25 to 50 MB versus a few MB for a JPEG, so they fill cards and drives quicker. They are not viewable everywhere and need software to convert. And they always need at least a little editing, because the camera is no longer doing it for you. JPEGs are universal, tiny, and done.
File format is also separate from provenance. Content Credentials and C2PA can attach a signed origin and edit history to supported outputs, but the camera, editor, export format, and publishing platform all have to preserve the chain.
Common mistakes
The most common mistake is shooting JPEG to "save time," then trying to rescue an underexposed or badly white-balanced frame and finding the data is simply gone. If a shot is important and the light is hard, RAW is cheap insurance. The opposite mistake is shooting RAW for everything, including snapshots you will never edit, and drowning in files and editing time you did not need.
A subtler mistake is assuming RAW makes your photos look better on its own. It does not. A RAW file looks worse straight out of the camera; it only wins after you edit it. If you never plan to open an editor, a well-set JPEG may genuinely serve you better. One more: relying on RAW to fix bad exposure rather than getting it close in camera. RAW has latitude, but it is not infinite, and a properly exposed file always beats a rescued one.
When each one wins
RAW wins whenever the photo is worth protecting and the light is unforgiving: a sunset with a bright sky and dark foreground, a portrait under mixed light, a once-only moment you cannot reshoot. The recovery latitude turns a near miss into a keeper. It is also the format that makes a clean black and white conversion possible, because you need the full color data to control how each hue maps to gray.
JPEG wins on volume and speed. A photographer firing thousands of frames at an event, or anyone who wants images straight to a phone, is well served by a good JPEG and the camera's processing. Knowing which one to pick is part of the same fluency as the exposure triangle: match the tool to the job, and reach for RAW's headroom only when the shot will use it.
Will shooting RAW make my photos look better automatically?
No. A RAW file looks flatter than a JPEG straight out of the camera because no contrast, sharpening, or color processing is applied yet. RAW gives you the freedom to make the photo look better through editing, but it requires that editing step. JPEG does the processing for you in camera.
Should I shoot RAW and JPEG at the same time?
It is a good middle ground if your card has room. You get a ready-to-share JPEG immediately and a full RAW file to edit later if the shot turns out to be worth it. The cost is roughly double the storage per frame, so it suits important shoots more than high-volume bursts.
Do I need special software to open RAW files?
Usually yes. RAW formats differ by camera brand, so you open and convert them in an editor like Lightroom, Darktable, or your camera maker's own software. Once converted, you export to a standard format like JPEG to share. See intro to photo editing for where to start.
How much bigger are RAW files than JPEGs?
Roughly five to ten times larger. A JPEG from a 24-megapixel camera might be 6 to 12 MB, while the matching RAW is often 25 to 50 MB depending on bit depth and compression. Plan for bigger memory cards and more drive space if you commit to RAW.
Keep going
Next useful steps
Pick one. Each link continues the same job without starting the research over.
Shoot kits
Buy around the job, not the spec sheet
Beginner photo
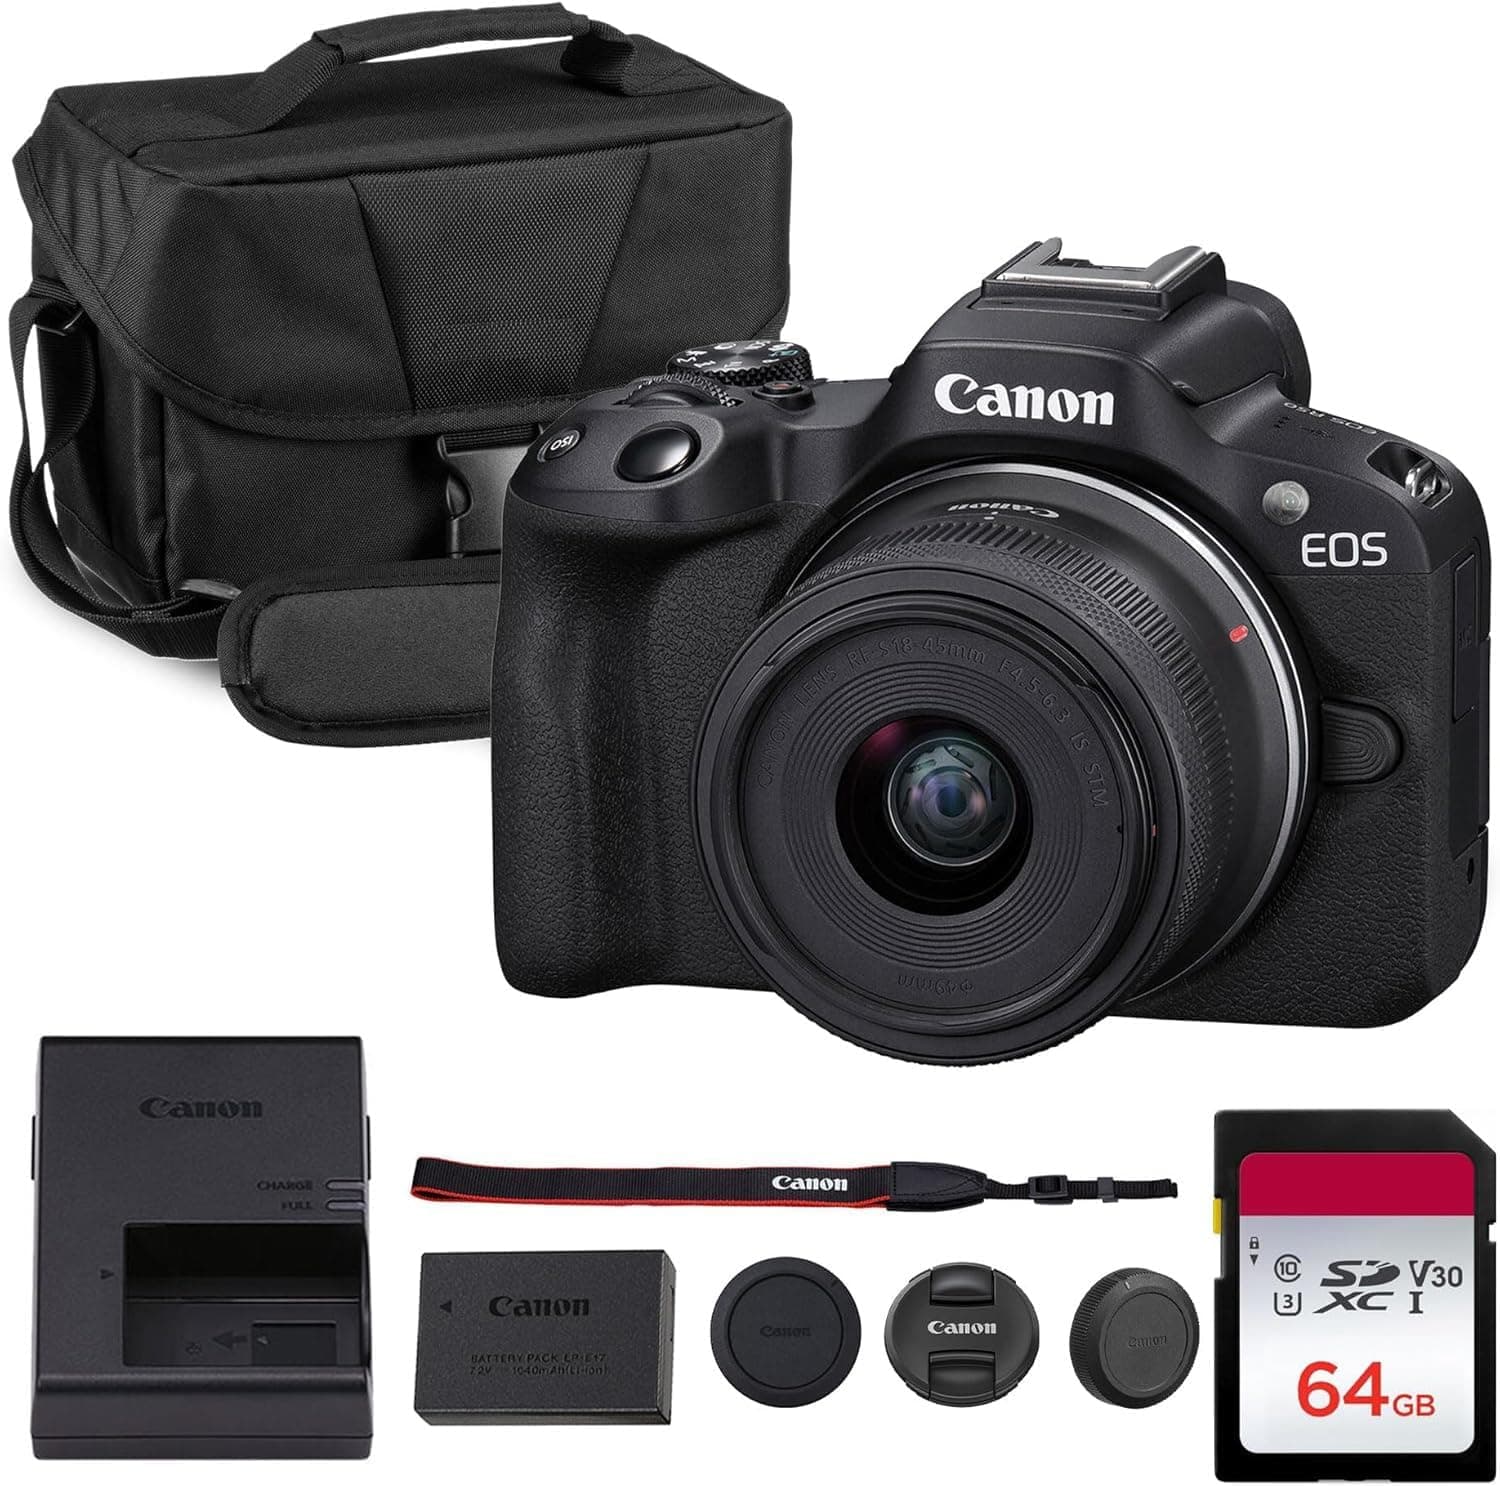
First real camera kit
$1,068
An affordable body, a sharp prime, a reliable card, and a small carry setup that does not turn learning into a hauling problem.
Best learning kit
Buy order: start with the first piece that makes the job possible, then add the support pieces that remove friction.
Camera: start here. If this piece does not make the shoot easier, the rest of the kit can wait.
Carry: add it after the core setup proves useful.
Canon EOS R50
Small, approachable, and good enough to learn exposure, autofocus, and lens choice properly.
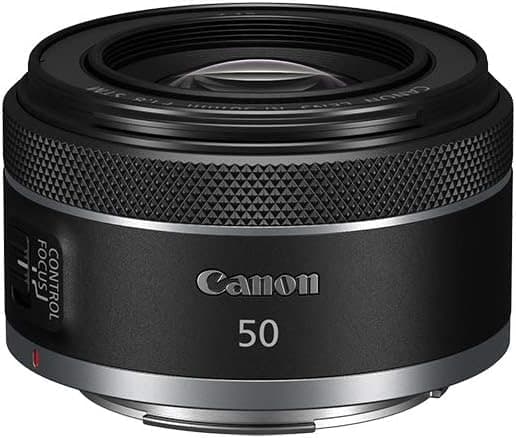
Canon RF 50mm f/1.8 STM
Cheap, bright, and useful for portraits, detail shots, and learning depth of field.
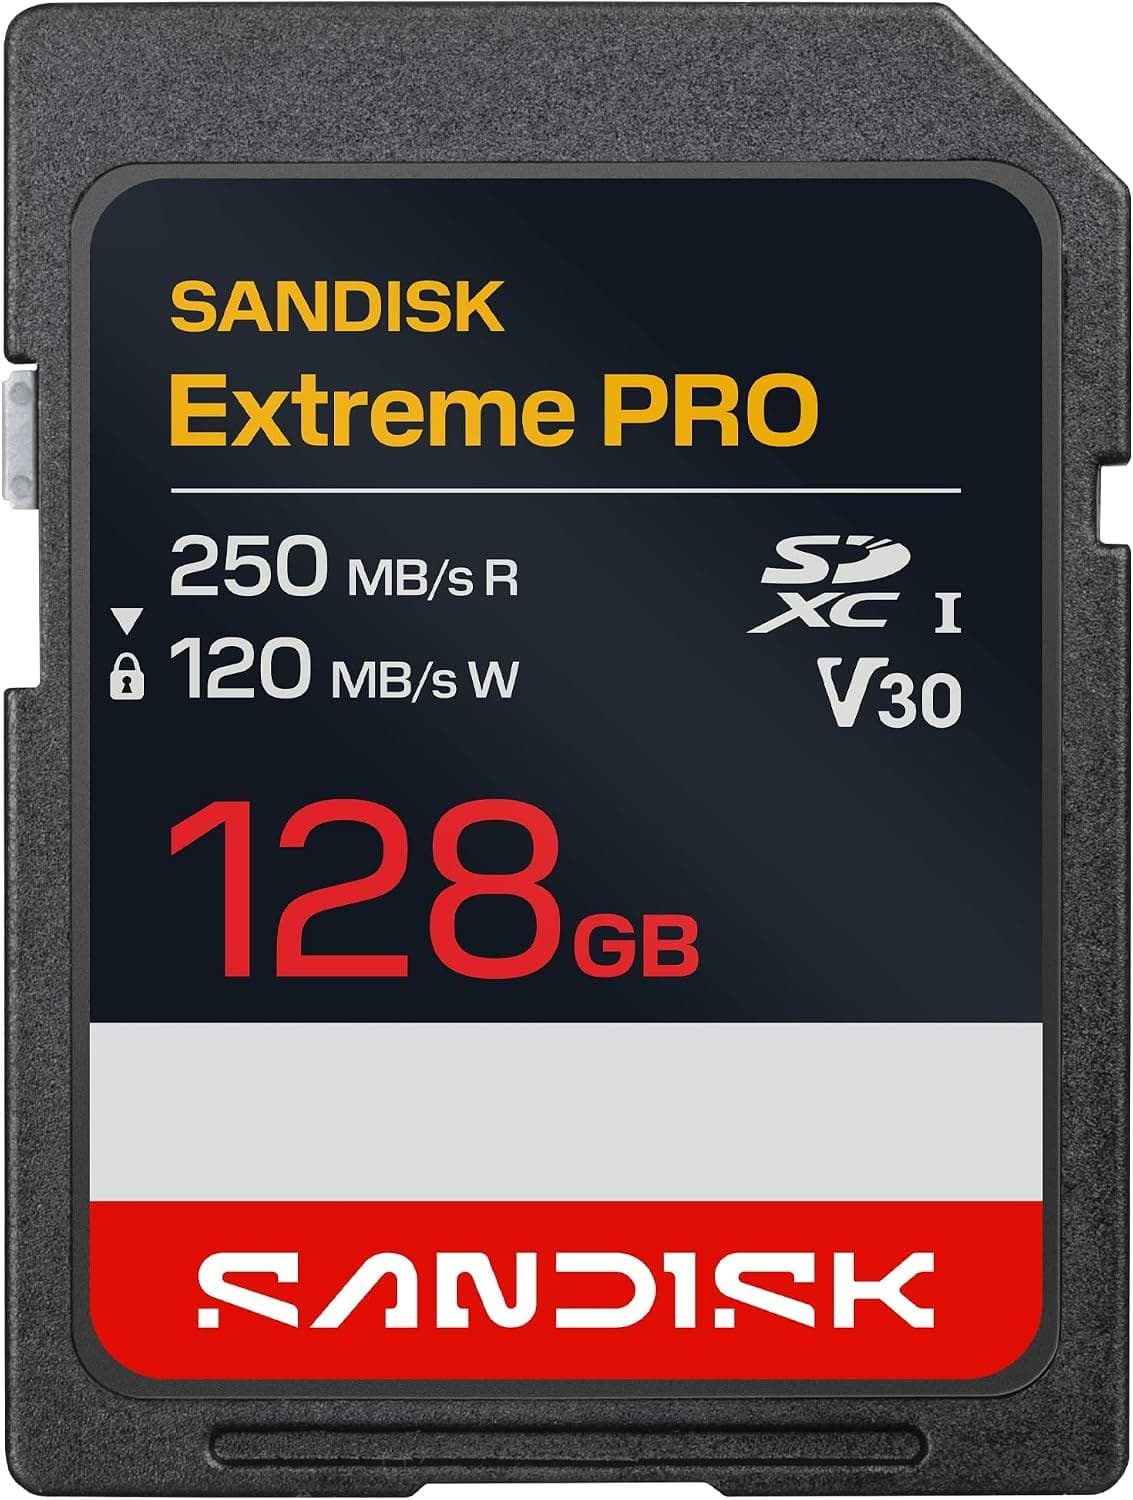
SanDisk Extreme Pro SDXC 128GB
Fast enough for normal stills and video without making storage the exciting purchase.
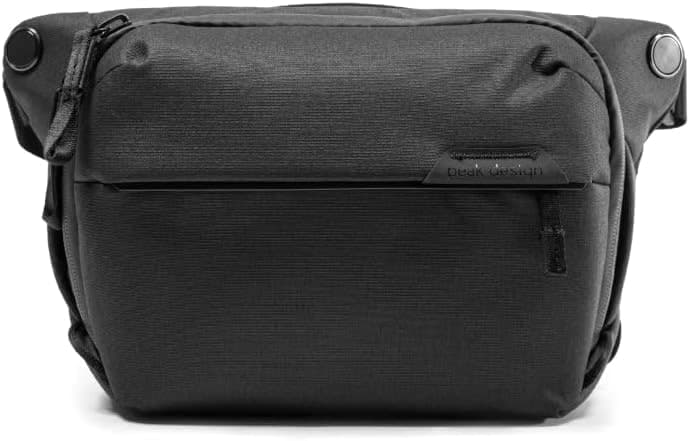
Peak Design Everyday Sling 6L V2
Room for a small body and lens without dragging a full backpack everywhere.
Prices are rough catalog totals. Retailer prices change, and you can swap pieces to fit your system.
Related Learn guides

Content Credentials and C2PA Explained for Photographers
Content Credentials record a photo's signed provenance and edits. Learn what C2PA proves, what it cannot prove, and how capture-to-export workflows work.

Open Gate Video Explained: When 3:2 Is Worth It
Open Gate records a taller sensor area for flexible 16:9, 9:16, and square crops. See when it helps, what it costs, and how to frame it correctly.

Pre-Capture Photography Explained: Get the Frame Before the Click
Pre-Capture buffers photos before the shutter is fully pressed. Learn how it works, which settings change, and when RAW, flash, or focus may be limited.
Time-Lapse Photography: Settings, Intervals, and the Day-to-Night Move
Shoot one frame every few seconds for hours, then play them back as video. Here are the settings, the interval math, and the tricky day-to-night transition.
Researched, not personally tested: picks compare specifications, available owner feedback, and established expert sources. As an Amazon Associate I earn from qualifying purchases. We may earn a commission from links here, at no extra cost to you. How we research →