We may earn a commission from links on this page, at no extra cost to you. Picks are researched, not sponsored.
What white balance actually is
Your eyes adapt to light without you noticing. A white shirt looks white under a warm kitchen lamp, under blue midday sky, and under a fluorescent office tube, even though the actual color of that light is very different in each case. Your brain does the correcting automatically. Your camera has no such adaptation. Left to its own devices it records the light exactly as it is, which means a photo shot under warm bulbs comes out orange and a photo shot in shade comes out blue.
White balance is the camera's correction for this. You point it at the kind of light you are in, and it shifts all the colors so that something neutral, like a white wall or a gray card, reads as actually neutral rather than tinted. Get the white right and the skin tones, the greens, and the whites all fall into place behind it. That is the whole idea: fix the neutral, and every other color follows.

How the camera decides
In auto white balance the camera analyzes the scene and makes its best guess at what the light is. It is genuinely good now, and for a lot of everyday shooting you can leave it on auto and forget about it. The trouble is that it is a guess, and guesses go wrong in two predictable situations. The first is a scene dominated by one strong color, like a sunset or a green forest, where the camera tries to neutralize the very color you want to keep. The second is mixed light, where a warm lamp and cool window light fight in the same frame and the camera splits the difference, getting neither right.
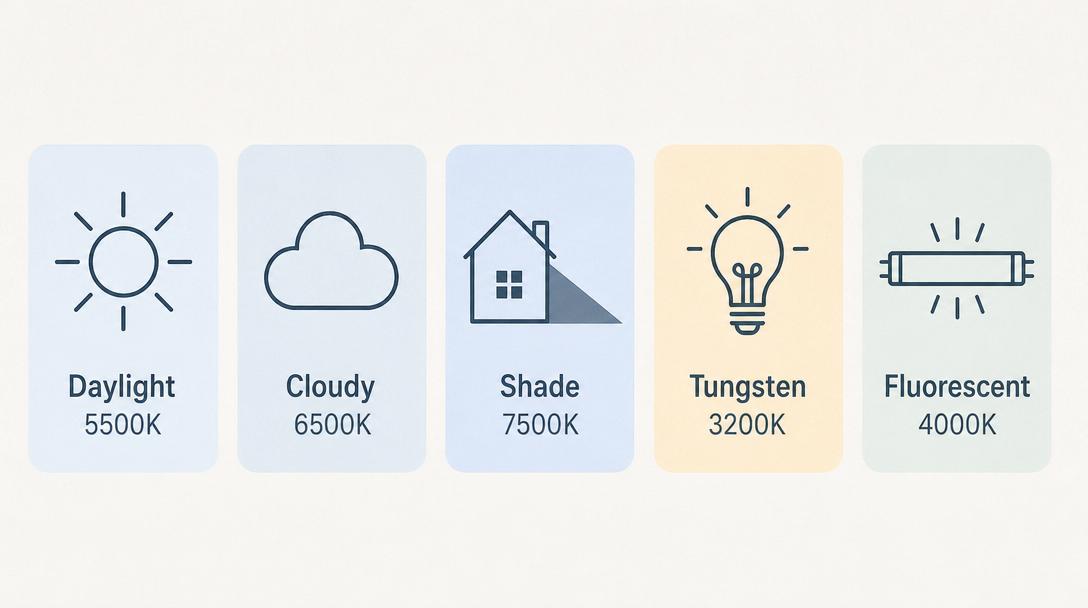
The fix is to stop guessing. Switch out of auto and pick a preset that matches the light: Daylight, Shade, Cloudy, Tungsten, or Fluorescent. Each one is just a stored color temperature, so Tungsten warms the file to cancel orange bulbs and Shade cools it to cancel blue. Choosing the preset yourself also gives you consistency, which matters when you shoot a set of photos that need to match.
The presets and what each one does
The presets are not interchangeable. Each is tuned to a specific light, and using the right one is the difference between true color and a cast you fix in editing later.
A useful habit: in the field, the two presets that "warm up" a scene, Cloudy and Shade, are often flattering even when the light is not technically that cool. A portrait on an overcast day shot with the Cloudy preset gets a pleasant warmth that neutral daylight would leave slightly cold. This is a creative choice, not an error.
Common mistakes
The most common mistake is shooting a whole indoor session on the wrong preset and only noticing the orange cast at the computer. Check the back of the camera before you commit to a setup. The second mistake is over-correcting: people set Tungsten outdoors by accident and wonder why everything is deeply blue. The preset has to match the light you are actually in.
A third mistake is treating white balance as something to nail perfectly in camera even when you shoot raw. If you record raw files, white balance is fully adjustable afterward with no quality loss, so close enough is fine and you can fine-tune later. See raw vs JPEG for why that matters. A fourth is leaving auto on for a multi-shot set and watching the color drift frame to frame as the camera re-guesses; lock a preset or a Kelvin value for any series that needs to match.
When it matters most
White balance matters most when skin is in the frame and when whites need to stay white. A wedding shot under warm reception lighting, a portrait in open shade, or a product on a white background all live or die on accurate color. It matters least for moody scenes where you want the cast: a candlelit room is supposed to feel warm, and neutralizing it kills the mood.
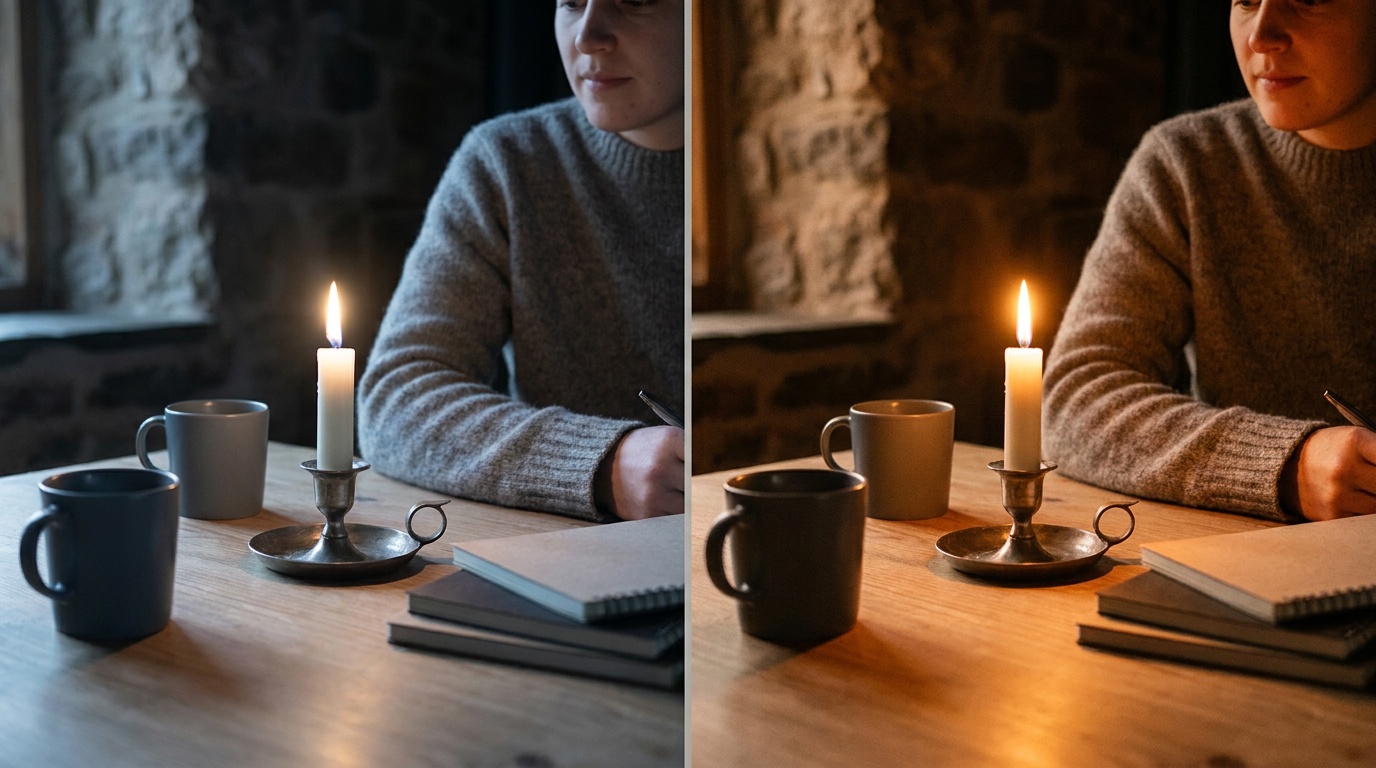
This is also where color and exposure meet. Reading your histogram tells you about brightness, but it will not flag a color cast, so train your eye to catch tint separately. And once exposure is second nature through the exposure triangle, color becomes the next thing worth getting right every time. When a preset is not precise enough, the next step is setting a custom white balance from a neutral target, and the numbers behind it all are explained in color temperature and Kelvin.
Should I just leave white balance on auto?
For casual shooting, yes. Auto white balance is reliable in normal daylight and mixed daytime scenes. Switch to a preset when the light is strongly colored, when you need a set of photos to match, or when auto keeps neutralizing a warm or cool look you actually want to keep.
Why do my indoor photos look orange?
Household bulbs are warm, around 2700K to 3200K, and if your camera is set to a daylight preset it does not correct for them. Switch to the Tungsten or Incandescent preset, or set auto white balance and let the camera neutralize the warmth. If you shoot raw, you can also fix it completely in editing.
Is white balance the same as color temperature?
They are closely related but not identical. Color temperature, measured in Kelvin, describes how warm or cool a light source is. White balance is the camera setting that compensates for that temperature. See color temperature and Kelvin for the full picture.
Which preset is best for cloudy days?
The Cloudy preset, around 6500K, adds a touch of warmth that counteracts the slight blue of overcast light and tends to look flattering on skin. Shade at ~7500K warms even more, for the deeper blue of open shade under a clear sky.
Keep going
Next useful steps
Pick one. Each link continues the same job without starting the research over.
Shoot kits
Buy around the job, not the spec sheet
Beginner photo
First real camera kit
$1,068
An affordable body, a sharp prime, a reliable card, and a small carry setup that does not turn learning into a hauling problem.
Best learning kit
Buy order: start with the first piece that makes the job possible, then add the support pieces that remove friction.
Camera: start here. If this piece does not make the shoot easier, the rest of the kit can wait.
Carry: add it after the core setup proves useful.
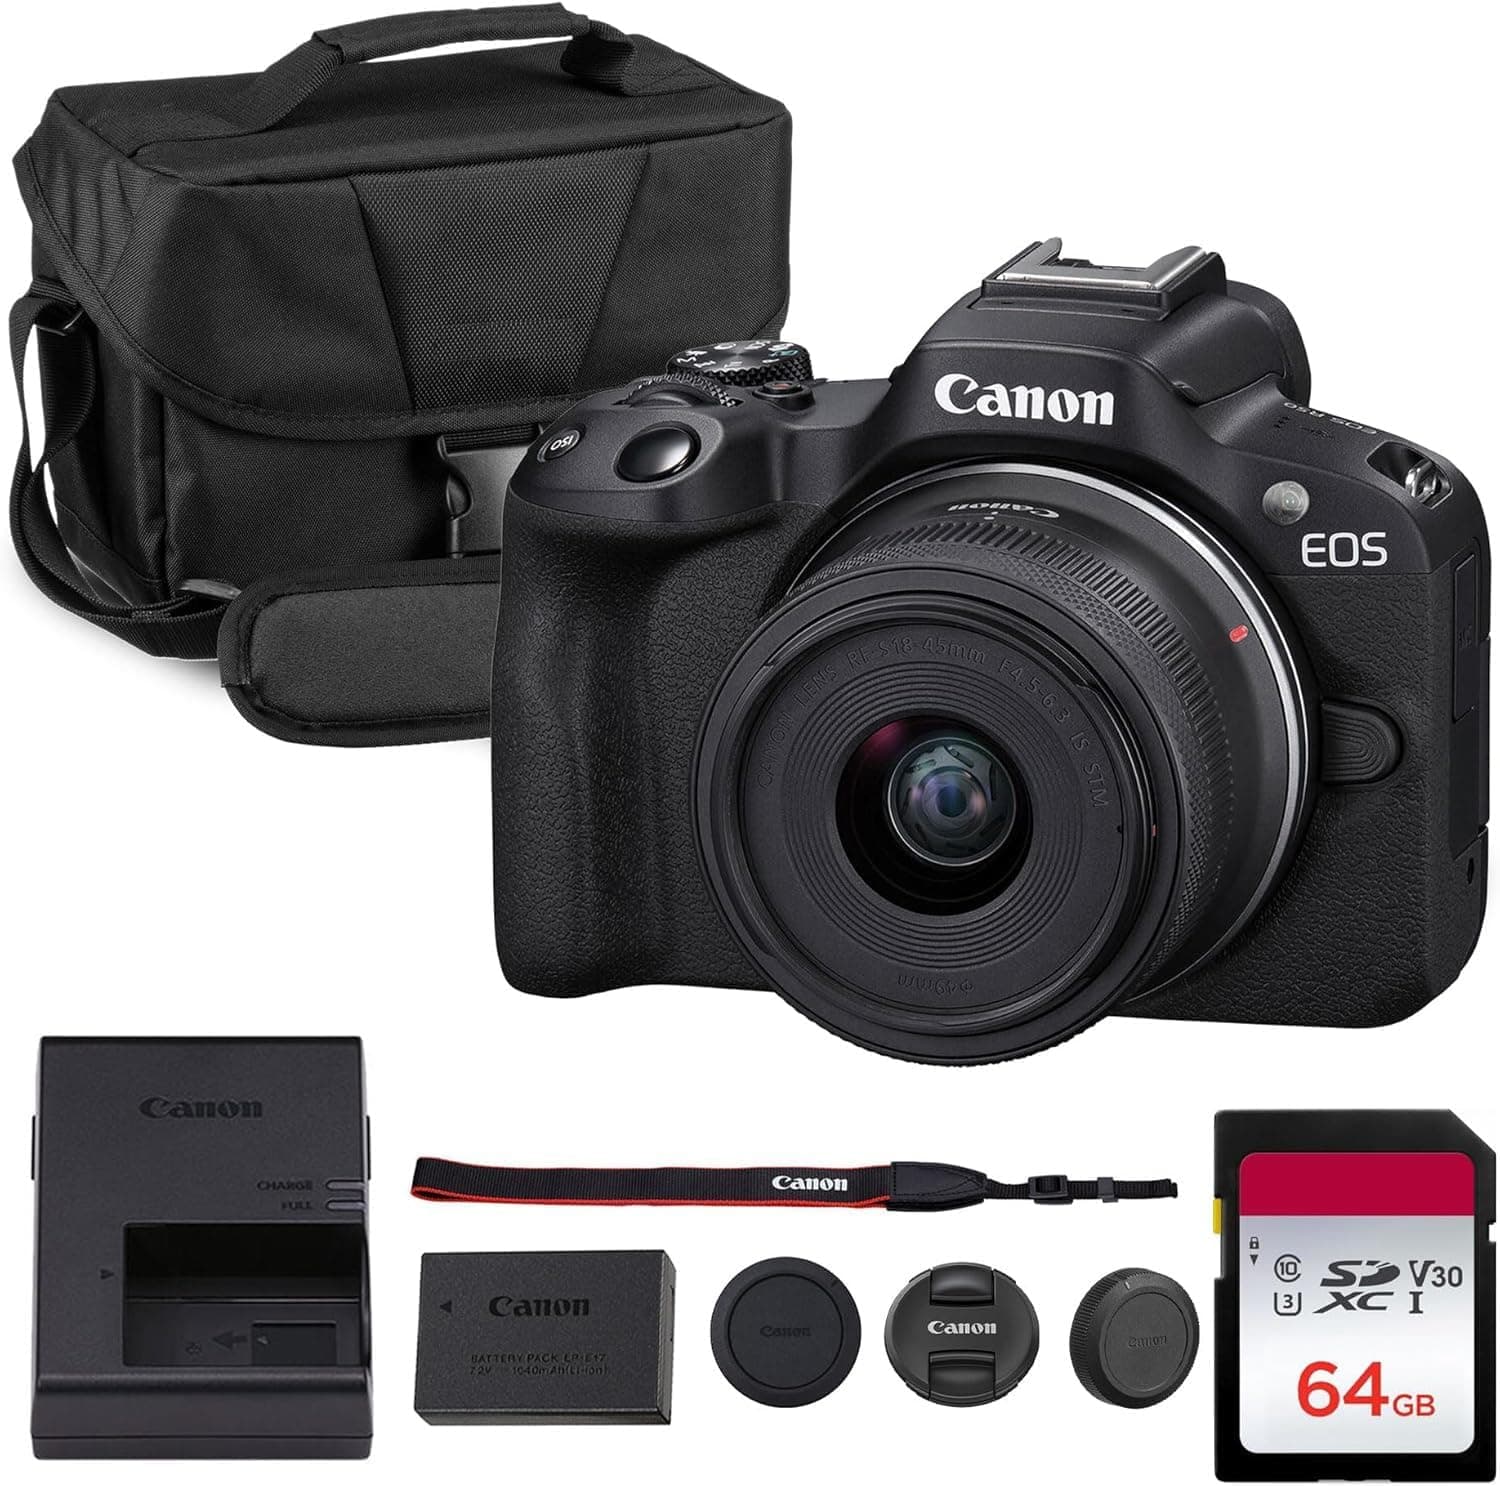
Canon EOS R50
Small, approachable, and good enough to learn exposure, autofocus, and lens choice properly.
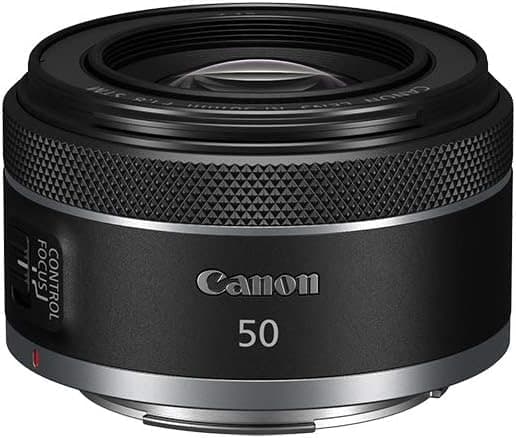
Canon RF 50mm f/1.8 STM
Cheap, bright, and useful for portraits, detail shots, and learning depth of field.
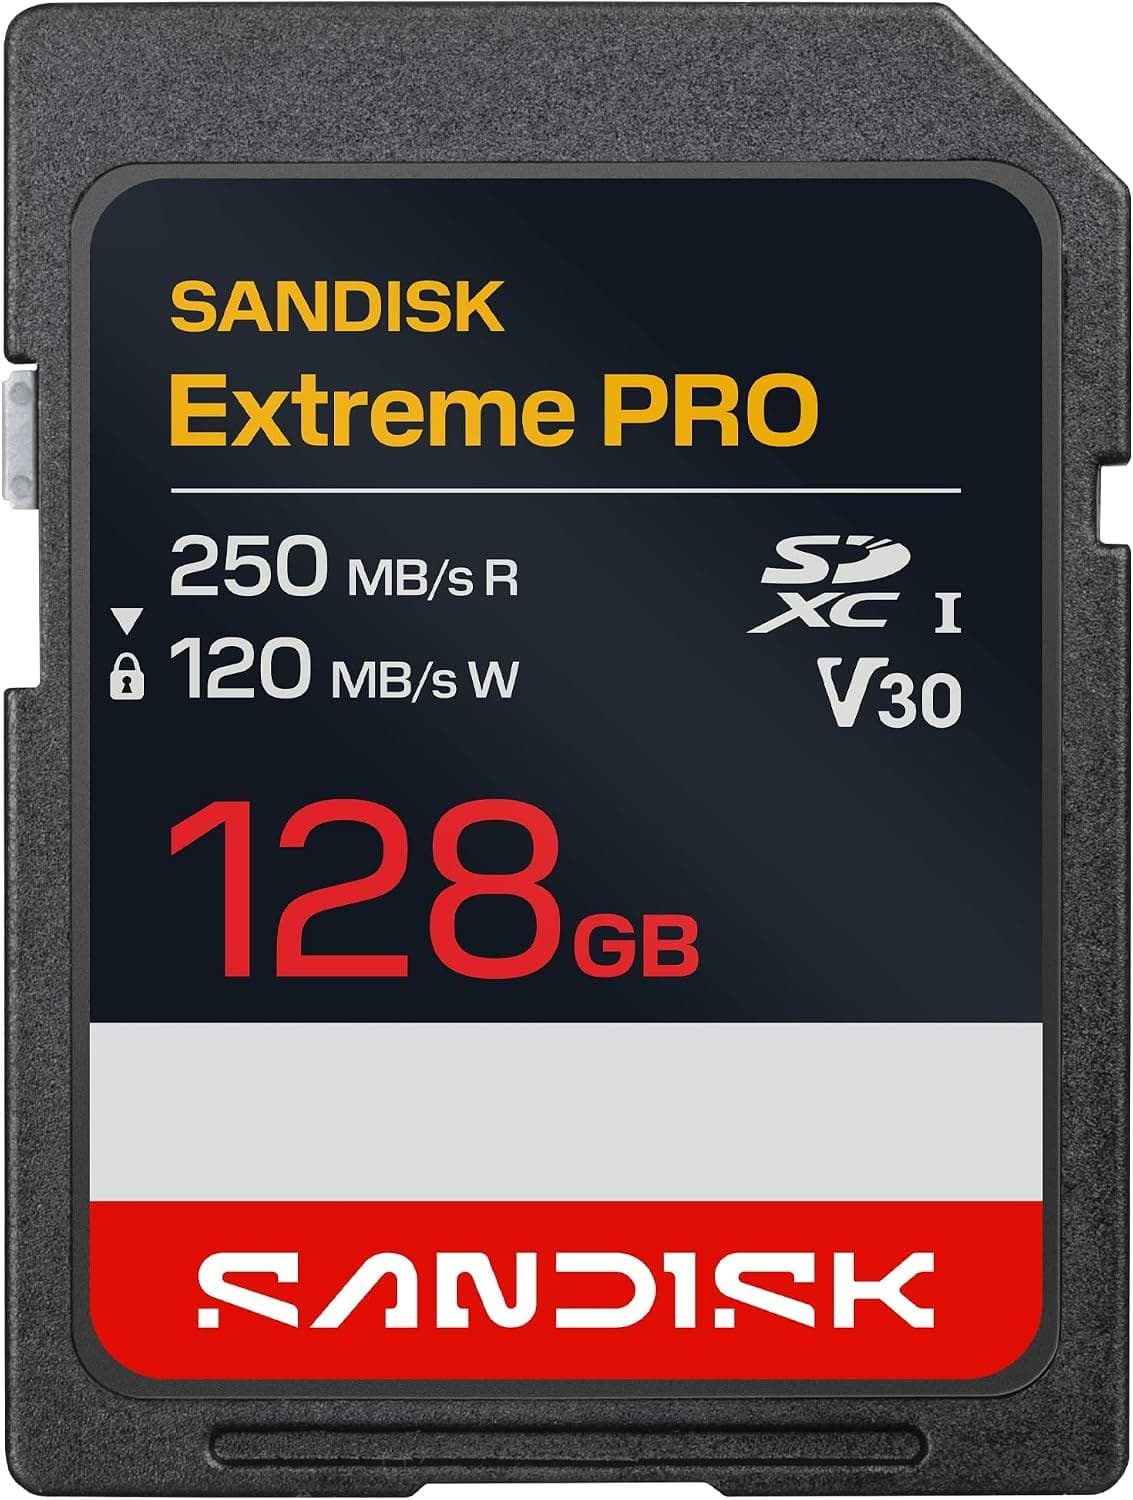
SanDisk Extreme Pro SDXC 128GB
Fast enough for normal stills and video without making storage the exciting purchase.
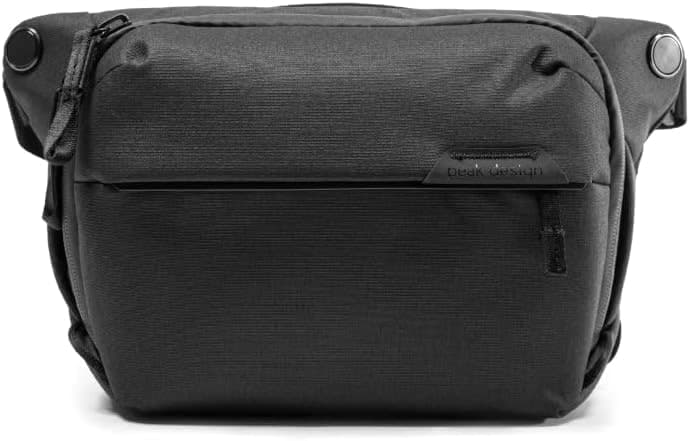
Peak Design Everyday Sling 6L V2
Room for a small body and lens without dragging a full backpack everywhere.
Prices are rough catalog totals. Retailer prices change, and you can swap pieces to fit your system.
Related Learn guides

Content Credentials and C2PA Explained for Photographers
Content Credentials record a photo's signed provenance and edits. Learn what C2PA proves, what it cannot prove, and how capture-to-export workflows work.

Open Gate Video Explained: When 3:2 Is Worth It
Open Gate records a taller sensor area for flexible 16:9, 9:16, and square crops. See when it helps, what it costs, and how to frame it correctly.

Pre-Capture Photography Explained: Get the Frame Before the Click
Pre-Capture buffers photos before the shutter is fully pressed. Learn how it works, which settings change, and when RAW, flash, or focus may be limited.

RAW vs JPEG: Which File Format Should You Shoot?
RAW keeps all your sensor data for maximum editing freedom; JPEG is smaller and ready to share. Here is how they differ and when each one is the right call.
Researched, not personally tested: picks compare specifications, available owner feedback, and established expert sources. As an Amazon Associate I earn from qualifying purchases. We may earn a commission from links here, at no extra cost to you. How we research →