
We may earn a commission from links on this page, at no extra cost to you. Picks are researched, not sponsored.
What it is
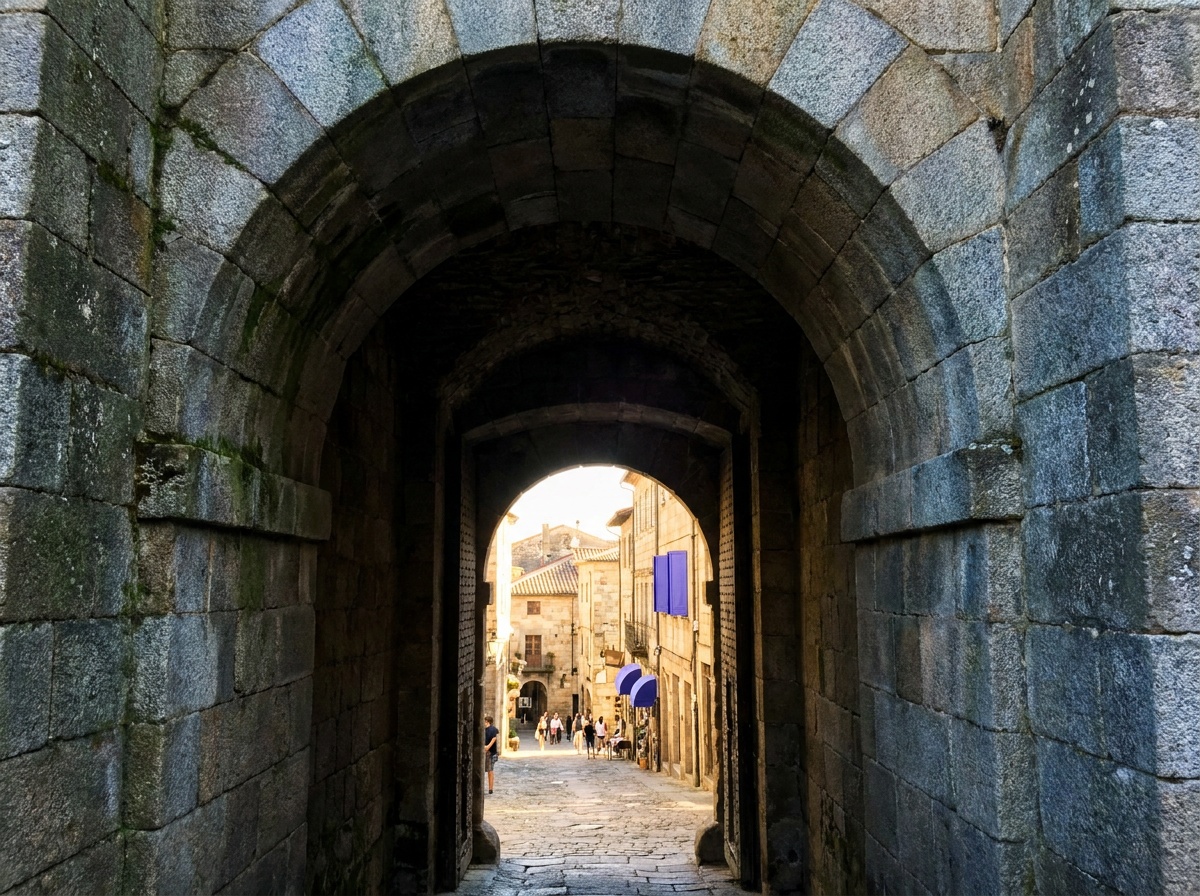
A frame within the frame is any element in the scene that borders your subject. Think of shooting a distant mountain through a gap in two trees, a person through a doorway, or a street scene under an arch. The surrounding element acts like a natural border, focusing attention on what is inside it and adding a layer of context.
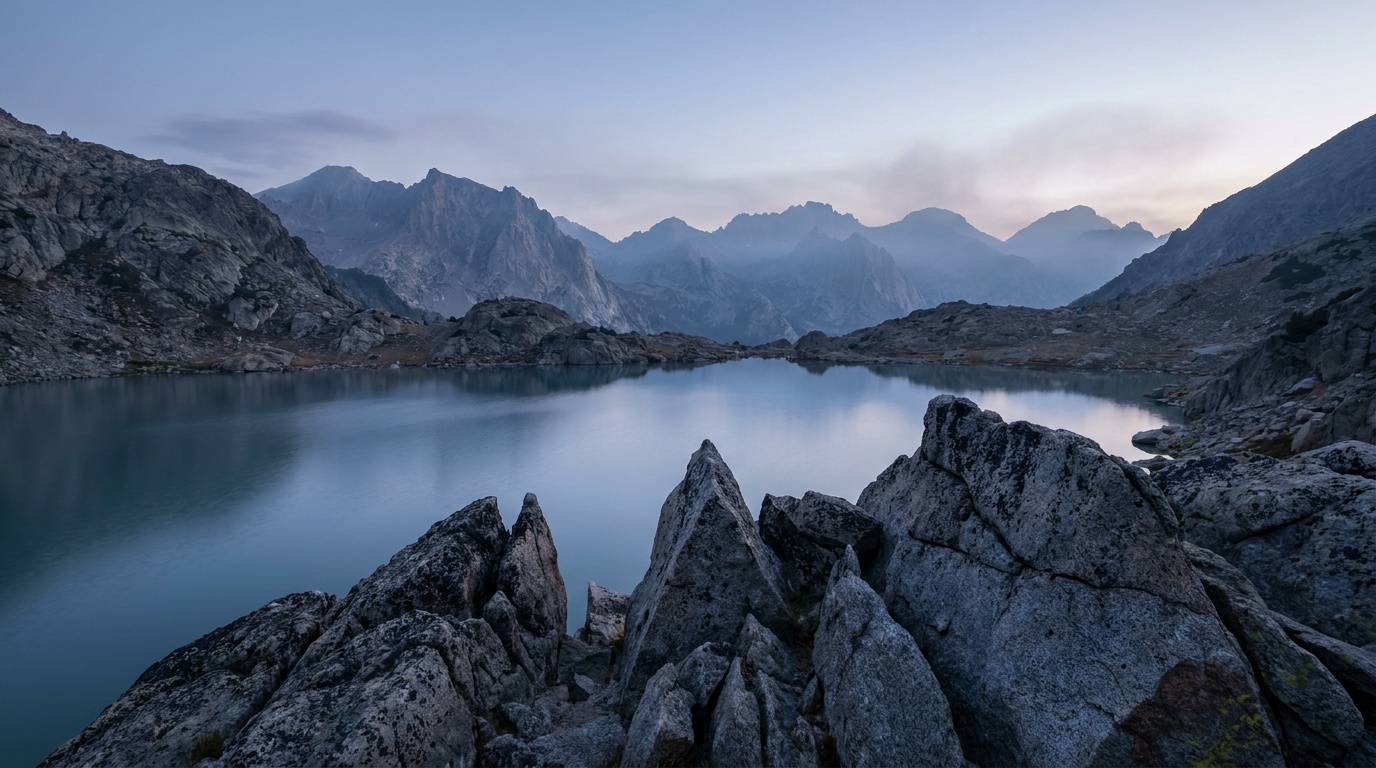
Foreground is the related idea of depth. A photo is a flat plane pretending to be a three-dimensional space. Placing an object near the lens, rocks, grass, a railing, a person's shoulder, gives the eye a near reference point, and the contrast between near and far reads as depth.
How to use it
For framing, look for natural borders and position yourself so the subject sits cleanly inside them. The frame is usually darker or less detailed than the subject, which is what makes the subject pop. You do not need to fill all four sides. A branch across the top and one side is often enough to suggest a frame.
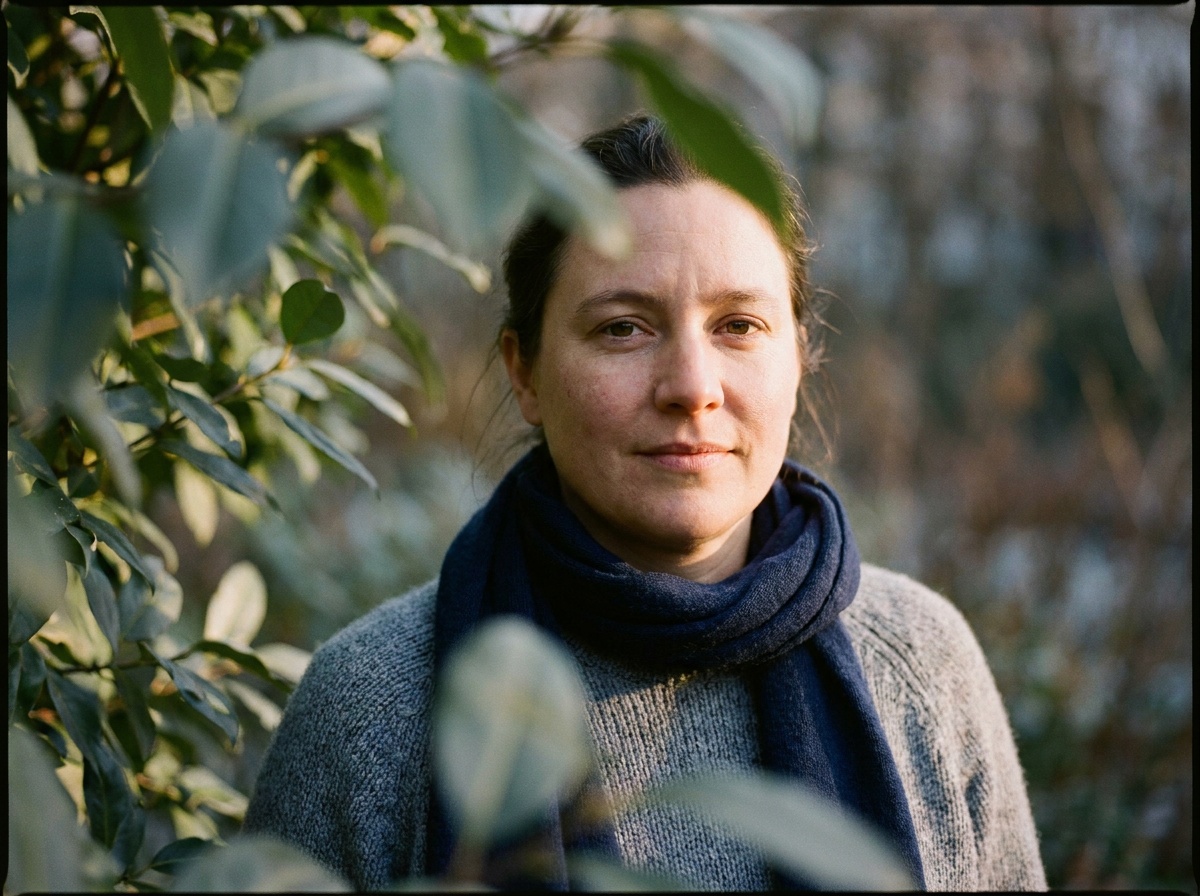
For foreground, get low and close to something near you, then keep the subject and background beyond it. A wide lens exaggerates the near-far relationship and strengthens the depth. Watch your depth of field: a foreground element can be sharp or softly blurred, and the choice changes the feel. A sharp foreground anchors the scene, a blurred one frames softly.
The settings for sharp-front-to-back foreground
When you want the near rock and the far ridge both sharp, this is a hyperfocal distance problem. Get low, put a strong element within a few feet of the lens, then stop down to f/11 and focus about a third of the way in rather than on the foreground itself. A dependable landscape readout is 18mm, f/11, focus around 4 to 6 ft, ISO 100, on a tripod. If the foreground is closer than a couple of feet, even f/11 may not hold both ends, which is the cue to focus stack. For a soft framing foreground in a portrait instead, do the opposite: open up to f/2.8 and shoot through grass or leaves close to the lens so they melt into a soft border.
When to break it
Framing and heavy foreground add complexity, and complexity is not always wanted. For a clean, modern, minimal look, you often want the opposite: open negative space and nothing between the viewer and the subject. Skip framing when the available foreground is cluttered or distracting rather than supporting, or when the subject is strong enough to stand alone. A frame that adds nothing is just clutter with extra steps.
Common mistakes
- A distracting frame. If the framing element is brighter or busier than the subject, it steals attention instead of directing it. Keep the frame quieter than what is inside it.
- An accidental foreground. A blurry blob in the corner that you did not intend reads as a mistake. If something is in the foreground, place it on purpose.
- Wrong focus point. With a foreground element in play, the camera may grab focus on the near object when you wanted the subject. Confirm focus is where the subject is.
- No depth at all. Shooting everything from eye level on a flat plane is the fastest way to a flat photo. Add a foreground or change your height.
Where this fits
Framing and foreground combine well with leading lines, which carry the eye from the foreground into the frame, and with the rule of thirds for placing the subject inside the frame. The sharp-or-soft foreground decision is a depth of field choice, which means it traces back to the exposure triangle. Foreground depth is a staple of landscape photography, where rocks and plants in the near field pull the viewer into the scene.
What makes a good framing element?
Something in the scene that borders the subject and is quieter than it: a doorway, an arch, a window, overhanging branches, a tunnel mouth. It works best when it is darker or less detailed than the subject, so the eye settles on what is inside the frame rather than the frame itself.
Should the foreground be sharp or blurred?
Either, on purpose. A sharp foreground anchors the scene and works well in landscapes where you want detail front to back. A softly blurred foreground frames the subject gently and is common in portraits. The deciding factor is your aperture and how much depth of field you want.
How do I add depth without a wide-angle lens?
Change your height and find layers. Shoot over a near object toward a mid-ground subject and a distant background, so the eye reads three planes. Overlapping elements and atmospheric haze in the distance also suggest depth without a wide lens.
Keep going
Next useful steps
Pick one. Each link continues the same job without starting the research over.
Shoot kits
Buy around the job, not the spec sheet
Beginner photo
First real camera kit
$1,068
An affordable body, a sharp prime, a reliable card, and a small carry setup that does not turn learning into a hauling problem.
Best learning kit
Buy order: start with the first piece that makes the job possible, then add the support pieces that remove friction.
Camera: start here. If this piece does not make the shoot easier, the rest of the kit can wait.
Carry: add it after the core setup proves useful.
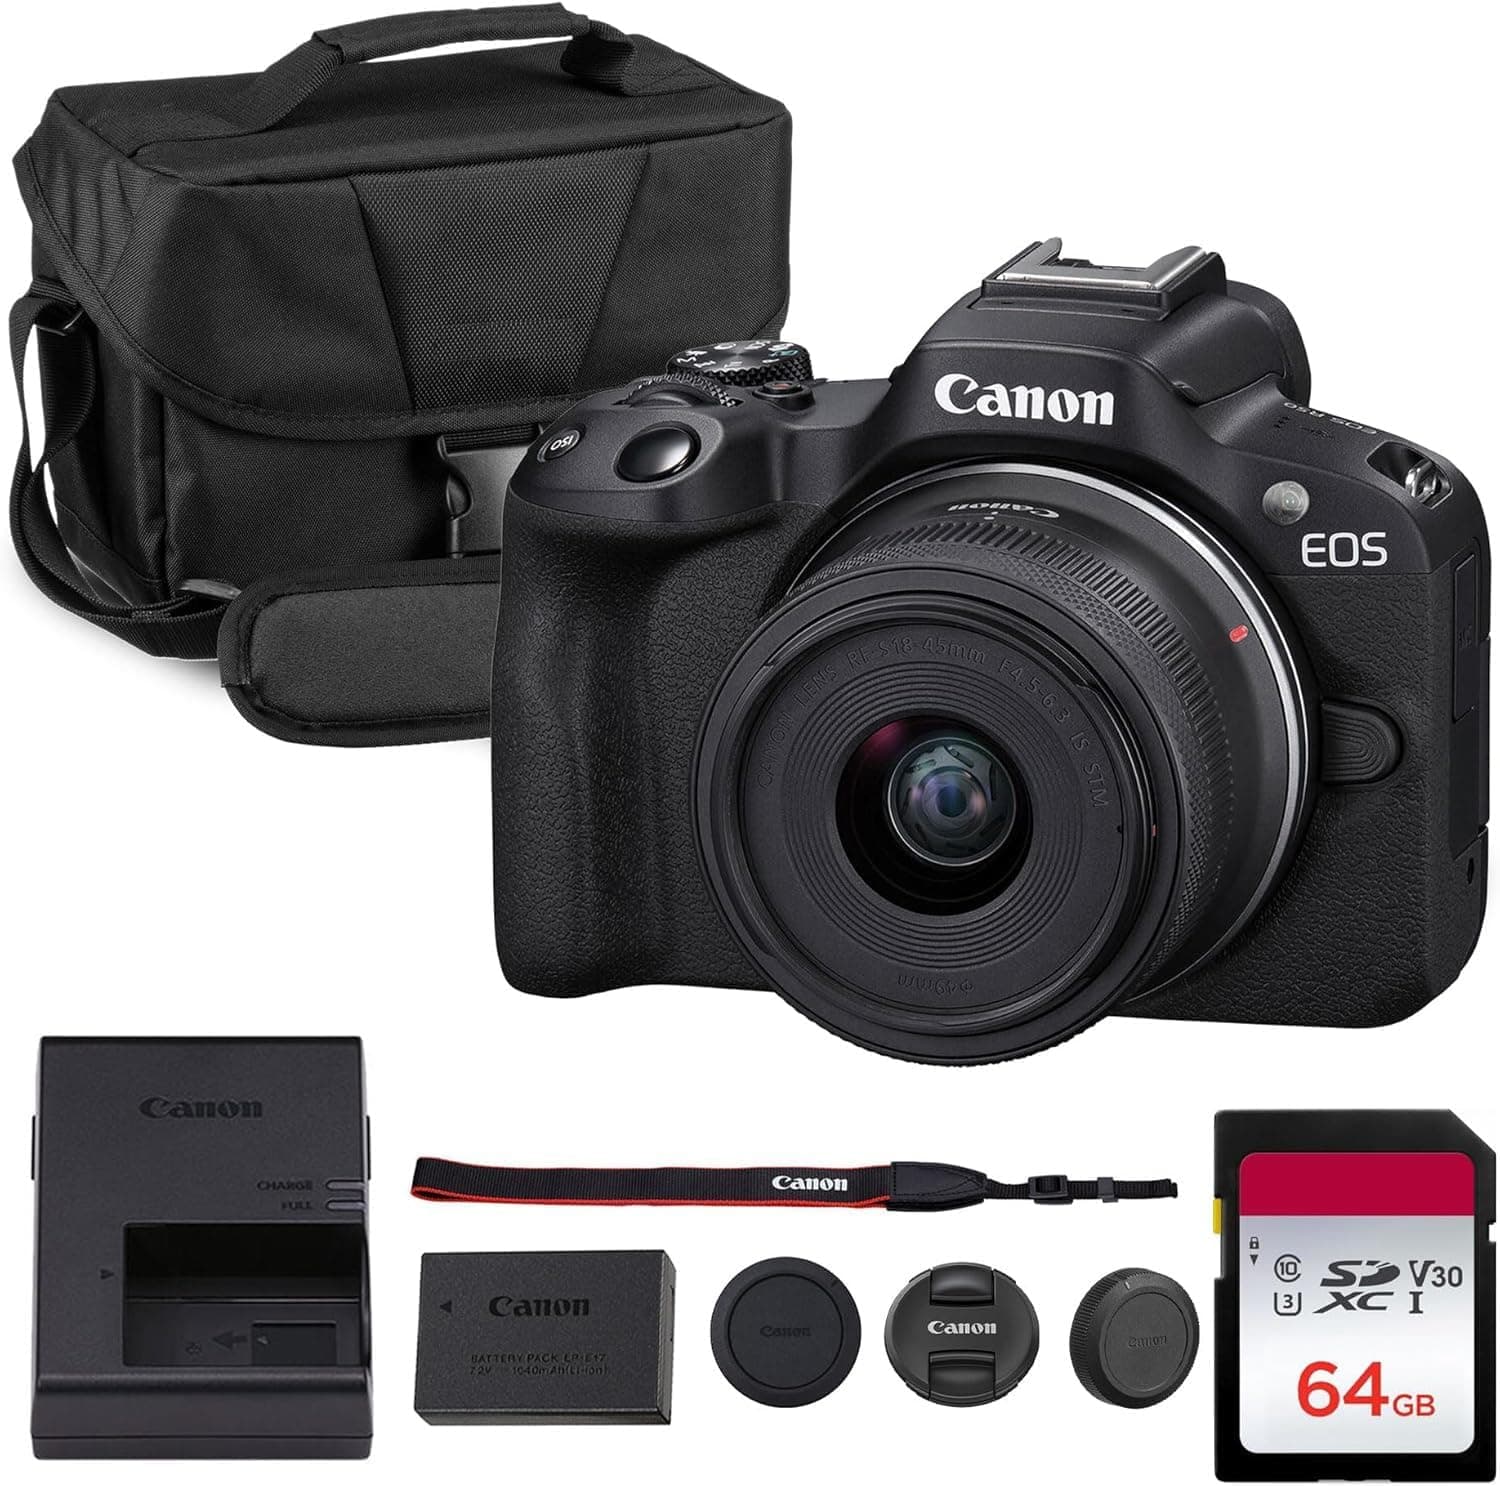
Canon EOS R50
Small, approachable, and good enough to learn exposure, autofocus, and lens choice properly.
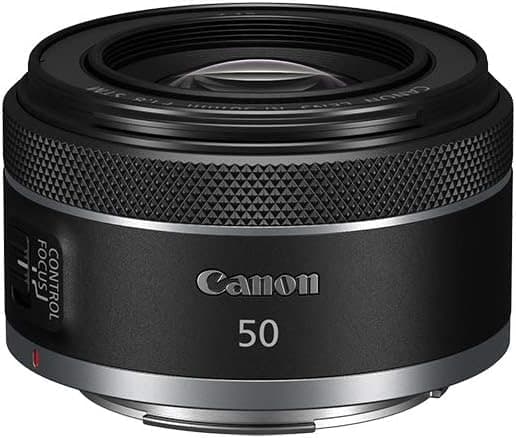
Canon RF 50mm f/1.8 STM
Cheap, bright, and useful for portraits, detail shots, and learning depth of field.
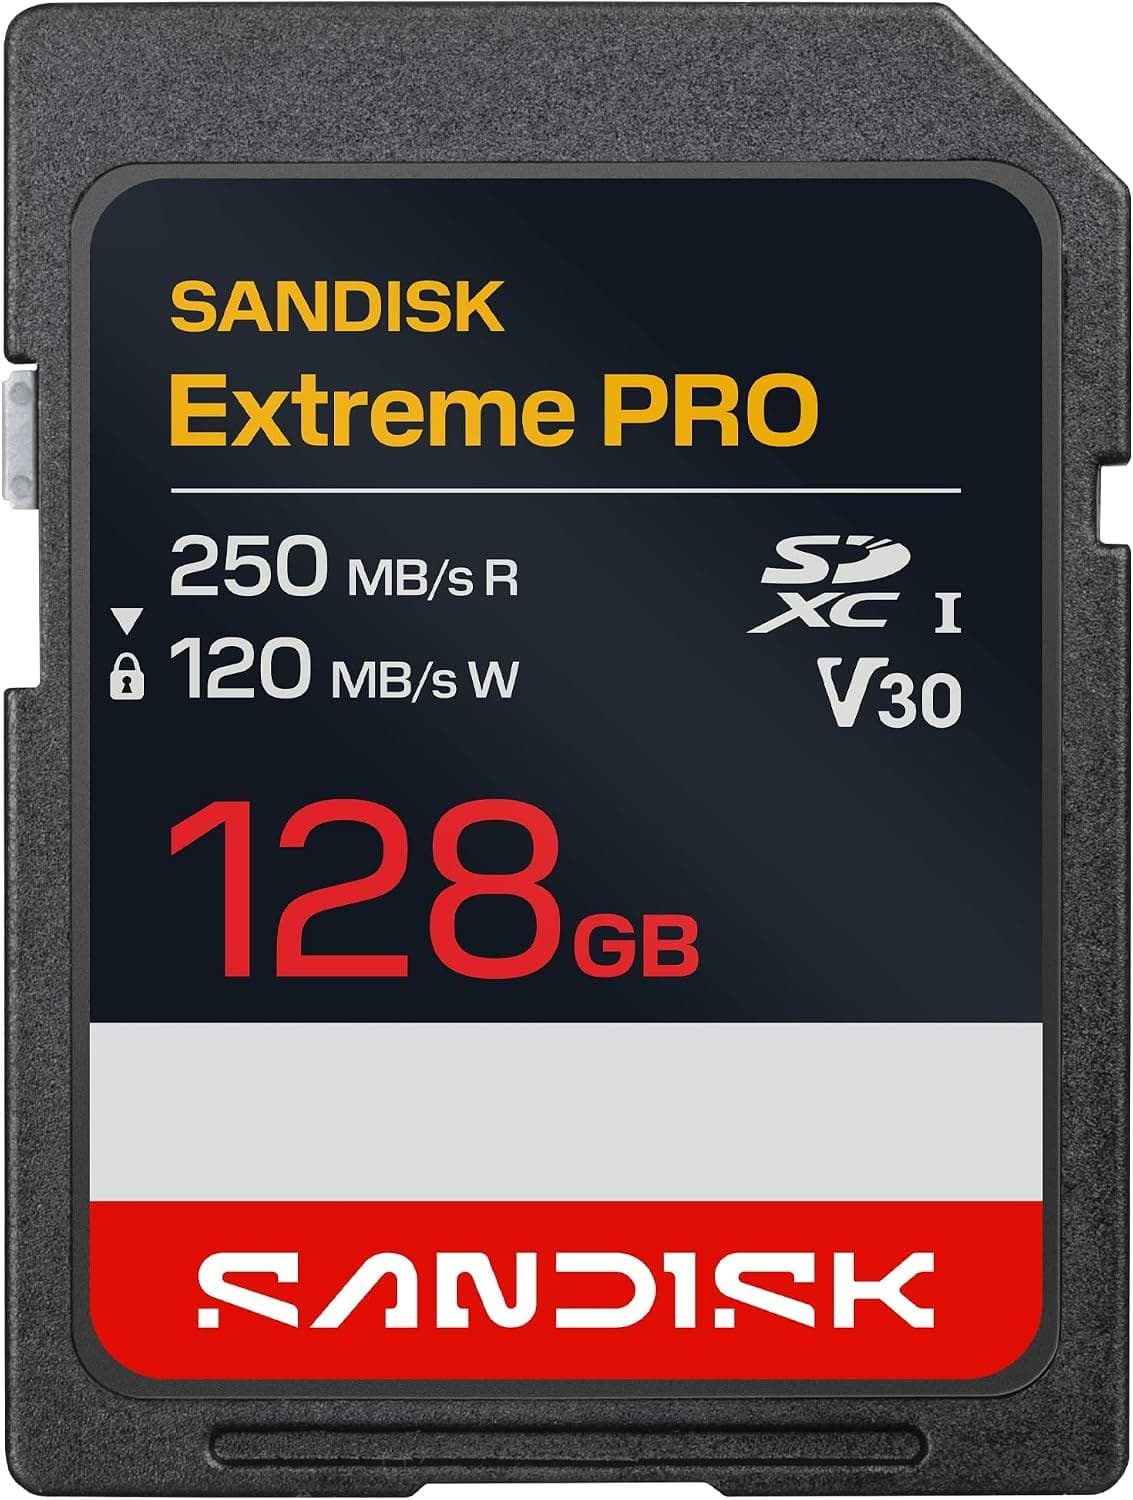
SanDisk Extreme Pro SDXC 128GB
Fast enough for normal stills and video without making storage the exciting purchase.
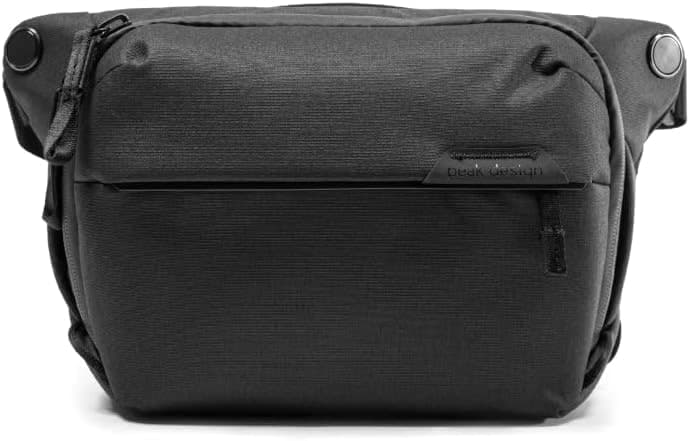
Peak Design Everyday Sling 6L V2
Room for a small body and lens without dragging a full backpack everywhere.
Prices are rough catalog totals. Retailer prices change, and you can swap pieces to fit your system.
Related Learn guides

Content Credentials and C2PA Explained for Photographers
Content Credentials record a photo's signed provenance and edits. Learn what C2PA proves, what it cannot prove, and how capture-to-export workflows work.

Open Gate Video Explained: When 3:2 Is Worth It
Open Gate records a taller sensor area for flexible 16:9, 9:16, and square crops. See when it helps, what it costs, and how to frame it correctly.

Pre-Capture Photography Explained: Get the Frame Before the Click
Pre-Capture buffers photos before the shutter is fully pressed. Learn how it works, which settings change, and when RAW, flash, or focus may be limited.

RAW vs JPEG: Which File Format Should You Shoot?
RAW keeps all your sensor data for maximum editing freedom; JPEG is smaller and ready to share. Here is how they differ and when each one is the right call.
Researched, not personally tested: picks compare specifications, available owner feedback, and established expert sources. As an Amazon Associate I earn from qualifying purchases. We may earn a commission from links here, at no extra cost to you. How we research →