Skip to content
Aperture

Used gear · inspection checklist

Used Camera Checker

Inspect a used camera body or lens before you pay. Mark each check as you go and get a plain verdict: walk away, negotiate, or buy. Built from the checks in our guide to buying used camera gear.
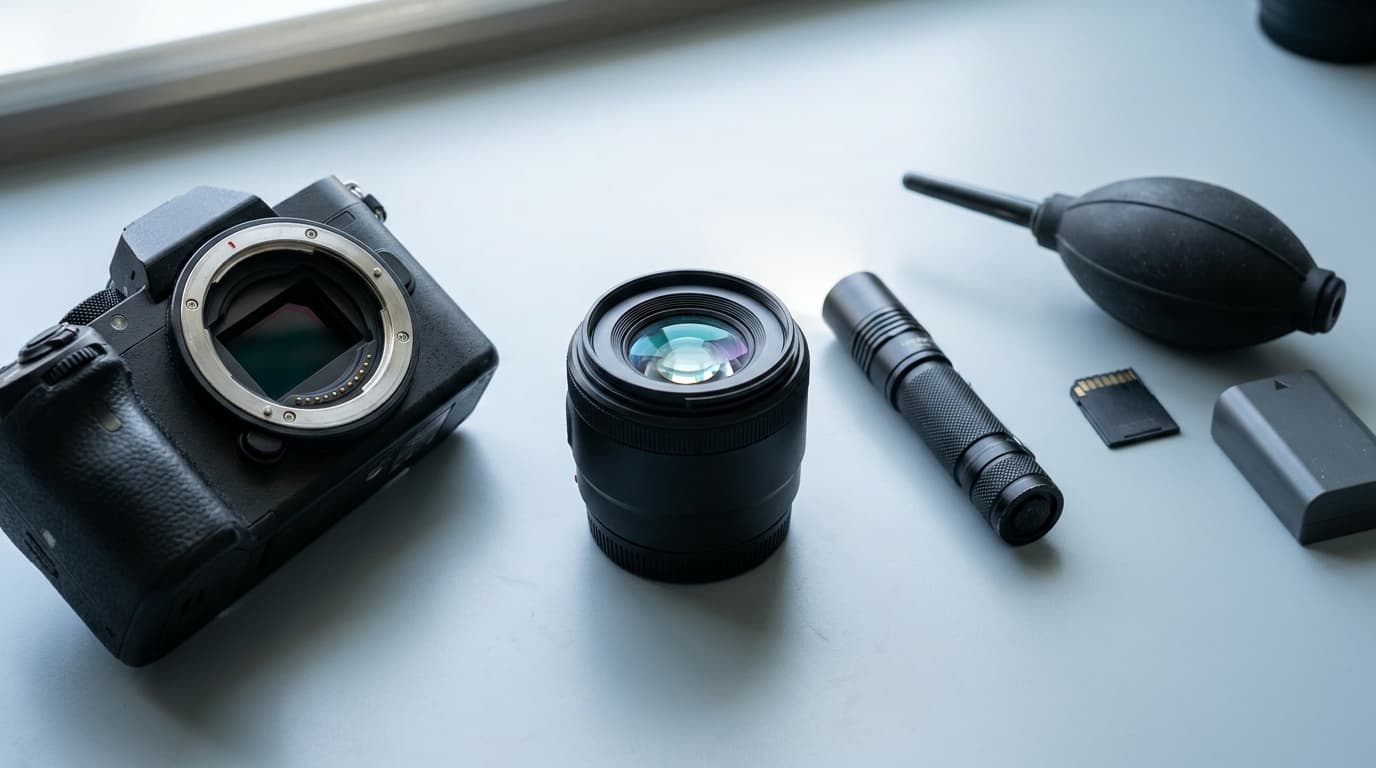
A mirrorless camera body with its lens mount and sensor exposed, a lens standing on its rear cap, a pocket flashlight, an air blower, a memory card, and a battery laid out for inspection

Inspection checklist

Mark each check, then read the verdict.

Choose what you are inspecting and how you are buying. Mark each check Pass, Issue, or Skip. Issues sort themselves into walk away, negotiate, or usually fine. Progress stays on this device.

1. What are you checking?
2. How are you buying?

0 of 18 checks marked

Jump to summary

Shutter and history

  1. Read the shutter count

    Shoot a fresh JPEG on your own card and open it in a metadata reader such as ExifTool. Many bodies store the count in the maker notes, but the tag name and reliability vary by brand. ExifTool notes that the Nikon count includes electronic shutter releases on models that have one, and that the Fujifilm image count may reset after a firmware update. If the file shows no count, treat it as unknown, not as low.

    If issue: Negotiate. Count is high, missing, or does not match the wear.

    Source: ExifTool (metadata reader) (opens in a new tab), ExifTool Nikon tags: ShutterCount (opens in a new tab), ExifTool Fujifilm tags: ImageCount (opens in a new tab), ExifTool Sony tags: ShutterCount (opens in a new tab)

  2. Look for drop or water damage

    Check the corners, bottom plate, tripod socket, and the area around the mount for dents, cracks, or bent metal. Look inside the battery and card doors for corrosion or water marks.

    If issue: Walk away. Cracks, dents, or corrosion.

  3. Note cosmetic wear

    Look for scuffed paint, worn grip rubber, and brassing on the edges. Compare the wear with the shutter count and the seller's description.

    If issue: Usually fine. Heavy wear or worn grip.

Sensor

  1. Shoot a plain bright test frame

    Set a small aperture such as f/16, fill the frame with a plain white surface like a fresh sheet of paper, and take a shot. Canon's Dust Delete Data feature uses a similar target: a plain white sheet of paper filling the frame. Zoom in on the image and look for dark spots.

    If issue: Usually fine. Dark spots that move after cleaning.

    Source: Canon EOS R50 manual: Dust Delete Data (opens in a new tab), Nikon Z7/Z6 manual: caring for the camera (opens in a new tab)

  2. Check for marks that do not move

    Run the camera's sensor cleaning cycle, use a blower with the mount facing down, then retake the white frame. Compare the two frames. Also look at the sensor under angled light for visible scratches.

    If issue: Walk away. Mark stays put or a scratch is visible.

    Source: Nikon Z7/Z6 manual: caring for the camera (opens in a new tab)

  3. Shoot a dark frame for hot or stuck pixels

    With the lens cap on, take a few frames at base ISO, including one exposure of several seconds, and view them at 100 percent. Sony and Nikon both document a pixel mapping function for bright spots, so run it if the camera has one and shoot the dark frame again.

    If issue: Negotiate. Bright dots remain after pixel mapping.

    Source: Sony FX30 help guide: Pixel Mapping (opens in a new tab), Nikon Z30 manual: Pixel mapping (opens in a new tab)

Mount and contacts

  1. Inspect the lens mount and contacts

    Look at the bayonet ring under angled light. Check that the mount screws are present and the electronic contact pins are straight, clean, and all there. Mount a lens and twist it gently: it should lock without play.

    If issue: Walk away. Bent pins, corrosion, or a loose mount.

Controls and ports

  1. Work every button, dial, and switch

    Press every button, turn every dial through its full range, and try the joystick or touchscreen. Make sure each one does something and none feel sticky or loose.

    If issue: Negotiate. A control is dead, sticky, or loose.

  2. Open every door and try the ports

    Open and close the card and battery doors. Check the HDMI, USB, microphone, and headphone ports for bent pins or debris, and plug in a cable if you brought one.

    If issue: Negotiate. Broken door or damaged port.

Screen and viewfinder

  1. Check the screen and viewfinder

    Look for cracks, dead or bright pixels, and uneven brightness on the rear screen and in the viewfinder. Test touch, swing the screen through its full range, and confirm the eye sensor switches between them.

    If issue: Negotiate. Cracks, dead pixels, or a failing hinge.

  2. Test autofocus, metering, and the shutter

    Mount a lens you trust. Focus on near and far subjects, shoot at fast and slow shutter speeds, fire a short burst, and check the exposures look right. Turn stabilization on and off if the body has it.

    If issue: Walk away. Hunting AF, wrong exposures, or a rough shutter.

Power and storage

  1. Check battery health in the menu

    Many bodies show a battery health readout. Canon's Battery info shows recharge performance in three levels, with red meaning a new battery is recommended. Nikon's shows battery age from 0 to 4, where 4 means the battery has reached the end of its charging life.

    If issue: Negotiate. Battery shows heavy wear.

    Source: Canon EOS R50 manual: Battery Information (opens in a new tab), Nikon ZR manual: Battery info (opens in a new tab)

  2. Format your own card and shoot to it

    Format a known-good card in the camera, shoot stills and a short video clip, and play them back. On dual-slot bodies, test each slot.

    If issue: Walk away. A slot will not read, write, or format.

Firmware and identity

  1. Check the firmware version

    Find the firmware version in the setup menu and compare it with the latest release on the manufacturer's support site, such as the Nikon Download Center or Fujifilm's firmware list.

    If issue: Usually fine. Firmware is out of date.

    Source: Nikon Download Center (firmware) (opens in a new tab), Fujifilm camera firmware list (opens in a new tab)

  2. Match and search the serial number

    Find the serial number on the body, usually on the bottom plate or inside a door. It should match the box, receipt, or warranty card if the seller has them. Search it in a stolen gear registry such as Lenstag before you pay.

    If issue: Walk away. Missing, scratched off, mismatched, or a registry hit.

    Source: Lenstag stolen gear registry (opens in a new tab)

Meeting the seller

  1. Test it with your own card and lens

    Bring a known-good memory card, a small flashlight, and a blower. For a lens, bring a body to mount it on. Ask to shoot test frames you can review on the spot.

    If issue: Walk away. Seller will not let you test it.

  2. Pay in a way you can trace

    Prefer a payment method with a record and some recourse. The FTC warns that scammers insist on specific payment methods such as wire transfers, gift cards, payment apps, or cryptocurrency.

    If issue: Walk away. Seller insists on an untraceable method.

    Source: FTC: How To Avoid a Scam (opens in a new tab)

  3. Get a written receipt with the serial

    Ask for a simple receipt or message that lists the item, the serial number, the price, and the date. The FTC advises keeping records such as receipts and emails.

    If issue: Negotiate. Seller will not put it in writing.

    Source: FTC: Online Shopping (opens in a new tab)

Next move

Turn the verdict into a decision

A clean checklist is a good sign, not a guarantee. Keep the return window open, and compare the price with current gear before you commit.

Gear path

A small inspection kit

You do not need much to run these checks, but you should not rely on the seller's card or setup. A known-good card, a blower, and a reader cover most of the list.

Open Gear Finder

Before you leave the calculator

Use the result to name the real limit: light, stability, focal length, or focus distance.

Fit check

Read best-for and skip-if before the retailer click, so the item has to earn its place.

Buying order

Compare similar gear and deal history first, then use the retailer button when the choice is clear.

Product links may earn a commission at no cost to you. Use the calculator first, buy only if the gear solves the actual problem.

How to use the checker

Step 1

Pick the gear and the kind of sale

Choose camera body or lens, then in person or online. Online buys add listing and payment checks before you pay.

Step 2

Mark every check

Work through each area and mark Pass, Issue, or Skip. Each check explains how to run it and links to the manufacturer or primary source where one documents the method.

Step 3

Read the verdict and act on it

The summary lists red flags first, then issues to price in, then normal wear. Copy or print it, then walk away, negotiate, or buy.

Sources

We research and cross-check each method against manufacturer manuals and primary sources. Menu names and features vary by model, so confirm the steps in the manual for your exact camera. Shutter count is described neutrally because the method, and whether a body records a readable count at all, varies by brand and model. The checker does not list shutter life ratings.

Frequently asked questions

How do I check the shutter count on a used camera?

Shoot a fresh JPEG on your own card and open it in a metadata reader such as ExifTool. Many bodies store a count in the maker notes, but the tag and its reliability vary by brand. ExifTool notes that the Nikon count includes electronic shutter releases on models that have one, and that the Fujifilm image count may reset after a firmware update. If no count appears, treat it as unknown rather than low.

Is it safe to buy a used DSLR or mirrorless camera?

It is usually a sound way to buy if you can run the checks before the money is gone, or you have a return window and buyer protection. The red flags are drop or water damage, sensor marks that do not move after cleaning, autofocus or shutter faults, a bad card slot, and a missing or mismatched serial number.

What should I check when buying a used lens?

Shine a flashlight through it from both ends to look for fungus, haze, and element separation. Then check the aperture blades for oil, turn the focus and zoom rings through their full range, test autofocus and stabilization on a body, inspect the mount and filter threads, and match the serial number.

Is sensor dust a reason not to buy a used camera?

Usually not. Spots that move after the built-in cleaning cycle or a blower are dust, which is normal maintenance. A mark that stays in the same place after cleaning is the concern, because it can be a scratch or damage to the filter over the sensor.

How can I tell if used camera gear is stolen?

Find the serial number on the body or lens and match it to the box or receipt. Search it in a stolen gear registry such as Lenstag before you pay. A serial that is missing, scratched off, or does not match is a reason to walk away.

Useful next tools