We may earn a commission from links on this page, at no extra cost to you.
Top picks
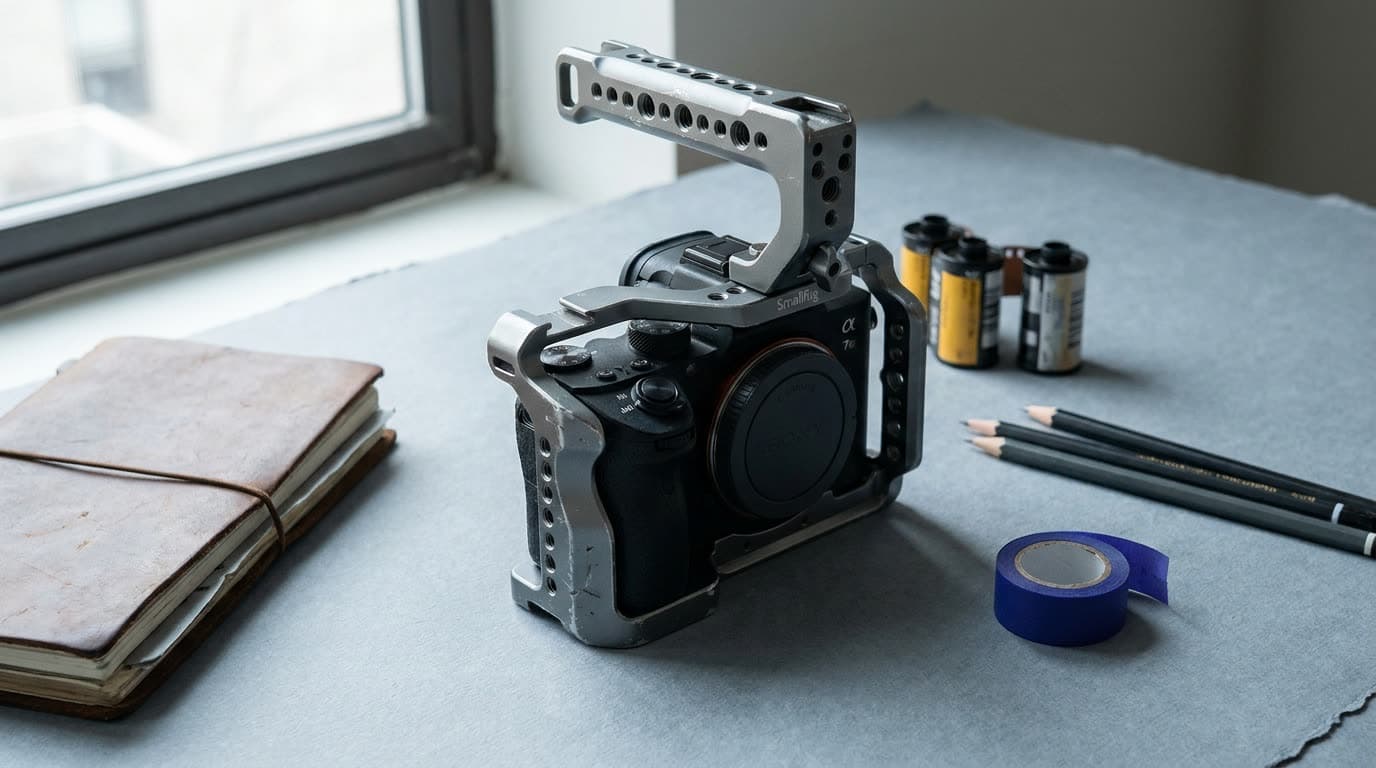
A camera cage is a metal frame that wraps your camera body and adds threaded mounting points on every side. It does two things: it protects the body from knocks, and it gives you somewhere to attach the monitor, microphone, handle, and other accessories a video rig needs, since a bare body has only one hot shoe and one tripod thread. For anyone building beyond a single camera and lens, the cage is the foundation.
If you are assembling a video kit, our best camera monitors and best microphones for video guides cover the accessories a cage mounts, and best cameras for video covers the bodies the cage is built around.
How to choose
Start with fit. A cage made for your exact camera model wraps it snugly, leaves every port and the battery door accessible, and lines up its mounting points where you want them. A universal cage adjusts to fit many bodies but is bulkier and can block a port. Unless you swap cameras constantly, buy the model-specific cage.
Then look at the mounting points. ARRI-standard 3/8-inch locating holes use two small anti-twist pins that stop an accessory rotating once tightened, and alongside them you want 1/4-inch-20 threads and cold shoes on the top and sides. A built-in NATO rail is the detail that pays off most: it lets a side handle or top grip clamp on and reposition in seconds without bolts. More points mean more flexibility, but confirm there is a usable spot exactly where you want your monitor arm and your microphone.
After that, weigh the build and the access. Aircraft-grade aluminum is the standard; a good cage adds little weight and does not flex. Crucial detail: the cage must leave the battery door and card slot reachable, or you fight it every swap. A base that is both Arca-Swiss and Manfrotto 501PL compatible drops straight onto a tripod or fluid head without an adapter, which is worth checking before you buy. Last, decide if you want a half cage (lighter, just the base and one side) or a full cage (more protection and mounting), based on how much you will rig.
The picks
The SmallRig full camera cage is the best starting point and the reason SmallRig dominates this space. Buy the version cut for your exact body and it fits like a glove, keeps every port and the battery door open, and studs the frame with ARRI and 1/4-inch points plus cold shoes. The value is excellent and the accessory ecosystem is huge. For most shooters, the model-specific SmallRig cage is the obvious pick.
The SmallRig Universal Cage is the pick for people who switch bodies. Adjustable jaws clamp a range of camera sizes, so one cage follows you across upgrades or covers a multi-camera kit. It is bulkier than a fitted cage and can sit over a port, so access is less clean, but the flexibility suits renters and shooters who change cameras often.
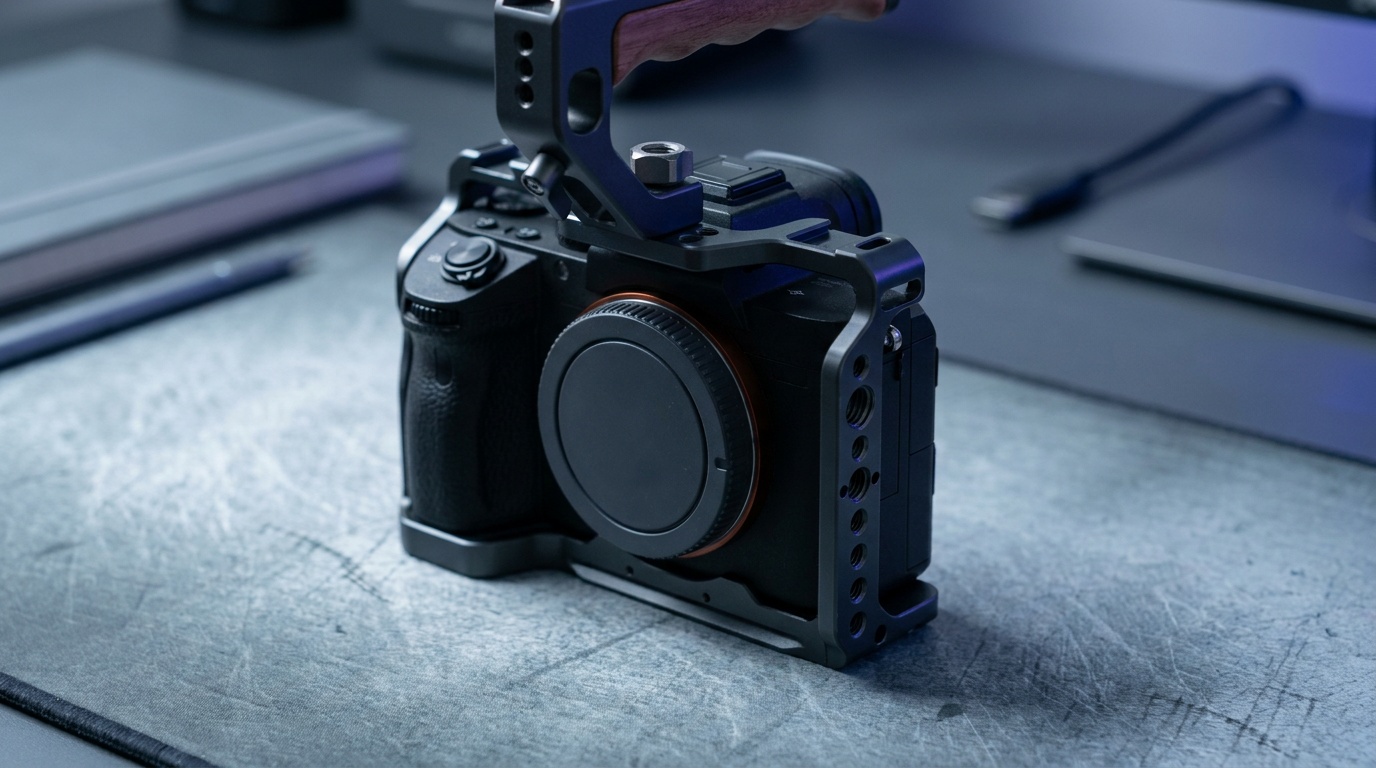
The Tilta Full Camera Cage is the pick when you want a system, not just a frame. Tilta builds model-specific cages alongside matching handles, top plates, and a full accessory line, often with a built-in side handle and quick-release plate. It costs more than a bare SmallRig cage, but for shooters who want a coordinated rig with refined ergonomics, the ecosystem is the draw.
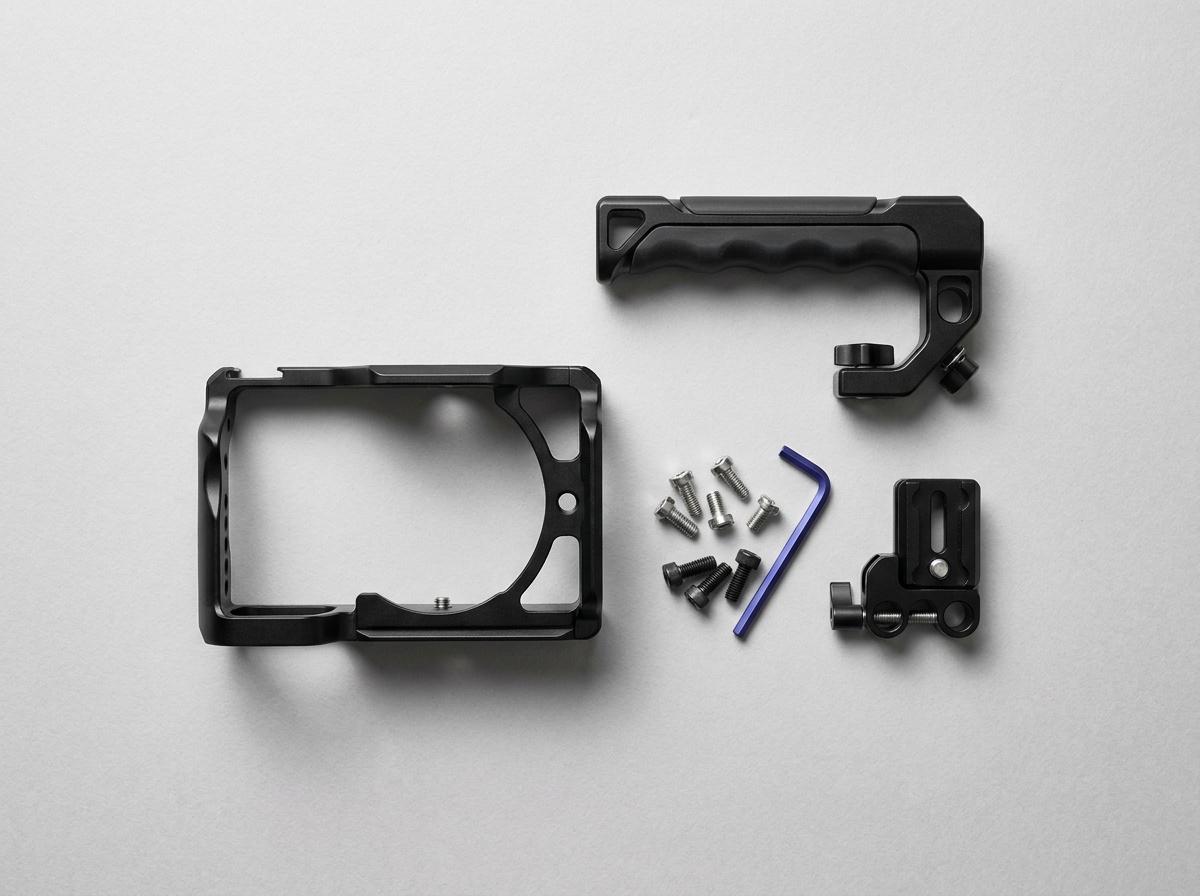
The SmallRig half cage is the lightweight pick. It covers the base and one side rather than wrapping the whole body, which keeps weight and bulk down while still adding a tripod plate, a few mounting points, and a side grip. It offers less protection and fewer attachment spots than a full cage, so it suits run-and-gun shooters who want a little rigging without the full frame.
The 8Sinn camera cage is the premium pick for professional rigs. The machining and finish are exceptional, the model-specific fit is precise, and the layout favors film and documentary shooters who rig heavily. It costs well above the consumer options and has a smaller accessory range than SmallRig, but for a built-up cinema rig the build quality is the reason people choose it.
Common mistakes
The most common one is buying a universal cage to save money, then fighting a blocked port or a bulky fit every shoot, when a model-specific cage would have fit cleanly for similar money. The second is choosing a cage that covers the battery door or card slot, which turns every swap into a chore, so confirm access before you buy. The third is over-rigging: bolting a monitor, handles, and arms onto a body that only needed a microphone, which adds weight and cost you will resent carrying.
A cage is the base of a rig, so add the screen from our best camera monitors guide and the audio from best microphones for video, and confirm the settings on the body inside it with the exposure triangle.
Do I need a camera cage?
You need one once you rig accessories. A bare body has a single hot shoe and one tripod thread, which is not enough for a monitor, microphone, and handle at once. A cage adds mounting points all around and protects the body. If you only shoot with a camera and lens, you can skip it; for video rigs it is the foundation.
Model-specific or universal cage?
Buy the model-specific cage unless you switch bodies often. A fitted cage wraps your camera snugly, keeps every port and the battery door accessible, and places its mounting points sensibly. A universal cage adjusts to many bodies but is bulkier and can block a port. The fitted version is usually the better experience for similar money.
Half cage or full cage?
A full cage wraps the whole body for maximum protection and the most mounting points, which suits a built-up rig. A half cage covers the base and one side, keeping weight and bulk down while still adding a tripod plate and a grip, which suits run-and-gun shooting. Choose by how much you plan to rig on the camera.
Related Gear guides
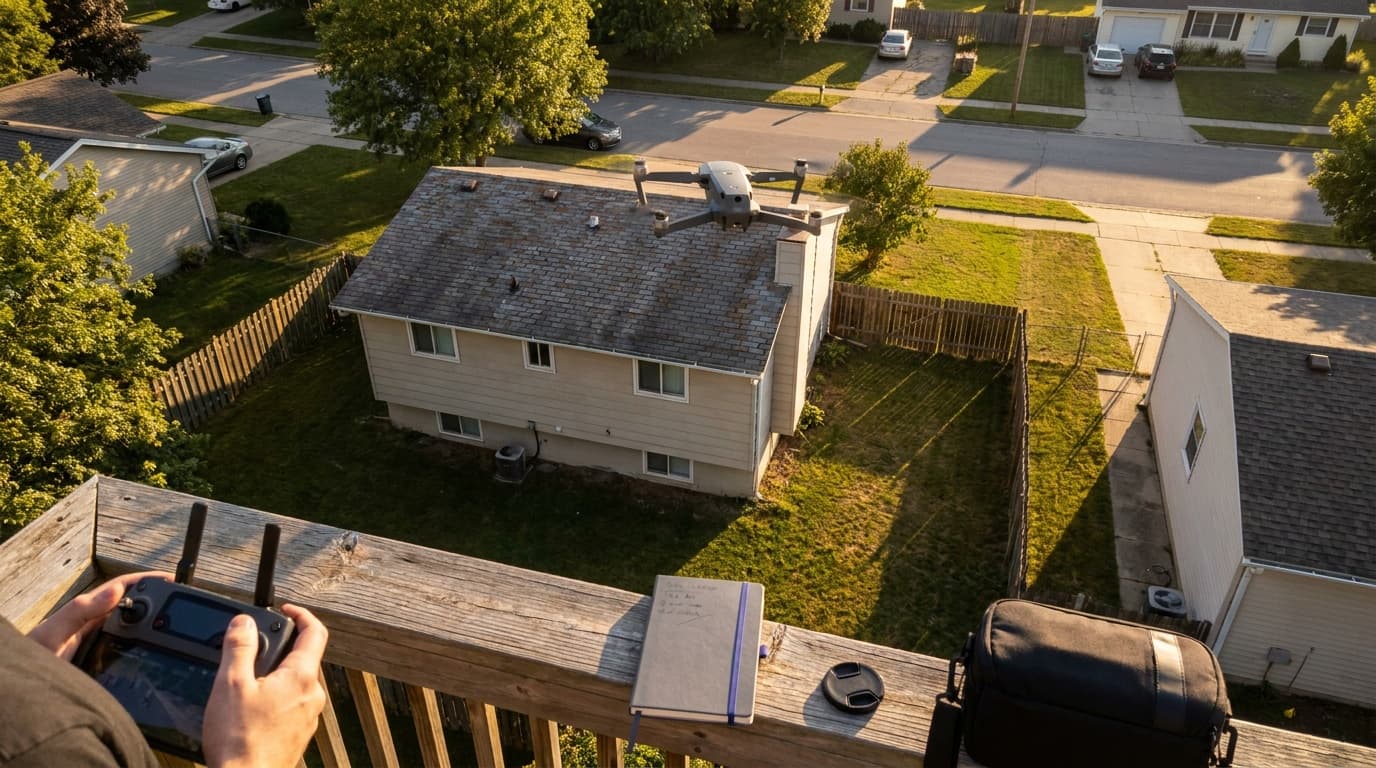
Drone Photography and Video for Real Estate and Landscapes
A drone adds the one angle you cannot get from the ground. Here is what aerial buys a listing or a landscape, the core moves, and where to check the law first.
Read guide
How to Buy Used Camera Gear in 2026: Inspect and Buy Safely
Buying used cameras and lenses saves money if you know what to check. Here is how to inspect a used body and lens, read shutter count, and where to buy.
Read guide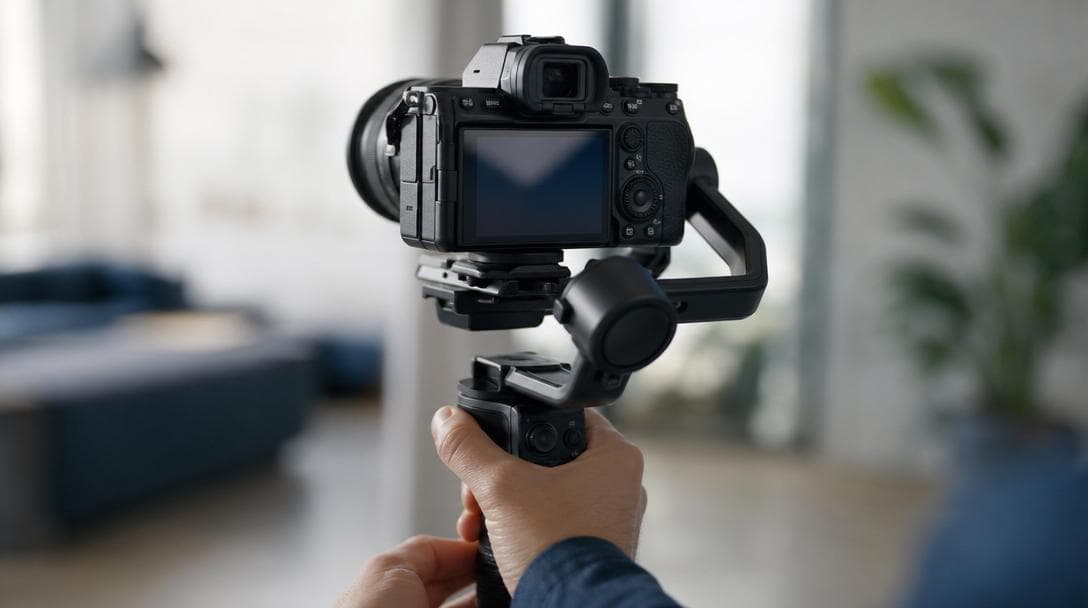
Gimbal Moves and Technique: The Core Shots and How to Get Them
The six gimbal moves that do most of the work in real video, when to use each one, and the settings and footwork that make them look intentional.
Read guide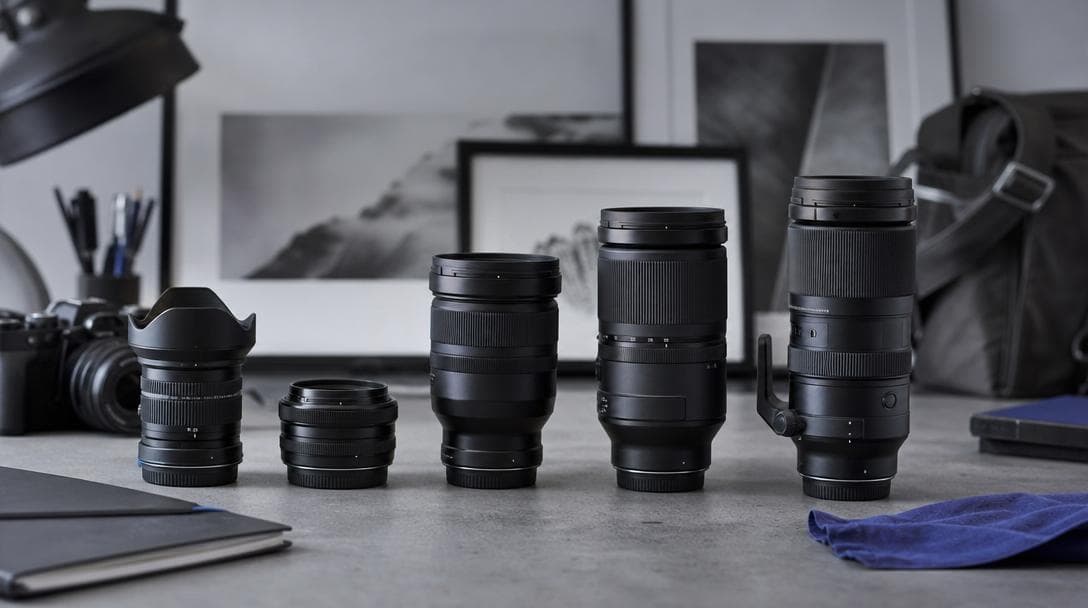
Prime vs Zoom Lenses: Which Should You Buy?
Primes are sharp, fast, and light but fixed. Zooms are flexible but slower and pricier to match. Here is how to choose, and the one cheap prime almost everyone should own.
Read guideResearched, not personally tested: picks come from specs, verified-owner reviews, and expert sources, scored into the Aperture Score. As an Amazon Associate I earn from qualifying purchases. We may earn a commission from links here, at no extra cost to you. How we research →