We may earn a commission from links on this page, at no extra cost to you.
What this means in real life
Almost everyone shoots the moon for the first time and gets a featureless white circle. The reason is that your camera sees a huge black frame with one small bright object and tries to brighten the whole scene. That averages the exposure up until the moon is overexposed and all its surface detail is gone. The fix is to ignore the sky entirely and treat the moon as what it is: a daylit subject hanging in space. The same sun that lights your backyard at noon is lighting the moon, so the so-called Looney 11 rule applies. At f/11 your shutter speed is roughly one over your ISO, which is why ISO 100 lands you near 1/125.
The gear
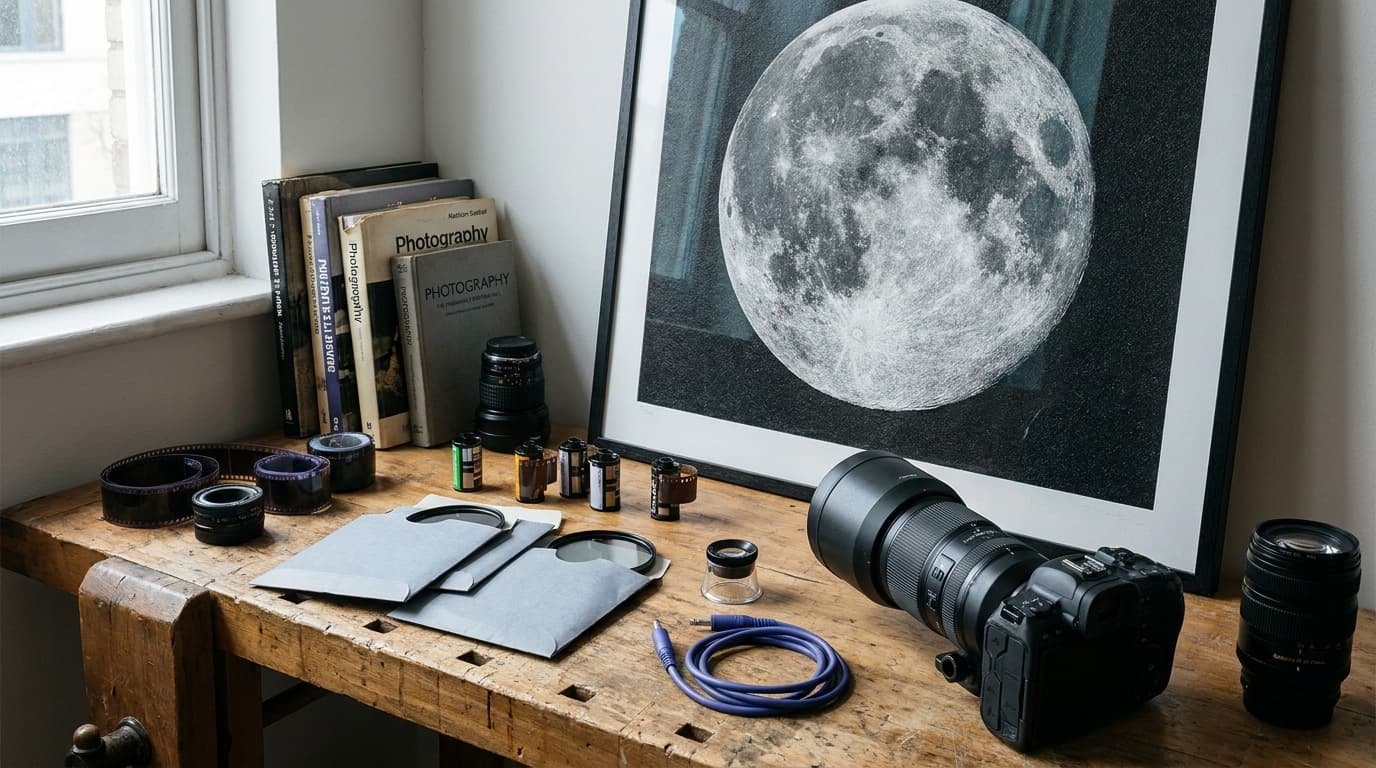
The moon is small in the frame, so reach matters more than anything. A 200mm lens gives you a recognizable disc; 400mm or more starts to fill the frame and show craters. On a crop sensor the crop factor works in your favor by extending your effective focal length. A sturdy tripod is not optional at these focal lengths, because the smallest vibration smears the detail you came for. A remote release or the two-second self-timer removes the shake from pressing the shutter.
The settings
The moon moves and shimmers, but its brightness is steady, so you can lock in numbers and adjust from there.
Keep the ISO at base for the cleanest file, since the moon is bright enough that you do not need to push it. Watch the shutter speed at long focal lengths: the Earth's rotation actually drifts the moon across your frame, so at 600mm anything slower than about 1/100 can soften the edges over a long enough exposure. If your lens is sharpest a stop down from wide open, f/11 usually sits in that sweet spot anyway. This is just the exposure triangle applied to one stubbornly bright subject.
Technique
Autofocus often hunts on the moon because there is nothing around it for the system to lock onto. Switch to manual focus, zoom in on the live view, and rack focus until the crater edges snap. Then leave it alone. Use mirror lock-up or electronic shutter if your camera offers it, and always trigger with a timer or remote so your finger never touches the body during the exposure. Take several frames; atmospheric shimmer means some will be sharper than others, and you keep the best. For more on locking down sharpness at long reach, the guide on how to avoid camera shake covers the full checklist.
Composition
A moon alone in a black frame is technically correct and usually boring. The shots people remember pair the moon with something earthly: a ridgeline, a building, a lone tree. That almost always means a longer lens and a lot of distance from the foreground object, which compresses the two together so the moon looks enormous behind it. Planning apps tell you where the moon will rise so you can line it up. This is where moon work overlaps with landscape photography, since the rules of foreground, balance, and timing carry straight over.
Common mistakes
The white-blob problem is metering, covered above. The second most common issue is softness, which is almost always shake or missed focus rather than a bad lens. The third is shooting a full moon and wondering why it looks flat: a full moon is lit head-on, so it has no shadows and no texture. A half or crescent moon, lit from the side, shows far more relief along the terminator line where light meets dark. If detail is your goal, shoot the moon a few days off full.
Why does my moon come out as a bright white circle?
Your camera is metering for the large dark sky and overexposing the moon to compensate. Switch to manual exposure and dial in daylight settings around f/11 · 1/125 · ISO 100, then adjust until the surface detail appears. The sky going black is correct.
What lens do I need to photograph the moon?
The longer the better. A 200mm lens gives a small but recognizable disc, while 400mm and up starts to fill the frame and resolve craters. On a crop-sensor body your effective reach is longer, which helps.
Do I need a tripod to photograph the moon?
Yes, for a sharp result. At the long focal lengths the moon demands, even tiny vibration smears the surface detail. Pair the tripod with a remote release or self-timer so pressing the shutter does not add shake.
Related Learn guides
Black and White Photography: How to See and Shoot in Mono
Black and white photography is about light, contrast, and shape rather than color. Here is how to shoot for mono and convert raw files cleanly.
Read guide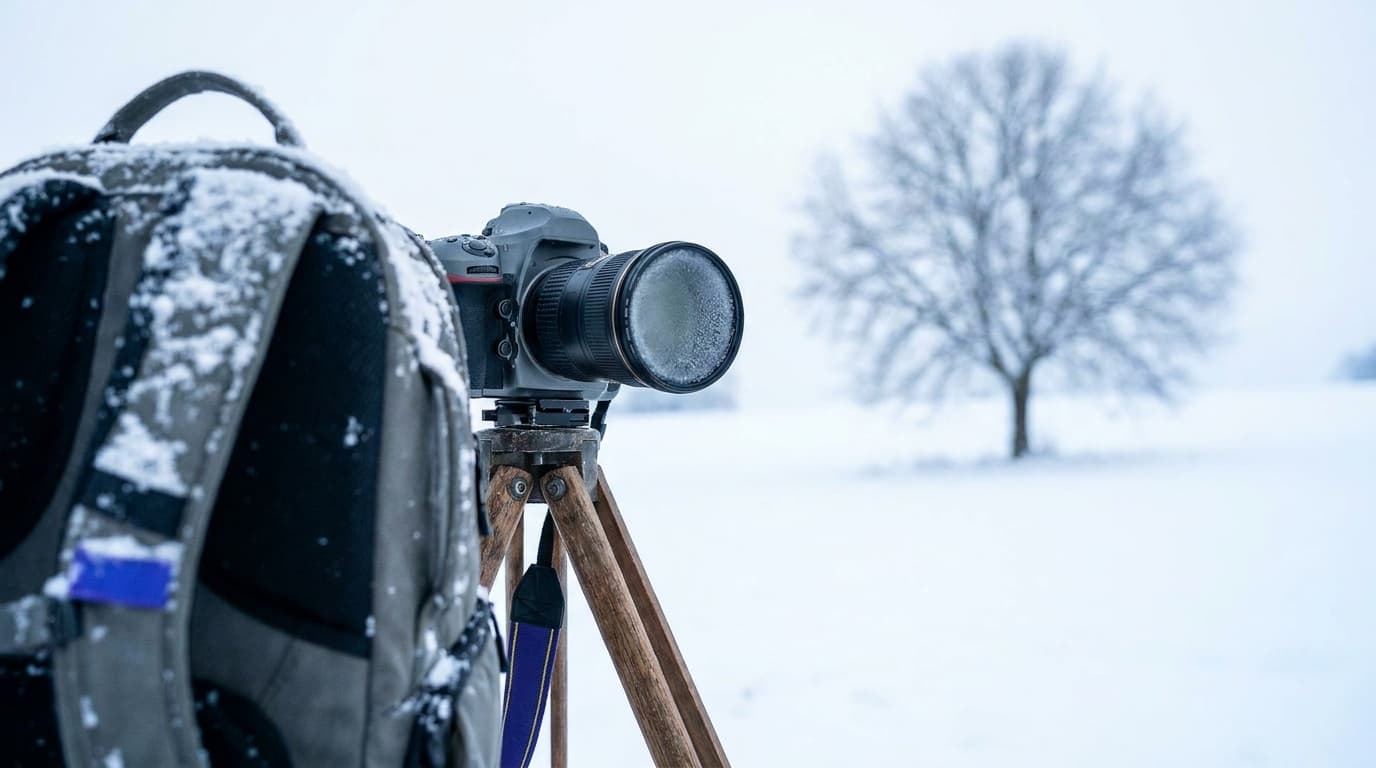
Camera Settings for Snow: How to Keep White Snow White
Snow fools your meter into gray, underexposed photos. Here are the settings and the exposure compensation that keep snow bright, clean, and the right color.
Read guide
Color Grading Basics: Giving Your Photos a Consistent Look
Color grading is the creative step after correction, where you shape mood and a signature look. Learn the core tools and how to build a style without overdoing it.
Read guide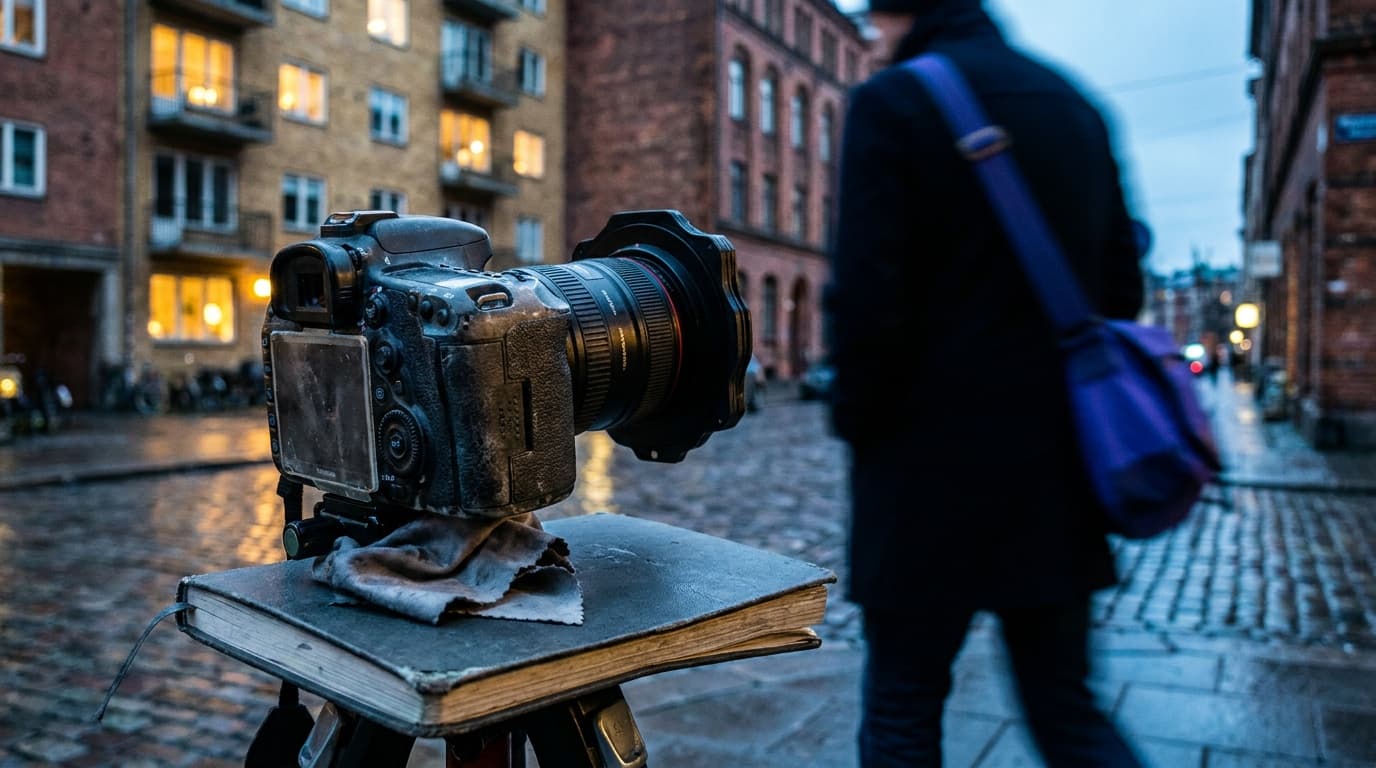
Color Temperature and Kelvin Explained: Reading Light by the Numbers
Color temperature in Kelvin describes how warm or cool a light is. Learn the scale from 3200K tungsten to 7500K shade and how to dial it in by hand.
Read guideResearched, not personally tested: picks come from specs, verified-owner reviews, and expert sources, scored into the Aperture Score. As an Amazon Associate I earn from qualifying purchases. We may earn a commission from links here, at no extra cost to you. How we research →