We may earn a commission from links on this page, at no extra cost to you.
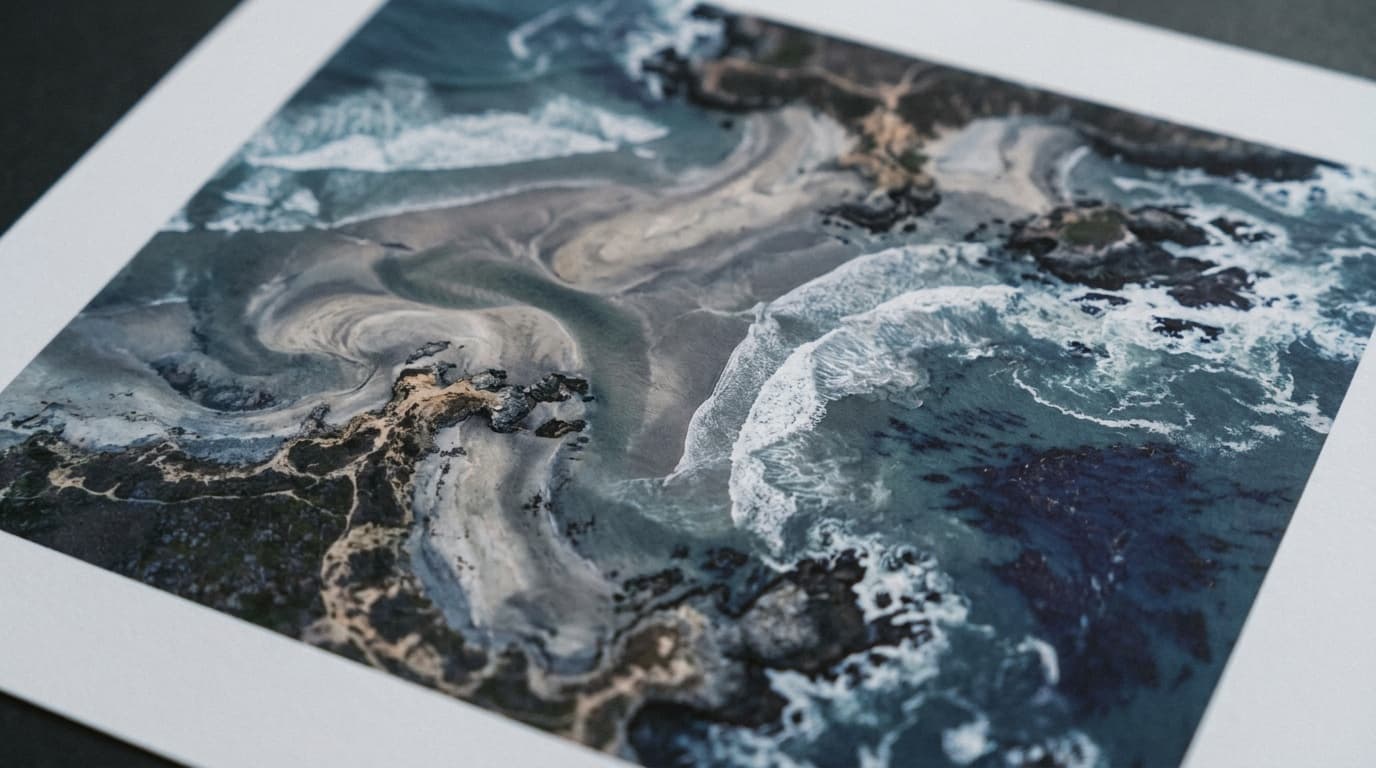
Aerial photography changes the rules of composition. From above, the world flattens into shape, color, and texture, and the things that read on the ground, faces, foregrounds, the horizon, often disappear. The skill is learning to see the ground as a graphic surface and to compose with line, pattern, and shadow instead of the usual depth cues.
This guide covers the photography craft: the settings, the framing, and the moves that make an aerial frame work. It does not cover flight law. For airspace rules, the Part 107 certification in the United States, registration, and where you may legally fly, see Drone Authority at droneauthority.org, which owns that ground in detail. Read and follow those rules before you put anything in the air.
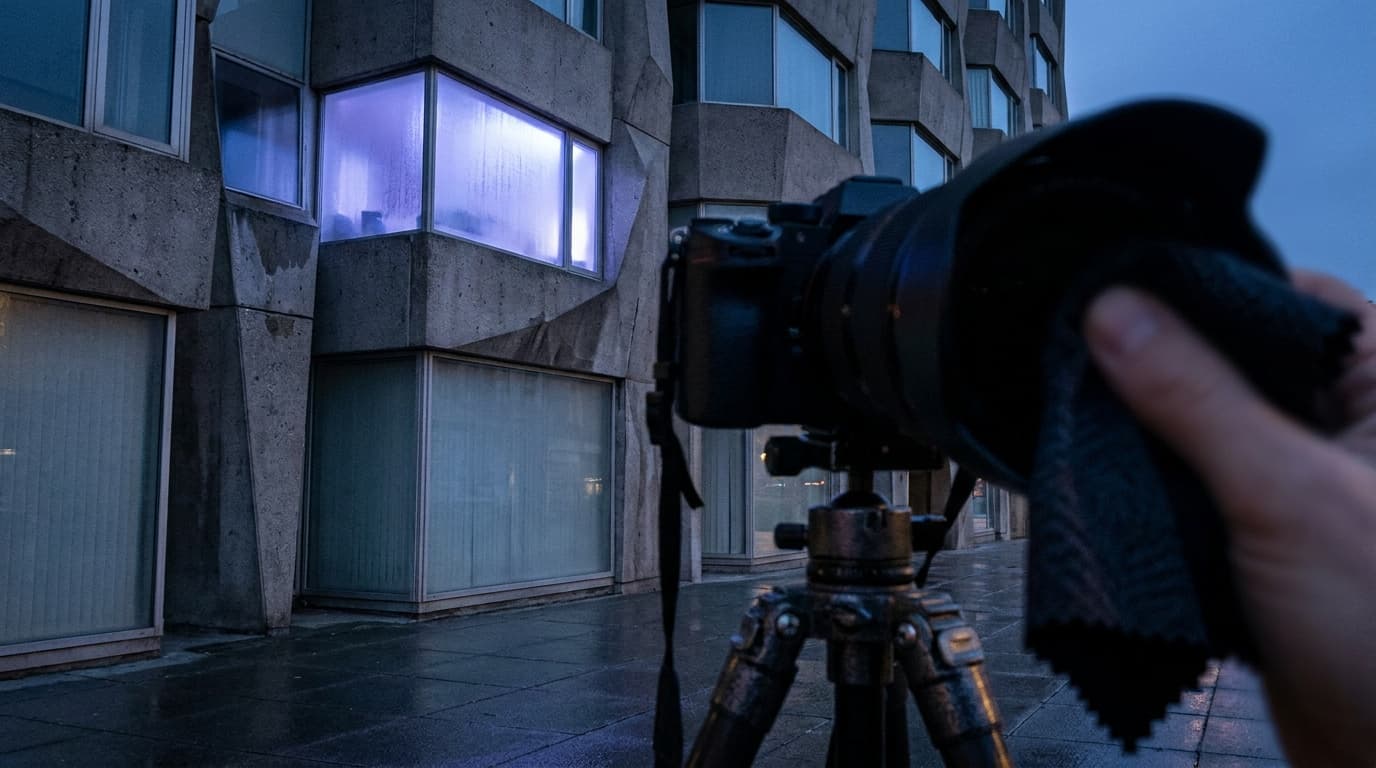
The gear
Most aerial stills today come from a drone, though the principles hold from a helicopter or a high vantage too:
- A drone with a capable camera, ideally one that shoots RAW and offers manual exposure control. The model picture and aerial workflow are covered in drone photography and video.
- Neutral density filters, which cut light so you can hold a smoother shutter for video and avoid a too-fast, choppy look. See best ND filters.
- Spare batteries and fast memory cards, since flight time is short and you will not get a second pass at the light.
- A camera with good dynamic range, because aerial scenes often pit bright fields against deep shadow. Sensor size affects this; see sensor sizes explained.
The settings
The working aerial recipe is f/4 to f/8 · 1/240 · ISO 100, leaning low and clean. Keep ISO at base, since small drone sensors show noise quickly. Hold shutter speed at 1/240 or faster for stills to fight the vibration and drift of a moving, wind-buffeted platform. Pick an aperture in the middle of the lens for the sharpest result, though many drones have a fixed aperture, in which case ND filters manage the light instead. Shoot RAW and lock exposure so it does not jump as you cross bright and dark ground. The exposure triangle ties them together.
When the scene pits a bright sky against dark ground, turn on auto exposure bracketing if your drone offers it. The camera fires three or five frames at different exposures in one press, and you merge them later into a single image that holds detail in both the highlights and the shadows. It is the cleanest way to handle the wide range a sunrise or sunset aerial throws at a small sensor.
Composition from above
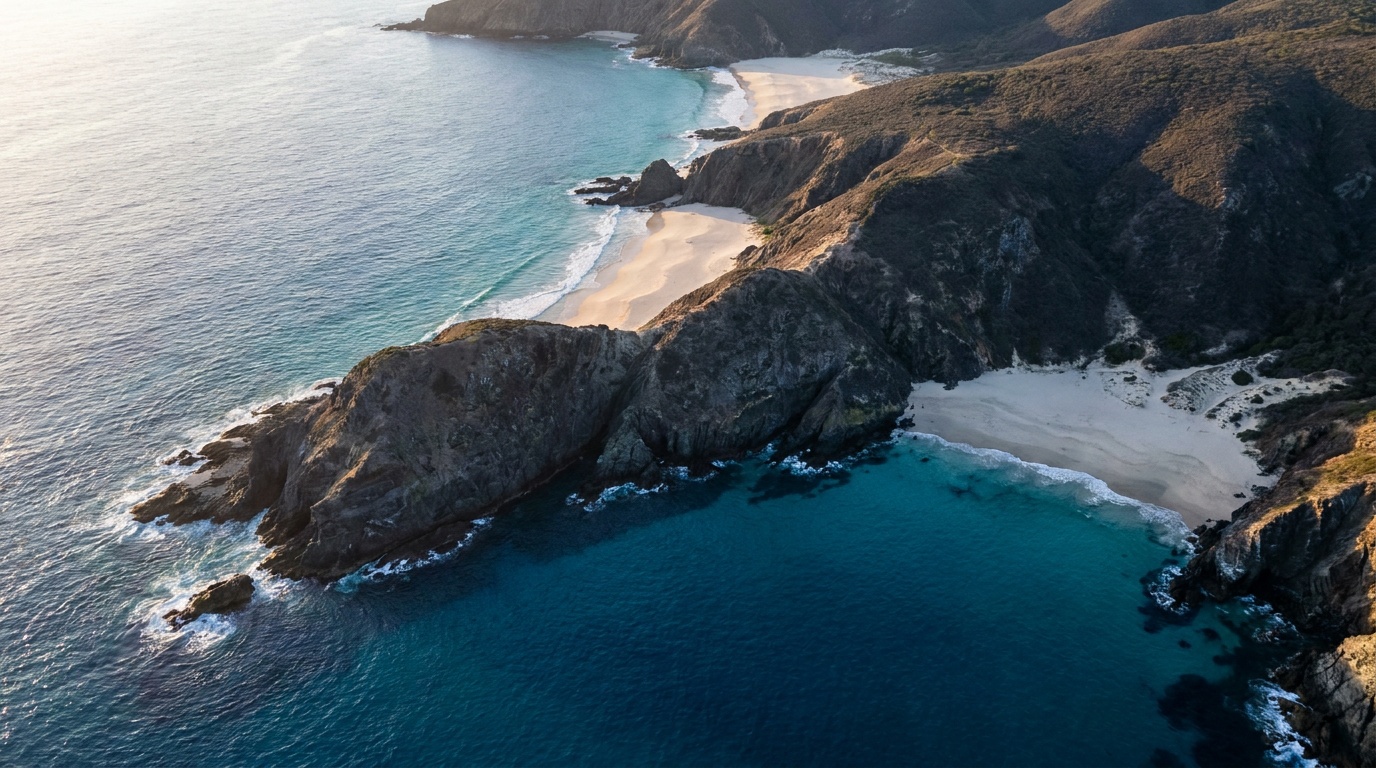
Two framings do most of the work. The first is straight down, the top-down or nadir shot, with the camera pointed at ninety degrees to the ground. It strips out scale and horizon entirely and turns the ground into pure pattern: a parking lot, a harbor, a field of crops becomes an abstract graphic. The second is the oblique angle, looking out and down, which keeps a sense of scale and depth while still showing the lay of the land.
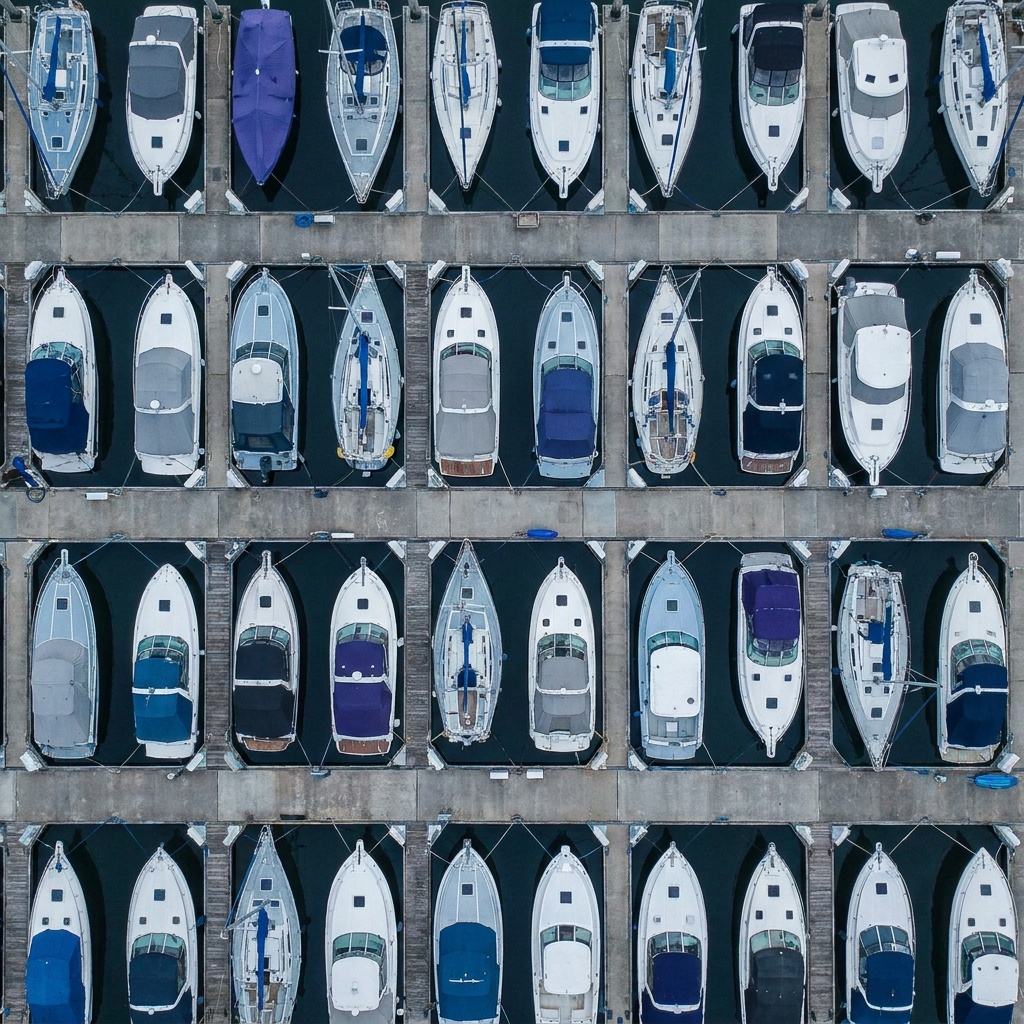
Use what the ground gives you. Roads, rivers, coastlines, and field boundaries make strong leading lines from this height; the leading lines guide applies directly. Repeating shapes like solar panels, shipping containers, or rooftops form natural patterns, covered in symmetry and patterns. Shoot near sunrise or sunset, when long shadows rake across the ground and give a flat scene depth and texture that midday light flattens out. Color blocks, a green field against a brown one, a blue pool against pale concrete, carry an aerial frame on their own.
Common mistakes
The frequent errors are easy to fix. A high ISO buries small-sensor aerial files in noise, so keep it at base. A slow shutter blurs frames as the drone drifts in wind, so hold it at 1/240 or faster. Flying at noon flattens the ground into a textureless map, so shoot the low-sun hours for shape and shadow. And composing for depth the way you would on the ground falls apart from above, so think in pattern, line, and color instead.
Know the rules first
Flight law is not optional and it is not covered here. Airspace restrictions, registration, the Part 107 certification, and no-fly zones around airports, stadiums, and sensitive sites are the deciding factor in whether you fly at all. Drone Authority owns that subject at droneauthority.org. For ground-based access and permit terms at a given site, the rules by location pillar covers the photography side.
What camera settings work best for aerial photography?
Keep ISO at base, hold the shutter at 1/240 or faster for stills to fight drift and vibration, pick a mid aperture if your drone allows it, and shoot RAW with locked exposure. Use ND filters to manage light on drones with a fixed aperture.
How do I compose a good aerial shot?
Think in pattern, line, and color rather than depth. Shoot straight down for graphic, abstract frames or at an oblique angle for scale, use roads and rivers as leading lines, and fly near sunrise or sunset so long shadows add texture.
Do I need a license to fly a drone for photos?
Possibly, and the rules depend on your country and whether the work is commercial. Aperture covers only the photography craft. For airspace law, registration, and the Part 107 certification in the United States, see Drone Authority at droneauthority.org and follow those rules before flying.
Related Genres guides
Architecture Photography: Gear and Settings for Clean, Straight Buildings
Architecture photography is about straight lines, even light, and front-to-back sharpness. Here is the gear, the settings, and the mistakes to skip.
Read guide
Event Photography: Settings and Gear for Low Light and Fast Moments
Event photography means low light, candid moments, and no second takes. Here is the gear, the settings, and the mistakes to skip for sharp, well-lit frames.
Read guide
Family Photography: Posing, Light, and Wrangling Everyone at Once
Family photos come down to flattering light, simple posing that connects people, and keeping a group relaxed. Here are the settings, the poses, and the wrangling tactics that work.
Read guide
Fashion Photography: Light, Posing, and the Look on a Budget
Editorial fashion images come from intentional light, confident posing, and a clear styling concept. Here is how to build the look on a budget with one light and simple gear.
Read guideResearched, not personally tested: picks come from specs, verified-owner reviews, and expert sources, scored into the Aperture Score. As an Amazon Associate I earn from qualifying purchases. We may earn a commission from links here, at no extra cost to you. How we research →