We may earn a commission from links on this page, at no extra cost to you.
What this means in real life
A building does not move, so you have time the way you never do with sports or wildlife. Spend it on two things: getting the lines right and getting the light right. Most weak architecture photos fail on one of those, not on exposure. The camera meters a static, evenly lit subject well, so your attention goes to composition and to the angle you point the lens.
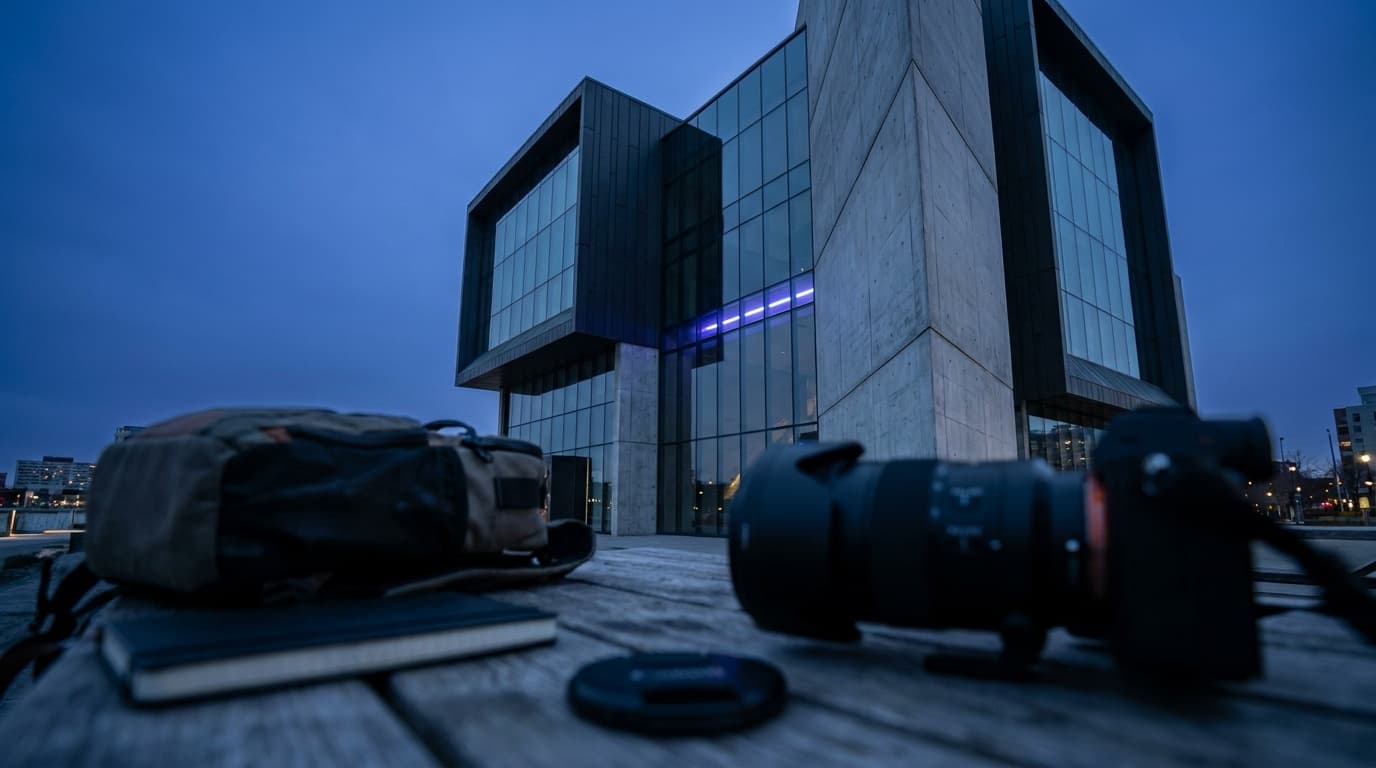
The gear
A wide to normal zoom covers most exterior and interior work. A tilt-shift lens is the specialist tool that corrects converging verticals in-camera, but it is expensive and you can fix most of that later in software, so it is not a starting requirement. What you do want from the first day is a tripod, both to enable low ISO and to lock the framing while you level the camera precisely. The tripod roundup covers stable options. For sweeping exteriors and detail shots, the landscape lens guide overlaps heavily with architecture needs.
The settings
Static subject, deep focus, even tones. That points at a middle aperture and a low ISO.
For interiors with bright windows and dark corners, the contrast can exceed what one frame holds. Bracket three exposures and blend them, or expose for the room and let the windows go bright if that reads naturally. A histogram check tells you whether you are clipping the shadows or the highlights.
The technique
Keep the camera level. The moment you tilt up to fit a tall building, the vertical edges start to converge toward the top, and the building looks like it is falling backward. The fixes, in order of preference: step back and shoot from farther away so you need less upward tilt, shoot from a higher vantage point so the camera stays level, or accept the convergence and correct it later with a perspective tool. Soft, even light, the kind you get on an overcast day or near the edges of the day, flatters most facades because it fills the recesses without blowing out the bright surfaces. Hard midday sun creates deep, distracting shadows across a textured wall.
Common mistakes
The biggest is the leaning-building look from tilting the camera up without correcting for it. The second is shooting at the wrong time: front-lit at noon flattens the form, while raking side light late in the day reveals texture and depth. The third is going too wide and including a lot of empty foreground pavement or sky that adds nothing. Fill the frame with the structure, or use a clean foreground element deliberately. Finally, watch your edges for clipped rooflines and stray poles; a static subject gives you no excuse for a sloppy border.
What lens is best for architecture photography?
A wide to normal zoom handles most situations. For serious correction of converging verticals, a tilt-shift lens does it in-camera, but it is a specialist purchase. Most people get most of the way there by keeping the camera level and correcting the rest in software.
How do I stop buildings from looking like they are leaning?
Keep the camera level instead of tilting it up. Step back, shoot from a higher position, or correct the converging verticals afterward with a perspective tool. The lean comes from the upward tilt, not from the lens itself.
What is the best time of day to shoot a building?
Overcast light or the soft hours near sunrise and sunset are the most forgiving, because they fill shadows without harsh contrast. Raking side light reveals texture; flat front light at noon usually does the opposite.
Where this fits
Exterior architecture overlaps with landscape photography on composition and light, and the interior side overlaps with real estate photography, where straight lines and bright, even rooms are the whole job. Everything above is the exposure triangle applied to a patient, stationary subject, so the better you know those three controls, the more you can spend your attention on the lines.
Related Learn guides
Black and White Photography: How to See and Shoot in Mono
Black and white photography is about light, contrast, and shape rather than color. Here is how to shoot for mono and convert raw files cleanly.
Read guide
Camera Settings for Snow: How to Keep White Snow White
Snow fools your meter into gray, underexposed photos. Here are the settings and the exposure compensation that keep snow bright, clean, and the right color.
Read guide
Color Grading Basics: Giving Your Photos a Consistent Look
Color grading is the creative step after correction, where you shape mood and a signature look. Learn the core tools and how to build a style without overdoing it.
Read guide
Color Temperature and Kelvin Explained: Reading Light by the Numbers
Color temperature in Kelvin describes how warm or cool a light is. Learn the scale from 3200K tungsten to 7500K shade and how to dial it in by hand.
Read guideResearched, not personally tested: picks come from specs, verified-owner reviews, and expert sources, scored into the Aperture Score. As an Amazon Associate I earn from qualifying purchases. We may earn a commission from links here, at no extra cost to you. How we research →