We may earn a commission from links on this page, at no extra cost to you.
Top picks
What this means in real life
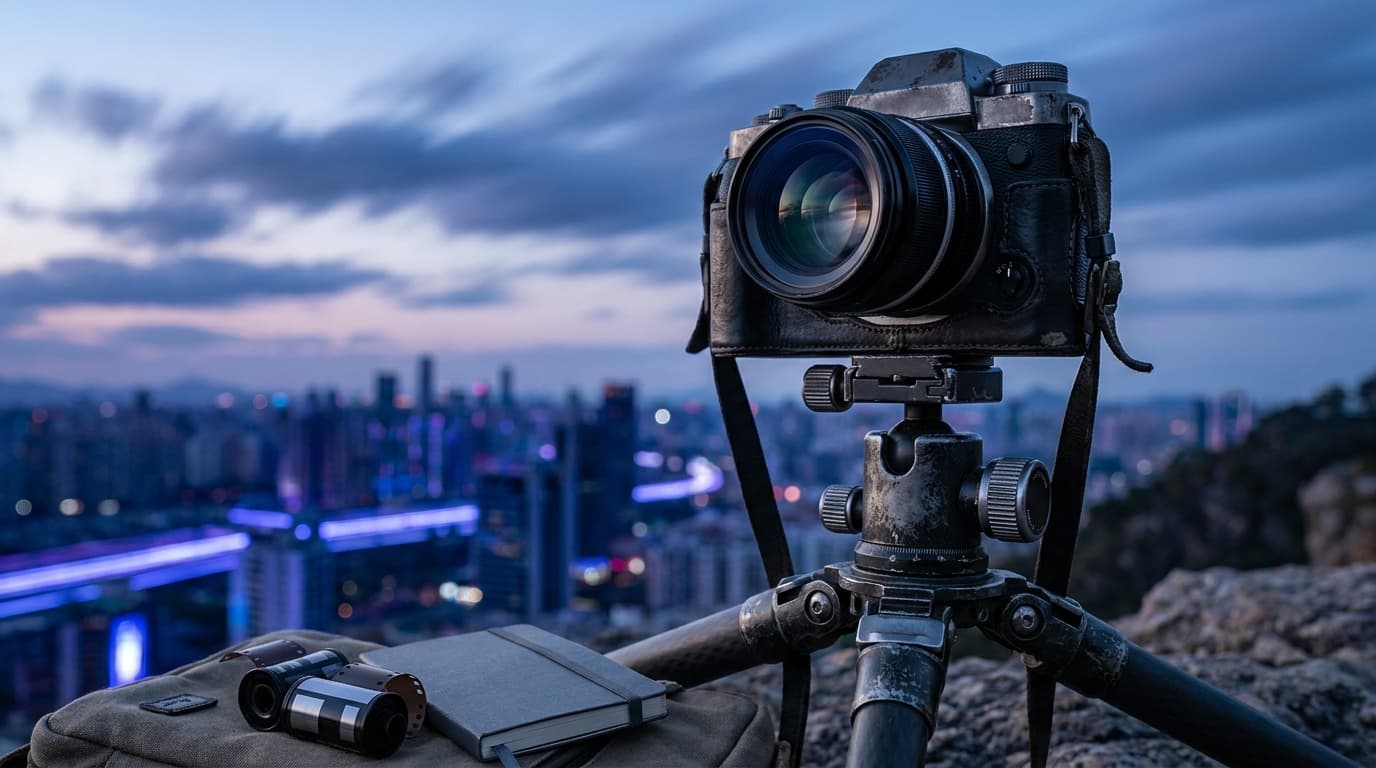
Slow change looks like nothing in real time. Clouds drift, shadows crawl, a sunset fades over an hour. Shoot one frame every few seconds across that hour, then play the frames at 24 or 30 per second, and the slow change becomes obvious, fluid motion in a few seconds of video. The interval, the gap between frames, controls how compressed time becomes: a longer interval covers more real time in the same clip length. The catch is consistency. Every frame should match the last in exposure and framing, or the playback flickers and jumps.
The interval and the math
The interval is the heart of a time-lapse. Faster-moving subjects need a shorter interval; slow ones can use a longer one. A rough guide: 1 to 2 seconds for fast clouds or busy traffic, 3 to 5 seconds for general skies and sunsets, and 15 to 30 seconds for stars or very slow scenes. To find how long to shoot, multiply the clip length you want by the playback rate by the interval. A 10-second clip at 30 frames per second needs 300 frames; at a 4-second interval, that is 300 times 4, or 20 minutes of shooting. Plan the shoot around the result you want.
The settings
Lock exposure so the frames match, then let the intervalometer run.
Manual exposure is the key discipline: if the camera re-meters every frame, brightness jitters and the clip flickers. Manual focus and fixed white balance keep the look stable too. The intervalometer can be a dedicated remote or your camera's built-in interval timer. This is the same shutter speed and aperture discipline from the exposure triangle, held perfectly steady across hundreds of frames.
The day-to-night move
The hardest time-lapse is the one that spans changing light, a sunset that runs into night, often called the holy-grail transition. The problem is that fully manual exposure that looks right at sunset is hours too dark by nightfall. There are two ways through. The first is to slowly adjust exposure by hand during the shoot, nudging shutter or ISO a small amount every few minutes so brightness drifts smoothly. The second is to use a camera or intervalometer mode that ramps exposure automatically. Either way, change exposure in tiny steps so the brightening or darkening looks like real dusk, not a series of jumps. This is also why an external intervalometer with exposure ramping earns its place for serious landscape photography sequences and for night photography that starts before dark.
Common mistakes
Leaving the camera in an automatic mode causes flicker, because the meter re-decides the exposure every frame; lock it in manual. Using autofocus means the camera may hunt and shift focus between frames. Choosing the wrong interval gives a clip that is either too jerky (interval too long) or too short for the effort (interval too short). Running out of battery or card space mid-sequence ends the shoot early, so bring spares and a power source for long runs. And bumping the tripod, or shooting in wind without weighting it, ruins the steady framing the whole effect depends on.
What interval should I use for a time-lapse?
Match it to how fast the subject moves. Use 1 to 2 seconds for fast clouds or traffic, 3 to 5 seconds for general skies and sunsets, and 15 to 30 seconds for stars or very slow scenes. Shorter intervals give smoother motion but need more frames and storage.
Why does my time-lapse flicker?
Flicker almost always comes from the exposure changing slightly between frames. Shoot in full manual mode with manual focus and a fixed white balance so every frame matches. If you must change exposure during a day-to-night shoot, do it in tiny, gradual steps.
Do I need an intervalometer or will the camera do it?
Many cameras have a built-in interval timer that works for basic time-lapses. An external intervalometer adds flexibility, longer runs, finer control, and exposure ramping for the day-to-night transition, which is why it is worth having for ambitious sequences.
Related Learn guides
Black and White Photography: How to See and Shoot in Mono
Black and white photography is about light, contrast, and shape rather than color. Here is how to shoot for mono and convert raw files cleanly.
Read guide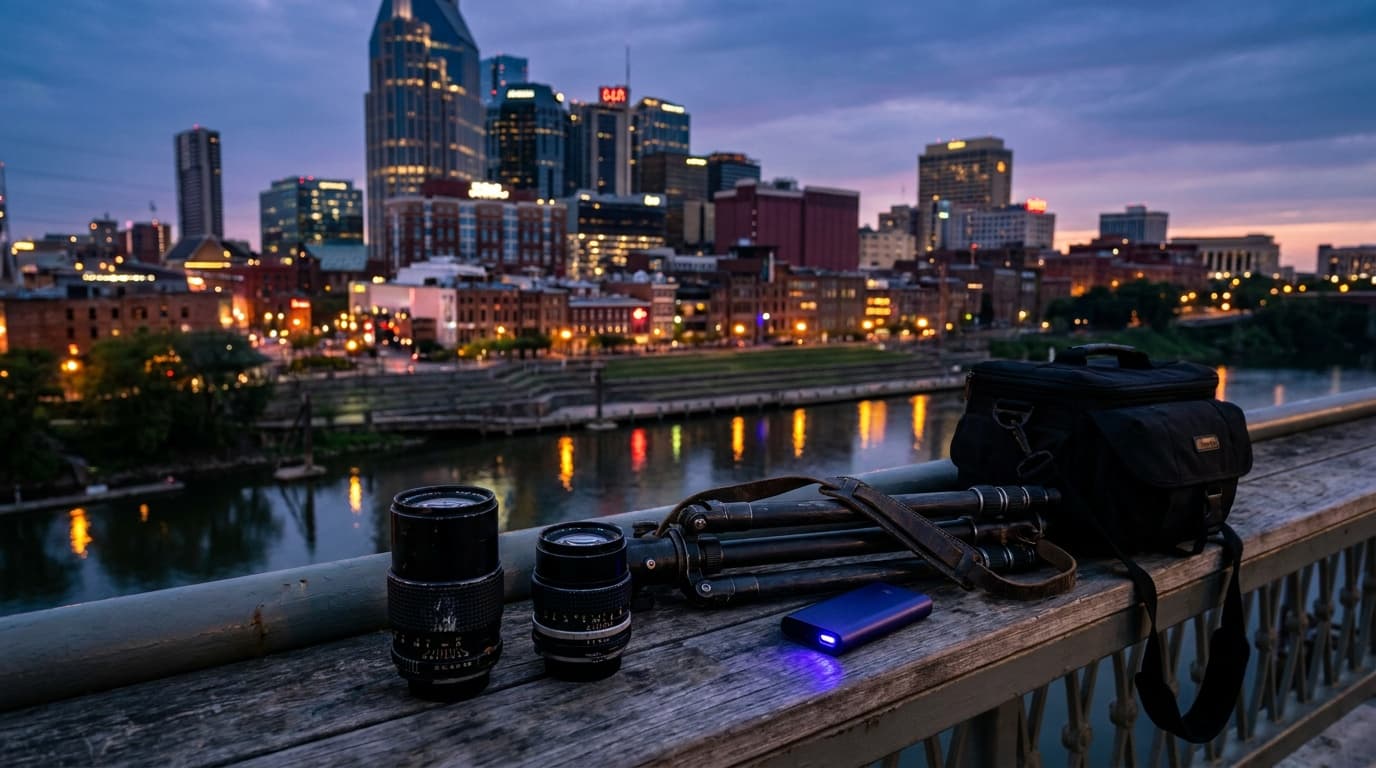
Blue Hour Photography: The Best 20 Minutes After Sunset
Blue hour is the short window of deep blue sky and glowing city lights just after sunset. Here are the settings, the timing, and how to make the most of it.
Read guide
Bokeh Explained: What Makes Background Blur Look Good
Bokeh is the quality of the out-of-focus blur, not just the amount. Here is what creates it, what makes it look smooth, and how to get more of it.
Read guide
Camera Settings for Snow: How to Keep White Snow White
Snow fools your meter into gray, underexposed photos. Here are the settings and the exposure compensation that keep snow bright, clean, and the right color.
Read guideResearched, not personally tested: picks come from specs, verified-owner reviews, and expert sources, scored into the Aperture Score. As an Amazon Associate I earn from qualifying purchases. We may earn a commission from links here, at no extra cost to you. How we research →