We may earn a commission from links on this page, at no extra cost to you.
What this means in real life
The night sky is extremely dark, so everything about night shooting is a fight to gather enough light without ruining the image. You gather light three ways: open the aperture wide, leave the shutter open long, and raise the ISO. Each has a cost. A long shutter turns stars into trails as the Earth rotates. A high ISO adds noise. The craft is balancing the three so you get a bright, sharp, clean enough frame. A dark sky away from city lights matters more than any setting.
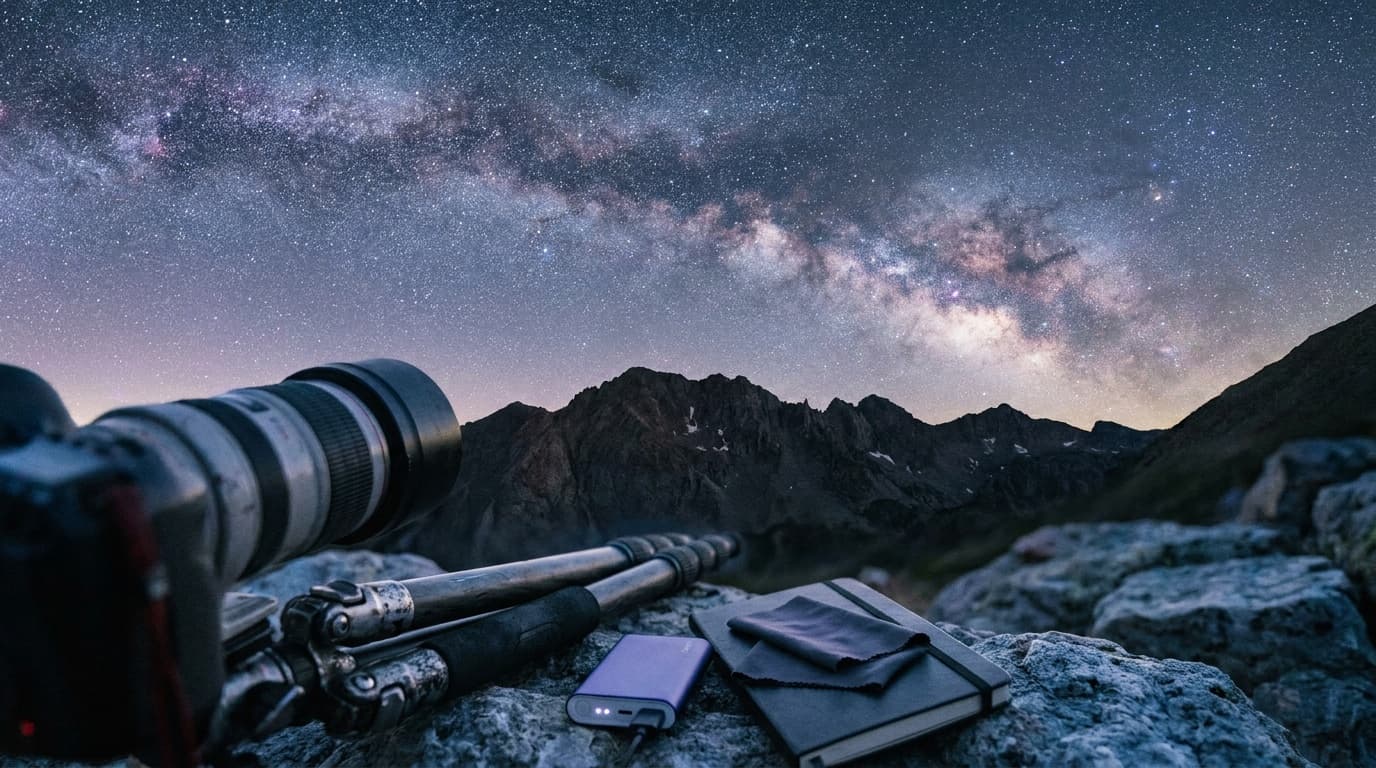
[MEDIA: wide night-sky frame showing pinpoint stars over a dark foreground silhouette, with a tripod in shot to signal the setup]
The gear
A tripod is not optional; exposures this long are impossible handheld. A wide lens, ideally 14mm to 24mm, fits more sky and allows a longer shutter before stars trail. A fast aperture, f/2.8 or wider, lets in far more starlight than a slow kit lens, though a kit lens at f/3.5 still works with a higher ISO. A remote release or the two-second self-timer stops the shake from your finger on the shutter. A headlamp with a red mode keeps your night vision while you work.
The settings
Start here and adjust to your lens and sky.
The shutter is the part people get wrong. Too long and the stars smear into short trails. A rough guide is the "500 rule": divide 500 by your lens focal length to get the longest shutter in seconds before trailing shows. At 20mm that is about 25 seconds; on a crop sensor, divide by your crop factor first. Treat it as a ceiling, not a target.
The technique
Focus is the single hardest part and the most common failure. Autofocus has nothing to lock onto in the dark, so switch to manual focus, turn on live view, zoom in on the brightest star you can find, and turn the focus ring until that point of light is as small and crisp as possible. Tape the ring or note the position so it does not drift. Do this before you compose, then reframe without touching focus.
For composition, a strong dark foreground, a ridgeline, a lone tree, a building, gives the sky scale and stops it from looking like an empty field of dots. Take a test frame, check the histogram and zoom in to confirm the stars are sharp, then commit. Shoot several frames; you can blend them later to reduce noise.
Common mistakes
The biggest mistake is shooting from a bright location, where city glow washes out all but the brightest stars. Drive away from town. The second is trusting autofocus and going home with a card full of soft frames; always focus manually and confirm by zooming in. The third is leaving the shutter open too long and getting trails when you wanted points. The fourth is using a too-warm white balance, which turns the sky orange; pull it cooler. The fifth is forgetting the self-timer, so every frame has shake from the shutter press.
Where this fits
These settings are the exposure triangle pushed to its dark-end extreme, so the night sky is one of the best teachers for understanding how the three controls trade against each other. For the wider picture, including Milky Way season, planning apps, and star trails, read the astrophotography genre guide. If you want to start gentler, night photography covers cities and twilight, and how to photograph the moon is a different problem entirely, since the moon is bright.
What ISO should I use for the night sky?
Usually ISO 3200 to 6400. The sky is dark enough that lower values leave the stars too dim, and modern sensors handle this range well, especially after noise reduction in editing. Raise it if your aperture is slow or your shutter is short; lower it if your foreground is unusually bright.
Why are my stars blurry or streaked?
Streaks mean your shutter was too long and the Earth rotated during the exposure; shorten it using the 500 rule. General softness usually means focus, not motion. Switch to manual focus, zoom into a bright star in live view, and adjust until it is a tiny crisp point before you shoot.
Do I need a full-frame camera to photograph stars?
No. Full frame gathers more light and handles high ISO with less noise, which helps, but crop-sensor cameras and even some phones in night mode capture good star fields. A dark sky, a tripod, and correct focus matter far more than the sensor size.
Related Learn guides
Black and White Photography: How to See and Shoot in Mono
Black and white photography is about light, contrast, and shape rather than color. Here is how to shoot for mono and convert raw files cleanly.
Read guide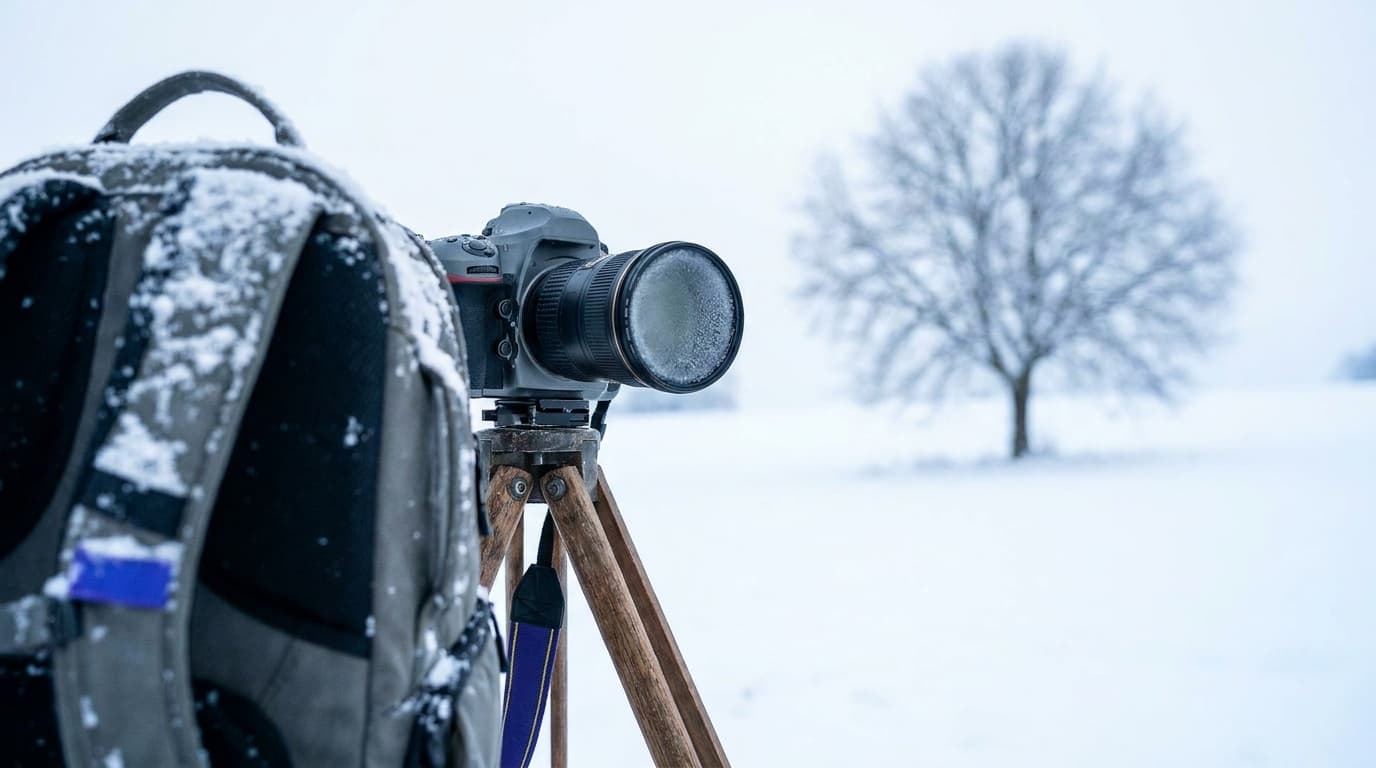
Camera Settings for Snow: How to Keep White Snow White
Snow fools your meter into gray, underexposed photos. Here are the settings and the exposure compensation that keep snow bright, clean, and the right color.
Read guide
Color Grading Basics: Giving Your Photos a Consistent Look
Color grading is the creative step after correction, where you shape mood and a signature look. Learn the core tools and how to build a style without overdoing it.
Read guide
Color Temperature and Kelvin Explained: Reading Light by the Numbers
Color temperature in Kelvin describes how warm or cool a light is. Learn the scale from 3200K tungsten to 7500K shade and how to dial it in by hand.
Read guideResearched, not personally tested: picks come from specs, verified-owner reviews, and expert sources, scored into the Aperture Score. As an Amazon Associate I earn from qualifying purchases. We may earn a commission from links here, at no extra cost to you. How we research →