We may earn a commission from links on this page, at no extra cost to you. Picks are researched, not sponsored.
What this means in real life
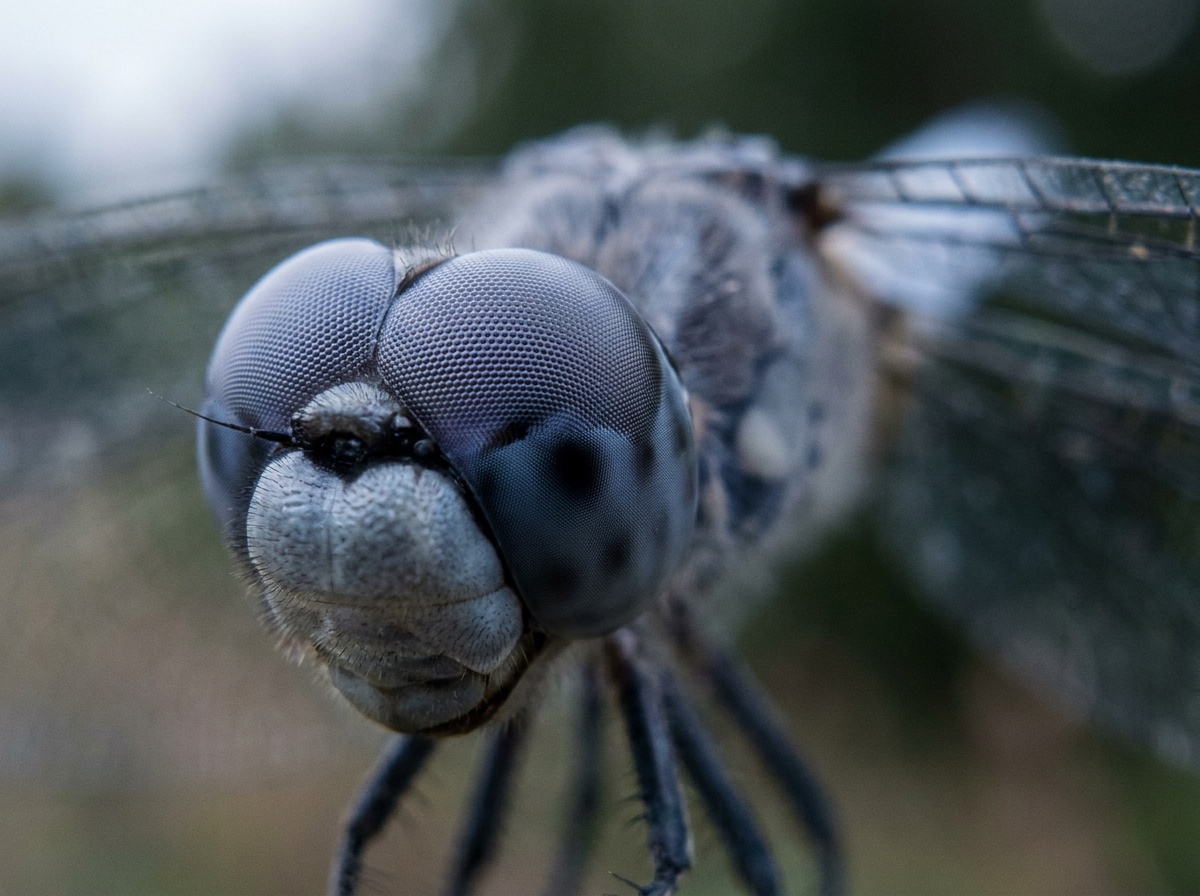
Up close, the rules of depth of field get extreme. At true macro magnification, even f/11 might give you only a few millimeters of sharpness, so a tilted insect can have sharp eyes and a blurry body. Two problems follow. First, the tiniest movement, by you or the subject, is magnified into a big shift, so sharpness is hard to hold. Second, a small aperture lets in little light, so close-up scenes go dark fast and you need to add light. Almost every macro technique is a response to one of those two facts.
True macro means a magnification of 1:1 or greater, where the subject projects onto the sensor at life size. At 1:1, depth of field can be less than one millimeter, and the lens loses roughly two stops of light, so an aperture set to f/8 behaves more like f/16 for exposure. That effective-aperture loss is why macro scenes go so dark and why added light matters more here than almost anywhere else.
The gear
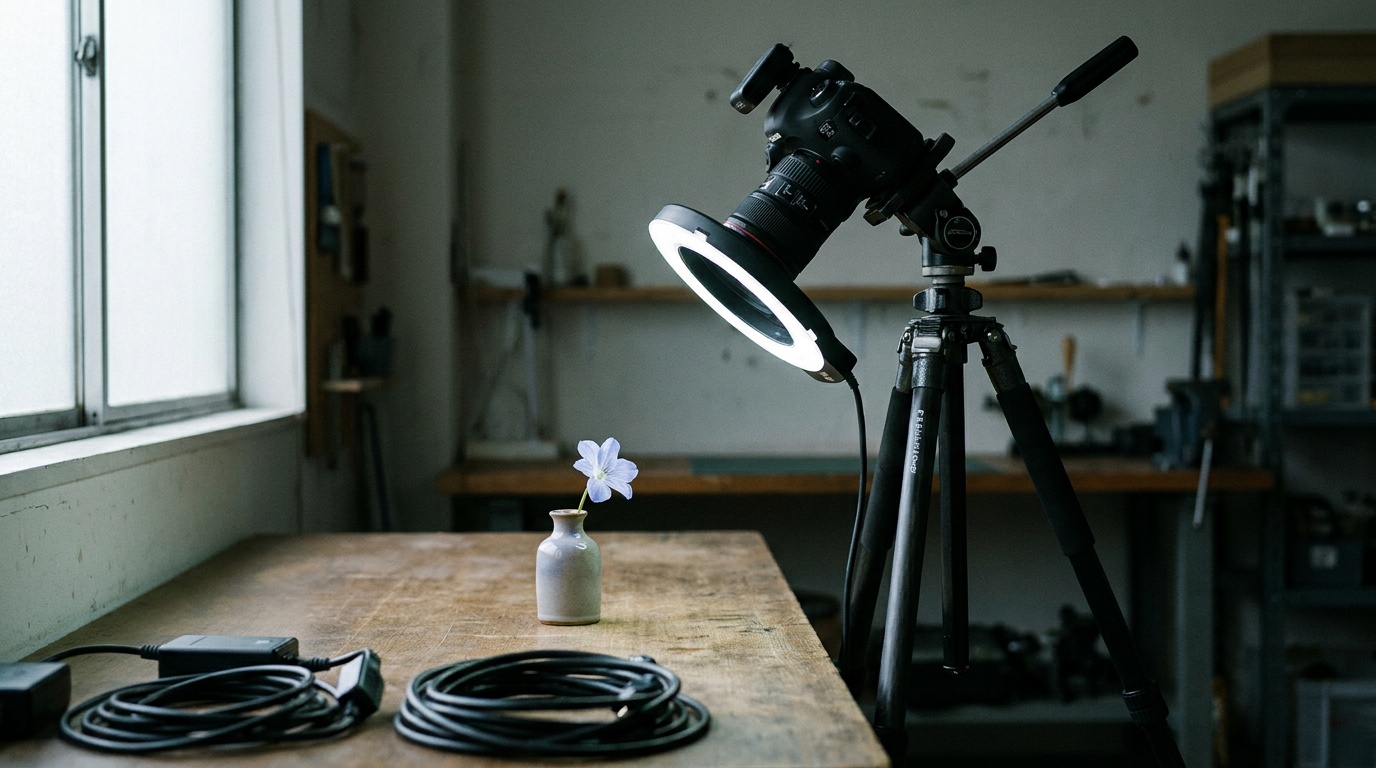
A dedicated macro lens is the real entry point, because it focuses close enough to reach life-size reproduction, which a normal lens cannot. Cheaper ways in include extension tubes, which sit between the body and a lens you already own to let it focus closer, and close-up filters that screw onto the front. A tripod is close to mandatory for static subjects like flowers and products, since precise focus at this scale is impossible to hold by hand; the tripod roundup covers stable options. Lighting matters more than in most genres: a small flash or a ring light replaces the light you lose by stopping down. The flash and speedlight guide is the relevant gear list. There is also a roundup of dedicated macro lenses if you are ready to commit to one.
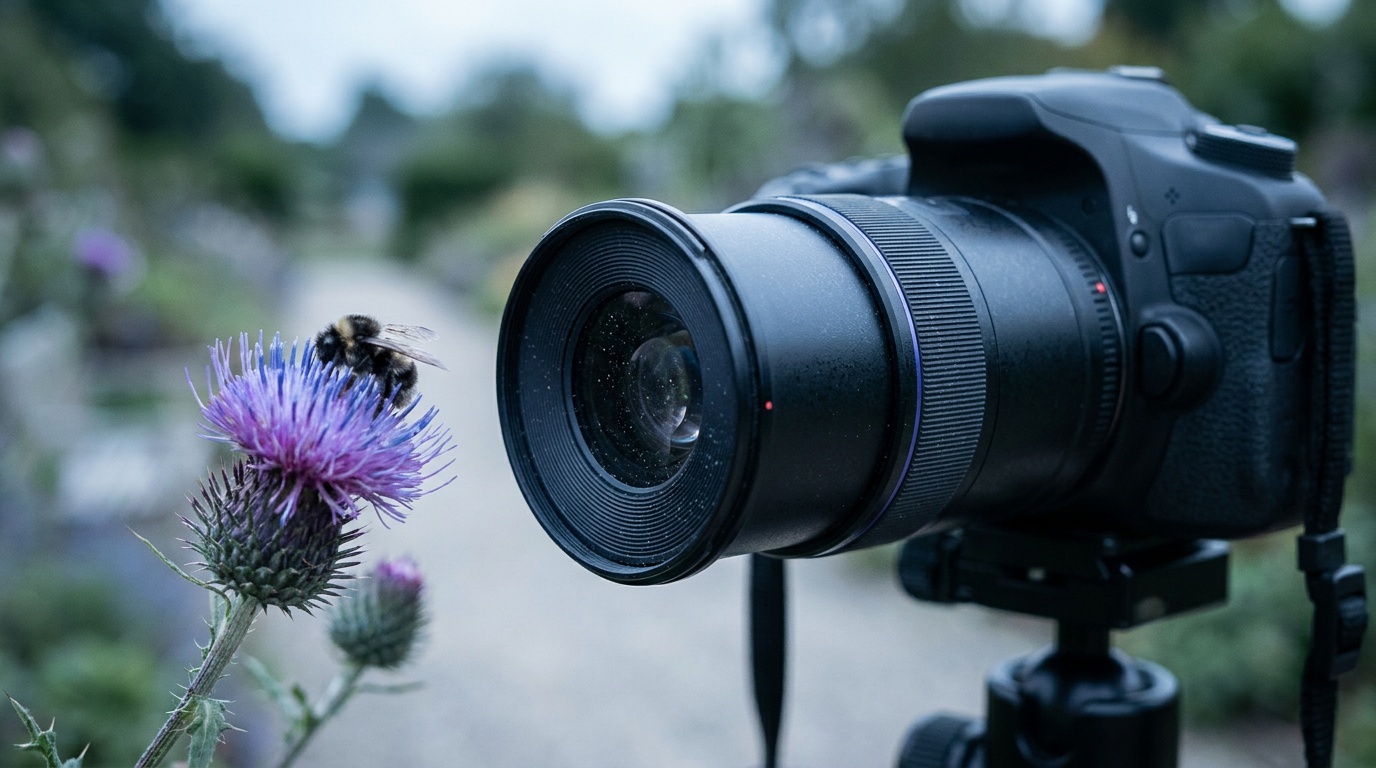
Focal length changes how close you have to be. A 60mm macro puts you within a couple of inches of the subject at 1:1, which is fine for flowers and products but spooks insects. A 100mm or 105mm macro gives roughly six inches of working distance, and a 180mm or 200mm macro pushes that out far enough to photograph skittish live subjects without casting your own shadow on them. More working distance also makes lighting easier, because the lens is not jammed up against the subject.
The settings
You are fighting for depth of field, and the aperture you need to get it makes the scene dark, so you add light.
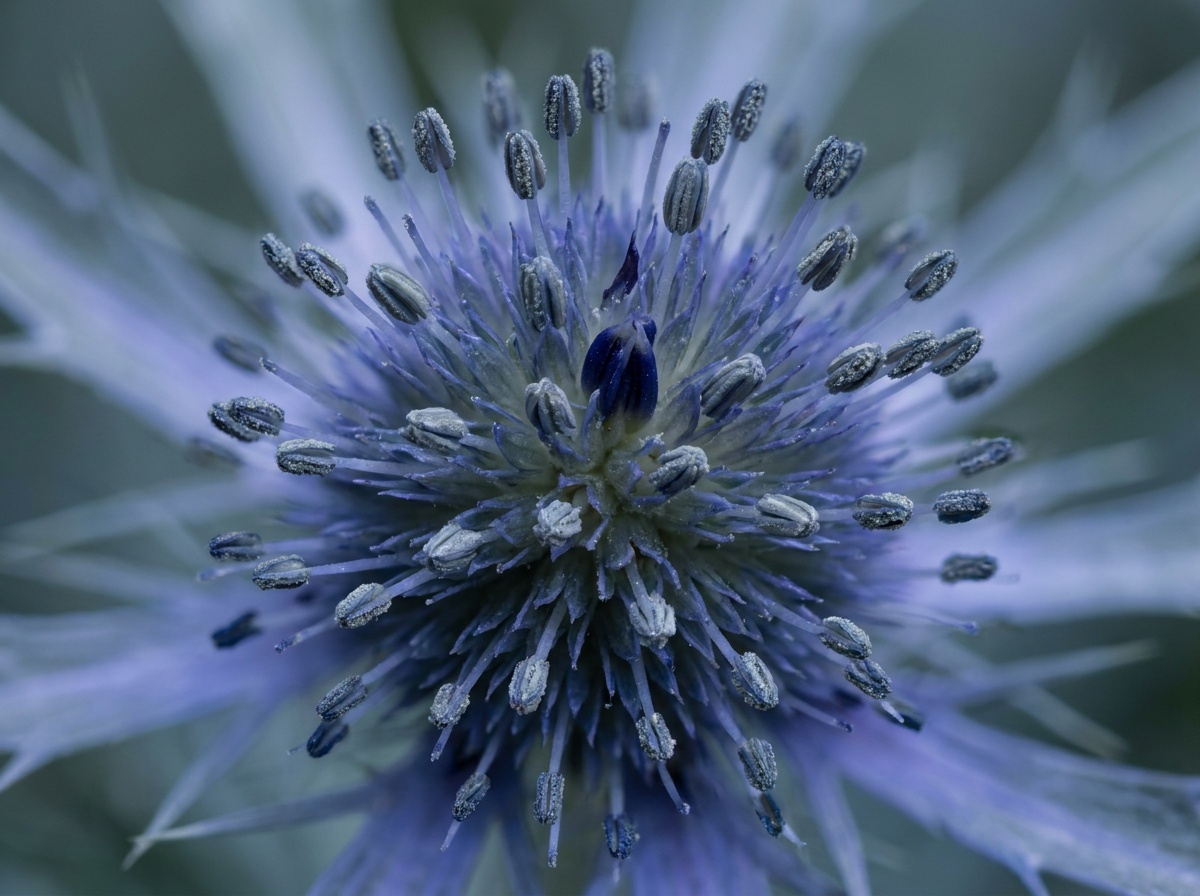
Focus stacking means shooting several frames with the focus point stepped slightly through the subject, then blending them in software so the sharp slice from each frame combines into one fully sharp image. It is the standard way to get a front-to-back sharp macro of a static subject without paying the diffraction penalty of an extreme aperture. The dedicated focus stacking guide walks through the capture and the blend step by step.
A step-by-step for a static macro subject
- Lock the camera down. Tripod, and a focus rail if you have one. Hand-holding will not hold focus at this scale.
- Set the aperture to f/8 to f/11. Enough depth for one frame without sliding into diffraction softness.
- Add and soften light. A flash or ring light at the subject, diffused so it is not harsh. This pays back the stops lost to magnification.
- Switch to manual focus and use magnified live view to set the exact plane you want sharp.
- Fire with a remote or timer to avoid shake at the moment of exposure.
- Stack if one frame is not enough. Step the focus through the subject across several frames and blend them in software.
The technique
Work on a tripod for anything that holds still, and use manual focus or a focus rail, because at this magnification autofocus hunts and tiny distance changes matter. Rather than turning the focus ring, many macro shooters lock focus and rock the whole camera a hair forward and back, firing at the moment the key detail snaps sharp. Add light and diffuse it; bare flash at close range is harsh, so soften it. For living subjects like insects, shoot early in the morning when they are cold and slow, and be patient. For products and flowers, you have all the time you need, which makes them the right place to learn focus stacking.
Common mistakes
The first is expecting one frame at a moderate aperture to hold a whole three-dimensional subject sharp; it will not, so stack or pick your focus plane deliberately. The second is forgetting that stopping all the way down to f/22 or beyond softens the entire image through diffraction; stack instead of going extreme. The third is too little light, leading to slow shutters and blur; add a flash or ring light. The fourth is handholding a static subject and never getting consistent focus; use the tripod.
What aperture is best for macro photography?
Around f/8 to f/11 for a balance of depth and sharpness. Going much smaller softens the whole frame through diffraction. When you need front-to-back sharpness on a still subject, focus stacking beats simply closing the aperture further.
Do I need a special lens for macro?
A dedicated macro lens focuses close enough for true life-size shots, which a normal lens cannot. Cheaper entry points are extension tubes or close-up filters that let a lens you already own focus nearer, with some trade-offs in quality and convenience.
What is focus stacking and when should I use it?
Focus stacking blends several frames, each focused on a slightly different slice of the subject, into one fully sharp image. Use it on static subjects like flowers and products where the thin macro depth of field cannot hold the whole subject in a single frame.
Where this fits
Macro overlaps closely with product photography, where stacking and controlled light produce clean, sharp close-ups, and the underlying lesson is depth of field at its most extreme. The exposure itself is still the exposure triangle, just applied to a world a few millimeters deep.
Practice this
Turn the guide into a working setup
Shoot kits
Buy around the job, not the spec sheet
Studio table
Product studio kit
$5,268
A high-detail body, macro lens, portable strobe, modifier, backdrop, and grip pieces for repeatable product photos at home or in a small studio.
Best small-commerce kit
Buy order: start with the first piece that makes the job possible, then add the support pieces that remove friction.
Camera: start here. If this piece does not make the shoot easier, the rest of the kit can wait.
Safety: add it after the core setup proves useful.
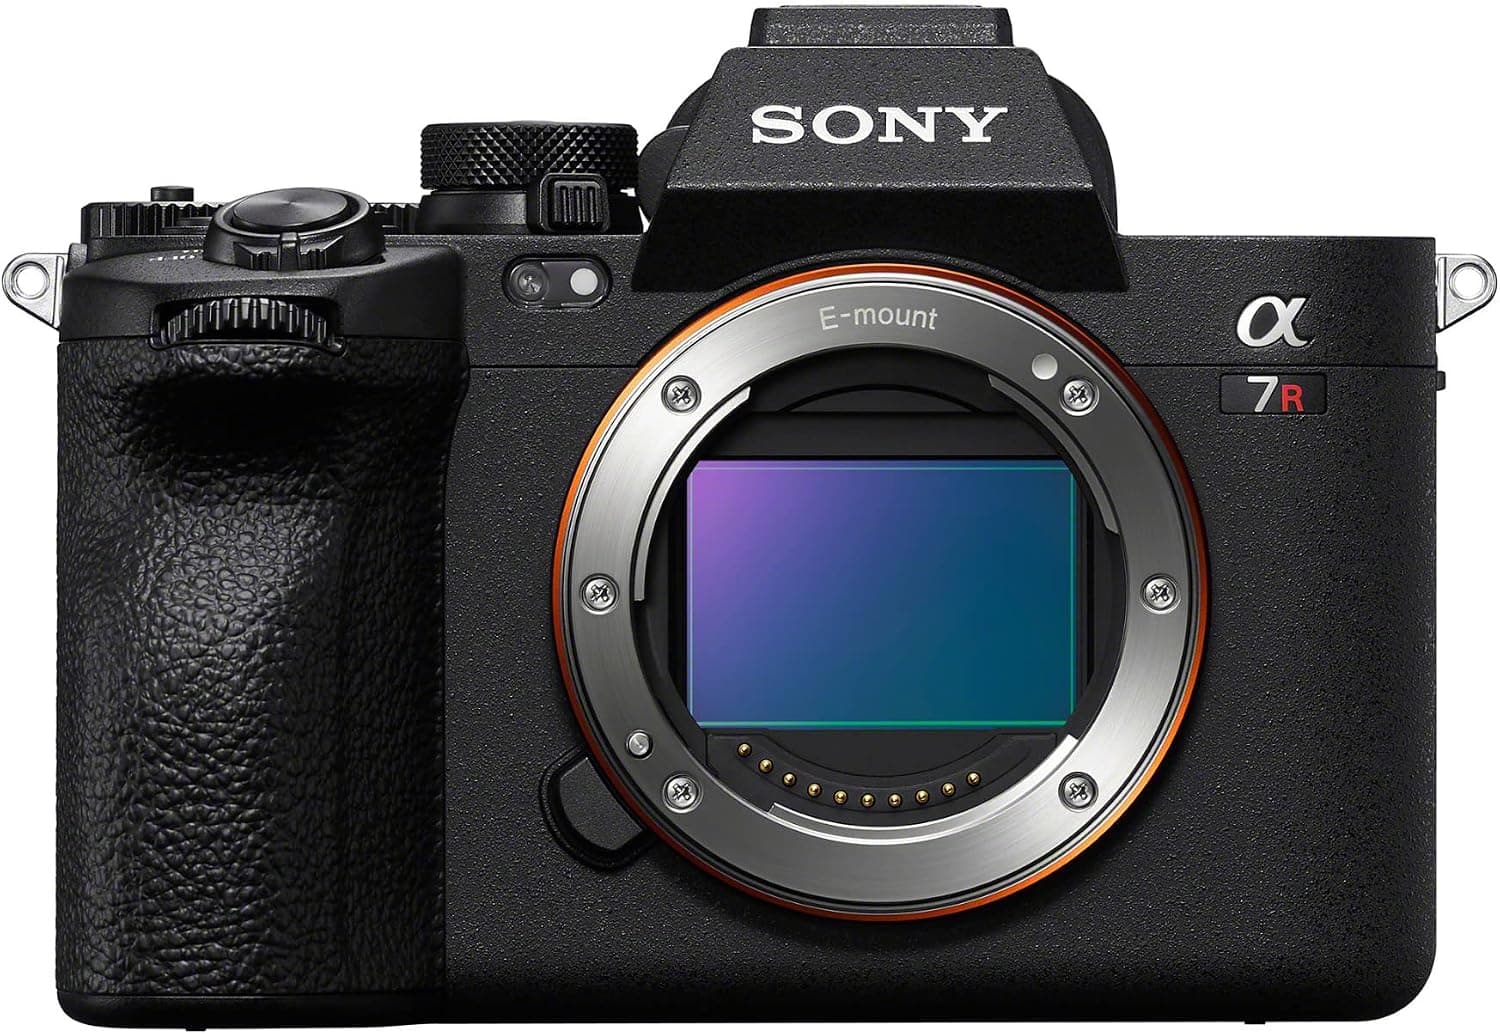
Sony a7R V
High-resolution files give product work enough detail for crops, retouching, and marketplace layouts.
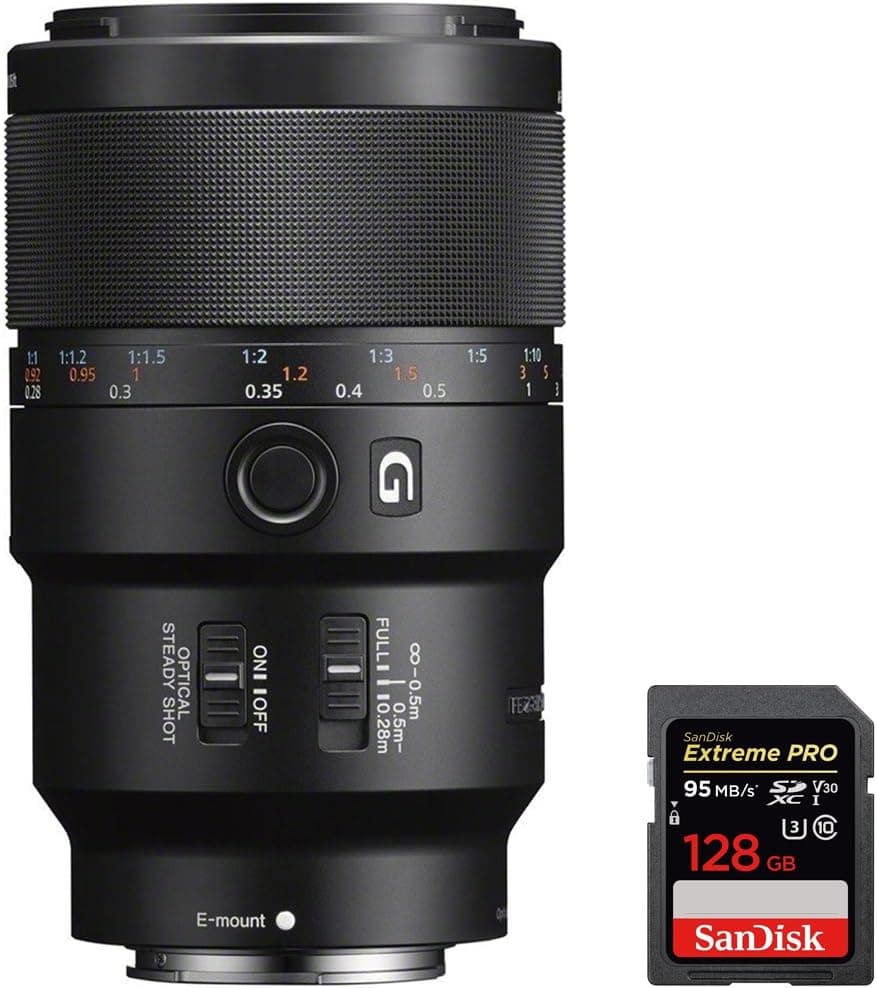
Sony FE 90mm f/2.8 Macro G OSS
True close focus for small products, labels, texture, and detail shots.
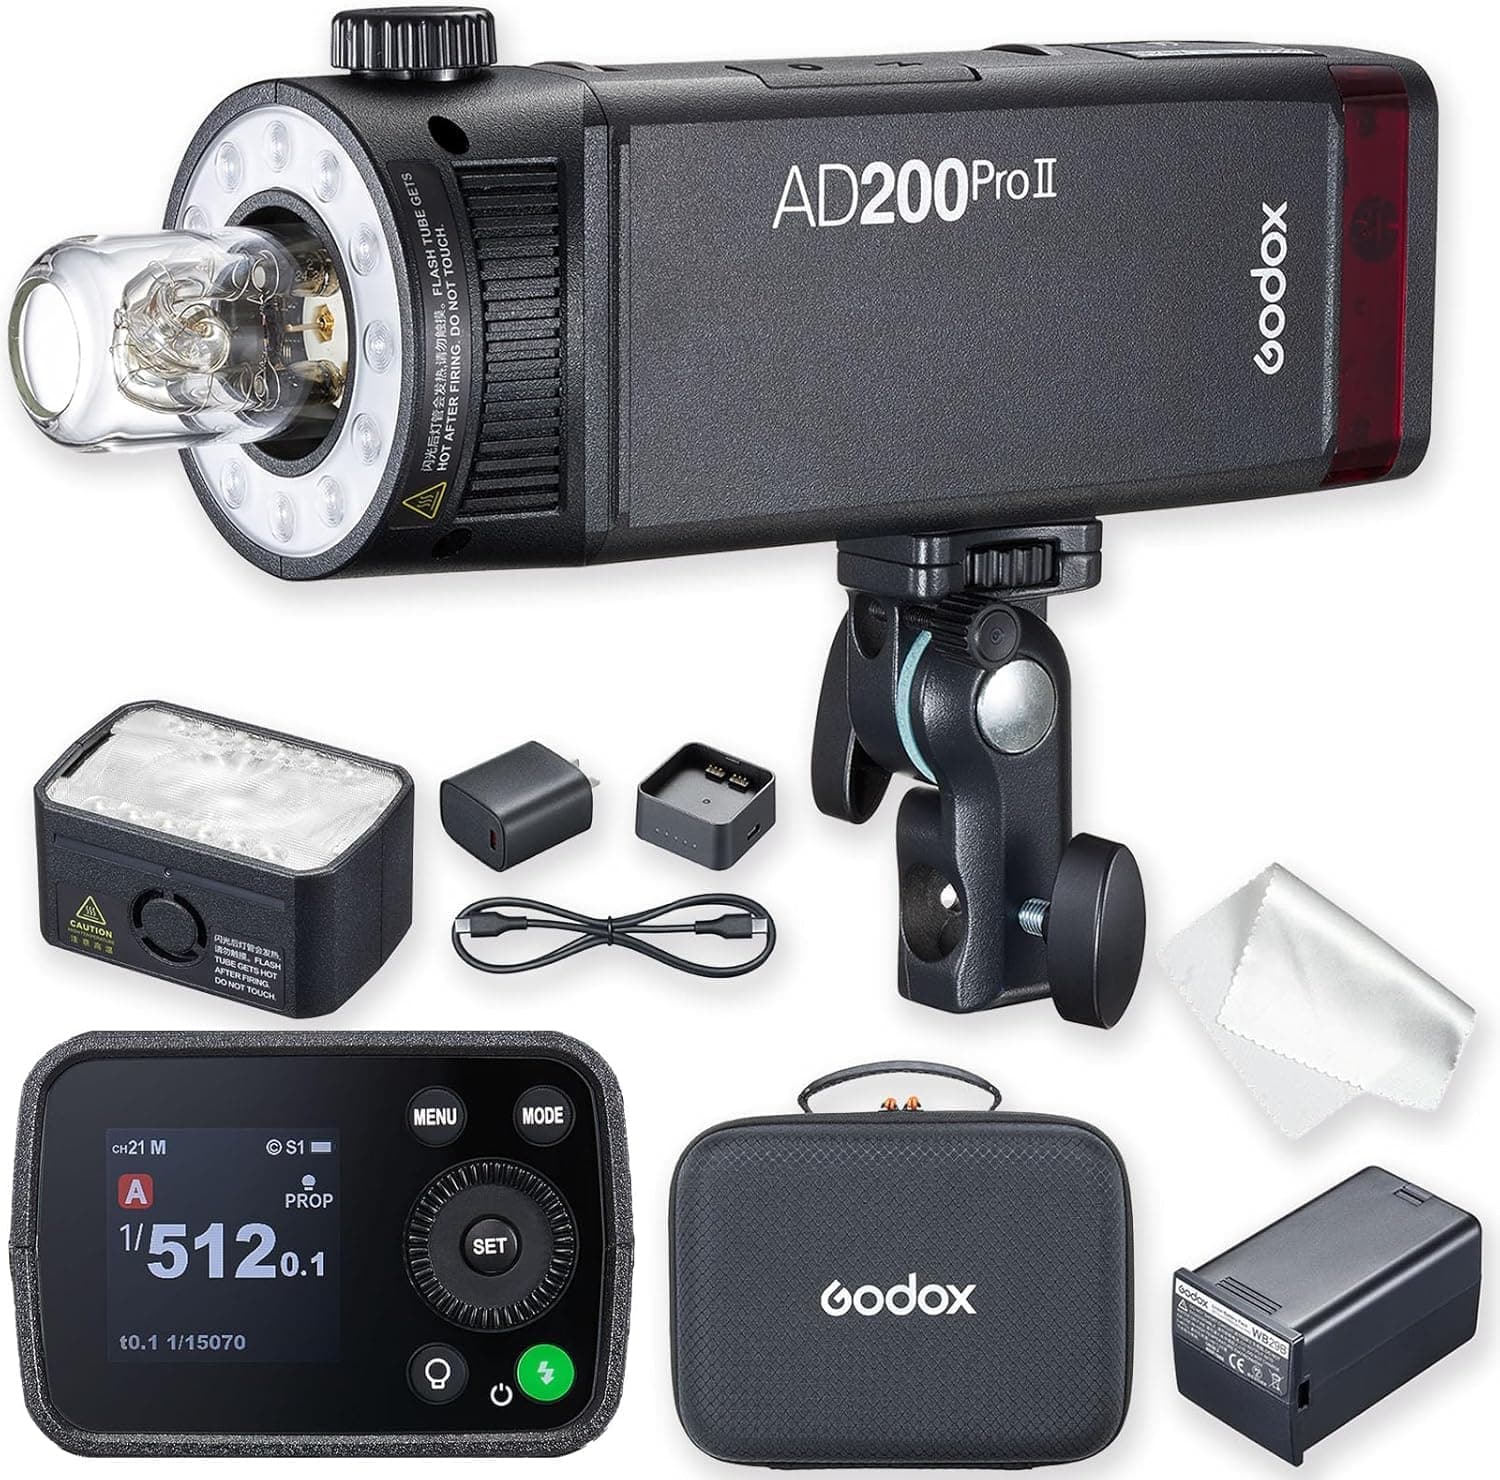
Godox AD200 Pro
More control and output than a speedlight while still staying portable.
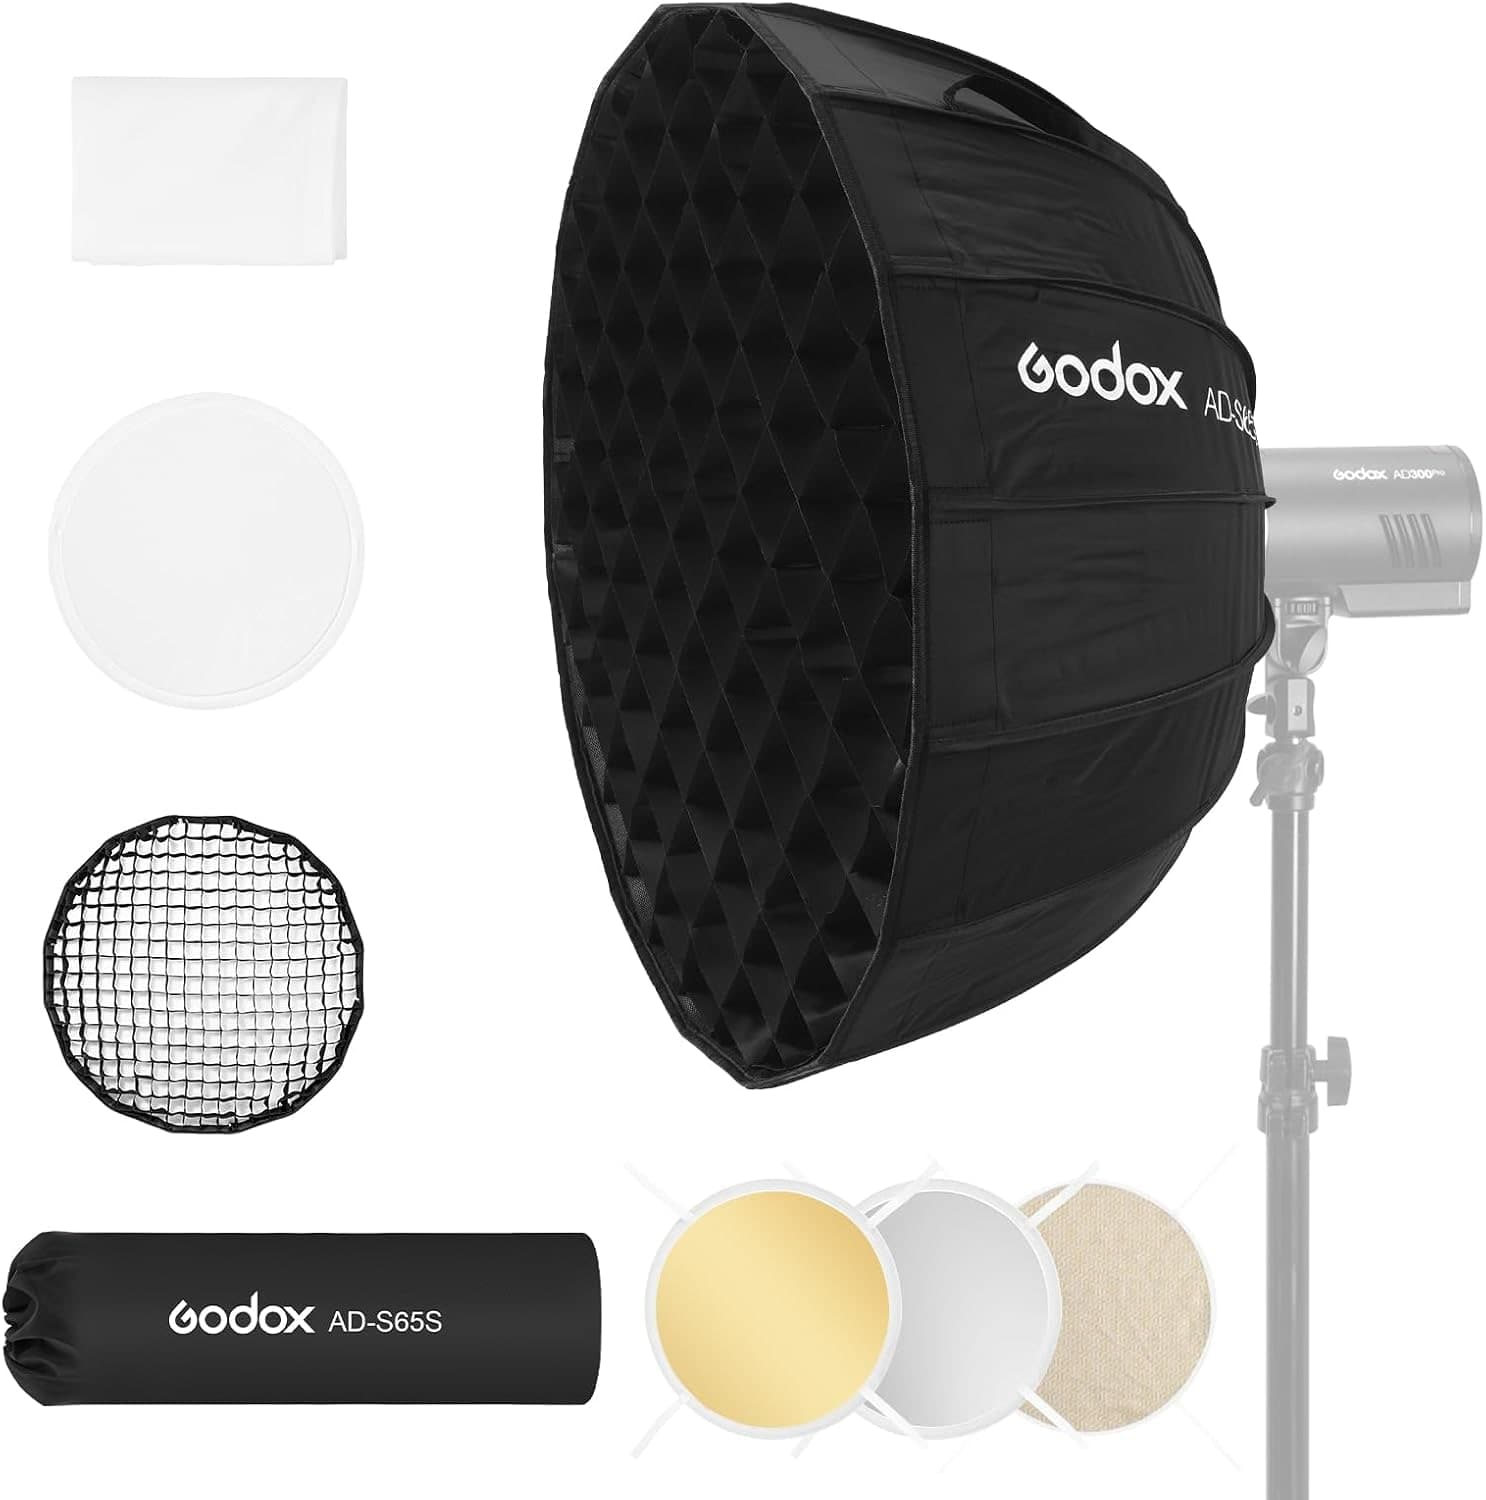
Godox AD-S65S
Soft, controlled light with a round catchlight for bottles, ceramics, food, and tabletop objects.

Savage Seamless Paper
A clean sweep removes distracting horizon lines and makes products read professionally.
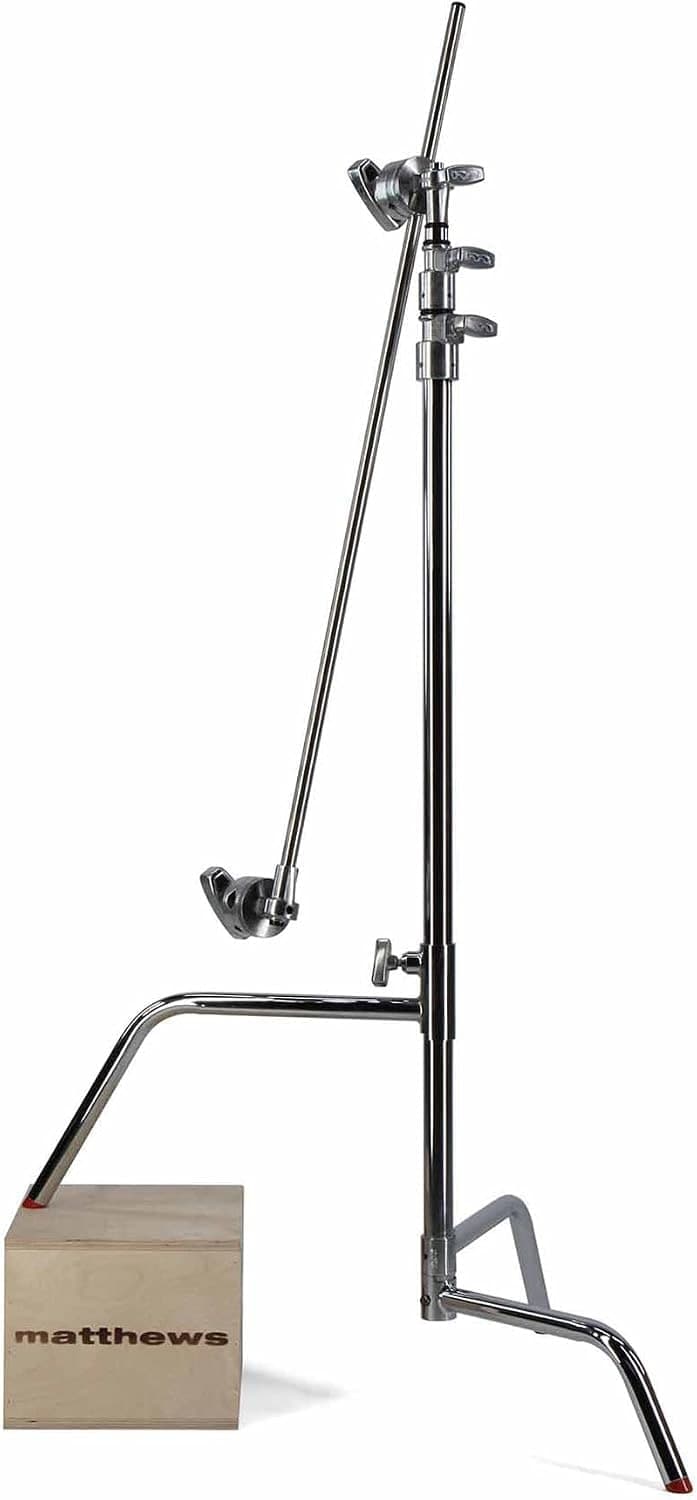
Matthews C-Stand
Holds lights, flags, and reflectors in fixed positions while the product stays untouched.
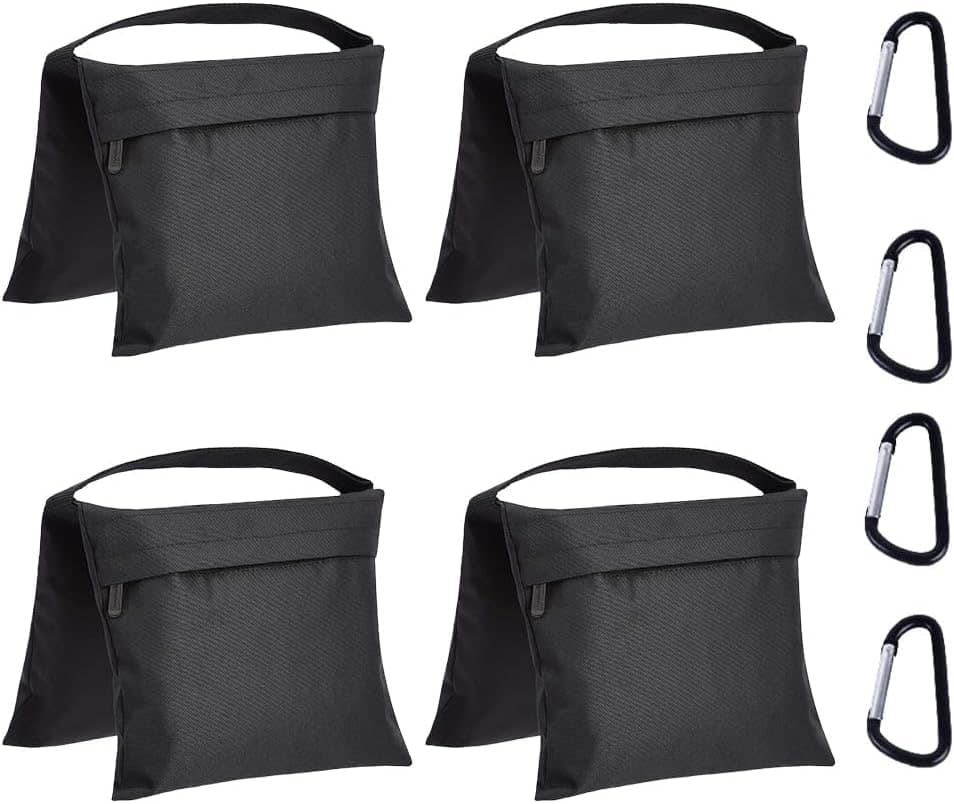
Amazon Basics Photography Sandbags (4-Pack)
Keeps the stand planted when a modifier or boom arm pulls the load off-center.
Prices are rough catalog totals. Retailer prices change, and you can swap pieces to fit your system.
Related Learn guides

Content Credentials and C2PA Explained for Photographers
Content Credentials record a photo's signed provenance and edits. Learn what C2PA proves, what it cannot prove, and how capture-to-export workflows work.

Open Gate Video Explained: When 3:2 Is Worth It
Open Gate records a taller sensor area for flexible 16:9, 9:16, and square crops. See when it helps, what it costs, and how to frame it correctly.

Pre-Capture Photography Explained: Get the Frame Before the Click
Pre-Capture buffers photos before the shutter is fully pressed. Learn how it works, which settings change, and when RAW, flash, or focus may be limited.

RAW vs JPEG: Which File Format Should You Shoot?
RAW keeps all your sensor data for maximum editing freedom; JPEG is smaller and ready to share. Here is how they differ and when each one is the right call.
Researched, not personally tested: picks compare specifications, available owner feedback, and established expert sources. As an Amazon Associate I earn from qualifying purchases. We may earn a commission from links here, at no extra cost to you. How we research →