We may earn a commission from links on this page, at no extra cost to you.
Guide snapshot
Light
This guide is organized around the practical choices that change what you pack, buy, or leave home.
What this means in real life
The camera that gets the shot on a hike is the one you are still willing to carry on mile eight. A heavy bag rides in the car; a reachable camera takes pictures. So the real skill is choosing a kit small enough that you keep shooting after your legs are tired, and carrying it so a great moment does not cost you five minutes of digging.
Two things separate trail photos that work from the ones that do not: light and sharpness. You are usually walking, often in changing weather, sometimes in low light under tree cover or at the start and end of the day. Both are solvable with a little planning.
What to carry
Start from the shots you want, not the gear you own. A wide lens covers landscapes and the sense of place. A short telephoto or a kit zoom covers detail, distant ridges, and wildlife you should not approach. One body, one or two lenses, spare battery, a couple of cards, and a lightweight tripod for low light is a full day kit for most people.
For the bag itself, the question is really a hiking question more than a camera one: fit, hip belt, and how fast you can reach the camera. We cover the camera-specific options in the best camera bags guide, and a packable travel tripod is worth its weight the moment the light drops.
Shooting on the move
The fastest way to come home with soft images is a shutter speed that was fine standing still and too slow once you were tired and breathing hard. As a rule of thumb, keep your shutter at least as fast as one over your focal length, and faster if you are not braced. When in doubt, raise ISO a stop and keep the shutter quick. A slightly noisier sharp frame beats a clean blurry one. The full logic is in how to take sharp photos.
Meter for the sky on big landscape views so you do not blow out the brightest clouds, and let the foreground sit a little darker. You can lift shadows later; you cannot recover a white sky.
Plan around the light
The difference between a snapshot and a photograph on the trail is usually timing. Flat midday light on a ridge is hard. The same ridge at golden hour is easy. Work out when the warm light lands where you are going with the golden hour calculator, then plan the hike so you are at the viewpoint, not the trailhead, when it happens. This is the single highest return habit in landscape work, and it is why we built the tool. For the settings once you are there, see golden hour photography and the wider landscape photography guide.
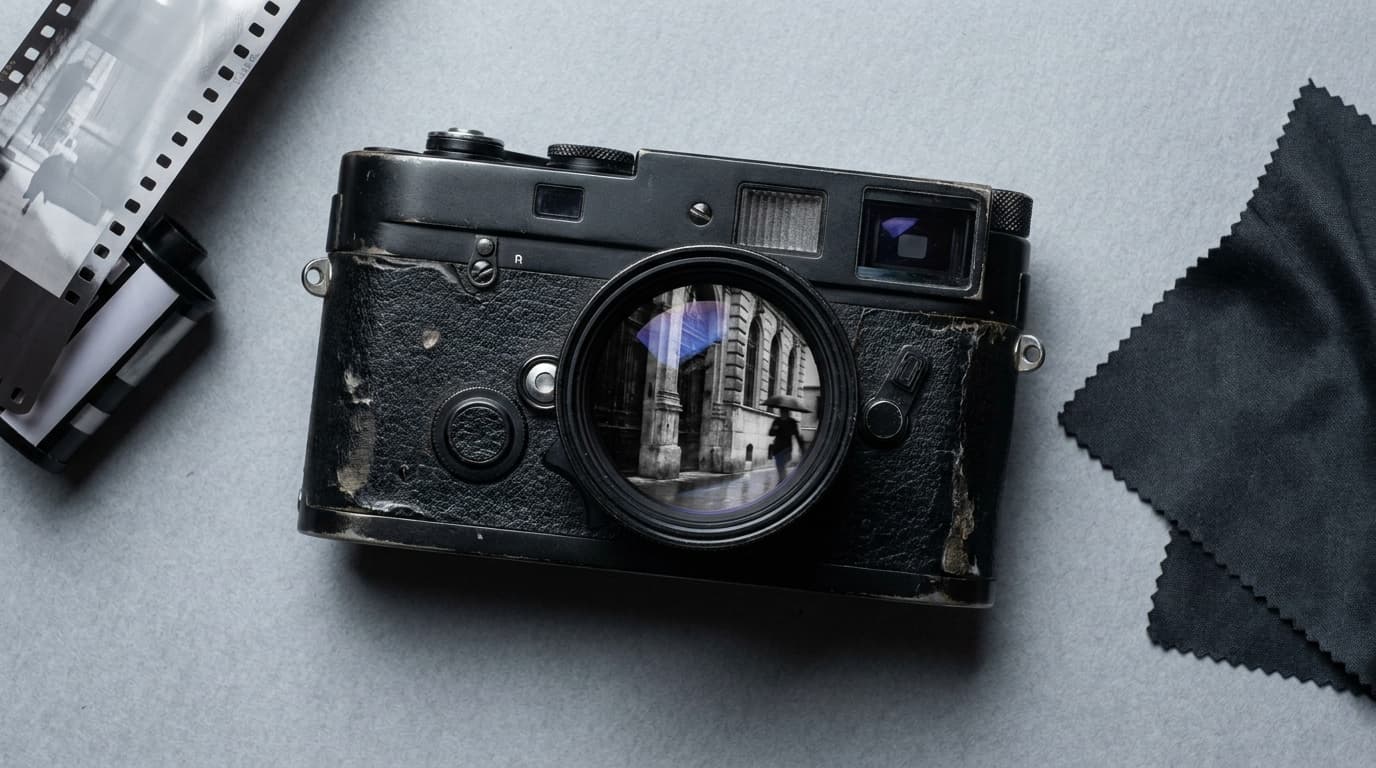
Protect the kit
Weather on a trail changes faster than it does at home, and a wet or dusty camera is a ruined day. Carry a dry bag or at least a sturdy zip bag, keep a microfiber cloth reachable, and let a cold camera warm up slowly when you come inside to avoid condensation. The full routine, including what actually kills cameras in the field, is in protecting your gear in bad weather.
Know before you go
Some of the best trail photography happens in national parks and protected land, and the rules for shooting there are not always obvious, especially for anything commercial or for flying a drone. Check the rules for where you can legally shoot before you build a trip around a location.
What is the best camera for hiking?
The best one is the lightest one that takes the photos you want. A compact mirrorless body with one versatile zoom covers most trail work and is light enough to keep shooting all day. Sensor size and lens choice matter less than whether you actually carry it. See our gear guides for specific picks.
How do I keep my camera safe while hiking?
Keep it reachable but protected: a padded compartment or a clip on the strap so it does not swing, a dry bag or zip bag for rain and dust, and a cloth for spray and condensation. Let a cold camera warm up gradually indoors so moisture does not form inside the lens.
What camera settings should I use on the trail?
Prioritize a shutter speed fast enough to stay sharp while you are tired and moving, usually one over your focal length or faster. Raise ISO before you let the shutter drop too low. Meter so you keep detail in a bright sky, and shoot in raw so you can lift the shadows later.
Related Learn guides
Black and White Photography: How to See and Shoot in Mono
Black and white photography is about light, contrast, and shape rather than color. Here is how to shoot for mono and convert raw files cleanly.
Read guide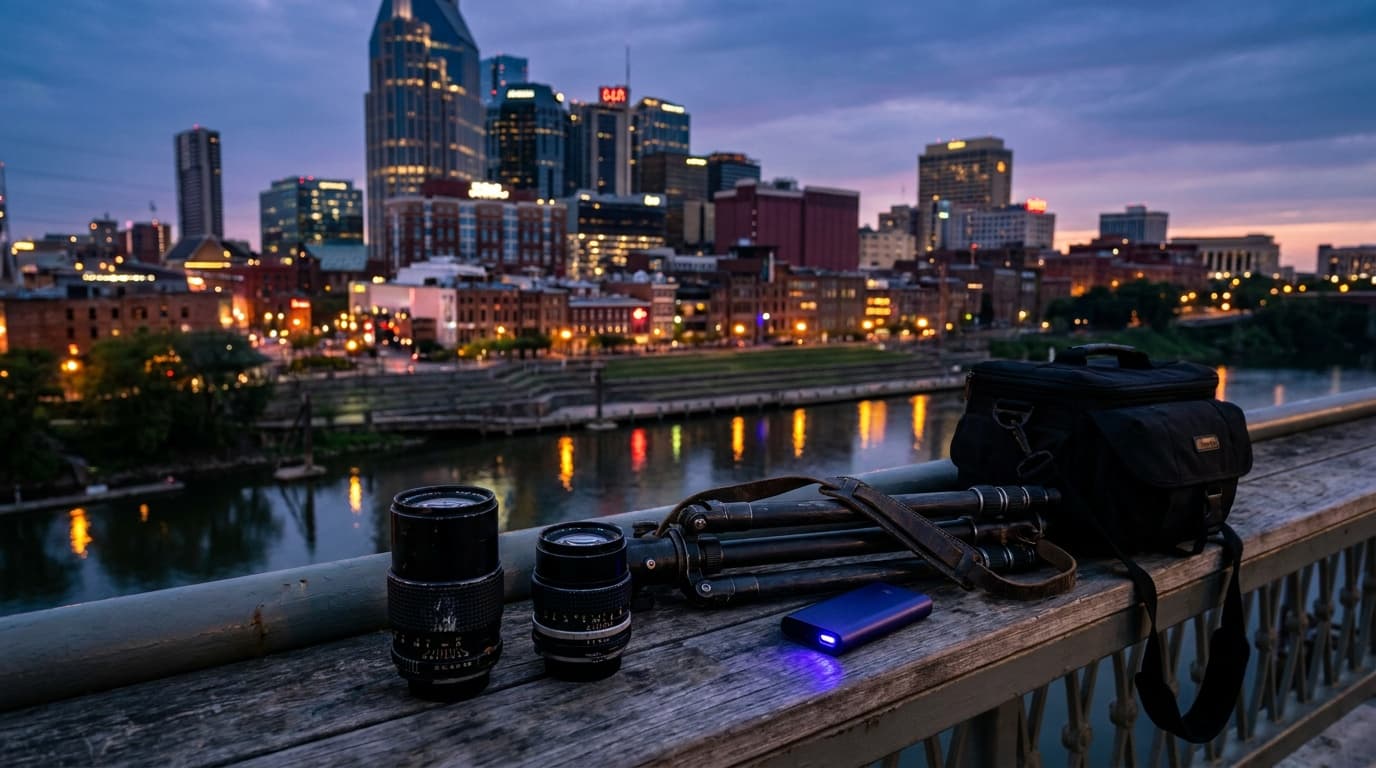
Blue Hour Photography: The Best 20 Minutes After Sunset
Blue hour is the short window of deep blue sky and glowing city lights just after sunset. Here are the settings, the timing, and how to make the most of it.
Read guide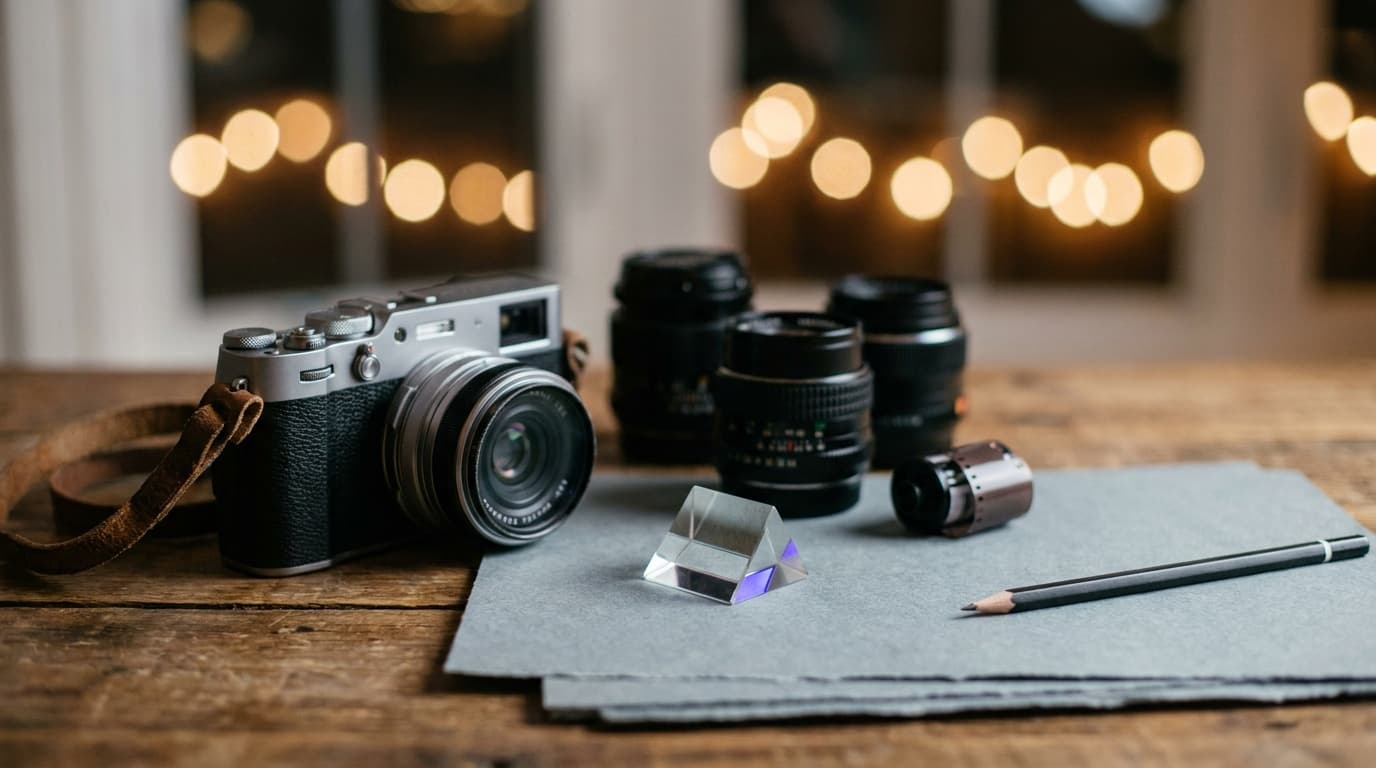
Bokeh Explained: What Makes Background Blur Look Good
Bokeh is the quality of the out-of-focus blur, not just the amount. Here is what creates it, what makes it look smooth, and how to get more of it.
Read guide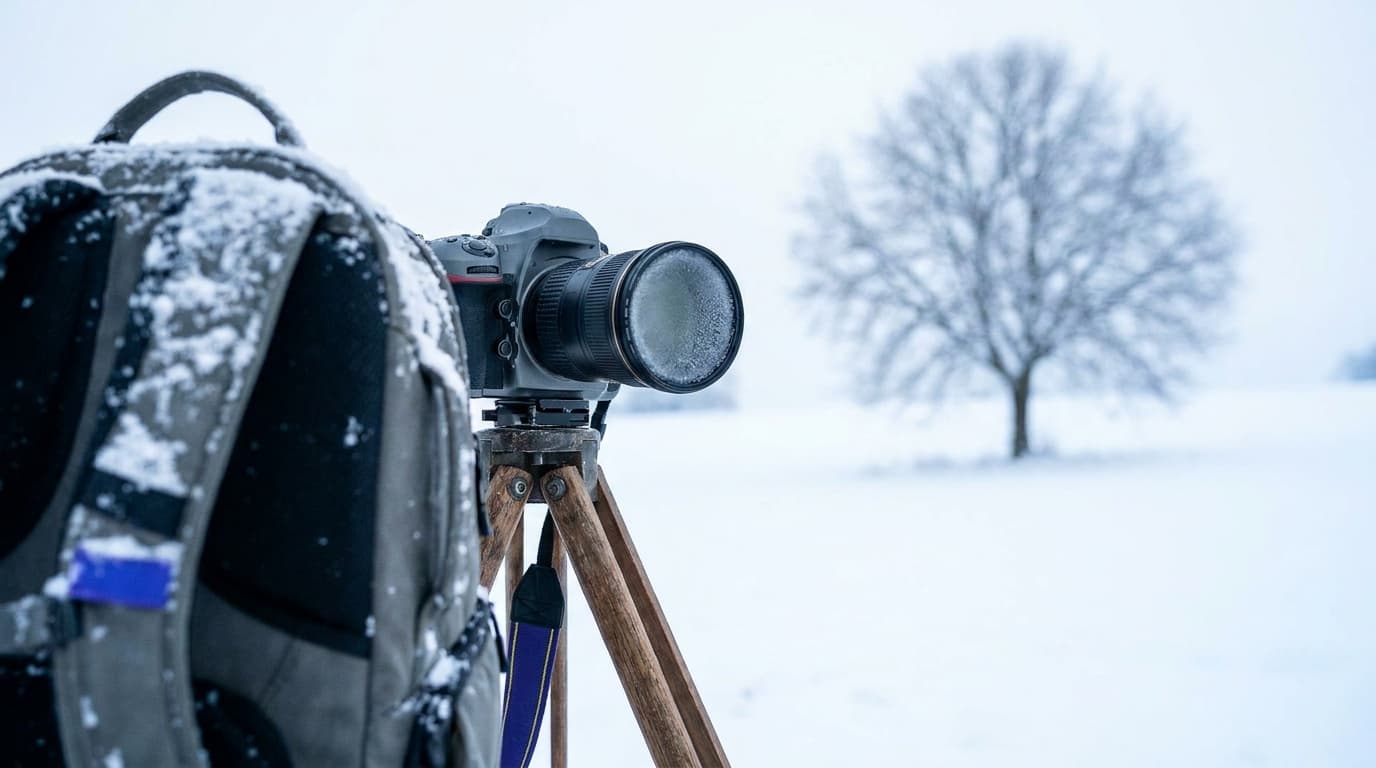
Camera Settings for Snow: How to Keep White Snow White
Snow fools your meter into gray, underexposed photos. Here are the settings and the exposure compensation that keep snow bright, clean, and the right color.
Read guideResearched, not personally tested: picks come from specs, verified-owner reviews, and expert sources, scored into the Aperture Score. As an Amazon Associate I earn from qualifying purchases. We may earn a commission from links here, at no extra cost to you. How we research →