We may earn a commission from links on this page, at no extra cost to you. Picks are researched, not sponsored.
What actually kills cameras
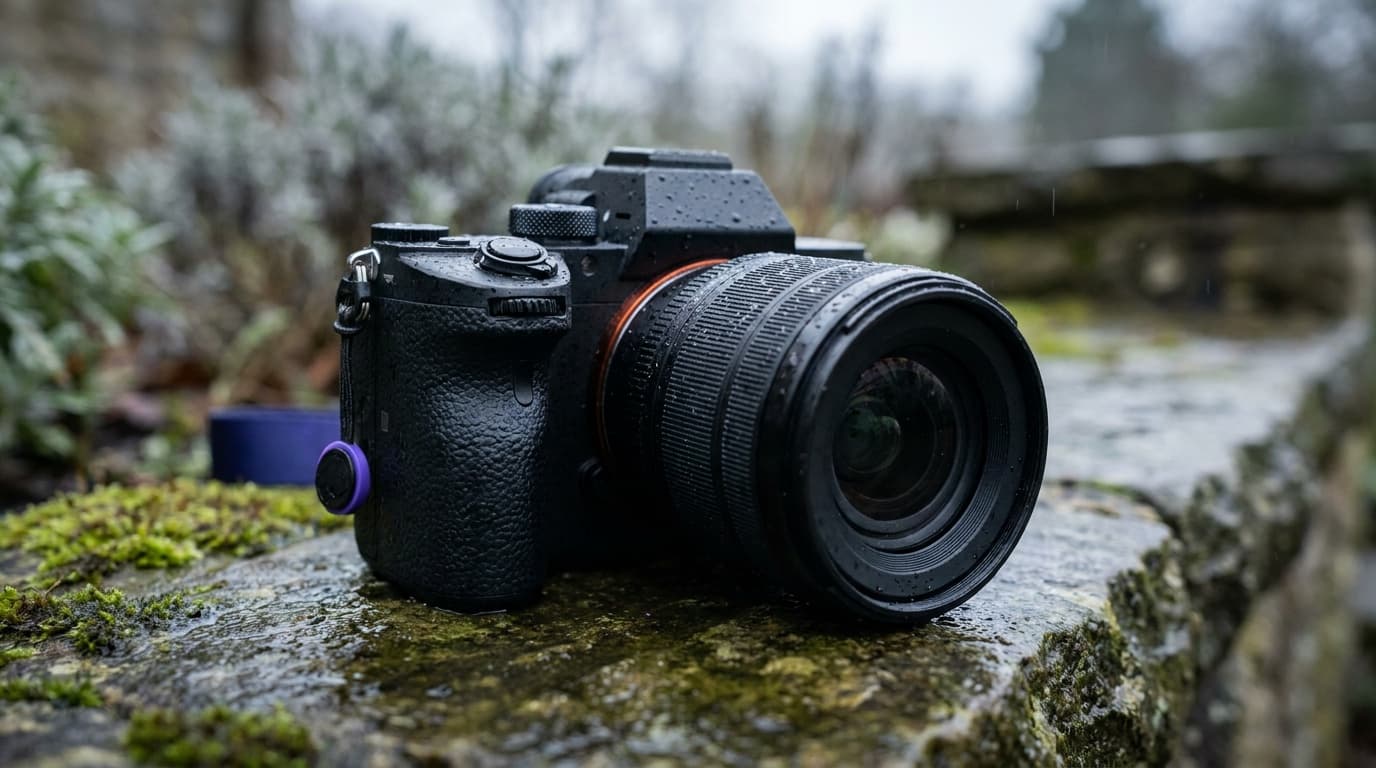
Weather damage comes from four sources, and each has a simple defense:
- Water getting into the body through buttons, dials, and the lens mount.
- Condensation forming inside the lens and on the sensor when cold gear hits warm, humid air.
- Dust and sand blown into the mount, the zoom mechanism, or onto the sensor.
- Cold draining batteries and, at extremes, stiffening lubricants and cracking screens.
None of these requires a sealed professional body to survive. Weather sealing buys margin, but technique and a few dollars of accessories handle the vast majority of conditions.
Rain and snow
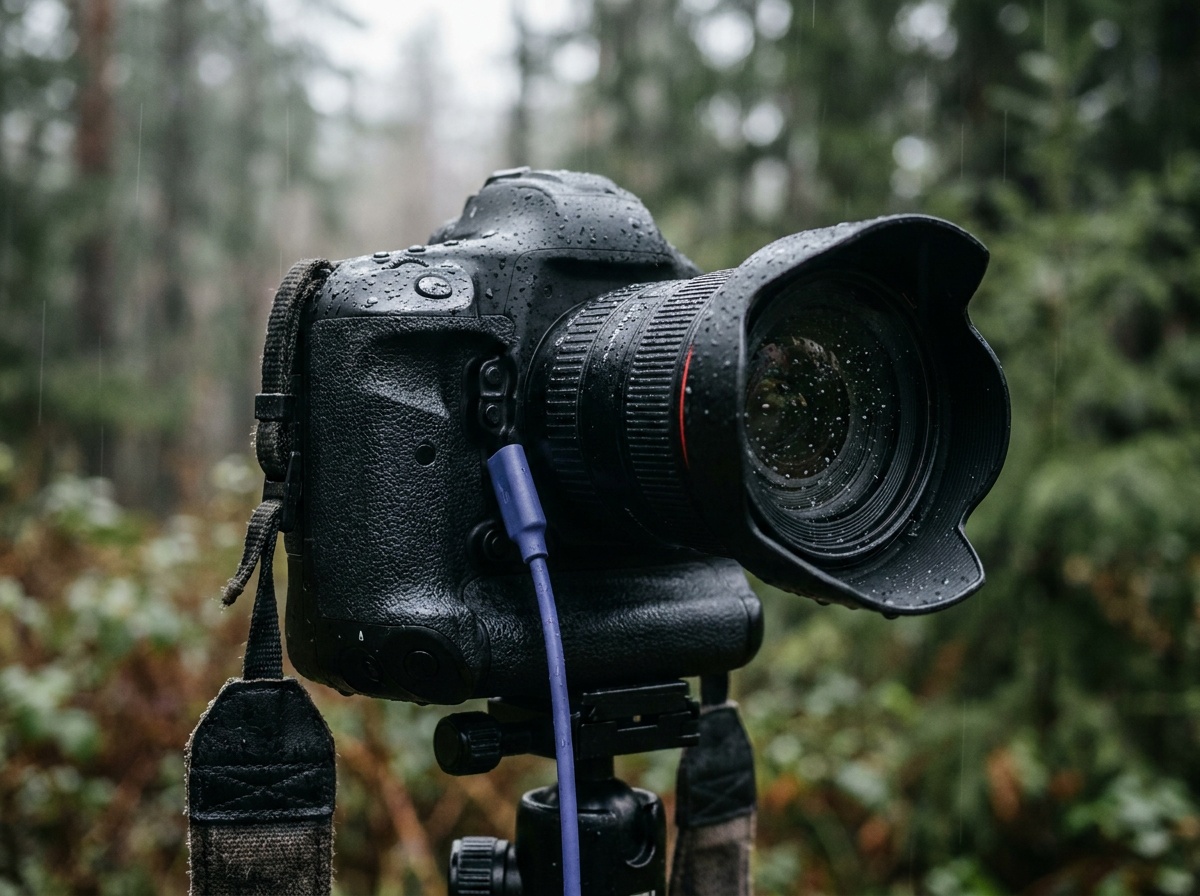
Keep water off the front element first, because a drop on the glass ruins the frame before it ruins the camera. A lens hood does most of this work and should be on whenever it is wet. Carry several microfiber cloths and rotate them as they dampen; one wet cloth just smears.
For real rain, use a rain cover. A purpose-made cover is best, but a clear plastic bag with a hole cut for the lens and secured with a rubber band works in a pinch. The camera bag guide covers keeping your spare lenses and bodies dry between shots, which matters as much as protecting the camera in hand.
The cardinal rule in rain or snow: do not change lenses in the open. An exposed mount and sensor invite water and grit. If you must swap, do it under cover, with the camera pointed down, as fast as you can. The snow settings guide and the rain guide cover the shooting side.
Condensation and the cold-to-warm trap
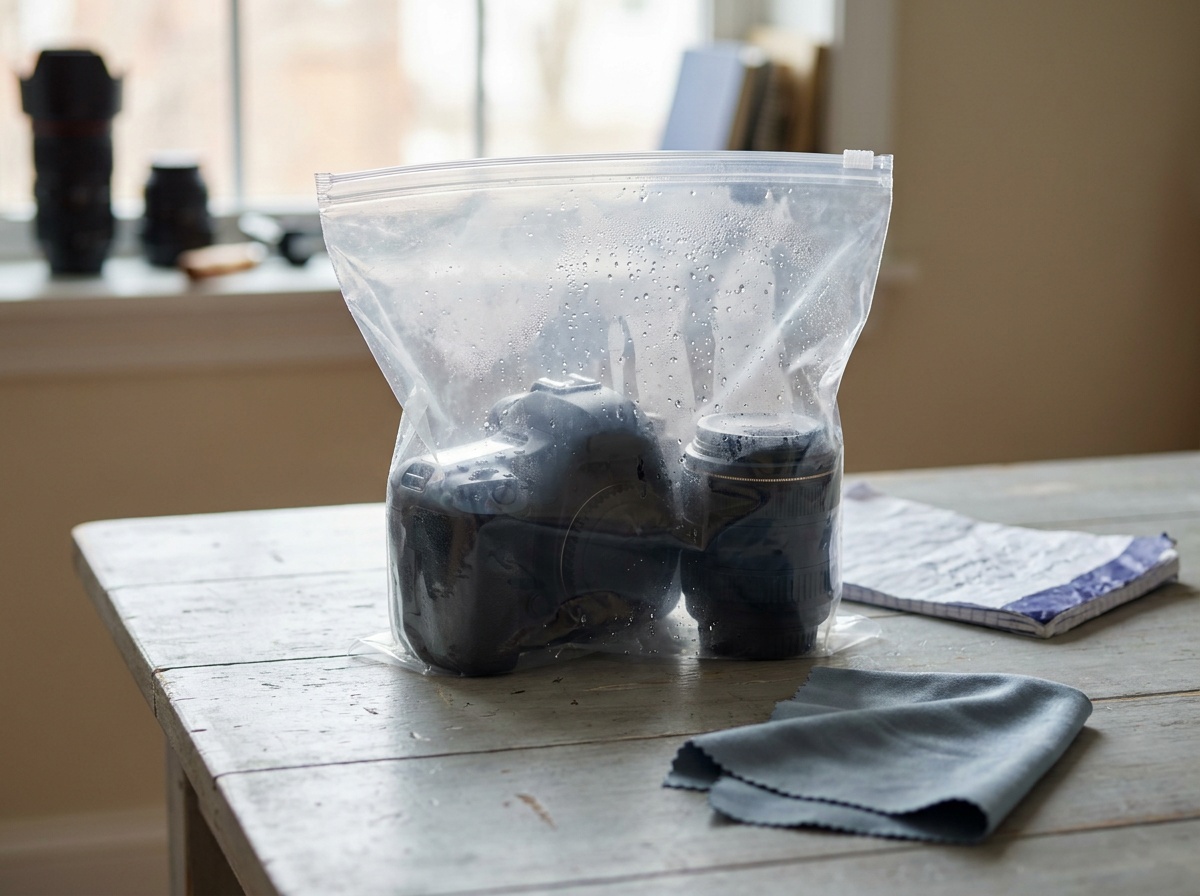
This is the damage people cause themselves. When a cold camera enters a warm, humid room, water condenses on and inside it, fogging the lens and reaching the electronics. The fix is simple: before you go inside, seal the camera and lenses in a zip-top bag while still cold. Condensation then forms on the outside of the bag instead of on your gear. Leave it sealed until it reaches room temperature, which can take an hour or more for a large lens, and longer for a big telephoto with more glass and metal mass to warm through. A few packets of silica gel in the bag speed up drying.
The reverse, going from warm to cold, is harmless. It is only cold-to-warm that fogs the glass.
Cold weather
Cold roughly halves battery life. Carry spares in an inside pocket where body heat keeps them warm, and rotate a fresh one in when the camera battery fades; the cold one often recovers once warmed. Avoid breathing on the viewfinder or rear screen, which fogs and then frosts. In deep cold, move slowly and avoid forcing stiff controls. The snow guide covers the exposure side of cold, bright scenes.
Dust, sand, and wind
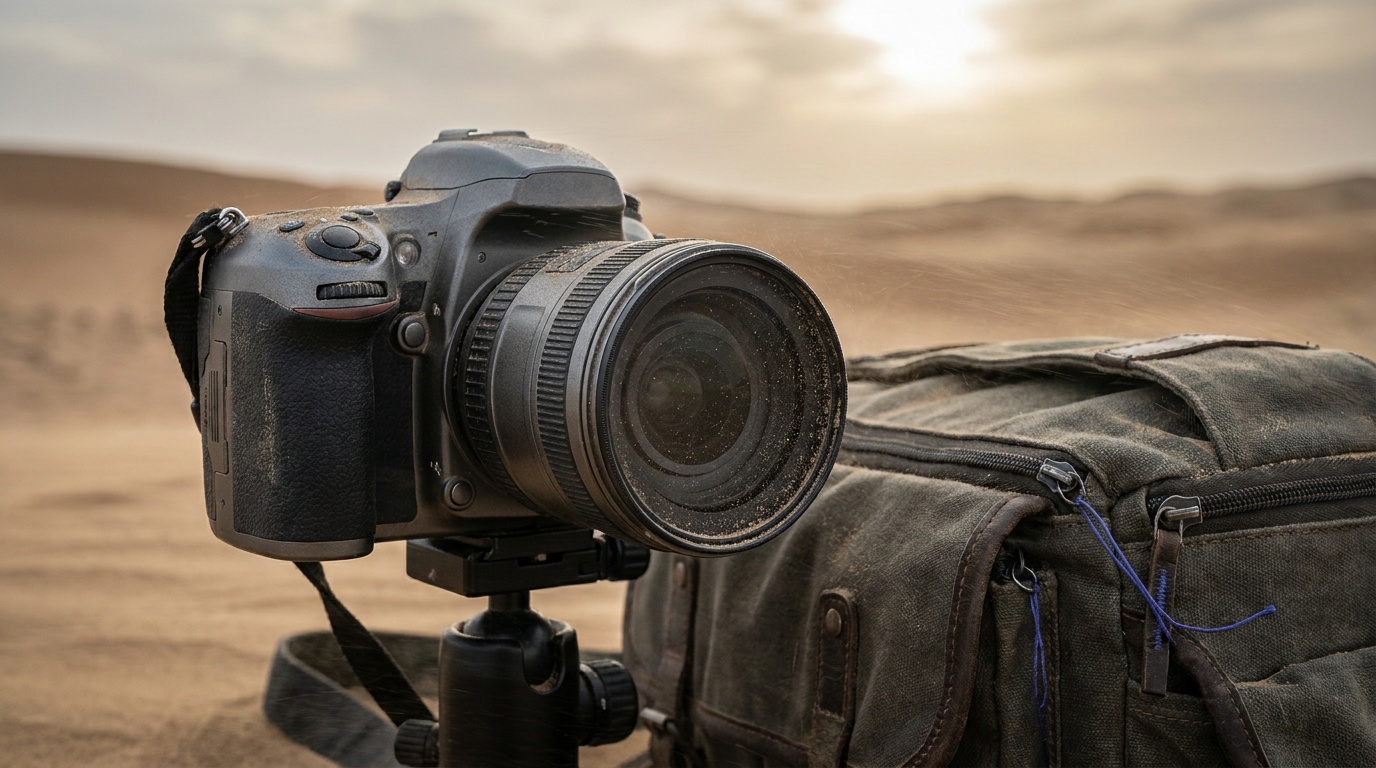
Blowing sand is brutal because it scours the front element and works into zoom rings and the mount. In dusty or sandy wind, keep a UV or clear filter on the front as a sacrificial layer, keep the camera bagged when not shooting, and absolutely do not change lenses in the open. The windy conditions guide covers shooting in the same conditions that throw grit at your gear.
The minimum kit
You do not need much:
- A rain cover, or a clear bag and rubber bands.
- A lens hood for every lens.
- Three or four microfiber cloths.
- A handful of silica gel packets.
- A couple of large zip-top bags for the condensation routine.
- A clear or UV filter for dusty conditions.
That kit fits in a corner of any camera bag and handles almost everything short of full submersion.
Common mistakes
- Walking straight indoors with cold gear. Bag it outside first or you fog the lens.
- Changing lenses in rain, snow, or blowing sand. The fastest way to get water or grit on the sensor.
- One soggy cloth. Carry several; a wet cloth smears water across the glass.
- Letting batteries die in the cold. Keep spares warm and rotate them.
Where this fits
Gear protection is what lets you actually use the weather photography techniques, since the best landscape conditions are often the wettest, coldest, and windiest. Once the gear is safe, the rest is settings: the exposure triangle still governs every frame, just under harder light. Get the routine into muscle memory and bad weather stops being a risk to your equipment and becomes an opportunity for better photographs.
Do I need a weather-sealed camera to shoot in bad weather?
No. Sealing adds a safety margin, but a rain cover, a lens hood, microfiber cloths, and care with lens changes let most cameras handle rain, snow, and fog. The bigger risks, condensation and blowing grit, are about technique and a few cheap accessories, not the body you own.
How do I stop my lens from fogging up when I come inside?
Seal the camera and lenses in a zip-top bag while they are still cold, before entering the warm building. Condensation then forms on the outside of the bag rather than inside your gear. Leave it sealed until everything reaches room temperature, which can take an hour or more for larger lenses.
What is the cheapest way to protect my camera in the rain?
A clear plastic bag with a hole cut for the lens, secured with a rubber band, plus a lens hood and a microfiber cloth. That combination handles light to moderate rain for a few dollars. Just avoid changing lenses while wet and dry everything thoroughly afterward.
Shoot kits
Buy around the job, not the spec sheet
Travel landscape
Travel landscape kit
$4,465
A light full-frame body, wide zoom, serious travel tripod, filters, and a bag that can handle rough days outside.
Light but not flimsy
Buy order: start with the first piece that makes the job possible, then add the support pieces that remove friction.
Camera: start here. If this piece does not make the shoot easier, the rest of the kit can wait.
Carry: add it after the core setup proves useful.
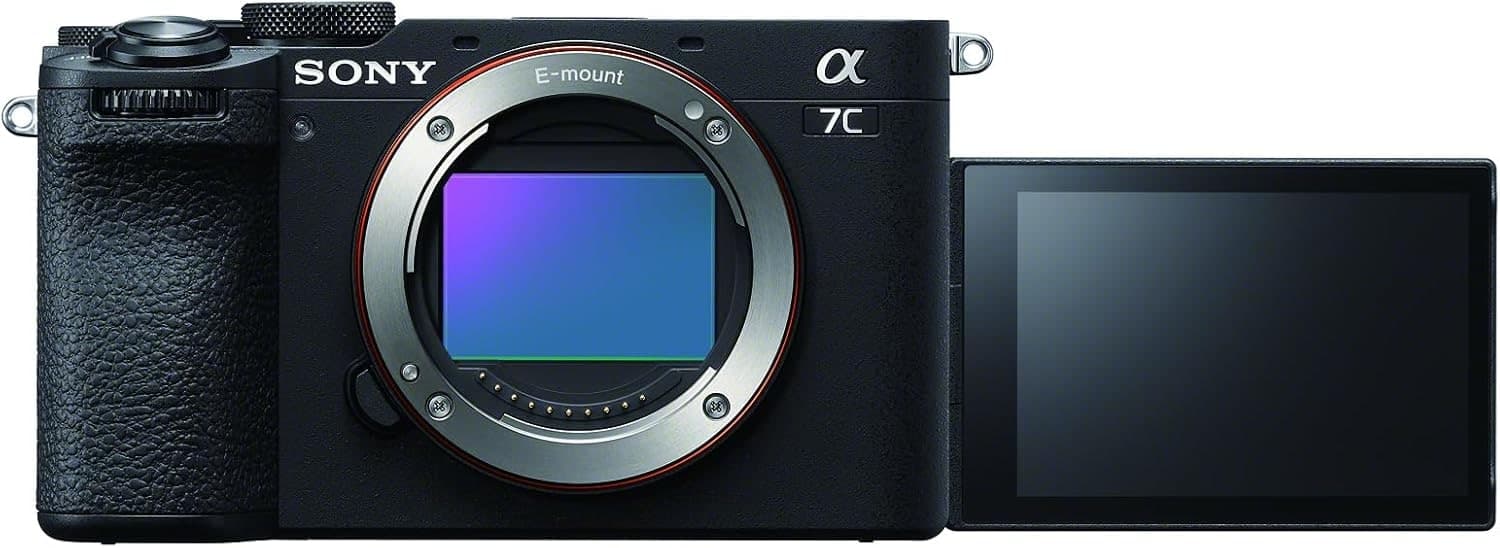
Sony a7C II
Full-frame files in a smaller body, with autofocus and stabilization that travel well.
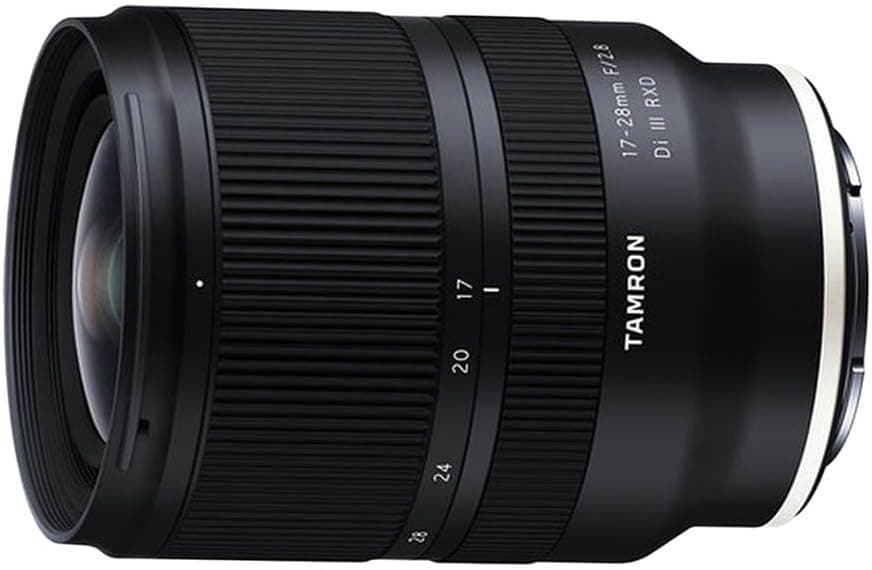
Tamron 17-28mm f/2.8 Di III RXD
Wide enough for landscapes and interiors without the size of a premium 16-35mm.
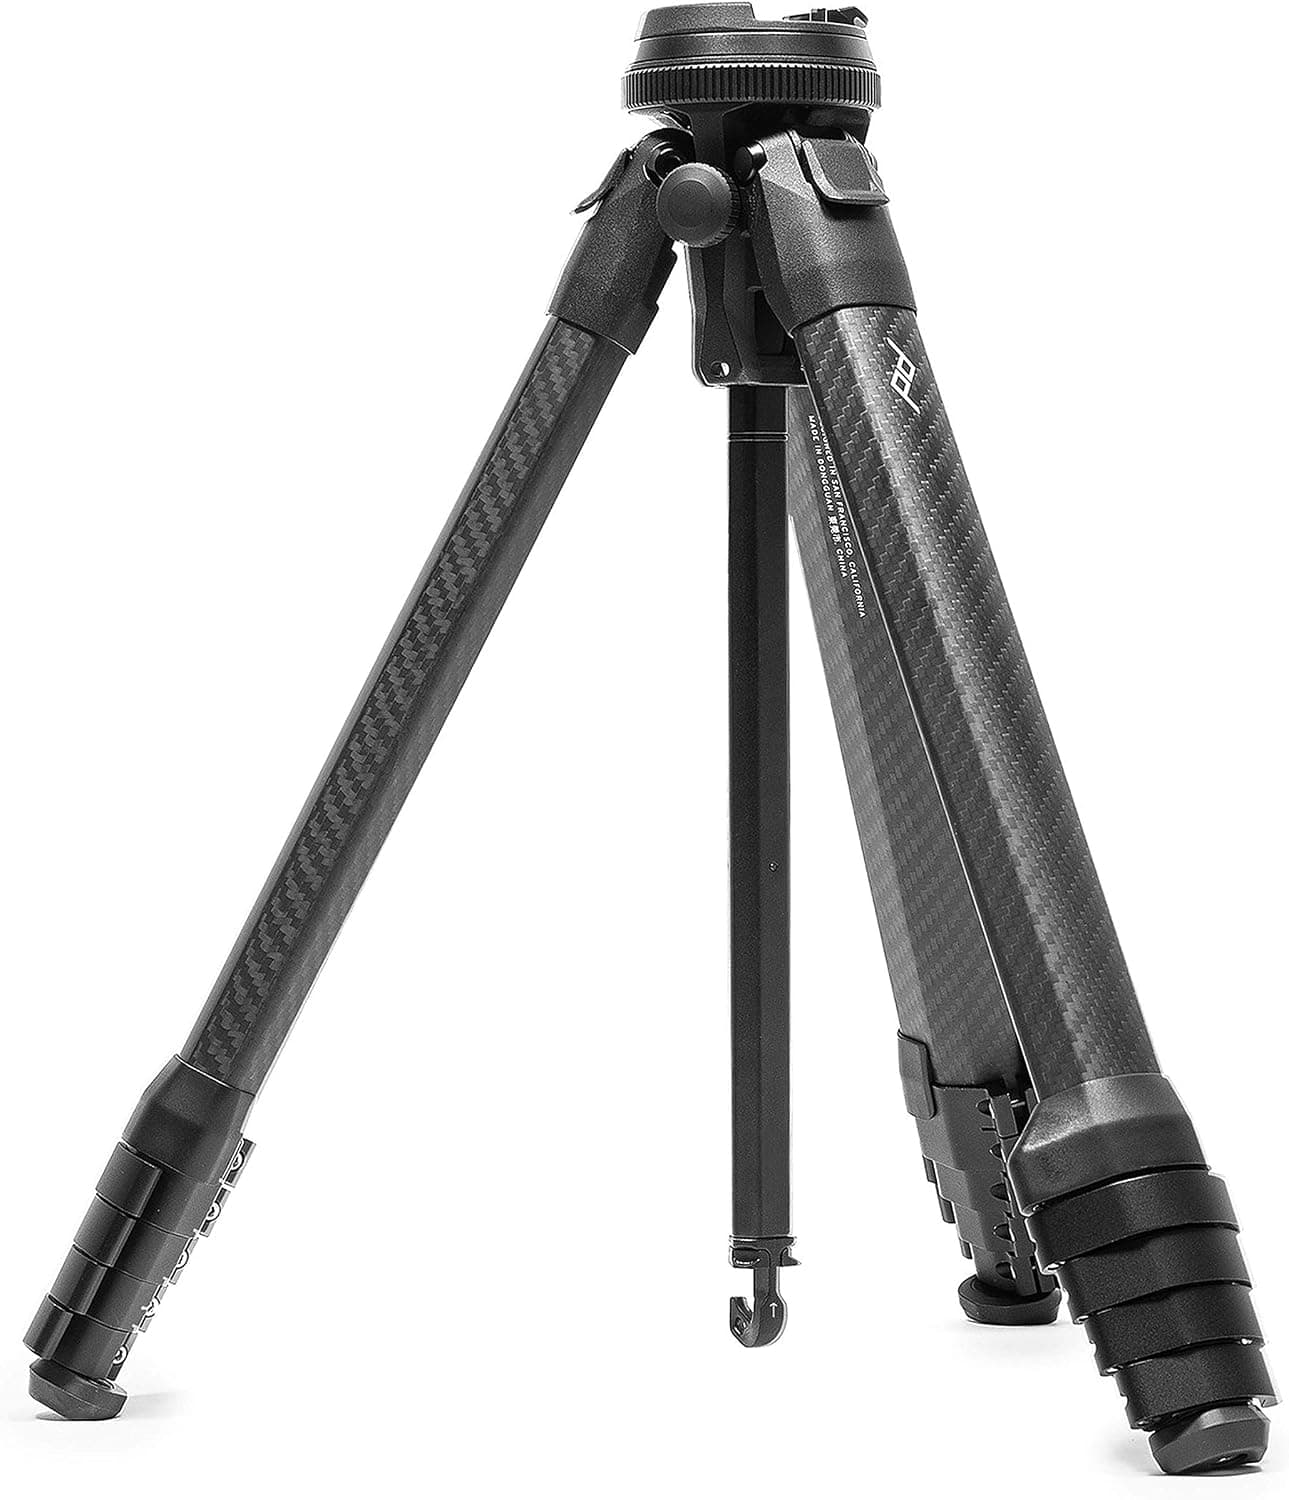
Peak Design Travel Tripod (Carbon)
The point of a travel tripod is bringing it. This one packs small and stays serious.
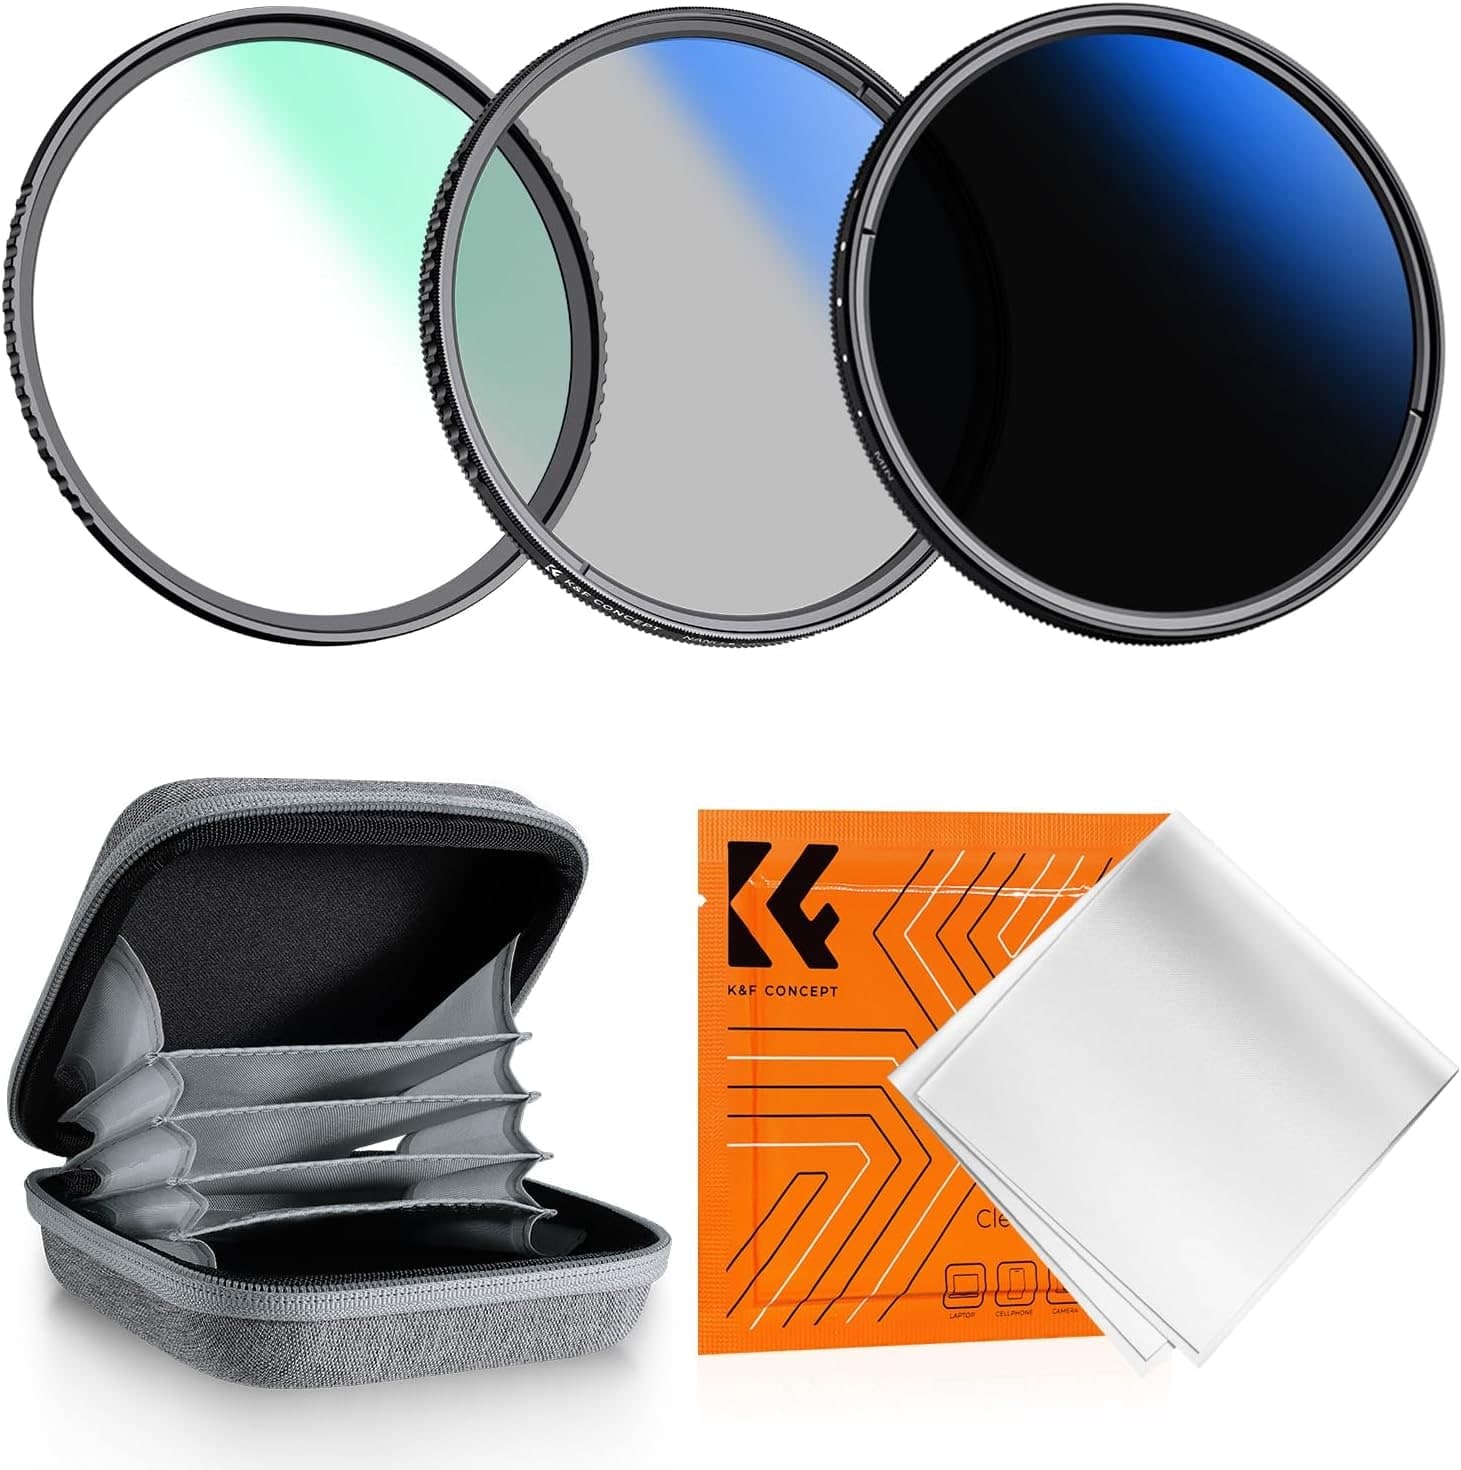
K&F Concept 77mm UV/CPL/ND2-400 Filter Kit
CPL and ND coverage for water, skies, reflections, and slower shutters.
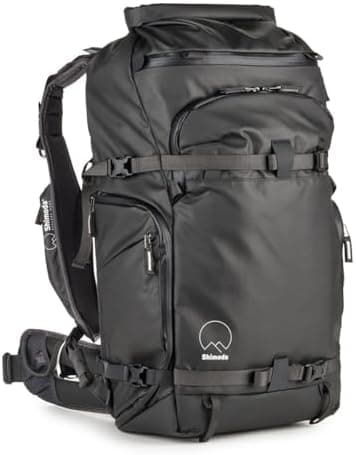
Shimoda Action X30 V2
A real harness matters once camera gear and outdoor layers share the same bag.
Prices are rough catalog totals. Retailer prices change, and you can swap pieces to fit your system.
Related Learn guides

Content Credentials and C2PA Explained for Photographers
Content Credentials record a photo's signed provenance and edits. Learn what C2PA proves, what it cannot prove, and how capture-to-export workflows work.

Open Gate Video Explained: When 3:2 Is Worth It
Open Gate records a taller sensor area for flexible 16:9, 9:16, and square crops. See when it helps, what it costs, and how to frame it correctly.

Pre-Capture Photography Explained: Get the Frame Before the Click
Pre-Capture buffers photos before the shutter is fully pressed. Learn how it works, which settings change, and when RAW, flash, or focus may be limited.

RAW vs JPEG: Which File Format Should You Shoot?
RAW keeps all your sensor data for maximum editing freedom; JPEG is smaller and ready to share. Here is how they differ and when each one is the right call.
Researched, not personally tested: picks compare specifications, available owner feedback, and established expert sources. As an Amazon Associate I earn from qualifying purchases. We may earn a commission from links here, at no extra cost to you. How we research →