We may earn a commission from links on this page, at no extra cost to you. Picks are researched, not sponsored.
The problem
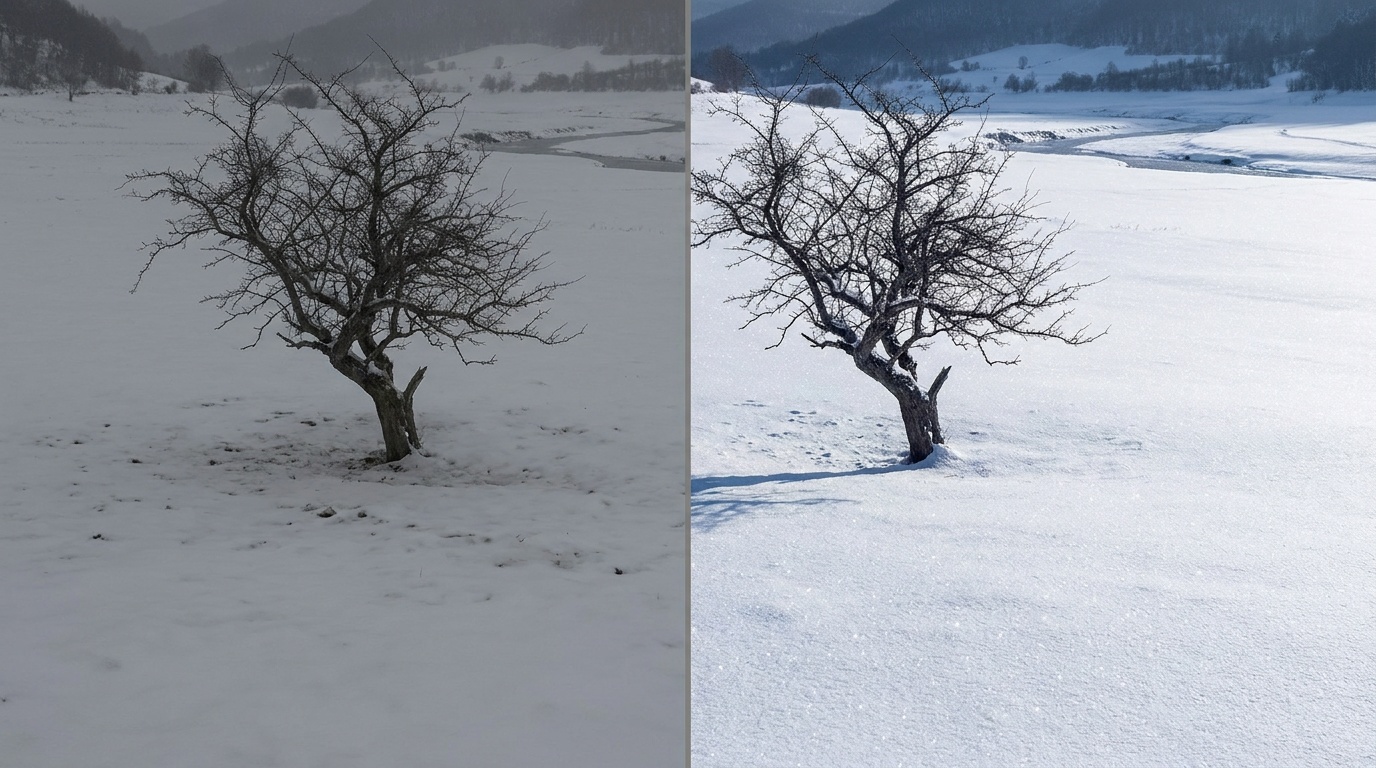
Your camera meter assumes the world averages out to a middle gray. Fill the frame with snow and that assumption falls apart. The meter sees a very bright scene, decides it must be overexposed, and pulls the exposure down to make the snow average gray. The result is dull, muddy snow and underexposed faces. This is the most reliable way snow ruins a photo, and it happens in any automatic or semi-automatic mode.
The second problem is color. Snow in open shade or under a blue sky picks up a strong blue cast, so even correctly exposed snow can look cold and lifeless if your white balance is wrong.
The settings
On a bright, sunny day with fresh snow, the light is intense and reflective, so you have plenty to work with. A typical landscape frame lands around:
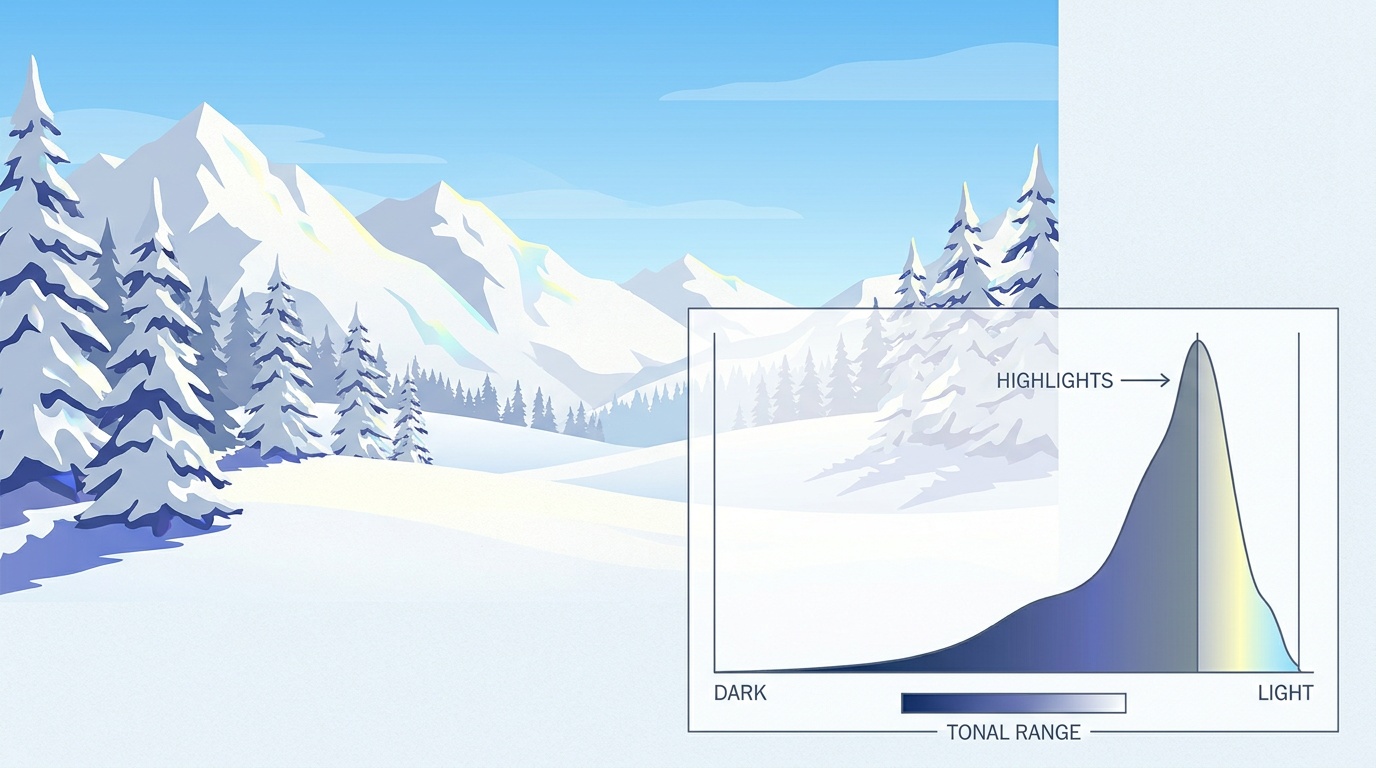
The reliable way to nail this is to shoot, then read the histogram. You want the big spike for the snow pushed well to the right, close to the edge but not clipped against the wall. If it is bunched in the middle, add more compensation. The histogram guide covers exactly what to look for. Trusting your eyes on a bright LCD outdoors will fool you; trust the graph.
How much compensation depends on how much of the frame the snow fills and how bright the day is. Two rules of thumb: the more snow dominates the frame, the more you add, and a dull overcast snowy day often needs more compensation than a bright sunny one, not less, because the soft light flattens everything toward gray. A scene that is almost entirely fresh snow in sun often wants +1.7 EV; a landscape with rock, trees, and sky breaking up the white may only want +1. Start at +1, shoot, read the graph, and adjust.
White balance
Set white balance to Daylight rather than Auto in snow. Auto often over-corrects and leaves the snow flat or even slightly warm-gray. Daylight keeps the natural cool tone honest. If the snow still looks too blue, nudge the temperature warmer in post. Shooting RAW gives you full latitude to fix this later, which is worth doing in tricky snow light.
A step-by-step for a snowy scene
- Switch white balance to Daylight. Do this before you compose so the cool tone stays honest.
- Dial in +1 EV of exposure compensation as a starting point in aperture or shutter priority, or open up the exposure manually.
- Shoot a test frame of the brightest snow in the scene.
- Read the histogram. The snow's tall peak should sit near the right edge without clipping. Bunched in the middle means add more; slammed against the right wall means back off.
- Adjust and reshoot until the snow reads bright white. On sunny days this is often +1.3 to +1.7 EV.
- Protect the highlights, then expose the subject. If a face is dark against bright snow, add fill rather than darkening the whole frame.
The technique
Expose for the snow first, then deal with your subject. If you are shooting a person in the snow and their face goes dark, you have two choices: add fill light with a reflector or flash, or accept a slightly brighter overall exposure and let the snow lean toward pure white. For pure landscapes, just protect the snow's highlights and let the rest fall where it lands.
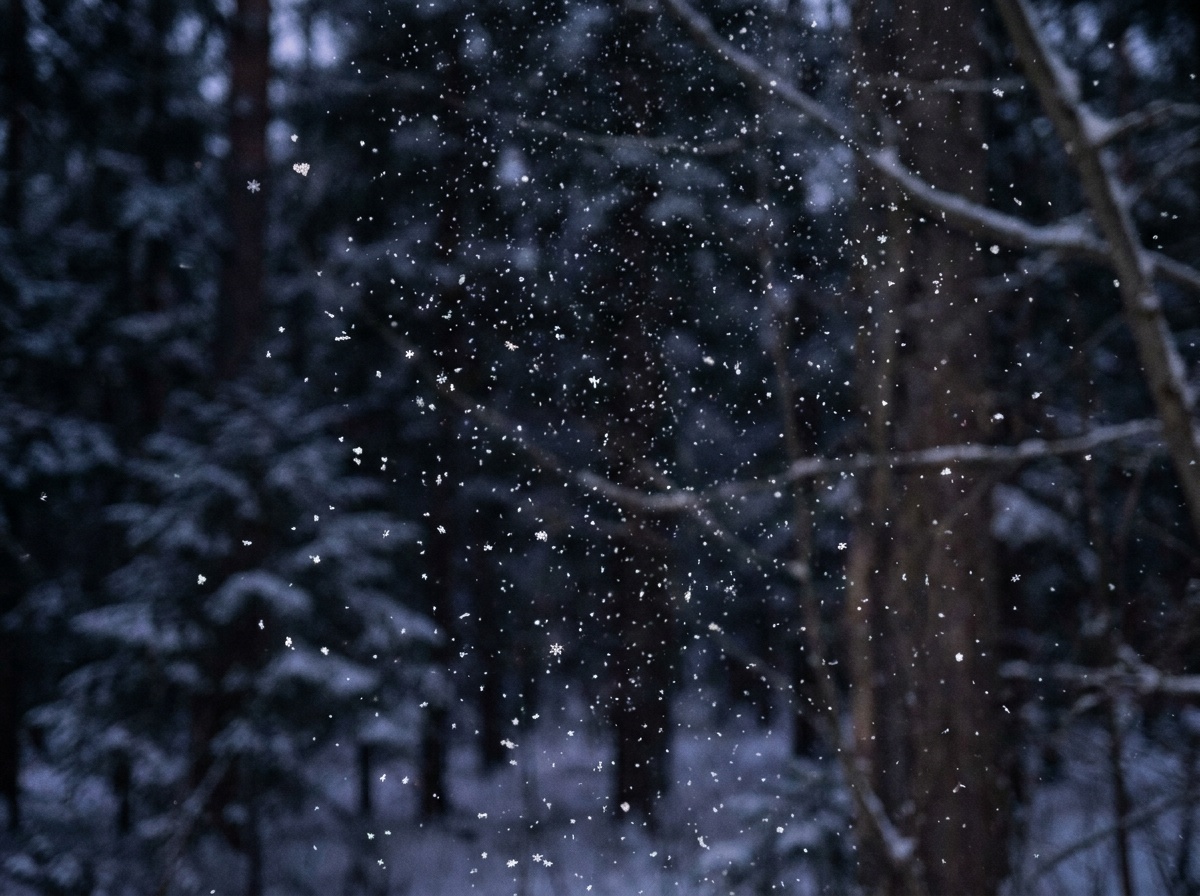
Falling snow is its own decision. A faster shutter, around 1/500 or above, freezes flakes into sharp points. A slower shutter, around 1/60 or below, streaks them into soft lines. Neither is wrong, but pick one on purpose rather than letting the camera choose.
Common mistakes
- Leaving compensation at zero. This is the whole game. No positive compensation means gray snow, every time.
- Trusting Auto white balance. It tends to mute the scene. Daylight is more predictable.
- Chimping on a bright screen. The LCD looks dim outdoors and lies about exposure. Read the histogram instead.
- Forgetting the cold attacks your gear. Batteries drain fast and condensation forms when you come back inside. The gear protection guide covers the cold-weather routine.
Gear notes
Snow is hard on equipment in quiet ways. Keep a spare battery in an inside pocket where body heat keeps it alive, because cold cuts battery life roughly in half. A lens hood keeps blowing snow off the front element. When you head indoors, seal the camera in a bag before you enter so condensation forms on the bag, not inside the lens. The full cold-and-wet routine is in protecting your gear in bad weather.
Where this fits
Snow is a landscape photographer's favorite and worst condition: gorgeous light, brutal metering. Everything above is just exposure compensation and the exposure triangle applied to a scene that lies to your meter. Get comfortable reading the histogram and snow stops being intimidating.
How much exposure compensation do I need for snow?
Start at +1 EV and check the histogram. Bright, sunny snow that fills the frame often wants +1.3 to +1.7 EV. The more snow dominates the frame, the more compensation you need. If your subject is small against a snowy background, you may need less. Always verify with the histogram rather than guessing.
Why does my snow look blue?
Snow in shade or under a clear sky reflects the blue of the sky, and Auto white balance does not always correct it well. Switch to the Daylight white balance preset, and if it is still cool, warm the temperature slightly in editing. Shooting RAW makes this an easy fix after the fact.
What shutter speed freezes falling snow?
Around 1/500 of a second or faster renders individual flakes as sharp points. If you want soft streaks of falling snow instead, drop to roughly 1/60 or slower and the flakes blur into lines. Choose deliberately based on the look you want.
Practice this
Turn the guide into a working setup
Keep going
Next useful steps
Pick one. Each link continues the same job without starting the research over.
Shoot kits
Buy around the job, not the spec sheet
Travel landscape
Travel landscape kit
$4,465
A light full-frame body, wide zoom, serious travel tripod, filters, and a bag that can handle rough days outside.
Light but not flimsy
Buy order: start with the first piece that makes the job possible, then add the support pieces that remove friction.
Camera: start here. If this piece does not make the shoot easier, the rest of the kit can wait.
Carry: add it after the core setup proves useful.
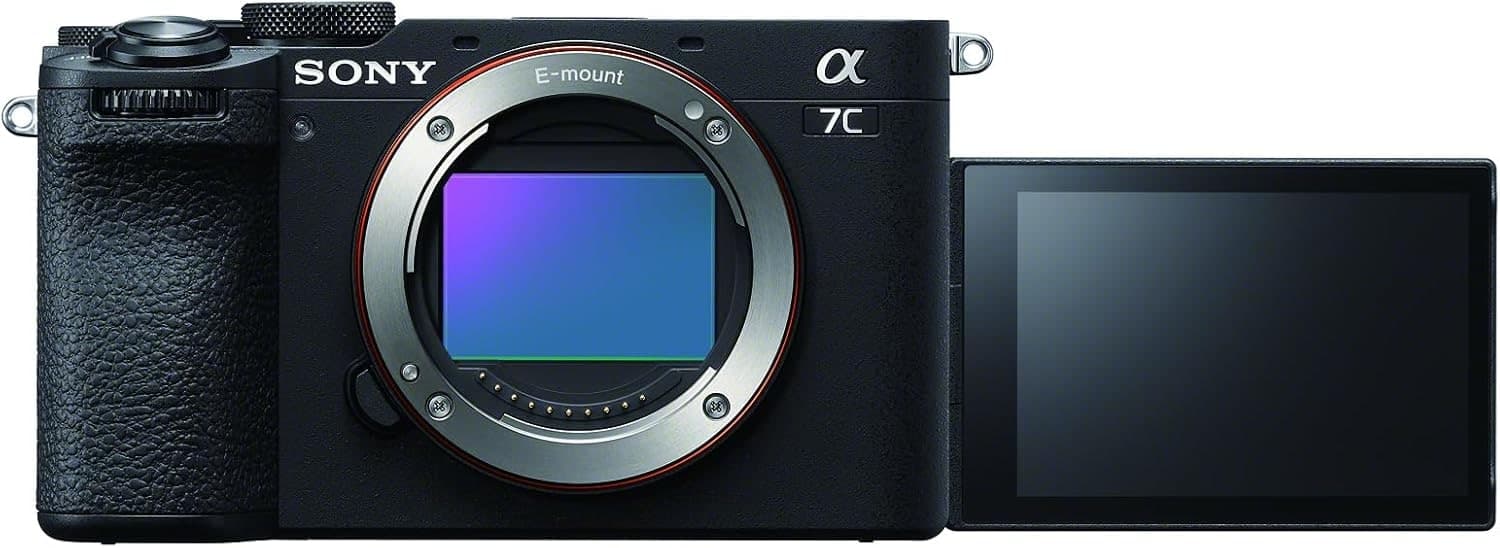
Sony a7C II
Full-frame files in a smaller body, with autofocus and stabilization that travel well.
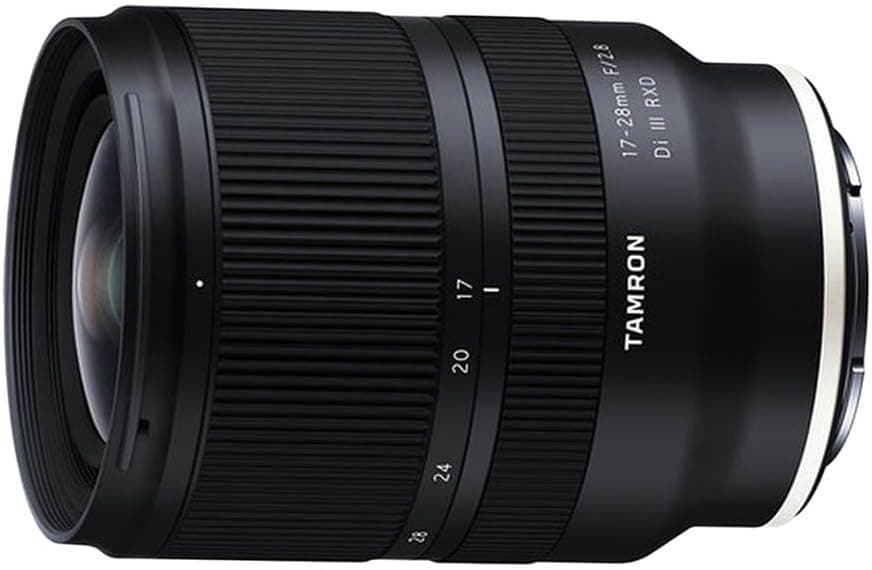
Tamron 17-28mm f/2.8 Di III RXD
Wide enough for landscapes and interiors without the size of a premium 16-35mm.
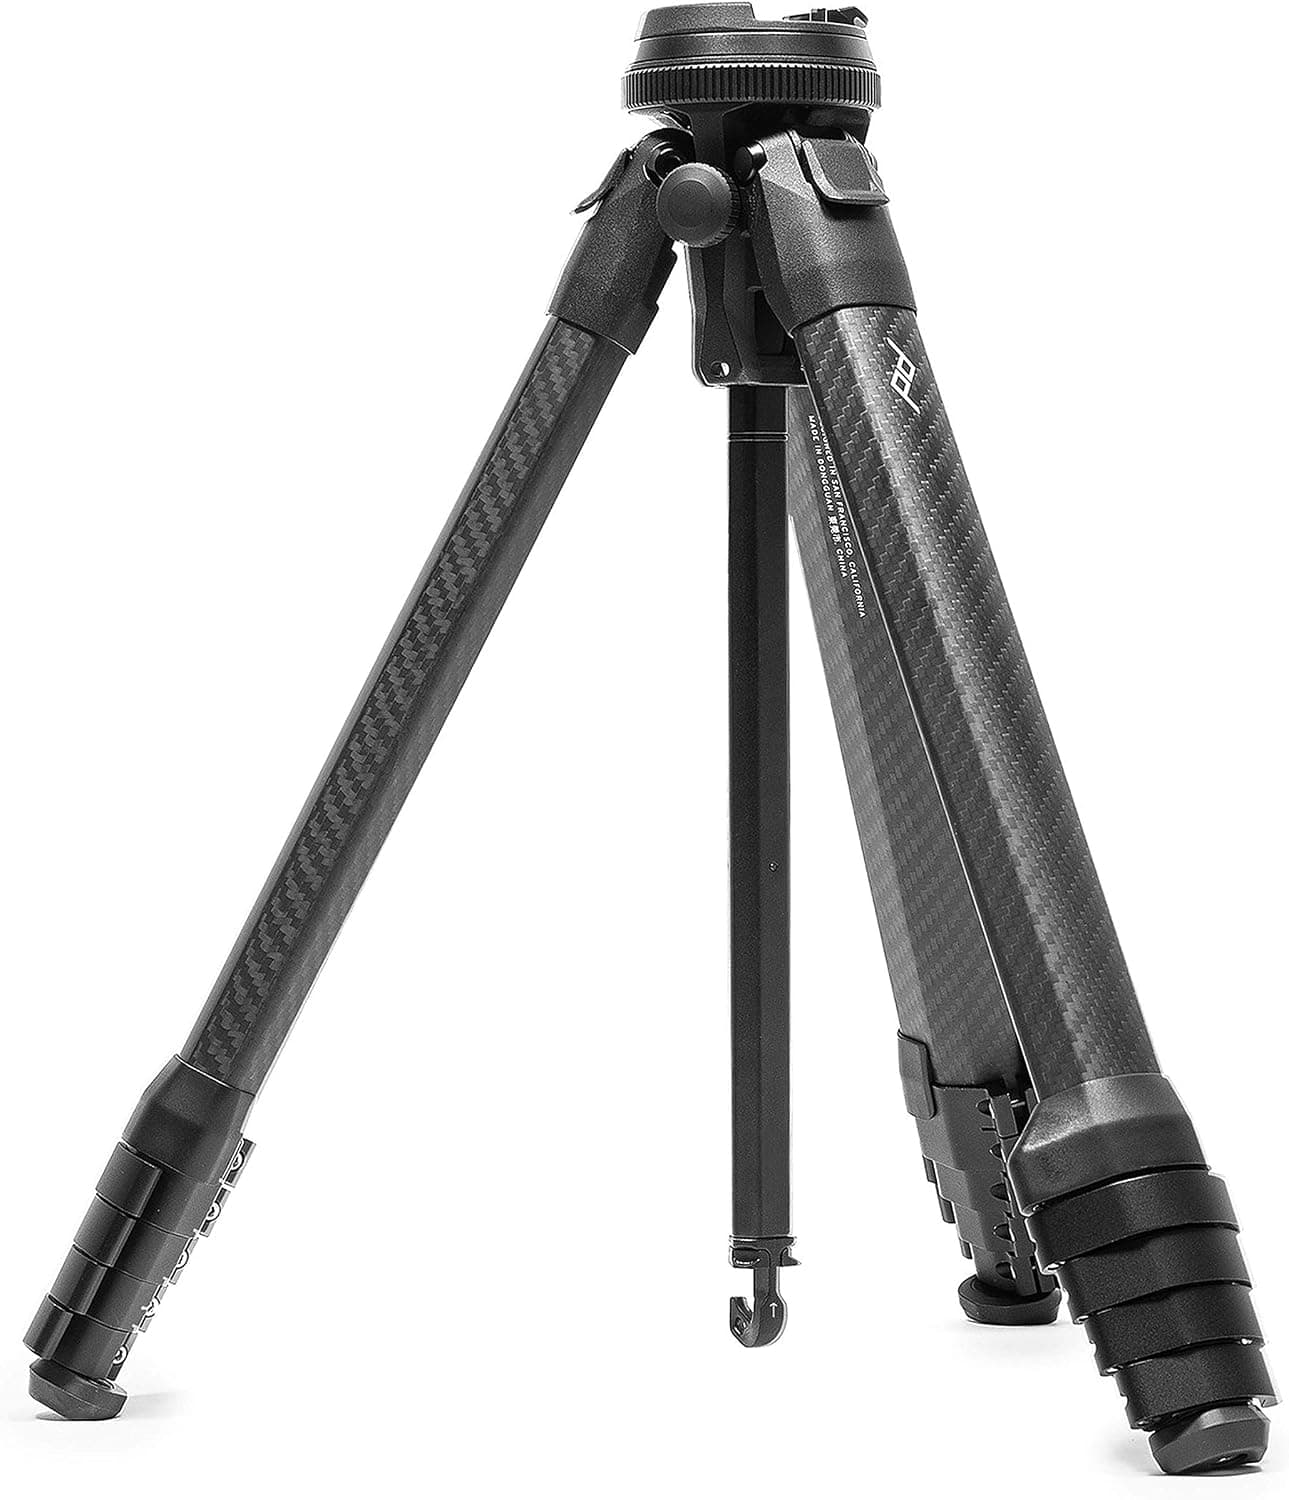
Peak Design Travel Tripod (Carbon)
The point of a travel tripod is bringing it. This one packs small and stays serious.
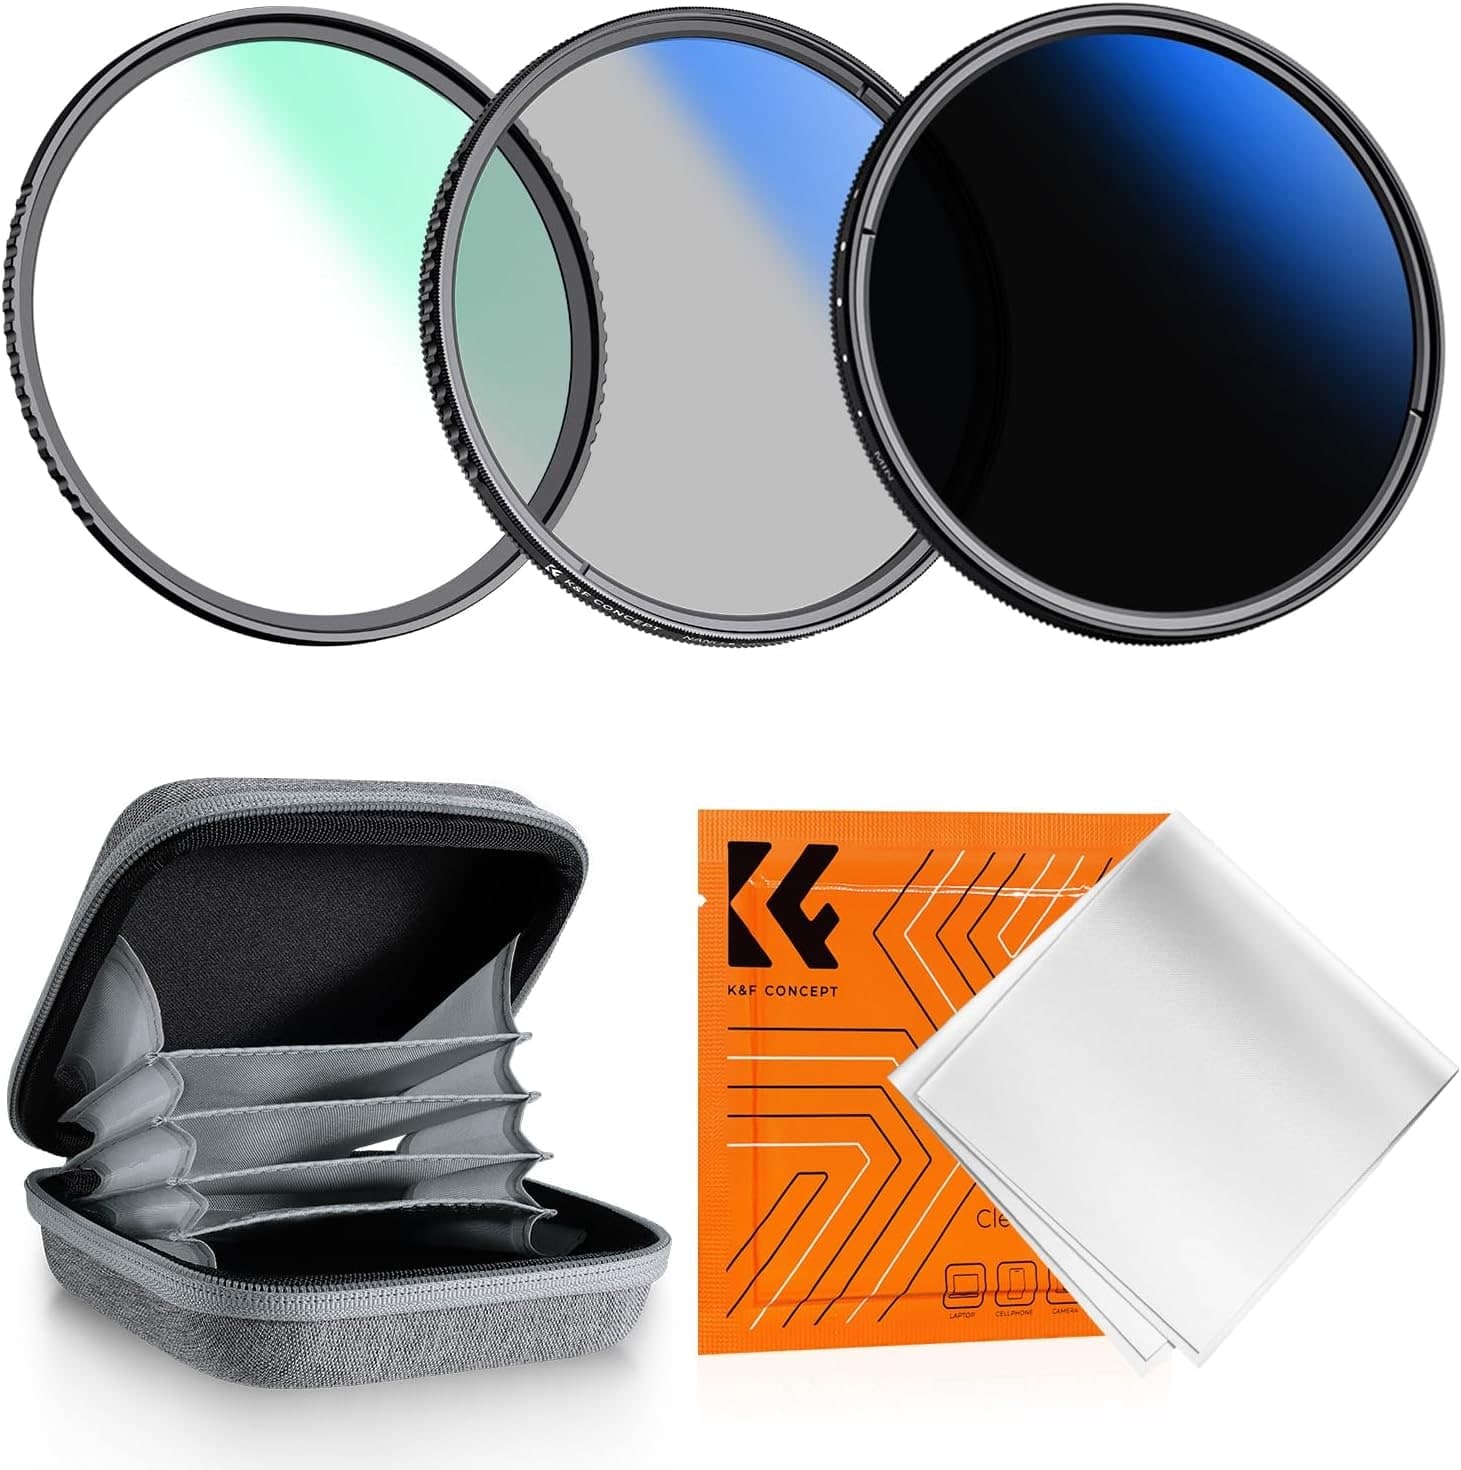
K&F Concept 77mm UV/CPL/ND2-400 Filter Kit
CPL and ND coverage for water, skies, reflections, and slower shutters.
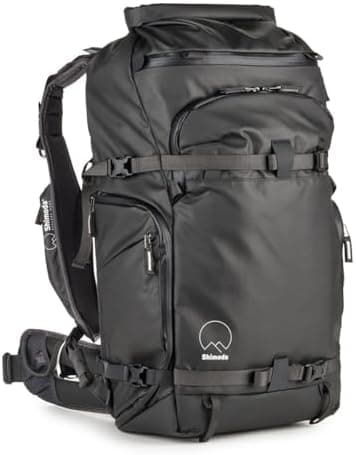
Shimoda Action X30 V2
A real harness matters once camera gear and outdoor layers share the same bag.
Prices are rough catalog totals. Retailer prices change, and you can swap pieces to fit your system.
Related Learn guides

Content Credentials and C2PA Explained for Photographers
Content Credentials record a photo's signed provenance and edits. Learn what C2PA proves, what it cannot prove, and how capture-to-export workflows work.

Open Gate Video Explained: When 3:2 Is Worth It
Open Gate records a taller sensor area for flexible 16:9, 9:16, and square crops. See when it helps, what it costs, and how to frame it correctly.

Pre-Capture Photography Explained: Get the Frame Before the Click
Pre-Capture buffers photos before the shutter is fully pressed. Learn how it works, which settings change, and when RAW, flash, or focus may be limited.

RAW vs JPEG: Which File Format Should You Shoot?
RAW keeps all your sensor data for maximum editing freedom; JPEG is smaller and ready to share. Here is how they differ and when each one is the right call.
Researched, not personally tested: picks compare specifications, available owner feedback, and established expert sources. As an Amazon Associate I earn from qualifying purchases. We may earn a commission from links here, at no extra cost to you. How we research →