We may earn a commission from links on this page, at no extra cost to you. Picks are researched, not sponsored.
The problem
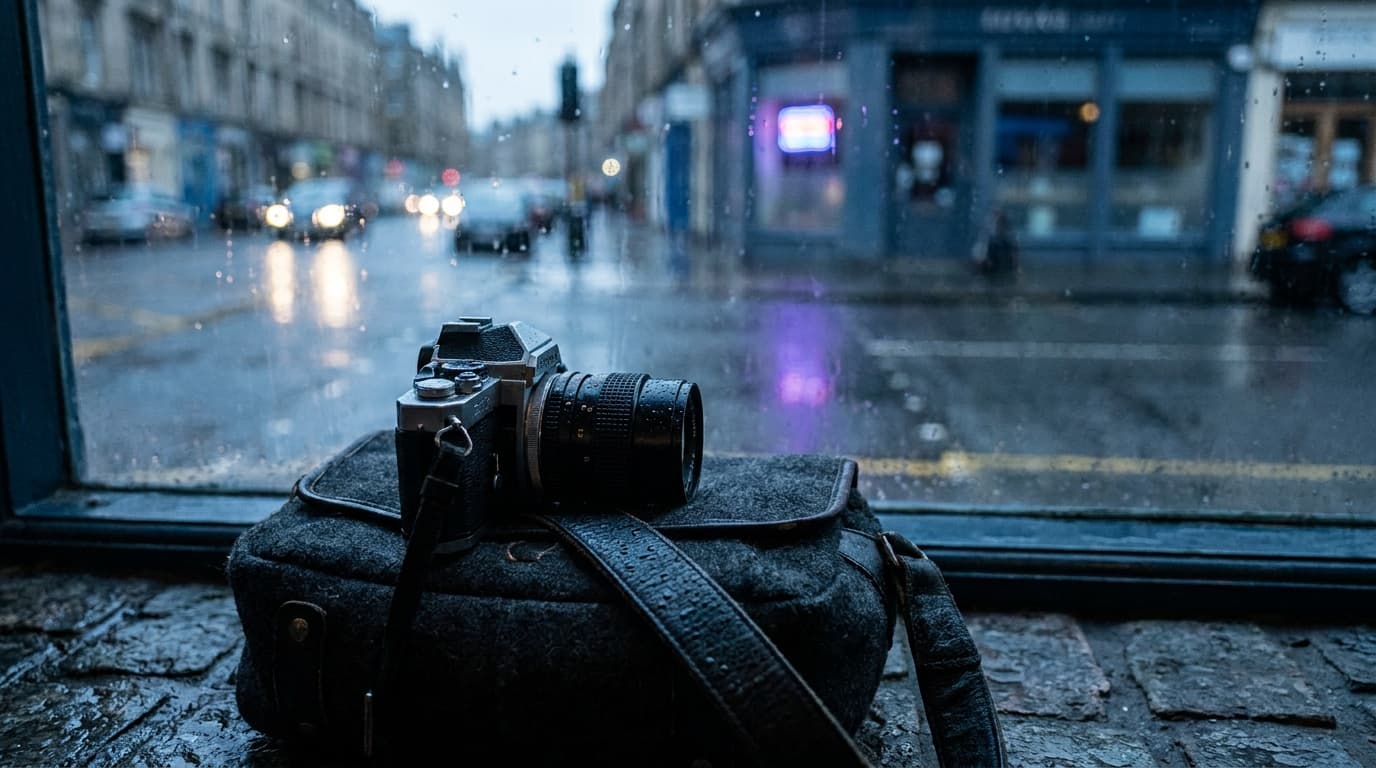
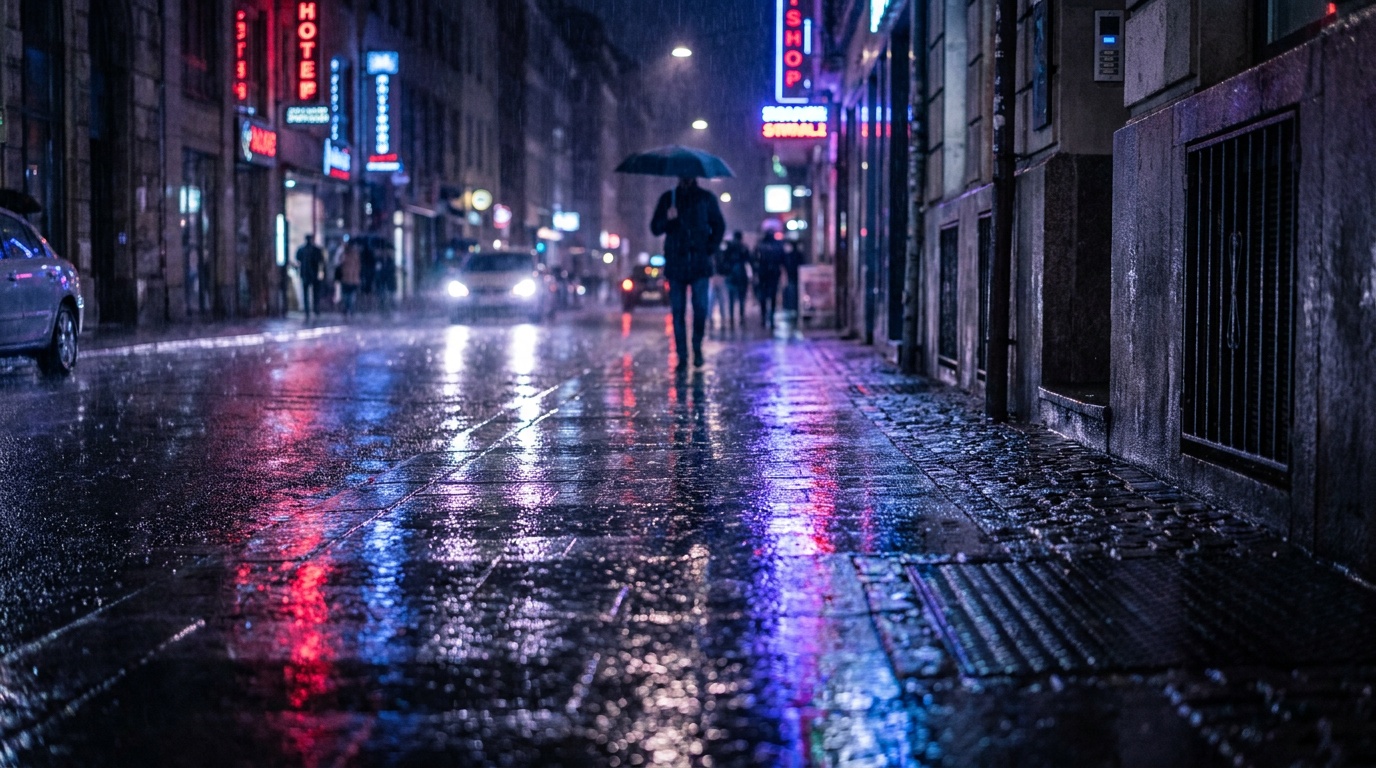
Rain does three things to a photo. It lowers contrast, because the air is full of water and the light is usually overcast and soft. It saturates color, because wet surfaces are darker and richer than dry ones. And it adds reflections, on streets, on windows, on skin. Those are all good news for the image. The bad news is twofold: rain is often dim, which forces compromises in your settings, and water is the fastest way to kill a camera.
The other catch is that rain is frequently invisible in photos. Light drizzle against a bright gray sky simply does not register, and you end up with a flat, wet-looking scene with no actual rain in it.
The settings
Rainy light is usually flat and dim, so you are balancing a shutter speed fast enough for your intent against an ISO you can live with. A typical rainy street scene lands around:
The shutter speed is the creative dial here. Fast (1/500 and up) freezes drops into sharp specks. Slow (1/30 and below) draws them as streaks, which reads more obviously as rain but needs a steady camera. In dim rainy light, getting to a slow shutter is easy; getting to a fast one means opening the aperture and raising ISO. This is the exposure triangle in its purest trade-off form.
Autofocus can struggle in rain because the drops on the front element and the low-contrast gray scene give it little to lock onto. Single-point AF on a high-contrast edge is more reliable than letting the camera choose, and wiping the front element before each frame matters more than any setting.
A step-by-step for a rainy scene
- Protect the gear first. Lens hood on, rain cover or bag over the body, a microfiber cloth in a dry pocket. Set this up before you start, not after the first frame is ruined.
- Decide the drops. Frozen or streaked. Set shutter to roughly 1/500 and up for frozen, 1/30 and below for streaks, then build the rest of the exposure around it.
- Find a dark backdrop and backlight. Position so the rain falls against shadow, with a streetlamp, shop window, or low sun behind it.
- Get low for reflections. Drop to puddle level so the wet ground mirrors your subject and the lights.
- Check the histogram, not the screen. Wet scenes are dark; add exposure if the image reads muddy rather than moody.
- Wipe and repeat. Clear the front element between frames; a single drop on the glass softens the whole shot.
The technique
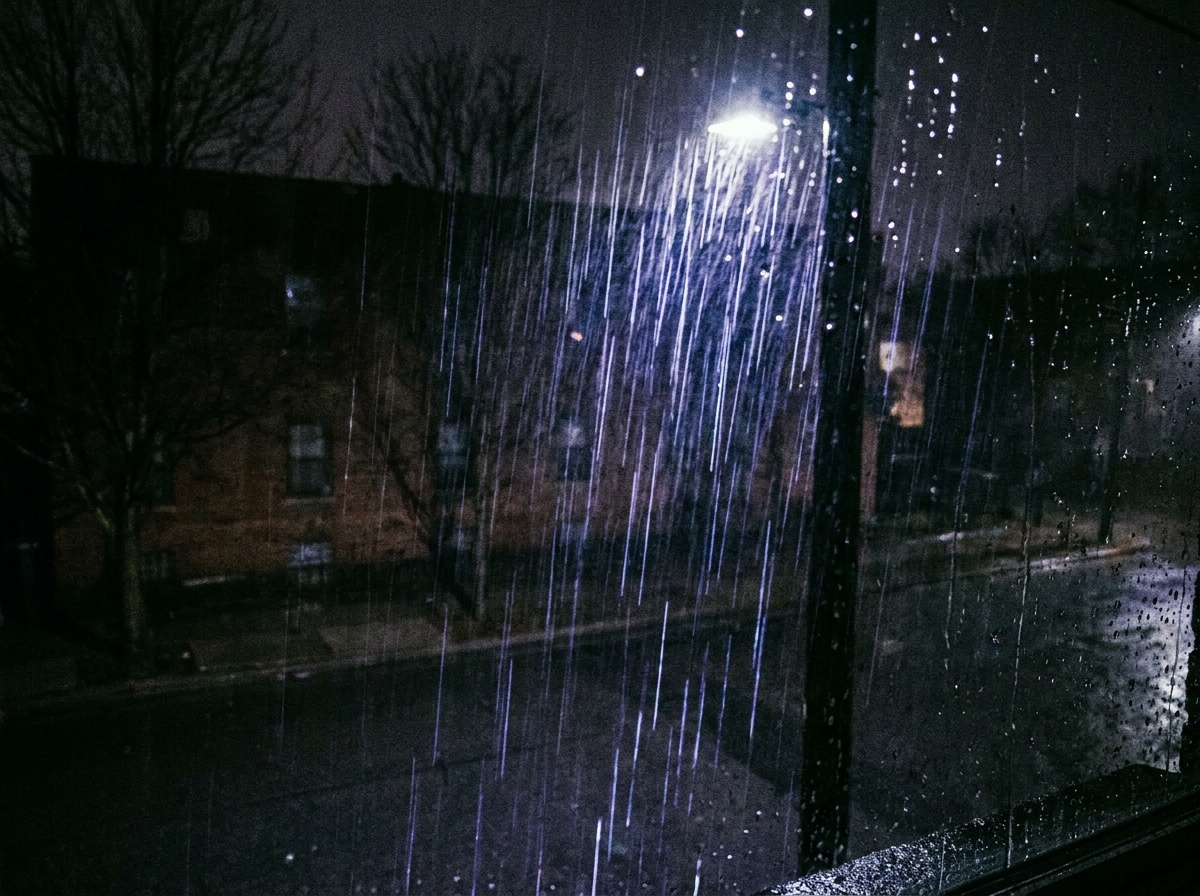
To make rain show up, you need two things: light coming from behind or the side of the drops, and a dark background for them to stand against. Rain against a bright sky disappears; rain against a dark building, dark foliage, or a shadowed doorway pops. A streetlight, a shop window, or low sun breaking through a storm all backlight the drops beautifully.
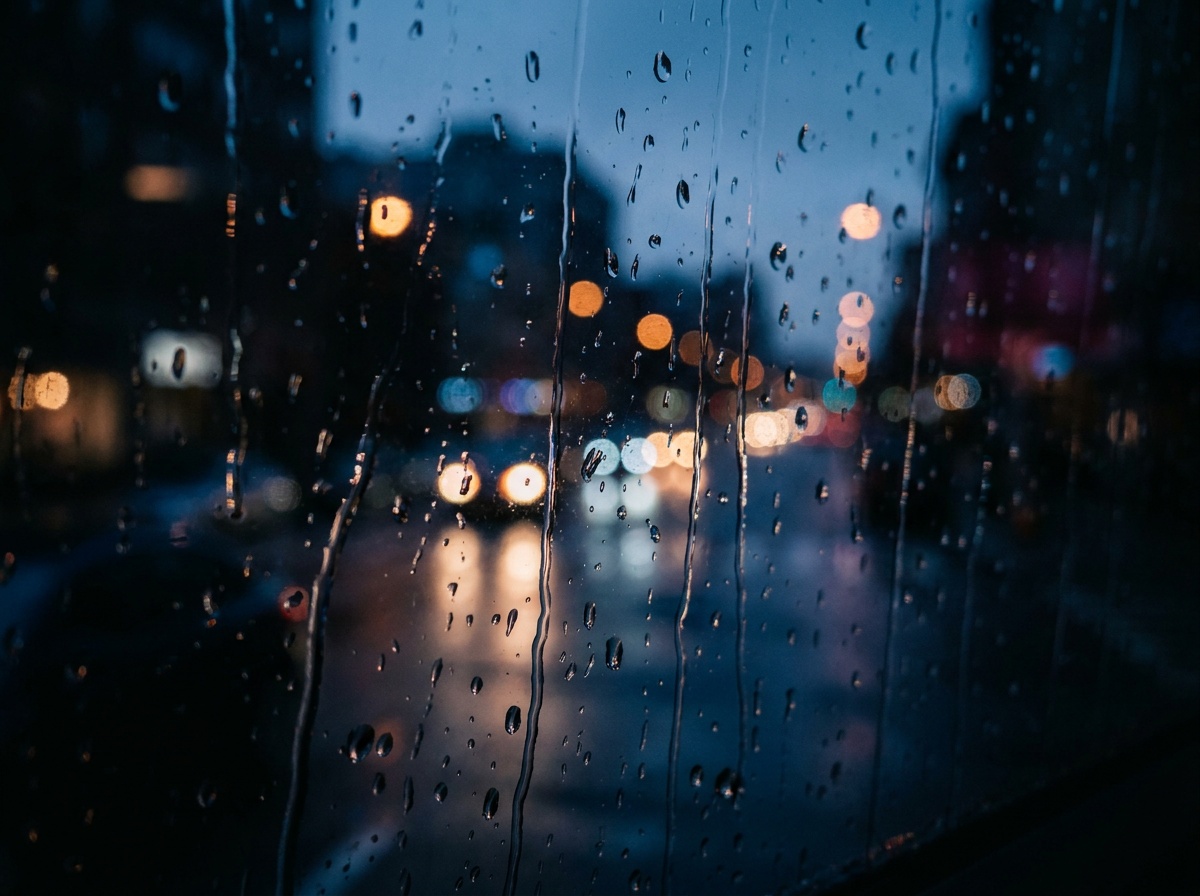
Then use the reflections. Wet pavement doubles your composition, mirroring lights and figures. Get low to exaggerate the reflection. Puddles become small mirrors you can build a whole frame around. Shooting through a rain-streaked window from inside is its own reliable look, with the drops as foreground texture and the world soft behind them. For more on working with dim, moody indoor-style light, the low light indoor guide carries over.
Common mistakes
- Shooting rain against a bright sky. The drops vanish. Find a dark backdrop and backlight.
- Defaulting to a fast shutter every time. Frozen drops can look like dust. Try a slow shutter for visible streaks.
- Letting the meter underexpose the dark, wet scene. Wet surfaces are dark; check the histogram and add exposure if the image looks muddy rather than moody.
- Ignoring the obvious. Water and electronics do not mix. A cheap rain cover saves a expensive repair.
Gear notes
A lens hood is your most useful rain accessory: it keeps drops off the front element far better than nothing, and a drop on the glass ruins a frame. Carry several microfiber cloths and rotate them as they get damp. A simple rain cover, even a clear bag with a hole for the lens, keeps a body alive in a real downpour. Weather-sealed gear buys you confidence but is not a license to ignore water. The full kit and routine, including drying out afterward, is in protecting your gear in bad weather, and a good camera bag keeps your spare lenses dry between shots.
Where this fits
Rain is a gift to street photography and landscape photography: umbrellas, reflections, moody light, and a city that empties out. The settings above are the exposure triangle and a deliberate choice about shutter speed, applied to a dim scene where the weather is the subject, not the obstacle.
What shutter speed should I use for rain?
It depends on the look. Around 1/500 or faster freezes drops into sharp points. Around 1/30 or slower streaks them into visible lines, which reads more clearly as rain but needs a steady camera or tripod. Decide whether you want frozen or streaked rain before you set the shutter.
How do I make rain visible in my photos?
Backlight the drops and put them against a dark background. Rain falling in front of a bright sky disappears, but the same rain against a dark building, shadowed foliage, or lit by a streetlamp from behind shows up clearly. Light from behind or the side plus a dark backdrop is the formula.
Can I shoot in the rain without a weather-sealed camera?
Yes, with care. A lens hood, a rain cover or even a clear plastic bag, and frequent wiping with microfiber cloths let most cameras survive light to moderate rain. Avoid changing lenses in the rain, and dry everything thoroughly afterward. See the gear protection guide for the full routine.
Practice this
Turn the guide into a working setup
Keep going
Next useful steps
Pick one. Each link continues the same job without starting the research over.
Shoot kits
Buy around the job, not the spec sheet
Travel landscape
Travel landscape kit
$4,465
A light full-frame body, wide zoom, serious travel tripod, filters, and a bag that can handle rough days outside.
Light but not flimsy
Buy order: start with the first piece that makes the job possible, then add the support pieces that remove friction.
Camera: start here. If this piece does not make the shoot easier, the rest of the kit can wait.
Carry: add it after the core setup proves useful.
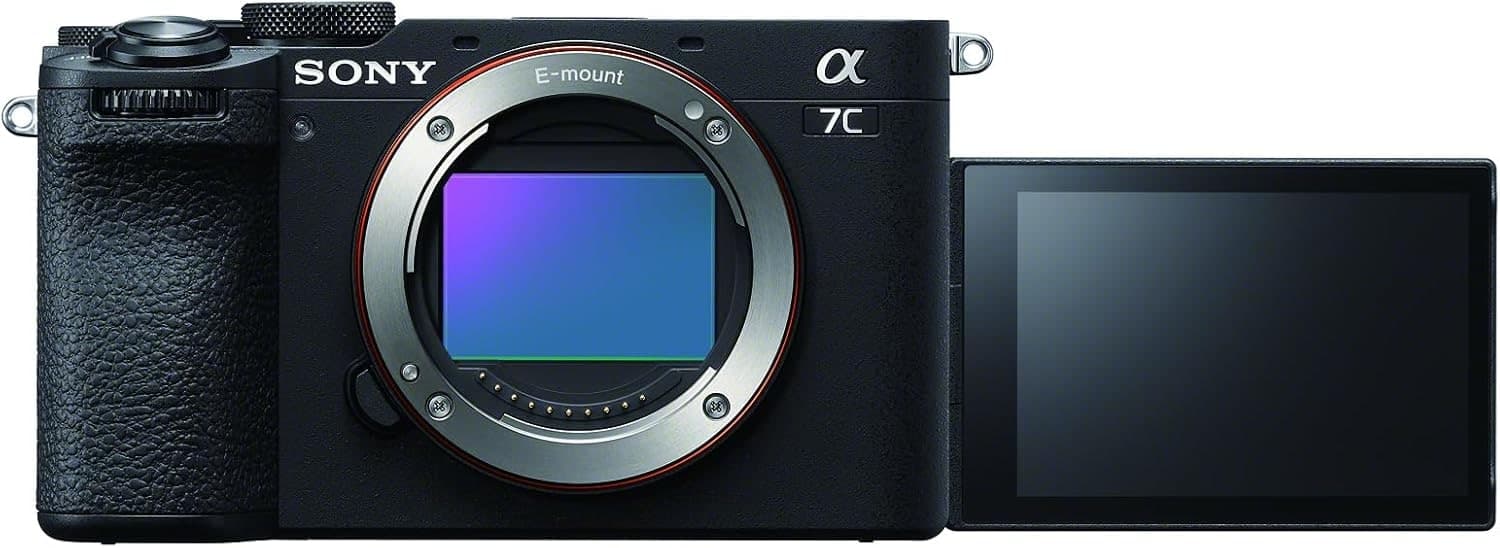
Sony a7C II
Full-frame files in a smaller body, with autofocus and stabilization that travel well.
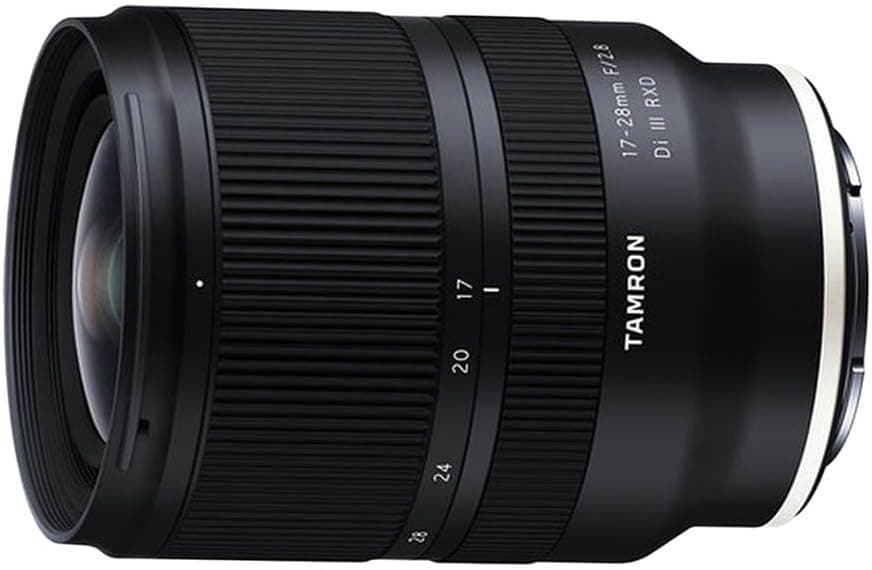
Tamron 17-28mm f/2.8 Di III RXD
Wide enough for landscapes and interiors without the size of a premium 16-35mm.
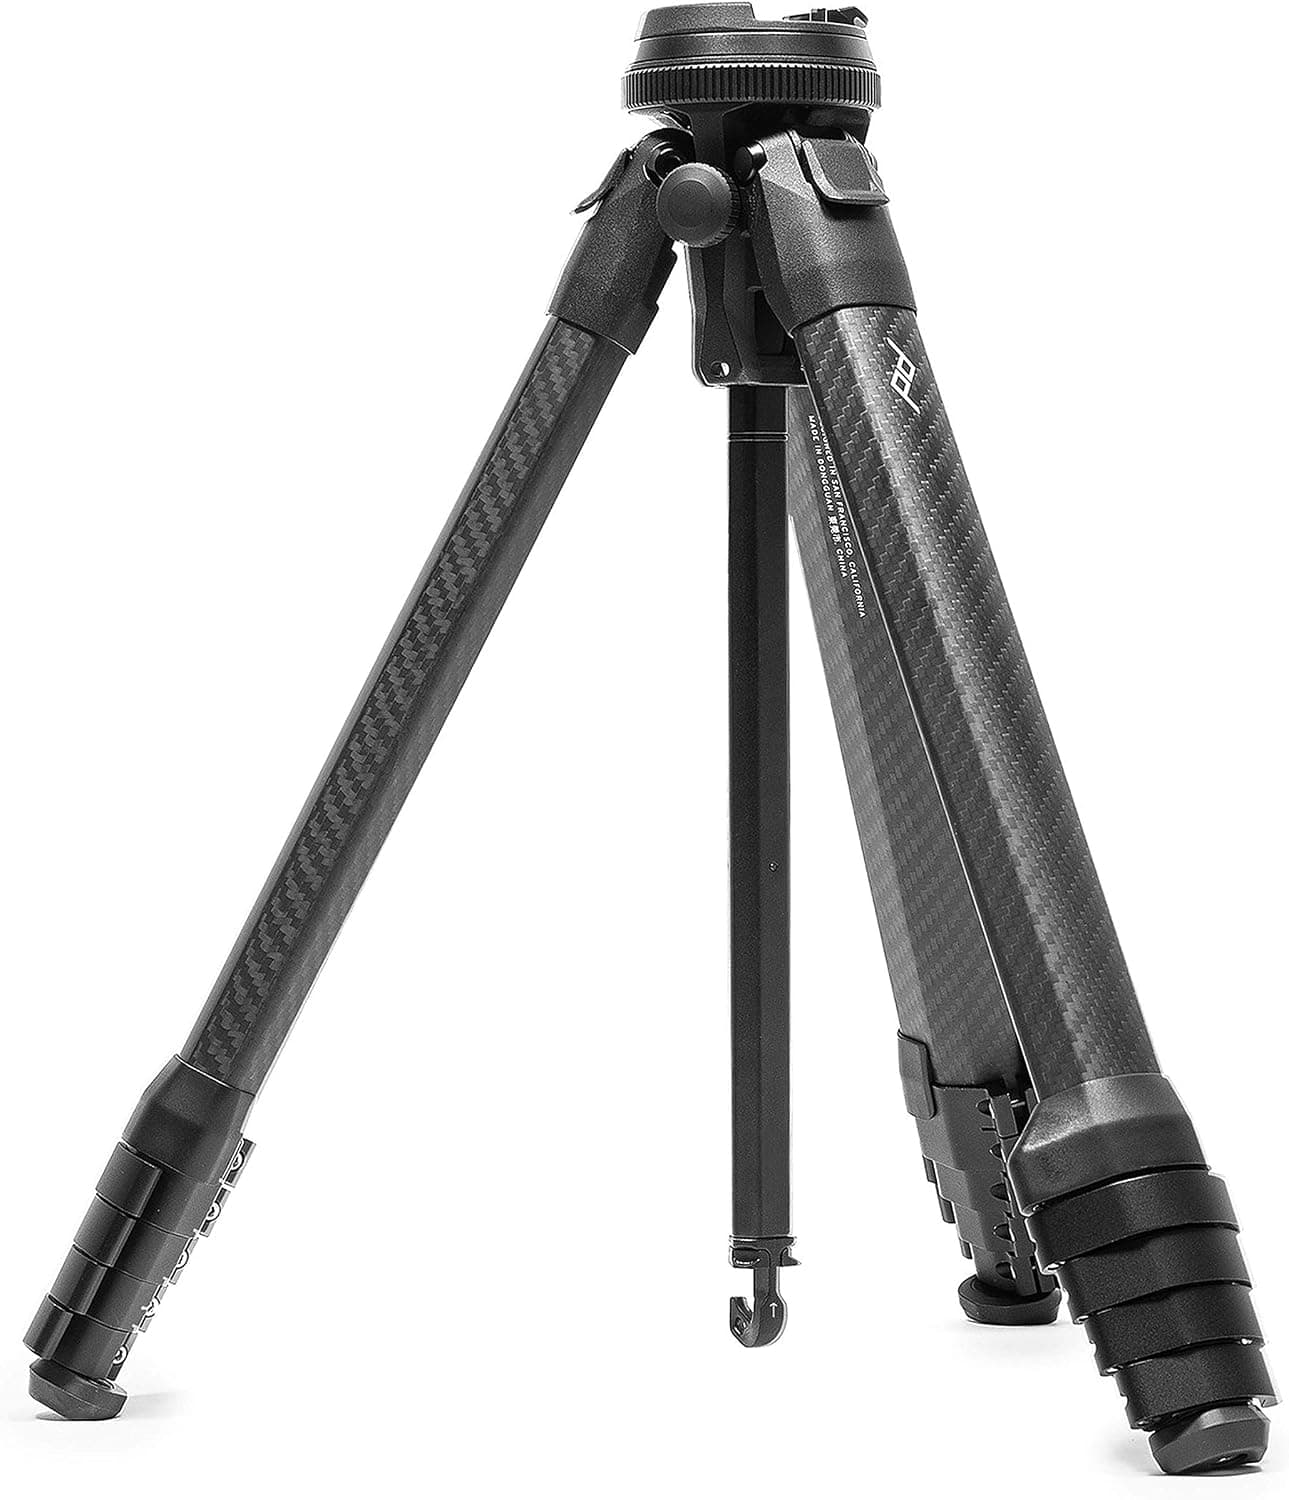
Peak Design Travel Tripod (Carbon)
The point of a travel tripod is bringing it. This one packs small and stays serious.
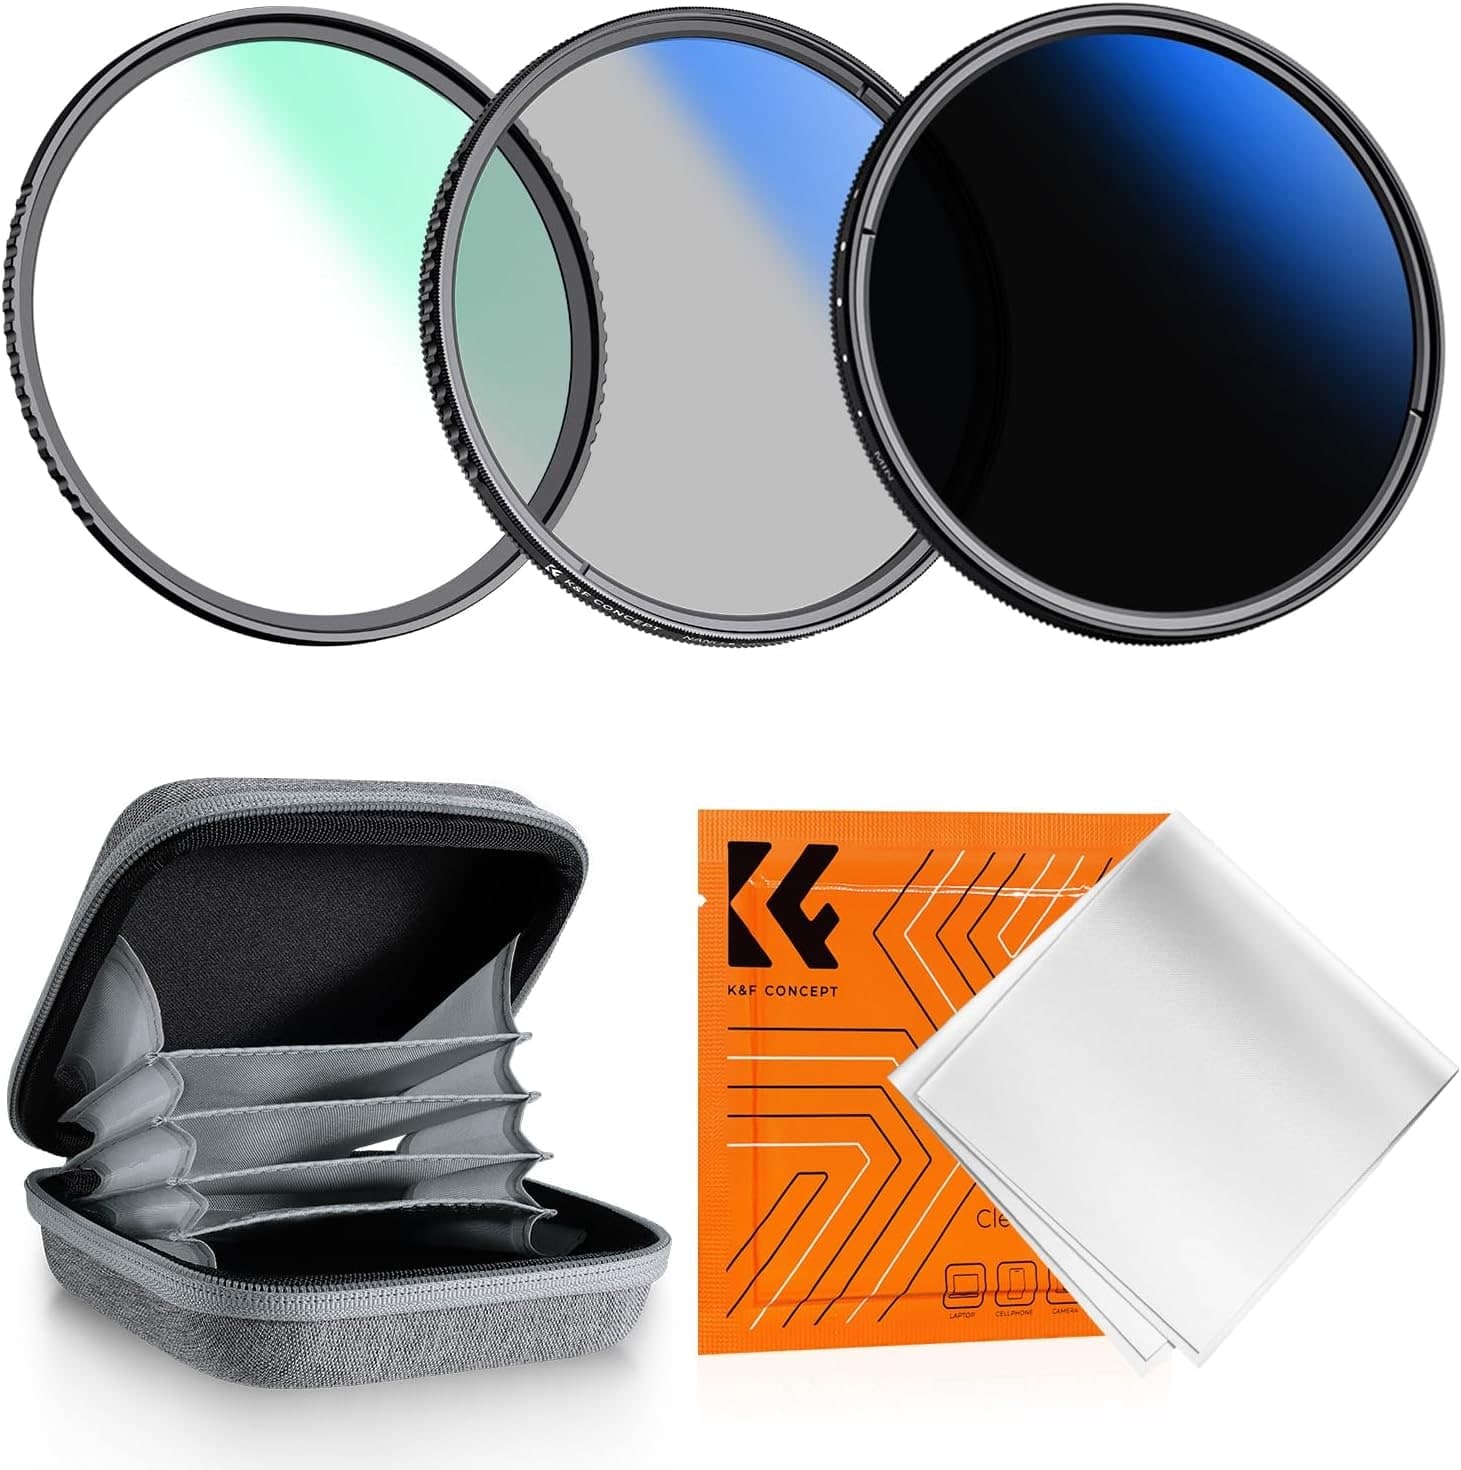
K&F Concept 77mm UV/CPL/ND2-400 Filter Kit
CPL and ND coverage for water, skies, reflections, and slower shutters.
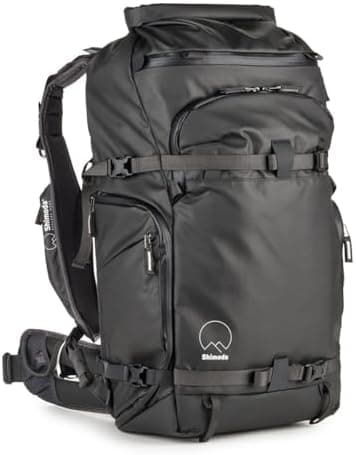
Shimoda Action X30 V2
A real harness matters once camera gear and outdoor layers share the same bag.
Prices are rough catalog totals. Retailer prices change, and you can swap pieces to fit your system.
Related Learn guides

Content Credentials and C2PA Explained for Photographers
Content Credentials record a photo's signed provenance and edits. Learn what C2PA proves, what it cannot prove, and how capture-to-export workflows work.

Open Gate Video Explained: When 3:2 Is Worth It
Open Gate records a taller sensor area for flexible 16:9, 9:16, and square crops. See when it helps, what it costs, and how to frame it correctly.

Pre-Capture Photography Explained: Get the Frame Before the Click
Pre-Capture buffers photos before the shutter is fully pressed. Learn how it works, which settings change, and when RAW, flash, or focus may be limited.

RAW vs JPEG: Which File Format Should You Shoot?
RAW keeps all your sensor data for maximum editing freedom; JPEG is smaller and ready to share. Here is how they differ and when each one is the right call.
Researched, not personally tested: picks compare specifications, available owner feedback, and established expert sources. As an Amazon Associate I earn from qualifying purchases. We may earn a commission from links here, at no extra cost to you. How we research →