
We may earn a commission from links on this page, at no extra cost to you.
Top picks
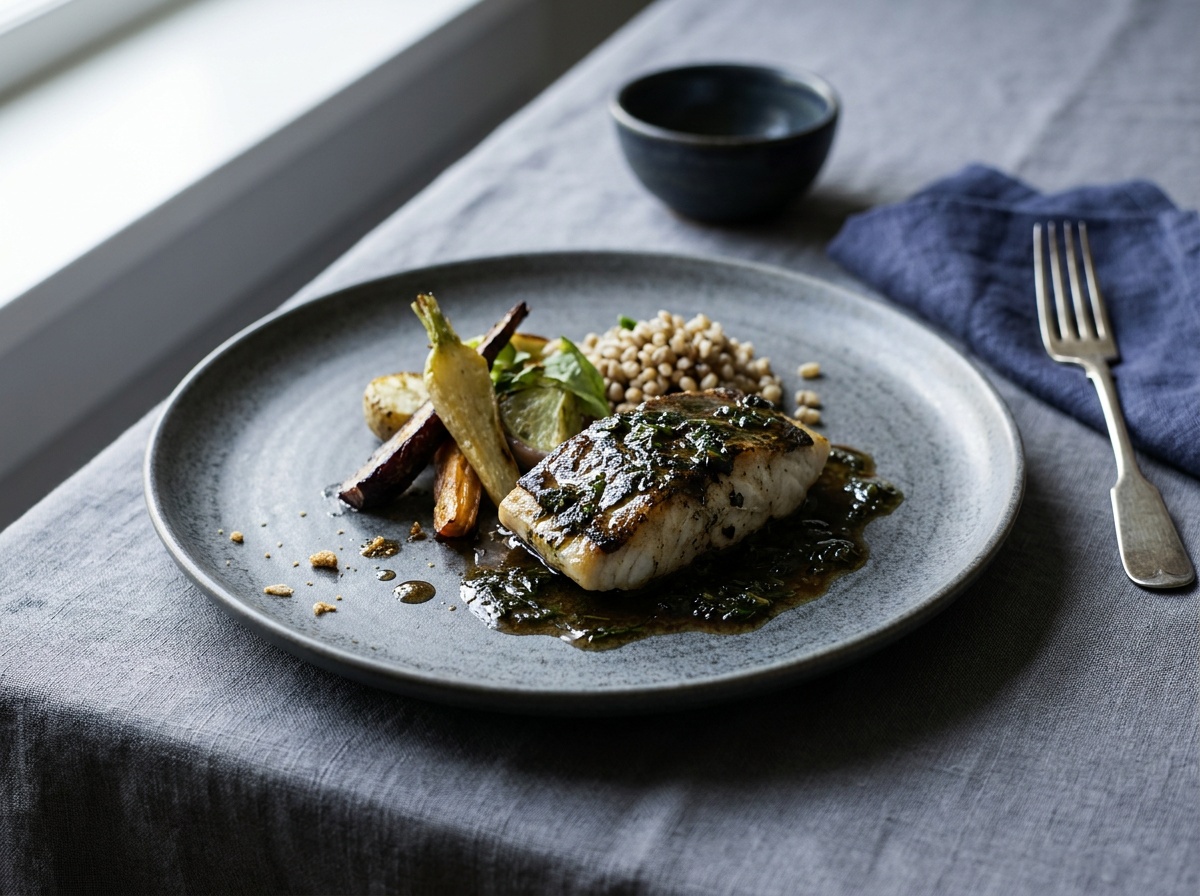
Food photography is the rare genre where you control everything: the light, the angle, the props, and the moment. That freedom is the whole game. The difference between a flat snapshot and an image that makes someone hungry comes down to three decisions, light, angle, and styling, and you make all three before you press the shutter.
Soft side light makes food look fresh
The single biggest factor in food photography is light direction. Light from the side or slightly behind the dish brings out texture, the crumb of bread, the gloss of a sauce, the steam off a bowl. Light from the front, like an on-camera flash, flattens everything and kills appetite.
Window light is the easy default: place the dish beside a window so the light rakes across it, then bounce a little back into the shadows with a white card or foam board, the cheapest tool in food photography. Diffuse harsh sun with a sheer curtain so the highlights stay soft. Backlighting, with the window behind the dish, makes translucent foods glow, soups, drinks, syrups, and a poured shot, so place the bounce card in front to keep the near side from going dark. The low-light and indoor guide covers shaping window light, and if you light artificially, a single soft source off to the side mimics the same effect.
The angle depends on the dish
There is no single best angle; the food decides. Match the camera height to the shape of the food:
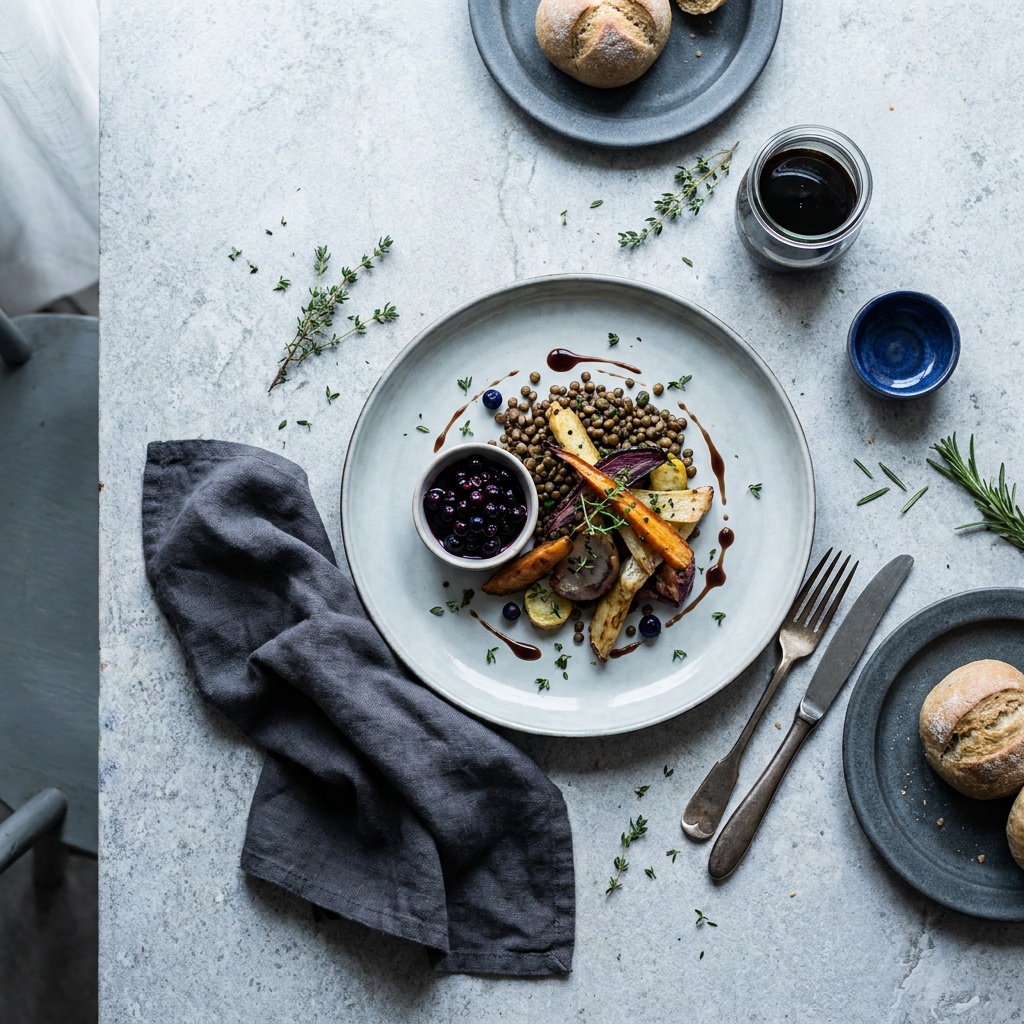
- Flat lay (straight down) suits spread-out scenes: a table of dishes, a pizza, a bowl of soup, anything whose interest is on top.
- The 45-degree angle is the natural, how-you-see-it-at-the-table view. It works for most plated dishes and shows both the top and the side.
- Straight on (eye level) is for height: a stacked burger, a layered cake, a tall drink. It shows off the layers that a flat lay would hide.
When in doubt, the 45-degree angle is the safe choice for a plated meal.
Settings that keep the dish sharp
Food is static, so you can shoot carefully. A reliable starting point is f/5.6 · 1/125 · ISO 100.
Use a moderate aperture around f/4 to f/5.6 so enough of the dish is sharp; going too wide at f/1.8 leaves only a sliver of the plate in focus and the rest mushy. Keep ISO low at 100 to 200 for clean, true color, which matters more in food than almost any genre. If the light is dim and the camera is on a tripod, lengthen the shutter speed rather than raising ISO, since nothing is moving. The exposure triangle explains why a tripod lets you keep ISO low. A macro lens earns its place here for tight detail of texture.
Styling that reads as appetizing
Styling is what separates a documentary snapshot from a crafted image. Shoot food at its freshest, the moment it is plated, before steam fades and greens wilt. Keep the plate clean: wipe stray drips with a cotton swab, and use a smaller plate so portions look generous. Place tiny garnishes with tweezers for precision, since a herb leaf set exactly where you want it reads as deliberate. Add a sense of life with a few intentional details, a scatter of herbs, a folded napkin, a fork mid-scene, or ingredients from the recipe in the background. Keep props muted and on-theme so they support the food instead of competing with it. Negative space gives the dish room to breathe.
For a step-by-step walkthrough of setting up a shot, see how to photograph food.
Common mistakes
The frequent failures are direct front light that flattens the dish, a too-wide aperture that leaves most of the plate out of focus, and waiting too long so the food looks tired. Off-color white balance is another, since food shot under warm kitchen bulbs goes orange and unappetizing; correct it so colors look true. Finally, cluttered props pull the eye away from the hero, the food itself.
What is the best lighting for food photography?
Soft light from the side or slightly behind the dish, which brings out texture and gloss. Window light diffused with a sheer curtain is the easiest source. Avoid direct front light or on-camera flash, which flatten the food and make it look unappetizing.
What angle is best for food photography?
It depends on the dish. Use a flat lay for spread-out scenes like a table or a pizza, a 45-degree angle for most plated meals, and a straight-on eye-level angle for tall food like burgers, cakes, and drinks. The 45-degree view is the safe default.
What aperture should I use for food photography?
A moderate aperture around f/4 to f/5.6 keeps enough of the dish sharp while still softening the background. Very wide apertures like f/1.8 leave only a thin slice in focus, which usually looks like a mistake on a plate of food.
Related Genres guides
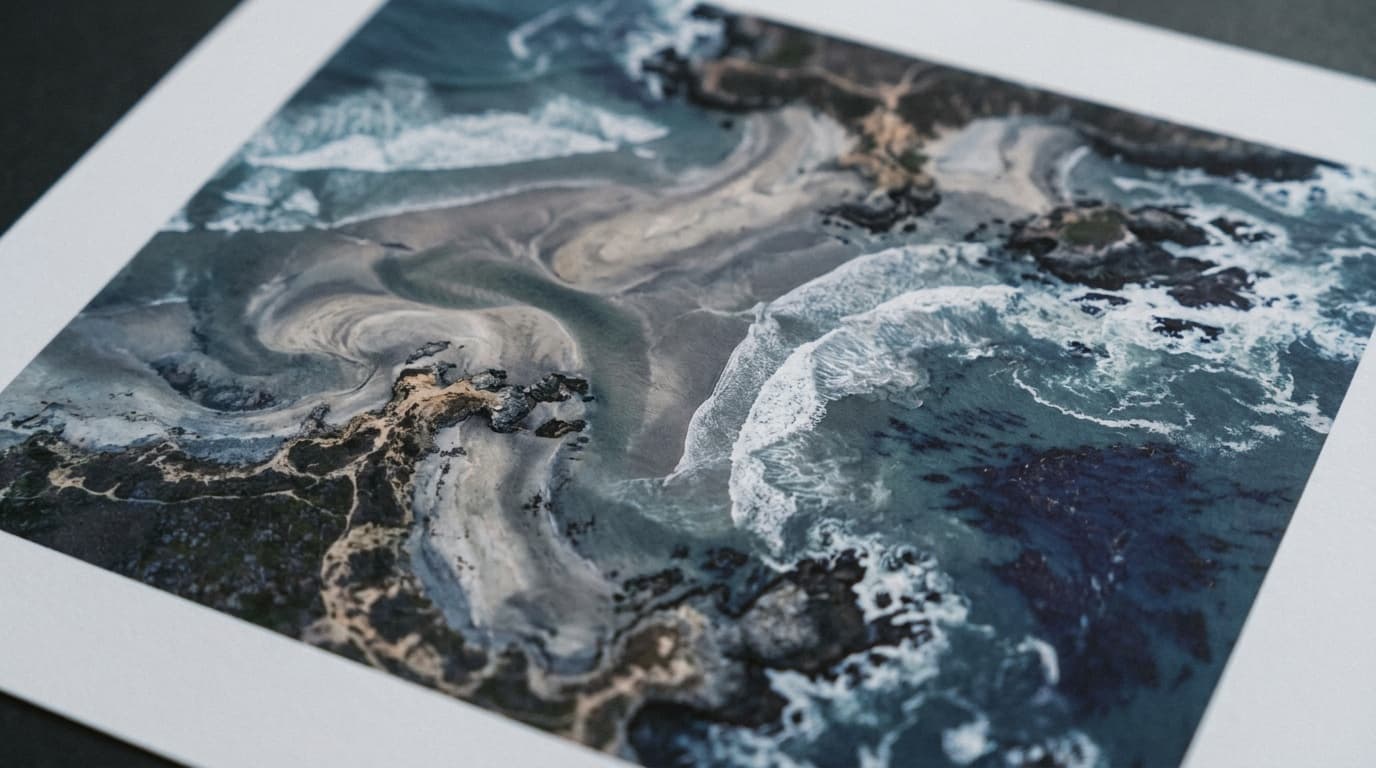
Aerial Photography: Composition and Settings for Shots From Above
Aerial photography is about reading the ground as pattern and shape. Here is the gear, the settings, and the composition moves for clean shots from above.
Read guide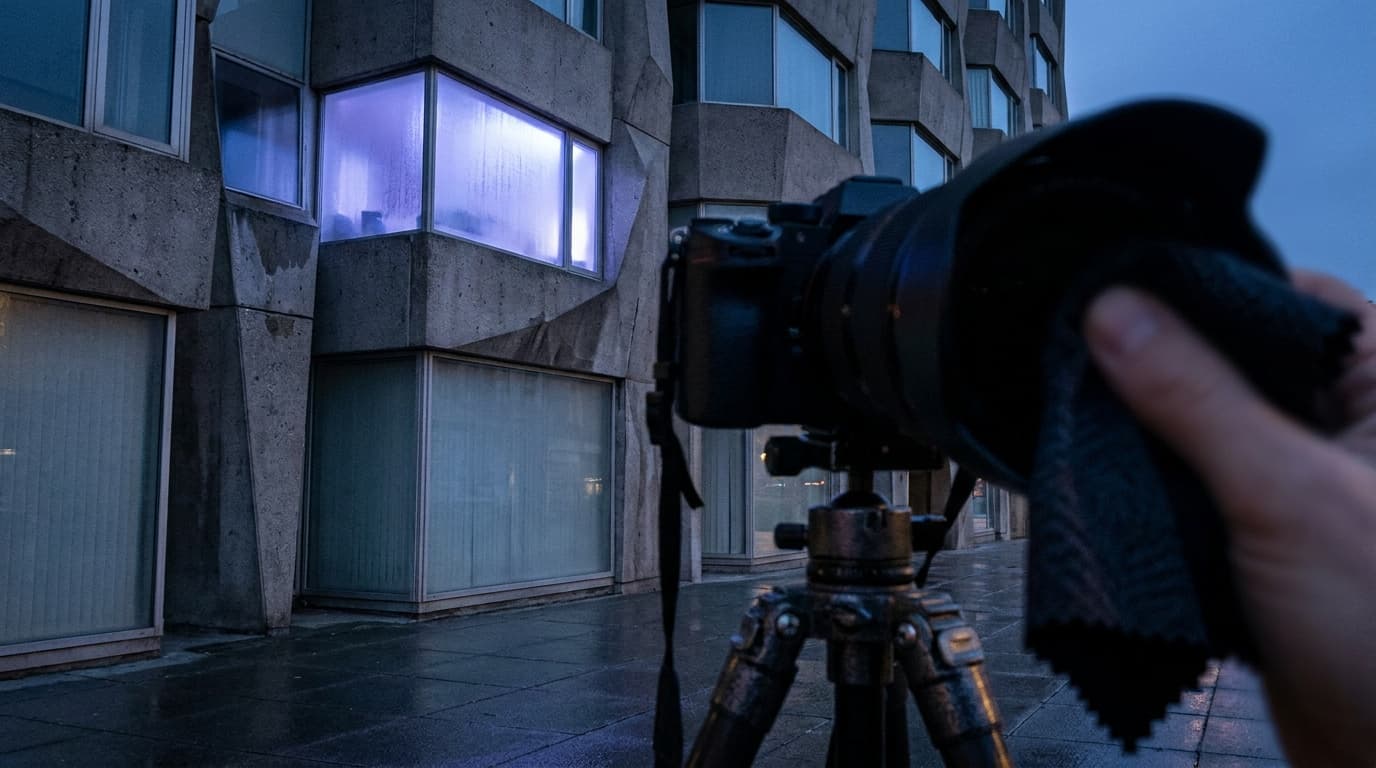
Architecture Photography: Gear and Settings for Clean, Straight Buildings
Architecture photography is about straight lines, even light, and front-to-back sharpness. Here is the gear, the settings, and the mistakes to skip.
Read guide
Event Photography: Settings and Gear for Low Light and Fast Moments
Event photography means low light, candid moments, and no second takes. Here is the gear, the settings, and the mistakes to skip for sharp, well-lit frames.
Read guide
Family Photography: Posing, Light, and Wrangling Everyone at Once
Family photos come down to flattering light, simple posing that connects people, and keeping a group relaxed. Here are the settings, the poses, and the wrangling tactics that work.
Read guideResearched, not personally tested: picks come from specs, verified-owner reviews, and expert sources, scored into the Aperture Score. As an Amazon Associate I earn from qualifying purchases. We may earn a commission from links here, at no extra cost to you. How we research →