We may earn a commission from links on this page, at no extra cost to you. Picks are researched, not sponsored.
What this means in real life
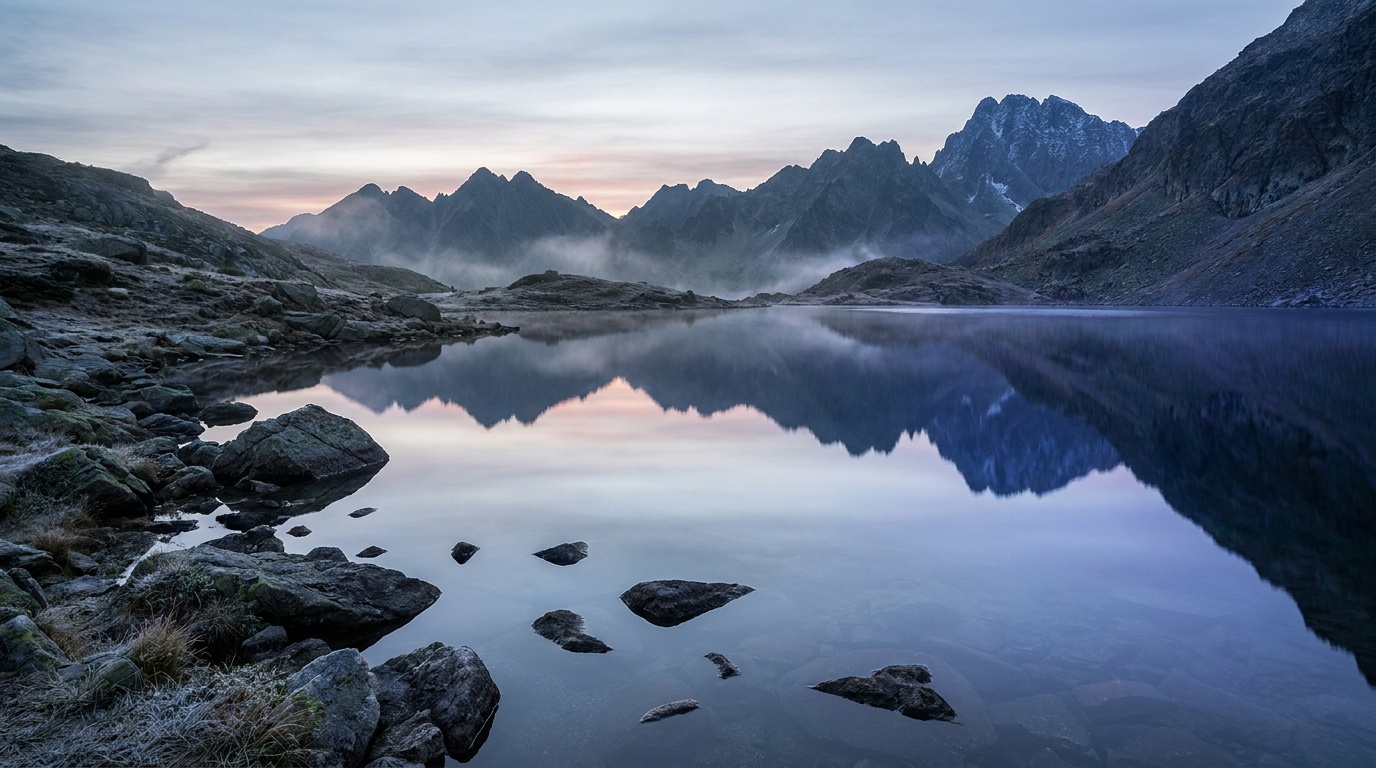
A reflection is a second image stacked under or beside your subject, and it follows the laws of angle: the smoother the surface and the lower your viewpoint, the cleaner the mirror. Still water, wet pavement after rain, glass, and polished floors all work. The catch is that a reflection is rarely as bright as the thing it reflects, and the surface often carries glare you do not want, so the craft is in managing brightness and reflections you can actually control with a filter.
The gear
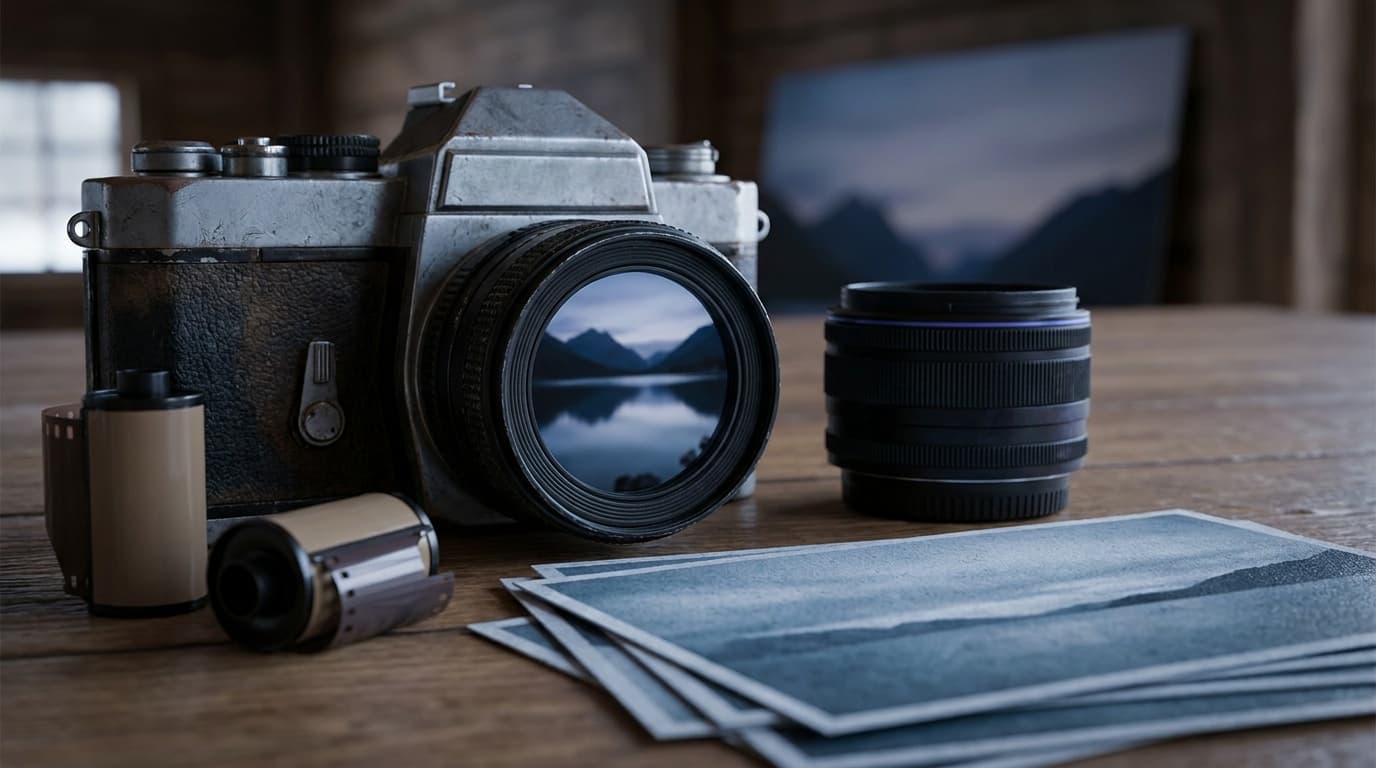
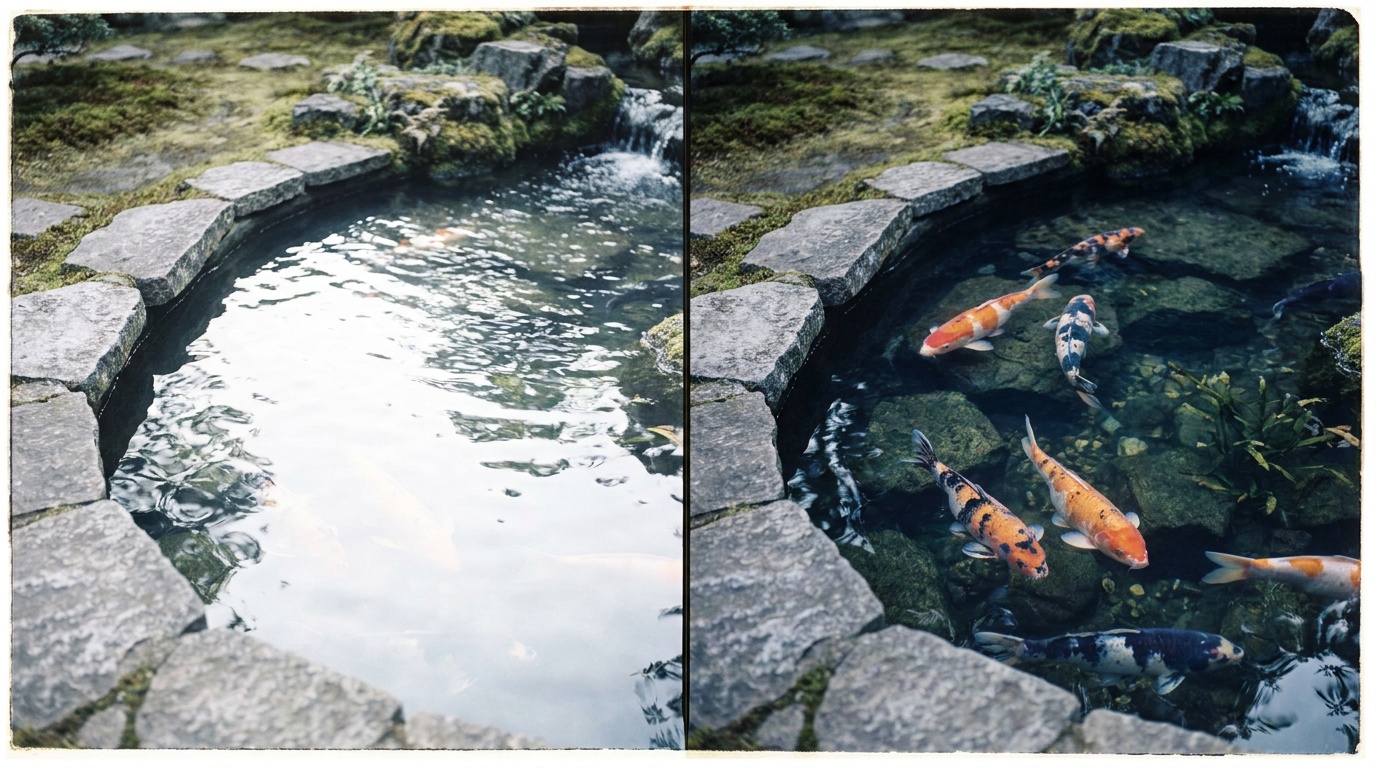
A polarizing filter is the one genuinely useful tool here, and it is double-edged: rotating it can kill unwanted glare on water and glass to reveal what is beneath, or, dialed the other way, preserve a strong surface reflection. You choose. A tripod helps because clean reflection shots often want a small aperture and the resulting slow shutter, and because precise framing of a symmetrical scene rewards a locked-down camera. The tripod roundup and the polarizer and ND filter guide cover both. No special lens is needed; wide lenses suit grand landscape reflections, longer lenses isolate details.
The settings
You want both the subject and its reflection sharp, which means real depth of field, which means a small aperture and a tripod.
For a true mirror symmetry shot on water, the slowest part is often waiting for the wind to drop, since a still surface needs a still moment. The brightness gap is usually about one stop, the reflection sitting a touch darker than the scene above it, which is easy to lift in editing as long as you did not let it clip to black in the first place.
The technique
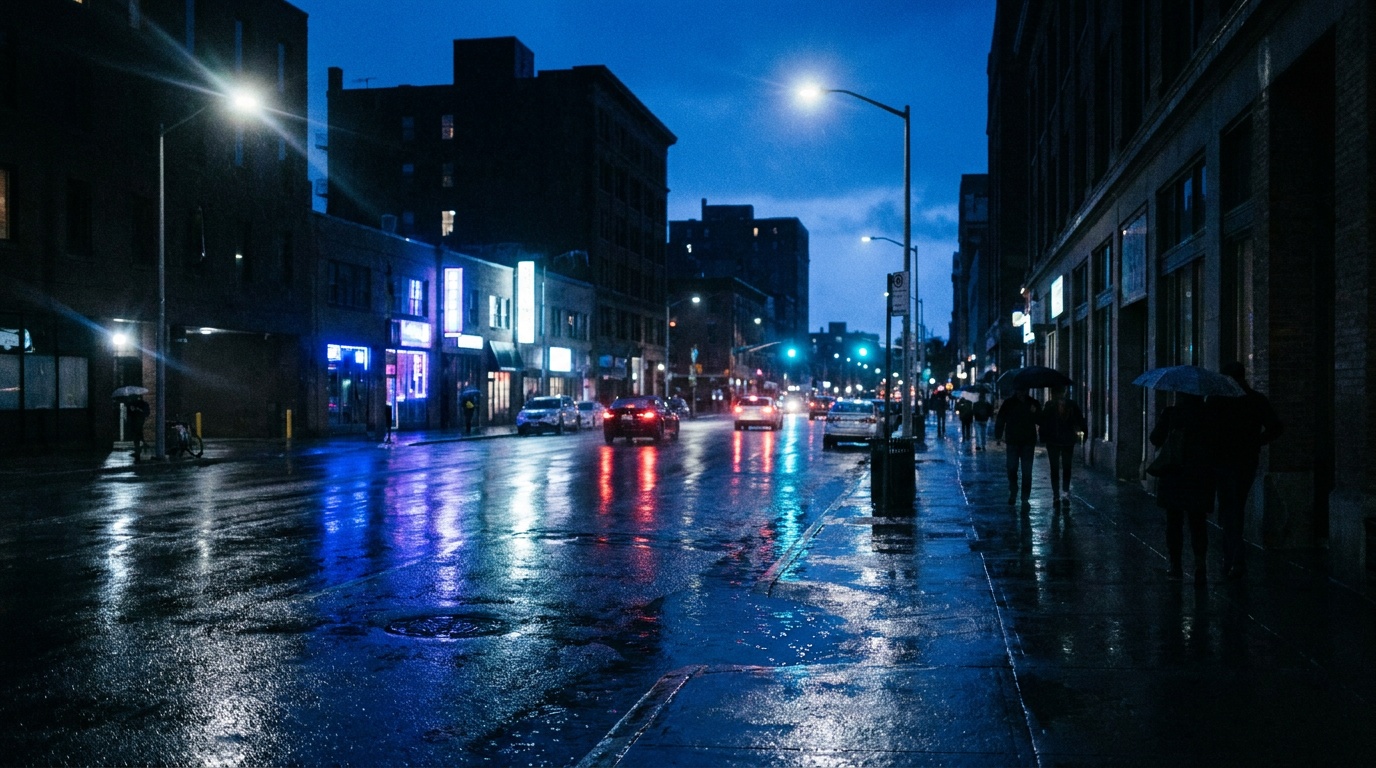
Get low. The closer your lens is to the reflective surface, the more complete and symmetrical the reflection becomes; many strong water reflections are shot from inches above the surface. Shoot straight on for symmetry, or off to one side for a more dynamic, partial reflection. To deal with glass and window reflections in street and travel work, change your angle until the unwanted reflection slides off the surface, or get close and shade the glass. For puddles and wet streets, rain and the blue hour just after sunset are prime conditions, because the sky still glows and the ground is wet.
Common mistakes
The first is shooting from standing height at water, which compresses the reflection to a thin strip; get low. The second is ignoring the brightness gap and ending up with a black, detail-free reflection; meter for both or lift it in post. The third is misusing the polarizer, dialing out the very reflection you wanted; rotate it deliberately and watch the surface. The fourth is a shallow aperture that throws either the subject or its reflection out of focus when they sit at different distances.
What settings work best for reflection photography?
A small aperture like f/11 keeps both the subject and its reflection sharp, paired with a low ISO and a tripod since the shutter slows down. Expose carefully for the brightness gap between the scene and its dimmer reflection.
Does a polarizing filter help or hurt reflections?
Both, depending on how you turn it. Rotated one way it removes surface glare to show what is under the water or behind the glass; rotated the other way it keeps the reflection strong. Decide which you want and adjust while watching the surface.
How do I get a perfect mirror reflection on water?
Find a still surface, get your lens as low and close to it as you can, and shoot straight on. Wait for the wind to drop so the water goes glassy. The lower the viewpoint, the more complete the mirror.
Where this fits
Reflections are a staple of landscape photography, from mountain lakes to wet city streets, and the surface tricks carry into travel photography. The exposure side is the same exposure triangle you use everywhere, applied to a scene that happens to contain two versions of itself.
Keep going
Next useful steps
Pick one. Each link continues the same job without starting the research over.
Related Learn guides

Content Credentials and C2PA Explained for Photographers
Content Credentials record a photo's signed provenance and edits. Learn what C2PA proves, what it cannot prove, and how capture-to-export workflows work.

Open Gate Video Explained: When 3:2 Is Worth It
Open Gate records a taller sensor area for flexible 16:9, 9:16, and square crops. See when it helps, what it costs, and how to frame it correctly.

Pre-Capture Photography Explained: Get the Frame Before the Click
Pre-Capture buffers photos before the shutter is fully pressed. Learn how it works, which settings change, and when RAW, flash, or focus may be limited.

RAW vs JPEG: Which File Format Should You Shoot?
RAW keeps all your sensor data for maximum editing freedom; JPEG is smaller and ready to share. Here is how they differ and when each one is the right call.
Researched, not personally tested: picks compare specifications, available owner feedback, and established expert sources. As an Amazon Associate I earn from qualifying purchases. We may earn a commission from links here, at no extra cost to you. How we research →