We may earn a commission from links on this page, at no extra cost to you. Picks are researched, not sponsored.
What this means in real life
In a dark room or a night scene, the sensor records only what is lit. Open the shutter for many seconds and the camera patiently collects every bit of light that reaches it across the whole exposure. If you wave a flashlight through the air, the camera records the glowing path it traced. If you sweep light across a subject, that subject appears lit while everything you left dark stays black. You are literally painting with light onto the frame over time. Because the exposure is long, your own moving body usually does not register, only the light you carry.
There are two distinct jobs the light can do. The first is drawing: pointing a light back toward the lens and moving it through the air to leave a visible glowing line, the trick behind orbs, words, and abstract trails. The second is illuminating: sweeping a beam across a subject or foreground to light it, the way you would brush detail into an otherwise black scene. Most finished light-painting frames combine both, and both run on the same long shutter.
What you need
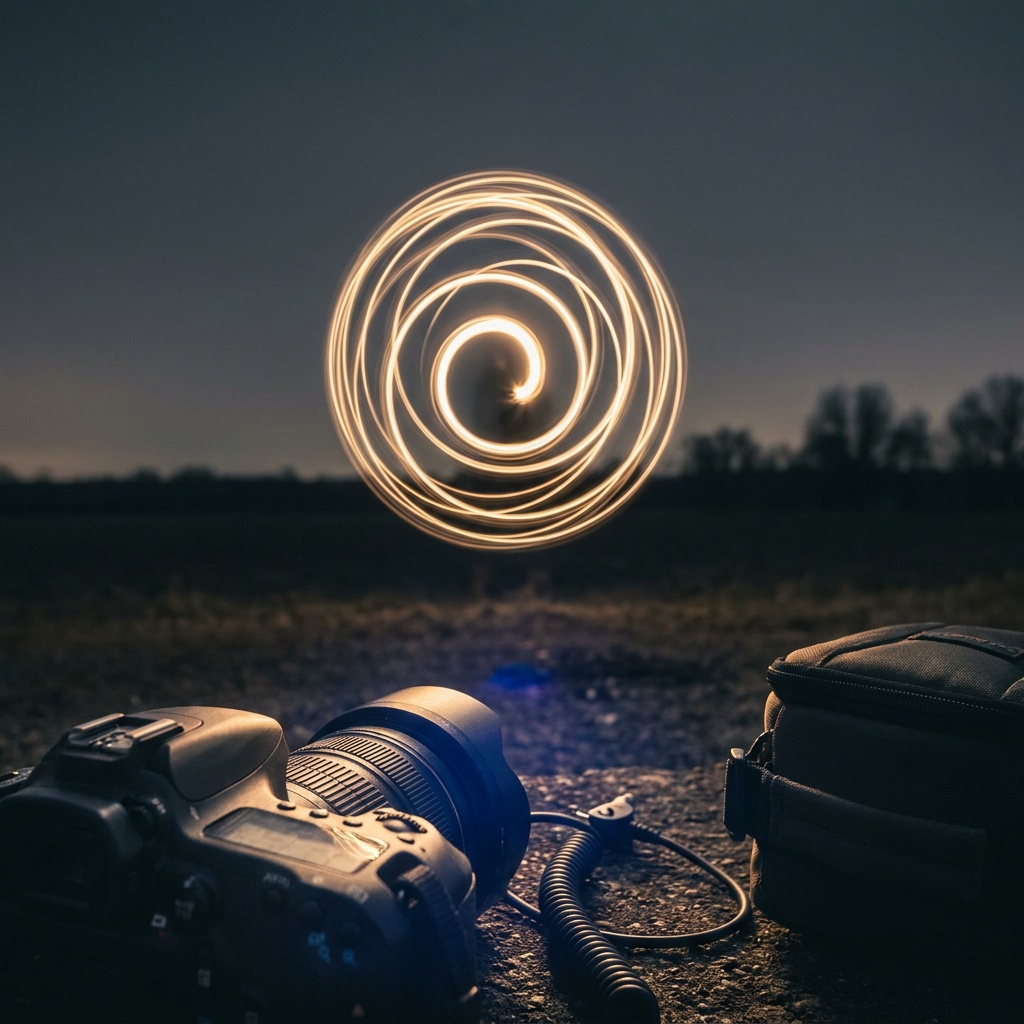
A tripod is essential, because the camera must hold perfectly still for the seconds the shutter is open while only your light moves. You need a dark environment: a night scene, a dim room, or twilight. And you need a light source, which can be almost anything: a flashlight, a phone screen, an LED wand, a sparkler, glow sticks, or colored gels over a torch. A remote release or self-timer starts the exposure without shaking the camera, and Bulb mode lets you run exposures past 30 seconds when you need more time to work.
The settings
Start dark, then adjust based on how bright your light is.
ISO stays low so the dark background stays clean and black rather than noisy. The aperture controls how bright your painted light records: a smaller aperture tames a strong flashlight. Shutter length is how long you have to work in the frame, which is the shutter speed control used as a creative timer. This all sits inside the exposure triangle, just applied to a scene where you supply the light yourself.
Match the source to the look. A plain flashlight is the most controllable starting tool and easy to dim by closing the aperture. Glow sticks and small LED wands draw clean colored lines and are forgiving of speed. Sparklers and steel wool throw bright sparks that need a faster wave and more caution, and they belong outdoors on bare ground away from anything dry. Colored gels taped over a torch let you change the trail color without changing anything in camera.
The technique
Run the shot in a repeatable sequence so you can refine it over several frames:
- Compose and focus in whatever light you have, then switch to manual focus so it holds in the dark.
- Set f/8, ISO 100, and a 20 to 30 second shutter, or Bulb mode for longer drawings.
- Trigger with a remote or the two-second timer so the press does not shake the rig.
- While the shutter is open, draw or sweep your light, keeping yourself moving and out of the beam.
- Review the frame, then adjust: too bright means a smaller aperture or a faster wave, too dim means the opposite.
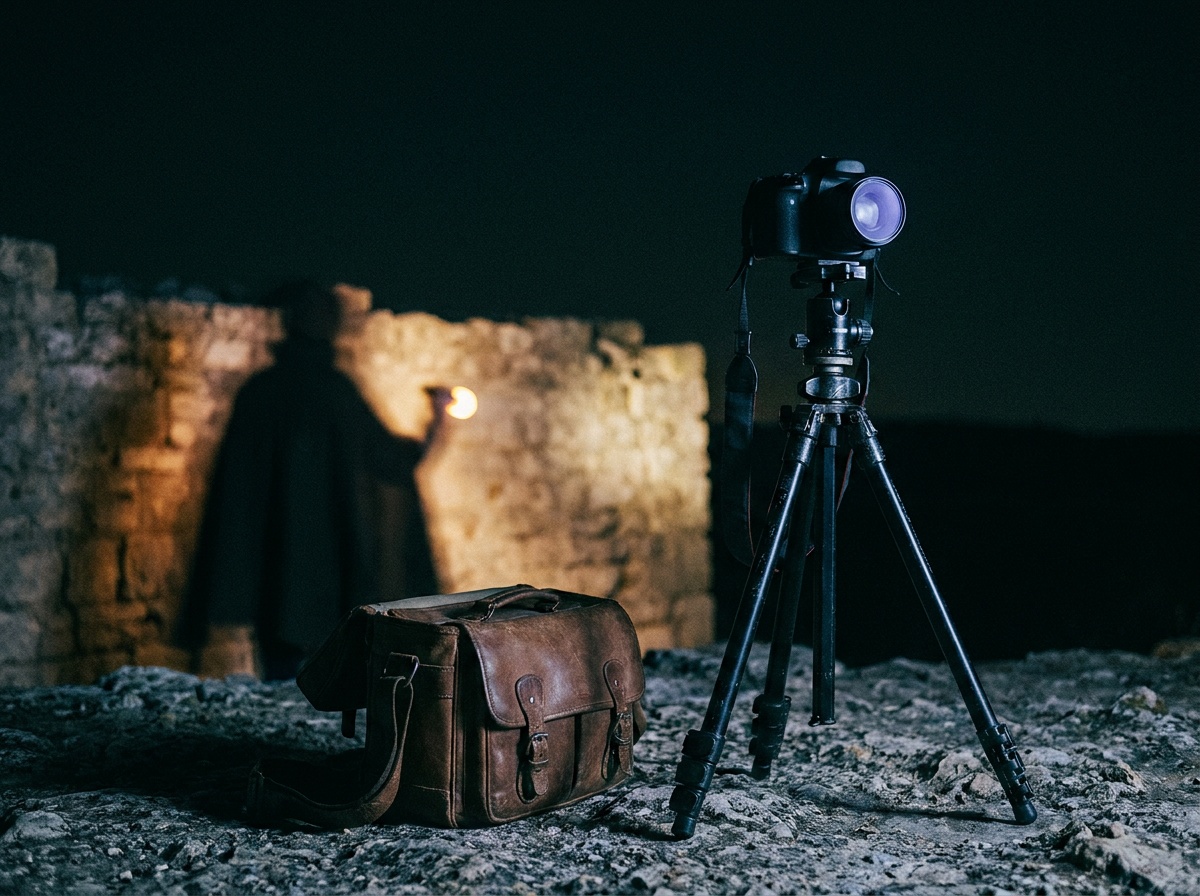
To draw shapes, point the light back at the camera and move it through the air. To light a subject or a foreground, sweep the beam across it from the side, keeping the light itself out of frame and yourself moving so you do not record. Dress dark and keep moving; a stationary lit person will ghost into the frame. The steady-base checklist in how to avoid camera shake keeps the still parts sharp. This pairs naturally with night photography and the foreground-lighting tricks used in astrophotography, where a quick brush of light brings out a dark foreground under the stars.
Common mistakes
Setting ISO too high fills the dark background with noise, so keep it at base. Pointing a too-bright light straight at the lens blows out the trail into a featureless white smear; move faster or close the aperture. Standing still in the frame while lit records you as a ghost. Forgetting to lock focus in the dark gives a soft frame, since autofocus cannot find anything to grab. And not committing to a fully dark scene means ambient light overexposes during the long shutter, washing the whole thing out.
What light source is best for light painting?
Almost anything works. A simple flashlight is the most controllable starting point. Sparklers and steel wool give bright sparks, glow sticks and LED wands give clean colored lines, and a phone screen makes a soft fill. Colored gels over a flashlight add color. Start with a flashlight, then experiment.
How do I keep myself from appearing in the photo?
Keep moving and wear dark clothing, so you never sit still long enough to register during the long exposure. Keep the light source pointed away from yourself, and only the light you carry, not your body, will record. If you must pause, step out of frame.
Do I need a remote shutter release?
It helps a lot. A remote lets you start the exposure without shaking the tripod and, in Bulb mode, hold the shutter open for as long as you need to finish your painting. The self-timer works as a substitute for fixed-length exposures up to 30 seconds.
Keep going
Next useful steps
Pick one. Each link continues the same job without starting the research over.
Related Learn guides

Content Credentials and C2PA Explained for Photographers
Content Credentials record a photo's signed provenance and edits. Learn what C2PA proves, what it cannot prove, and how capture-to-export workflows work.

Open Gate Video Explained: When 3:2 Is Worth It
Open Gate records a taller sensor area for flexible 16:9, 9:16, and square crops. See when it helps, what it costs, and how to frame it correctly.

Pre-Capture Photography Explained: Get the Frame Before the Click
Pre-Capture buffers photos before the shutter is fully pressed. Learn how it works, which settings change, and when RAW, flash, or focus may be limited.

RAW vs JPEG: Which File Format Should You Shoot?
RAW keeps all your sensor data for maximum editing freedom; JPEG is smaller and ready to share. Here is how they differ and when each one is the right call.
Researched, not personally tested: picks compare specifications, available owner feedback, and established expert sources. As an Amazon Associate I earn from qualifying purchases. We may earn a commission from links here, at no extra cost to you. How we research →