We may earn a commission from links on this page, at no extra cost to you. Picks are researched, not sponsored.
What this means in real life
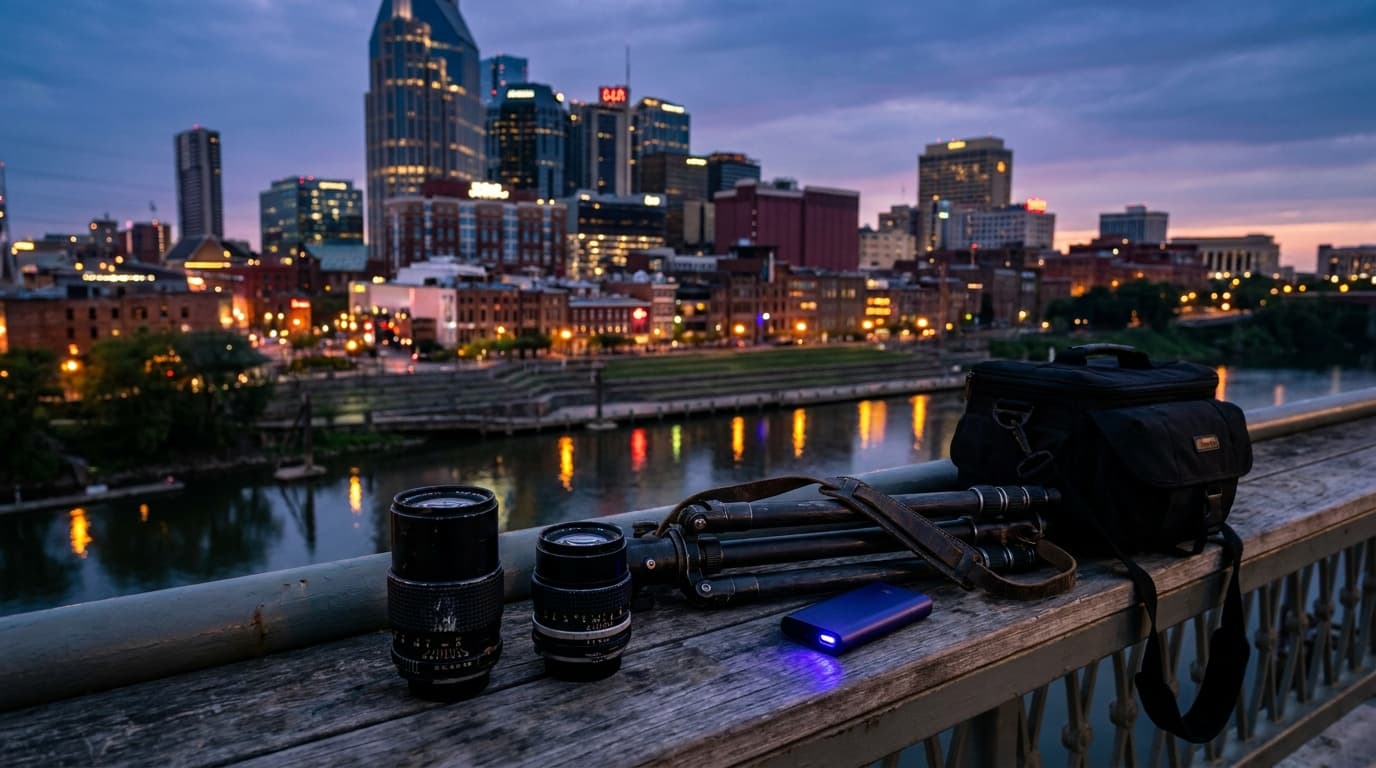
Blue hour is the window of twilight after the sun has set but before the sky goes fully dark. The light is soft, shadowless, and a deep saturated blue, with no harsh sun anywhere. For cityscapes and architecture it is the prime time, because the streetlights, windows, and signs are switching on while the sky still holds color and detail. Wait until full dark and the sky goes black and empty, while the lights blow out. Shoot too early, before the sun is well down, and the sky is still pale and the lights have not won yet. The sweet spot is brief, often only 20 to 40 minutes, which is why it rewards planning and a fast setup.
Timing the window
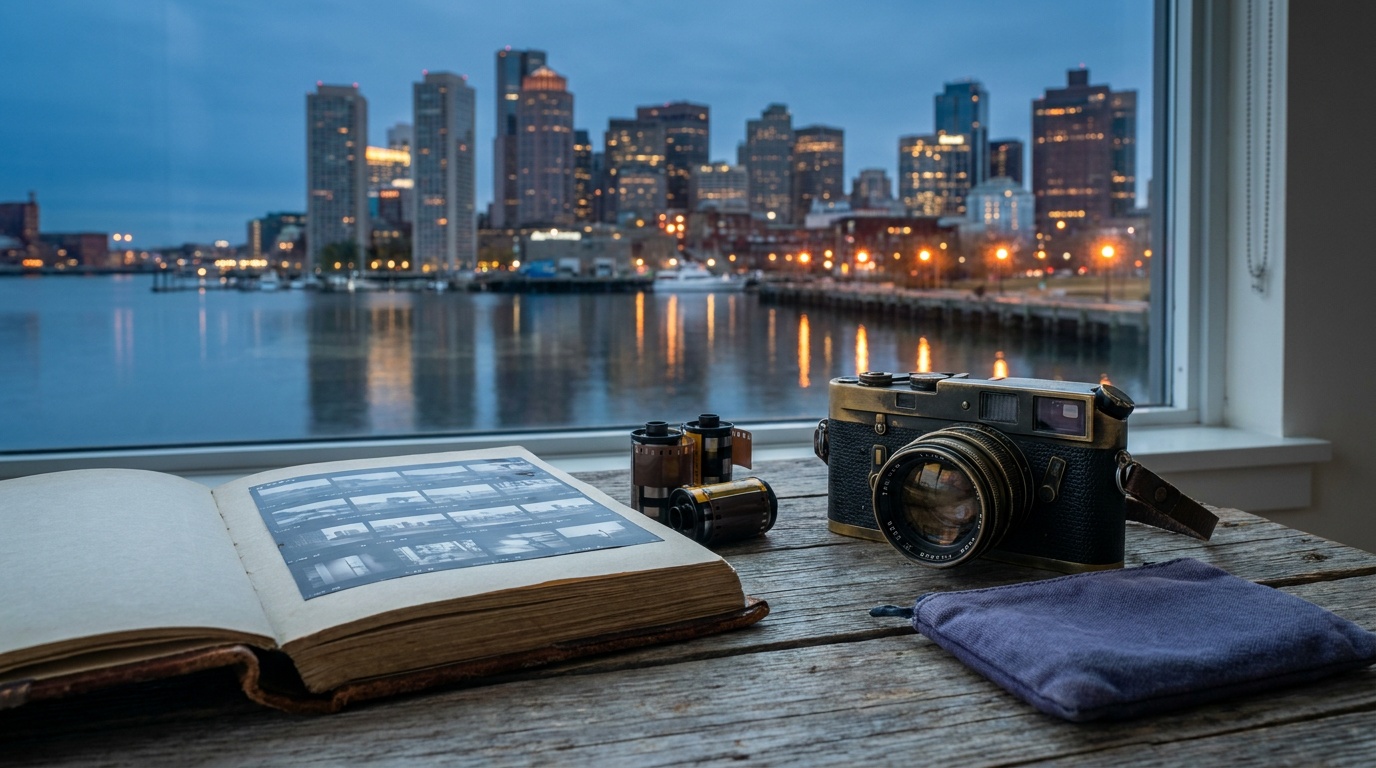
Blue hour follows golden hour. As a rough sequence after sunset: the warm golden hour light fades, the sun dips below the horizon, and then the sky deepens through pale blue into rich cobalt over the next half hour before fading to black. In technical terms the richest blue lands during civil twilight, while the sun sits between the horizon and about six degrees below it. The exact length depends on your latitude and season, longer near the poles, shorter near the equator, so check a sun or blue-hour app for your location and date. The mirror-image window happens before sunrise, with the colors running in reverse from black through cobalt to gold. Arrive early, set up during golden hour, and be locked in and composed before the blue arrives, because you will not have time to scout once it starts.
The settings
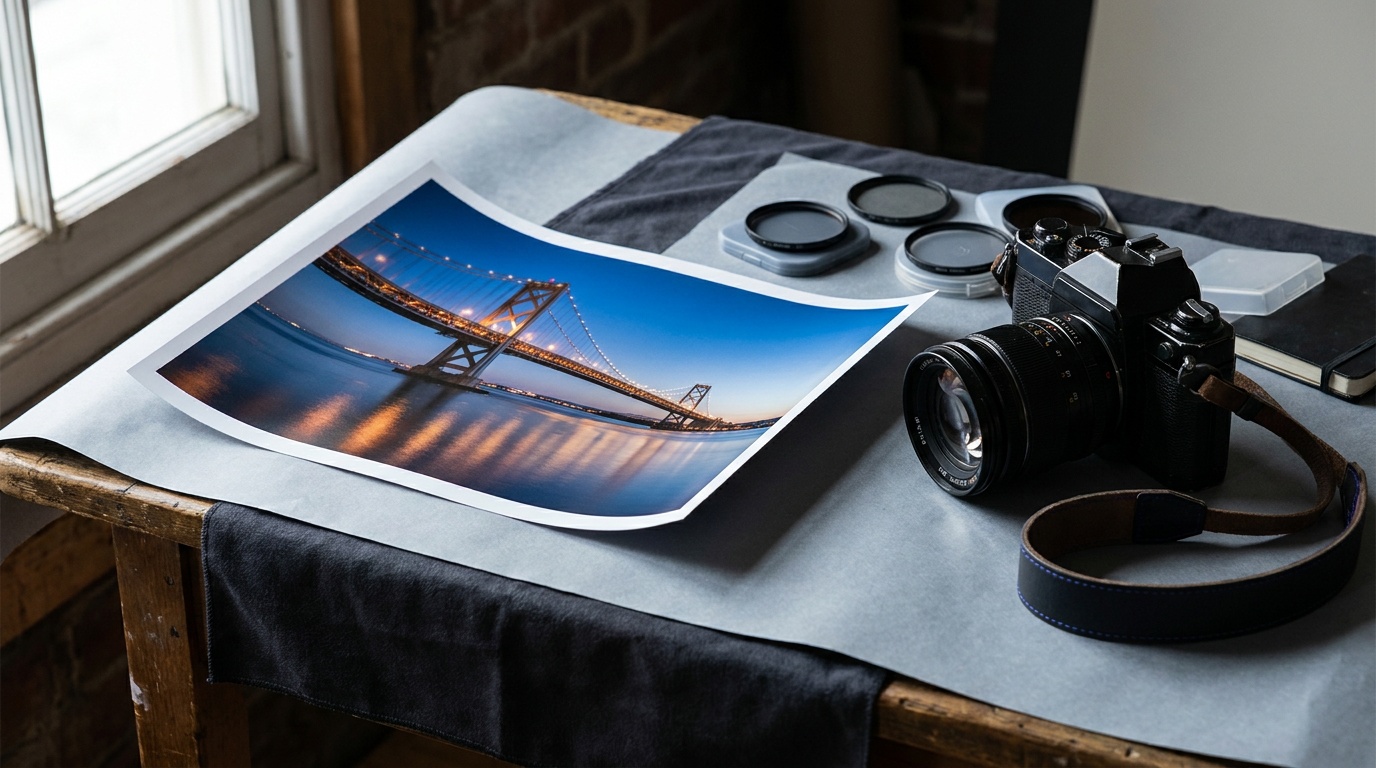
Get on the tripod and let the shutter do the work as the light drops.
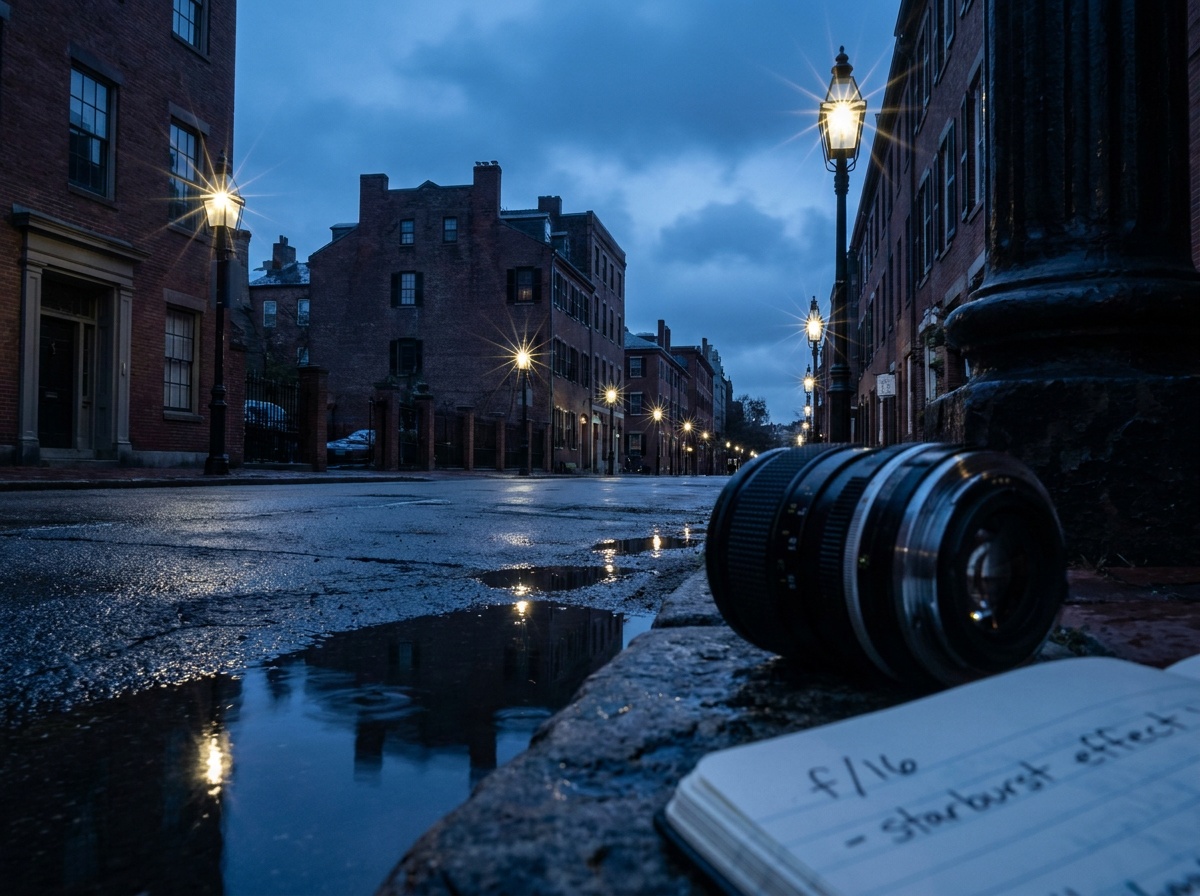
The mid aperture keeps the scene sharp and turns point lights into pleasing starbursts. ISO stays at base for a clean file, and the shutter speed carries the exposure as the light falls, which is the exposure triangle applied to a scene that gets darker every minute. Because the shutter is slow, a tripod and a remote or self-timer are essential, and the steady-base checklist in how to avoid camera shake applies.
The technique
Work the window in a simple rhythm:
- Scout and compose during golden hour while you can still see, then lock the tripod.
- Focus on a bright edge, then switch to manual focus so it holds as the light fades.
- Start at f/8, ISO 100, and whatever shutter the meter gives, shooting raw.
- Re-check exposure every minute or two and lengthen the shutter as the sky darkens.
- Keep shooting through the whole window so you can pick the best sky-to-lights balance later.
What was correct five minutes ago is now underexposed, so the re-check matters more here than almost anywhere else. This is prime time for cityscape and architecture photography, and it leads naturally into night photography once the blue fades to black.
Common mistakes
Arriving too late and missing the window is the most common loss, since blue hour is short and does not wait; arrive early and set up during golden hour. Waiting for full dark gives an empty black sky and blown-out lights instead of the balanced blue. Leaving ISO high adds noise to the smooth twilight sky, so keep it at base and let the shutter handle the exposure. Auto white balance often warms the scene and kills the blue, so shoot raw or set a cool white balance. And not re-checking exposure as the light drops leaves you with underexposed frames a few minutes in.
When exactly is blue hour?
It is the roughly 20 to 40 minutes after sunset, and again before sunrise, when the sun is below the horizon but the sky is still lit a deep blue. The exact length depends on your latitude and the season. A sun or blue-hour app will give the precise window for your location and date.
What settings work for blue hour?
Start at f/8 · 2 to 8s · ISO 100 on a tripod, shooting raw. The shutter speed lengthens as the sky darkens, so re-check your exposure every minute or two. Keep ISO at base for a clean sky and use a cool white balance, or set it later in raw, to preserve the blue.
Do I need a tripod for blue hour?
Yes, in practice. The exposures run from a couple of seconds to ten or more as the light fades, which is far too slow to hand-hold sharply. A tripod plus a remote or self-timer keeps the scene crisp while the slow shutter gathers the twilight light.
Practice this
Turn the guide into a working setup
Shoot kits
Buy around the job, not the spec sheet
Travel landscape
Travel landscape kit
$4,465
A light full-frame body, wide zoom, serious travel tripod, filters, and a bag that can handle rough days outside.
Light but not flimsy
Buy order: start with the first piece that makes the job possible, then add the support pieces that remove friction.
Camera: start here. If this piece does not make the shoot easier, the rest of the kit can wait.
Carry: add it after the core setup proves useful.
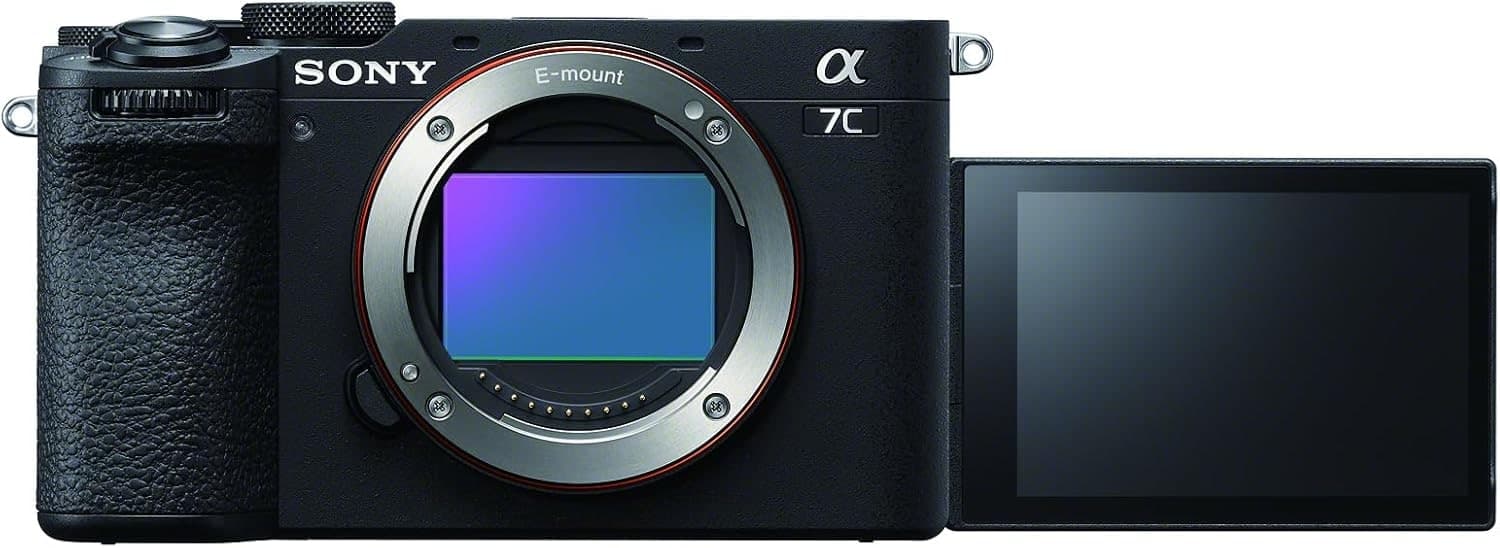
Sony a7C II
Full-frame files in a smaller body, with autofocus and stabilization that travel well.
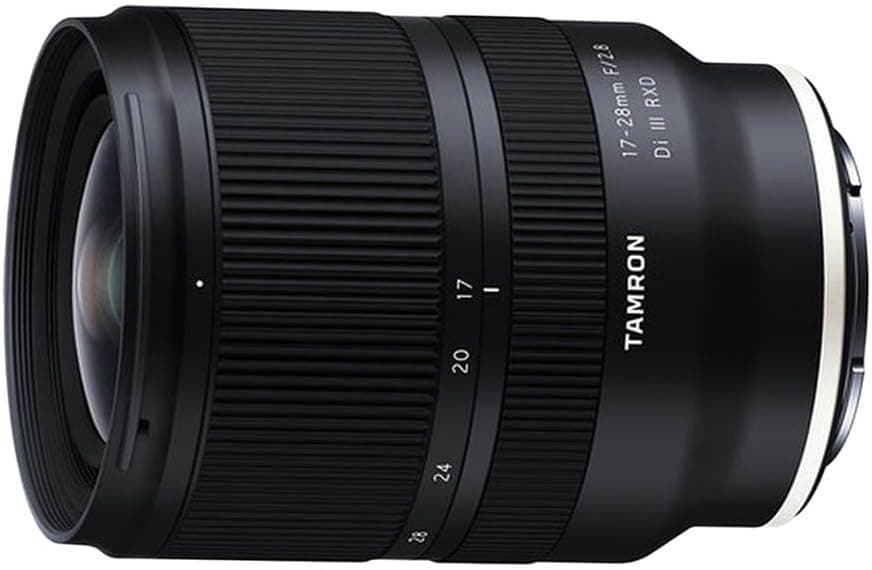
Tamron 17-28mm f/2.8 Di III RXD
Wide enough for landscapes and interiors without the size of a premium 16-35mm.
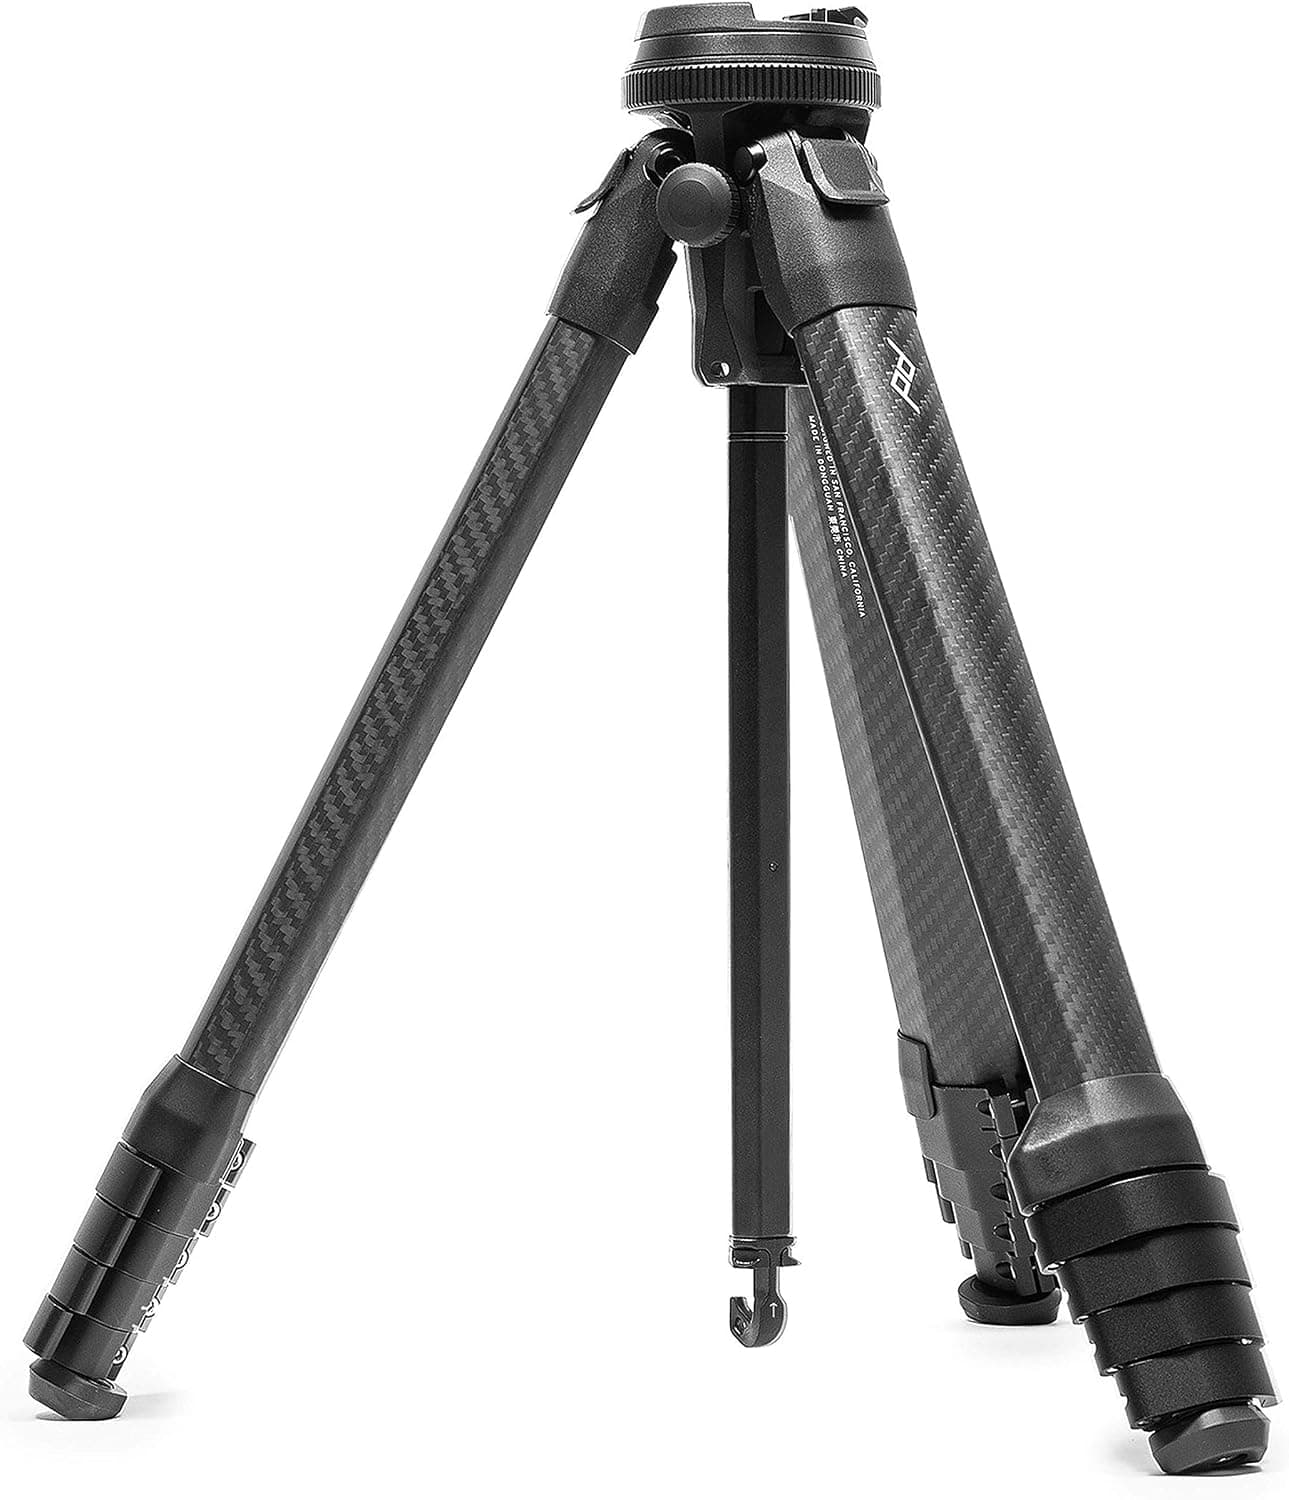
Peak Design Travel Tripod (Carbon)
The point of a travel tripod is bringing it. This one packs small and stays serious.
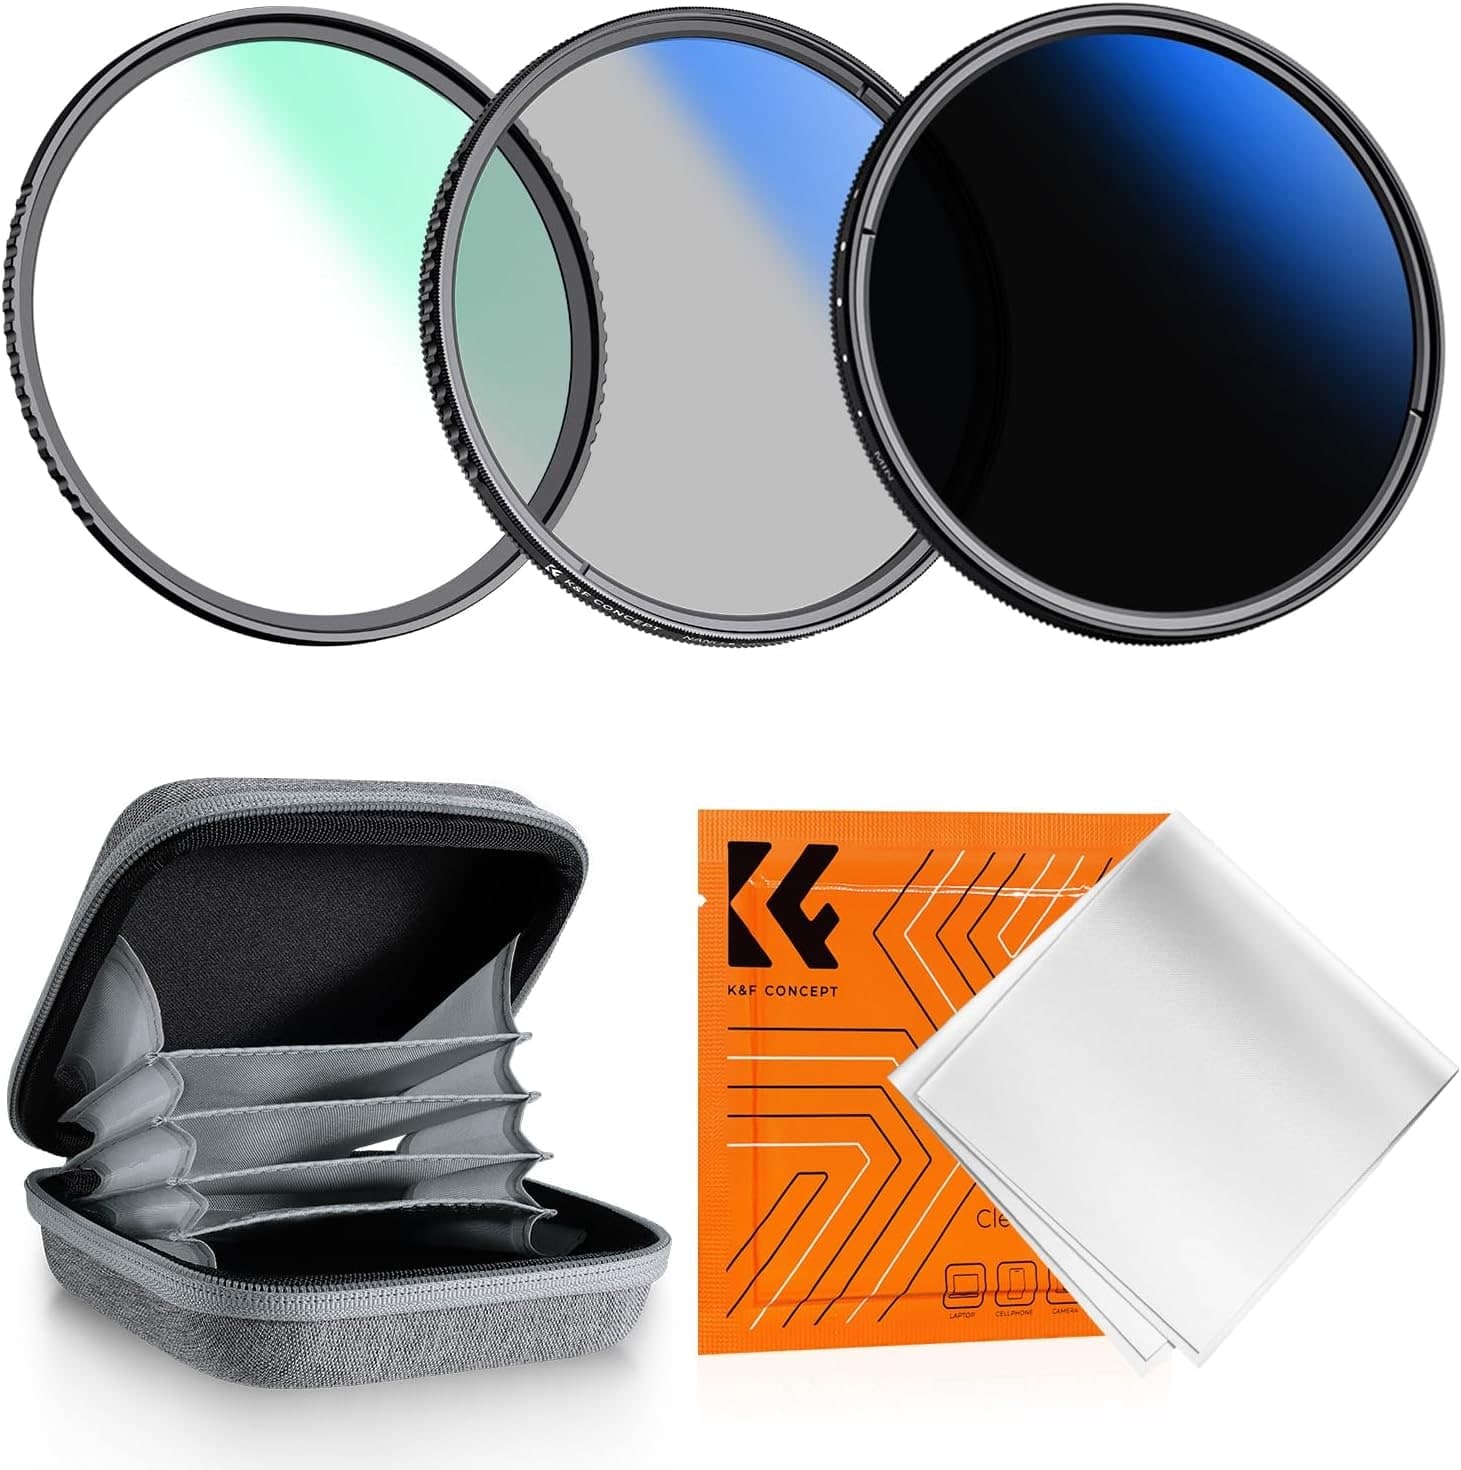
K&F Concept 77mm UV/CPL/ND2-400 Filter Kit
CPL and ND coverage for water, skies, reflections, and slower shutters.
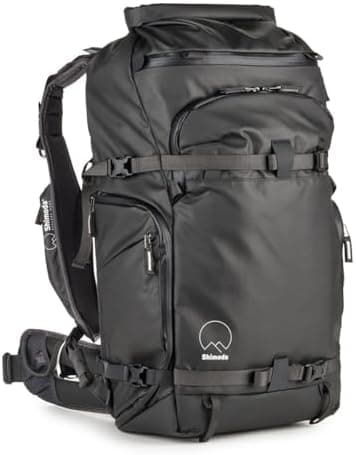
Shimoda Action X30 V2
A real harness matters once camera gear and outdoor layers share the same bag.
Prices are rough catalog totals. Retailer prices change, and you can swap pieces to fit your system.
Related Learn guides

Content Credentials and C2PA Explained for Photographers
Content Credentials record a photo's signed provenance and edits. Learn what C2PA proves, what it cannot prove, and how capture-to-export workflows work.

Open Gate Video Explained: When 3:2 Is Worth It
Open Gate records a taller sensor area for flexible 16:9, 9:16, and square crops. See when it helps, what it costs, and how to frame it correctly.

Pre-Capture Photography Explained: Get the Frame Before the Click
Pre-Capture buffers photos before the shutter is fully pressed. Learn how it works, which settings change, and when RAW, flash, or focus may be limited.

RAW vs JPEG: Which File Format Should You Shoot?
RAW keeps all your sensor data for maximum editing freedom; JPEG is smaller and ready to share. Here is how they differ and when each one is the right call.
Researched, not personally tested: picks compare specifications, available owner feedback, and established expert sources. As an Amazon Associate I earn from qualifying purchases. We may earn a commission from links here, at no extra cost to you. How we research →