We may earn a commission from links on this page, at no extra cost to you. Picks are researched, not sponsored.
What this means in real life
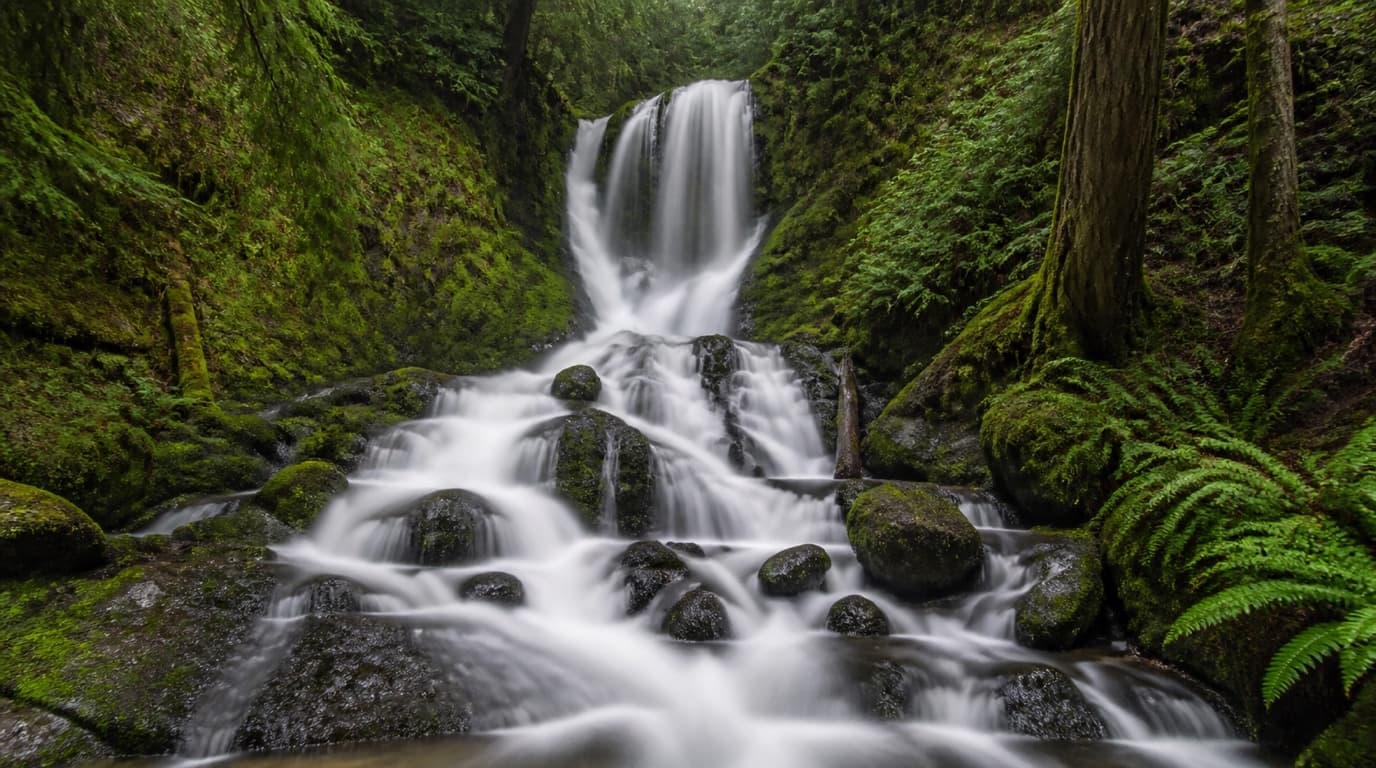
The difference between a snapshot of a waterfall and a striking one is almost entirely the shutter speed. A fast shutter freezes the droplets and the water looks busy and frozen. A slow shutter lets the water move during the exposure, so it blurs into a smooth, flowing ribbon. The catch is that daylight is far too bright for a multi-second exposure, even at base ISO and a small aperture. Open the shutter that long in daylight and the frame is pure white. The tool that solves this is a neutral density filter, which is essentially sunglasses for the lens: it cuts the light so you can use a slow shutter in the middle of the day.
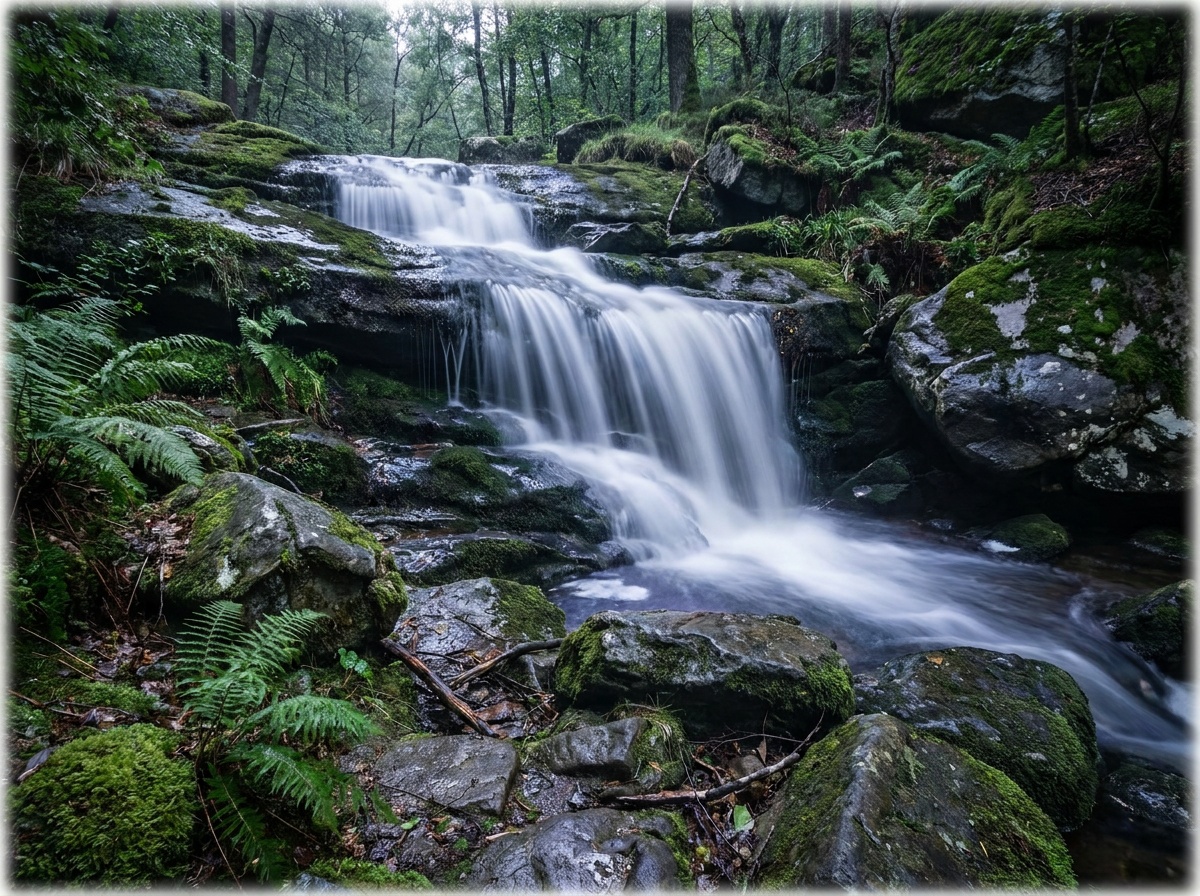
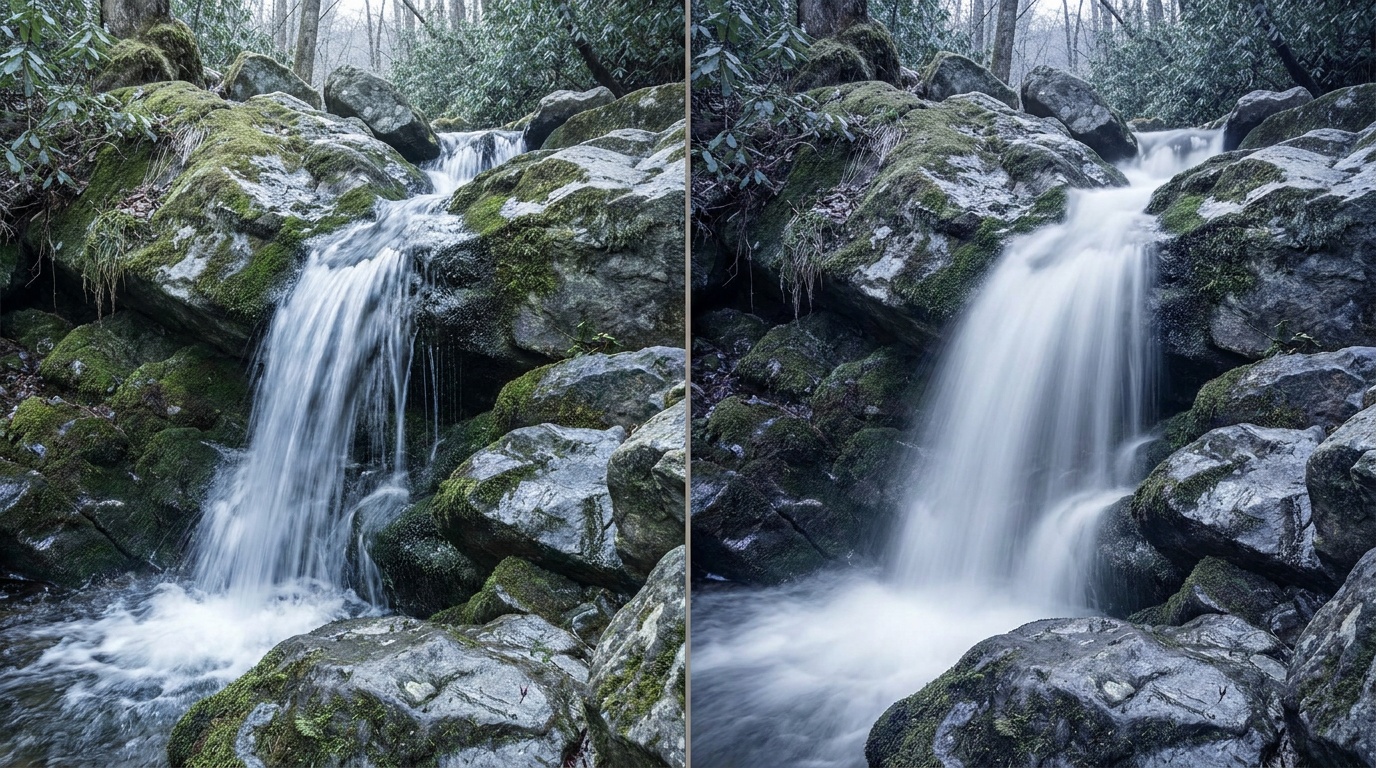
How much smoothing you get is a direct function of the seconds. A 6-stop ND filter is the workhorse here because in typical daylight it drops a normal exposure down into the quarter-second to two-second range, which is exactly the band where water turns silky without going to formless mist.
The gear
A tripod is mandatory, because the whole point is a shutter too slow to hand-hold while everything except the water stays sharp. An ND filter is what makes a daylight long exposure possible at all; a 6-stop is a flexible starting point for moving water. A remote release or self-timer keeps your hand off the camera during the exposure. A wide-to-normal zoom and a polarizer round it out, the polarizer being useful to cut glare off wet rocks and saturate the greens of a forest scene.
The settings
Set up on the tripod, then dial in for the look you want.
The small aperture does two jobs: it keeps the whole scene in focus and helps drag the shutter slower. Avoid going past f/16 if you can, because diffraction starts to soften fine detail at the smallest apertures; if the shutter is still too fast at f/16, add a stronger ND rather than closing down to f/22. ISO stays at base for a clean file and to avoid speeding the shutter up. Shutter length is the creative dial, so bracket it: shoot the same composition at several speeds and pick the one that reads best. This is the shutter speed control taken to its useful extreme, all sitting inside the exposure triangle.
Technique
Compose and focus before you attach a dark ND filter, since a strong one can make the scene too dim for autofocus to lock. Focus, switch to manual focus to hold it, then add the filter and shoot. Turn off image stabilization on the tripod. Trigger with a remote or the two-second timer so the press does not blur the frame, and the deeper checklist in how to avoid camera shake applies here too. Watch the white water on your histogram; it clips to pure white easily, and once a highlight is gone it cannot be recovered. Slightly underexposing protects it.
Composition
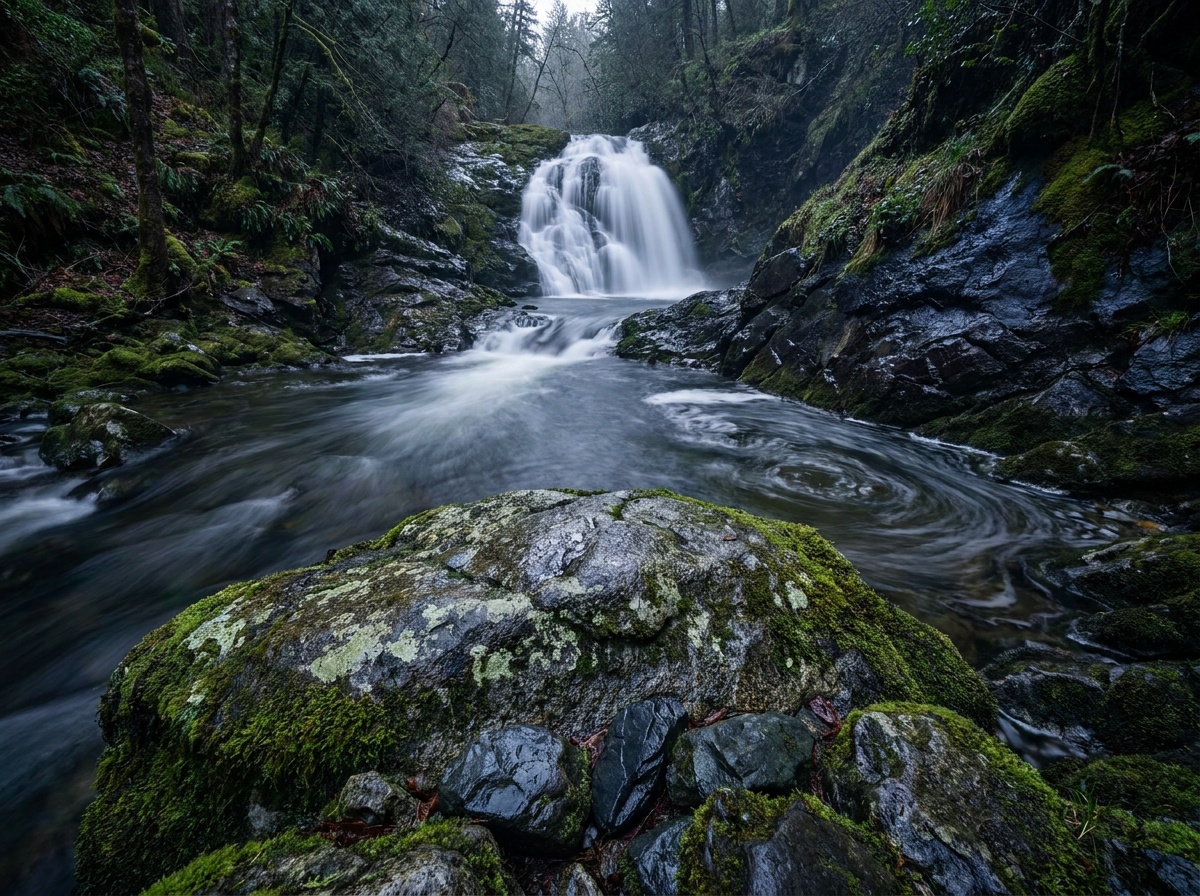
Use the flowing water as a leading line that draws the eye into the frame, and look for a clear foreground rock, a pool, or a curve in the stream to anchor the bottom of the shot. Soft, even light is your friend, so overcast days and shaded canyons are ideal; harsh sun creates blown highlights on the water and deep shadows on the rocks that fight each other. A polarizer earns its place here too, killing the white glare off wet rock and leaves so the greens go saturated and the stones show their color. These are the same instincts that drive landscape photography generally: foreground, depth, and patient light.
Common mistakes
Shooting without an ND filter in daylight and getting a white frame is the classic. Leaving the ISO high speeds the shutter up and kills the effect, so keep it at base. Forgetting to refocus or hold focus after mounting the filter produces a soft frame. And blowing out the white water by overexposing is the silent killer, since the brightest spray clips before you notice on the rear screen. Check the histogram, not the preview.
Why do I need an ND filter for waterfalls?
Daylight is too bright for the multi-second shutter that smooths water, even at base ISO and a small aperture. A neutral density filter cuts the incoming light so you can use a slow shutter in daylight without overexposing the frame.
What shutter speed makes water look silky?
It depends on the flow. Around 1/4 to 1/2 second keeps some texture, while 1 to 2 seconds or longer turns the water fully smooth. Bracket several speeds of the same composition and choose the look you prefer.
Can I photograph waterfalls without a tripod?
Not for the silky look. Those exposures are far too slow to hand-hold sharply. A tripod keeps the rocks and surroundings crisp while only the water blurs, which is the whole point.
Practice this
Turn the guide into a working setup
Keep going
Next useful steps
Pick one. Each link continues the same job without starting the research over.
Shoot kits
Buy around the job, not the spec sheet
Travel landscape
Travel landscape kit
$4,465
A light full-frame body, wide zoom, serious travel tripod, filters, and a bag that can handle rough days outside.
Light but not flimsy
Buy order: start with the first piece that makes the job possible, then add the support pieces that remove friction.
Camera: start here. If this piece does not make the shoot easier, the rest of the kit can wait.
Carry: add it after the core setup proves useful.
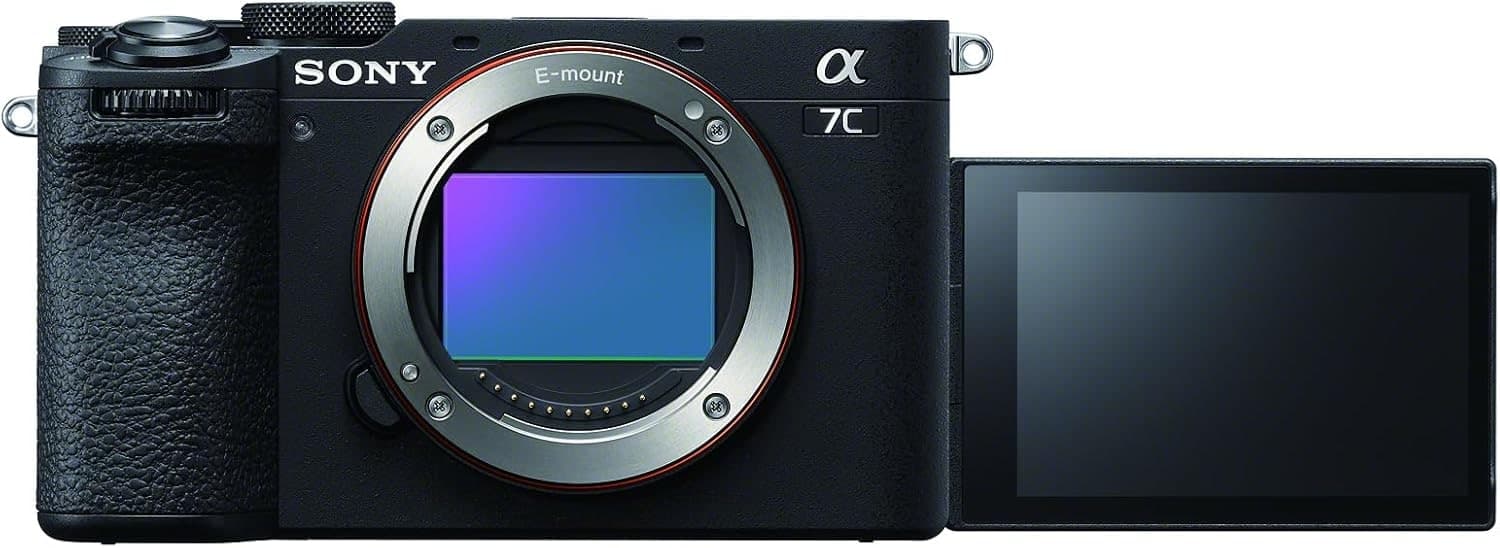
Sony a7C II
Full-frame files in a smaller body, with autofocus and stabilization that travel well.
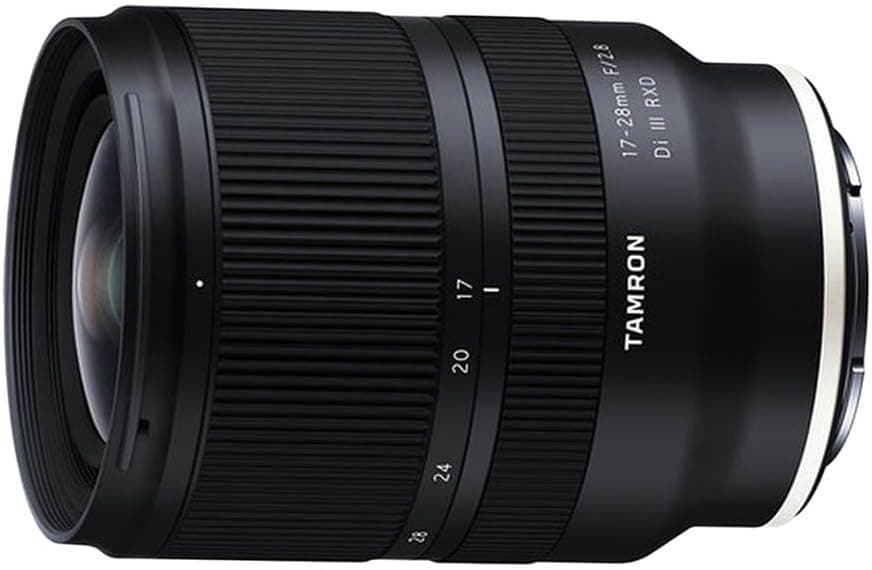
Tamron 17-28mm f/2.8 Di III RXD
Wide enough for landscapes and interiors without the size of a premium 16-35mm.
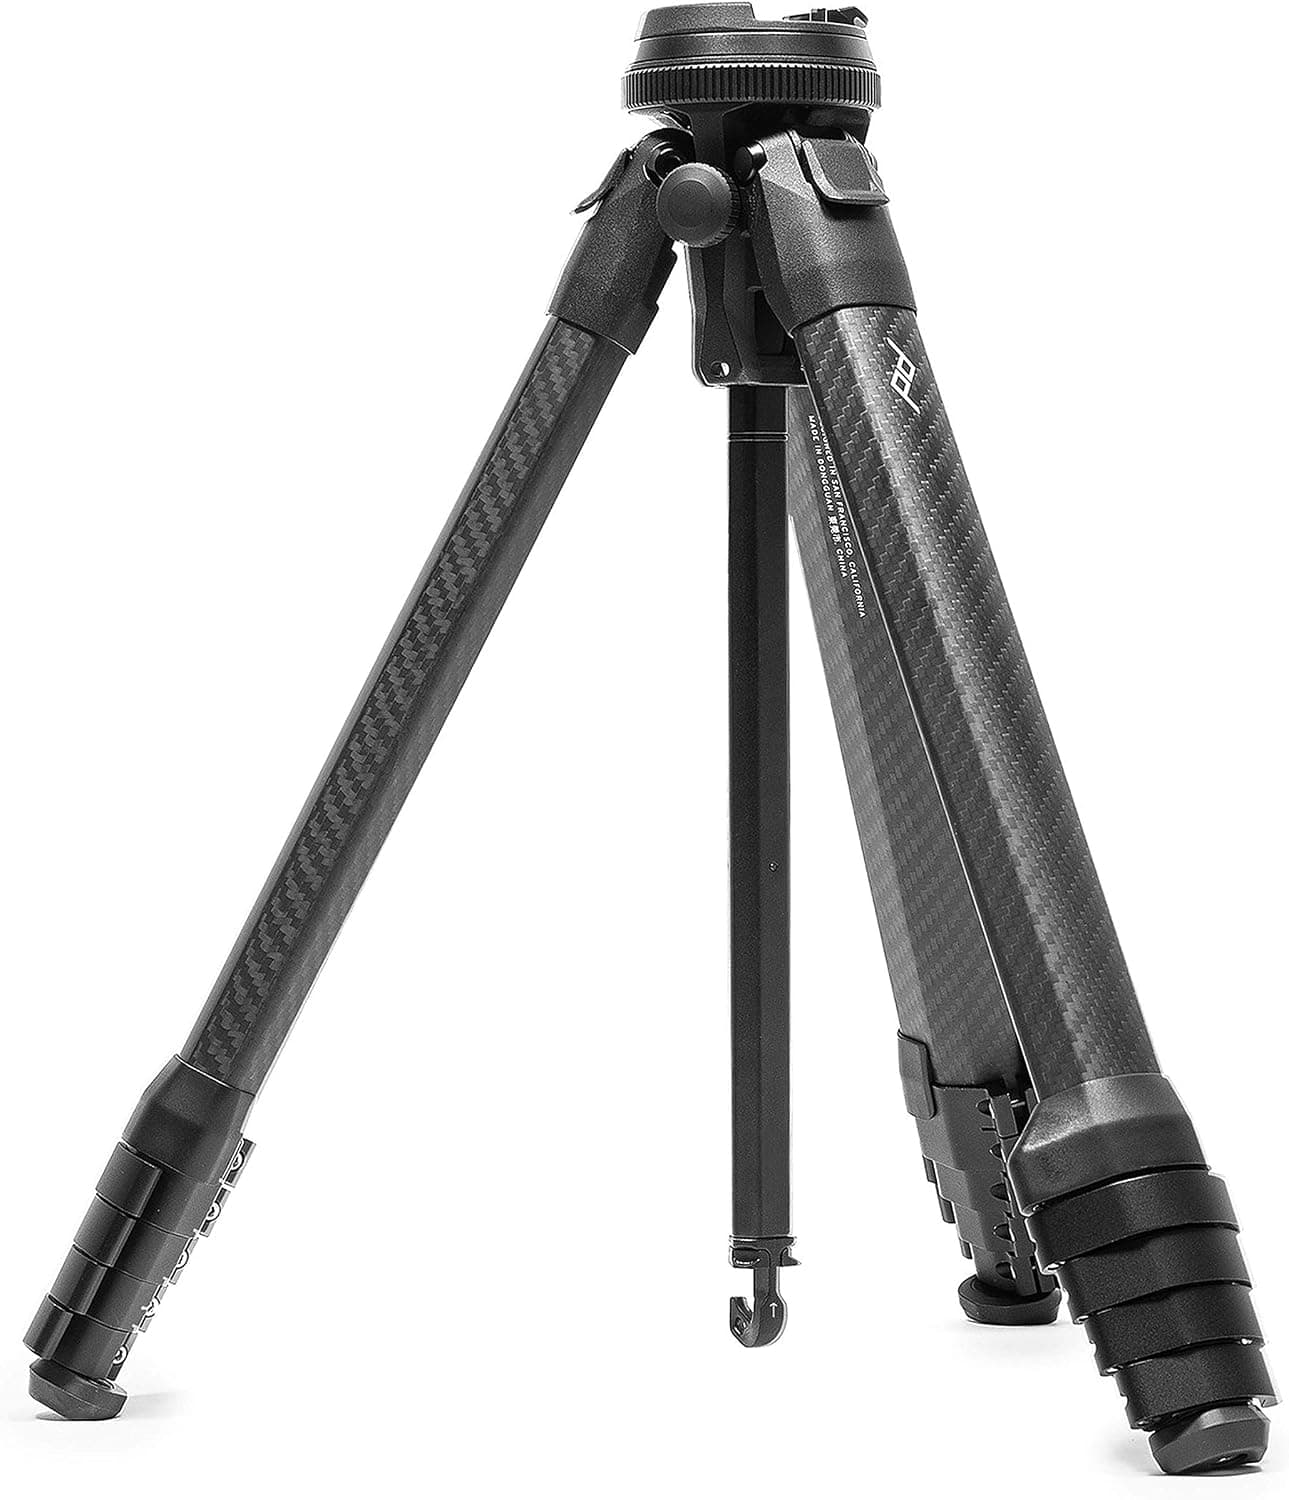
Peak Design Travel Tripod (Carbon)
The point of a travel tripod is bringing it. This one packs small and stays serious.
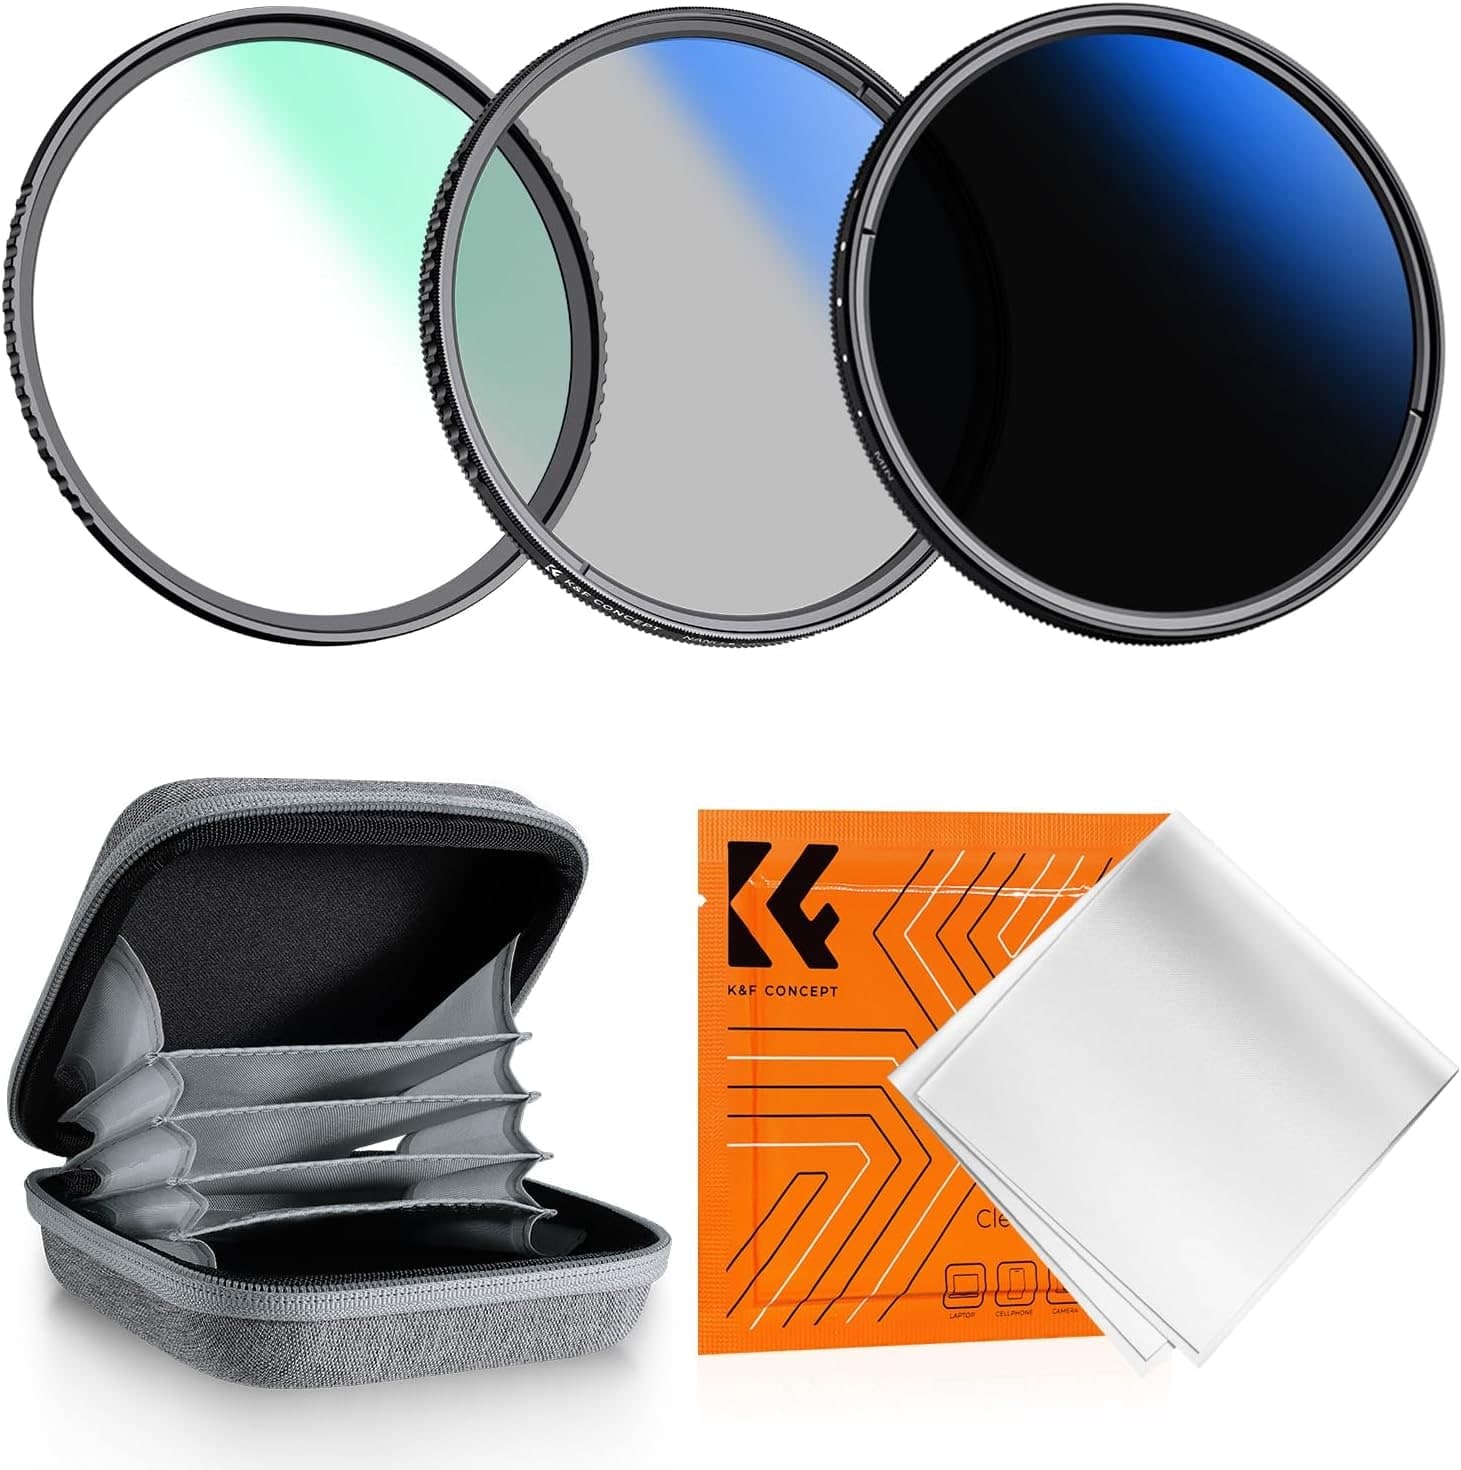
K&F Concept 77mm UV/CPL/ND2-400 Filter Kit
CPL and ND coverage for water, skies, reflections, and slower shutters.
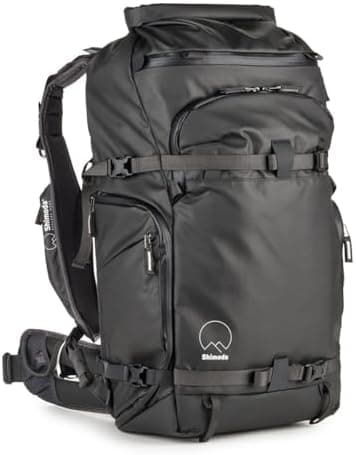
Shimoda Action X30 V2
A real harness matters once camera gear and outdoor layers share the same bag.
Prices are rough catalog totals. Retailer prices change, and you can swap pieces to fit your system.
Related Learn guides

Content Credentials and C2PA Explained for Photographers
Content Credentials record a photo's signed provenance and edits. Learn what C2PA proves, what it cannot prove, and how capture-to-export workflows work.

Open Gate Video Explained: When 3:2 Is Worth It
Open Gate records a taller sensor area for flexible 16:9, 9:16, and square crops. See when it helps, what it costs, and how to frame it correctly.

Pre-Capture Photography Explained: Get the Frame Before the Click
Pre-Capture buffers photos before the shutter is fully pressed. Learn how it works, which settings change, and when RAW, flash, or focus may be limited.

RAW vs JPEG: Which File Format Should You Shoot?
RAW keeps all your sensor data for maximum editing freedom; JPEG is smaller and ready to share. Here is how they differ and when each one is the right call.
Researched, not personally tested: picks compare specifications, available owner feedback, and established expert sources. As an Amazon Associate I earn from qualifying purchases. We may earn a commission from links here, at no extra cost to you. How we research →