We may earn a commission from links on this page, at no extra cost to you. Picks are researched, not sponsored.
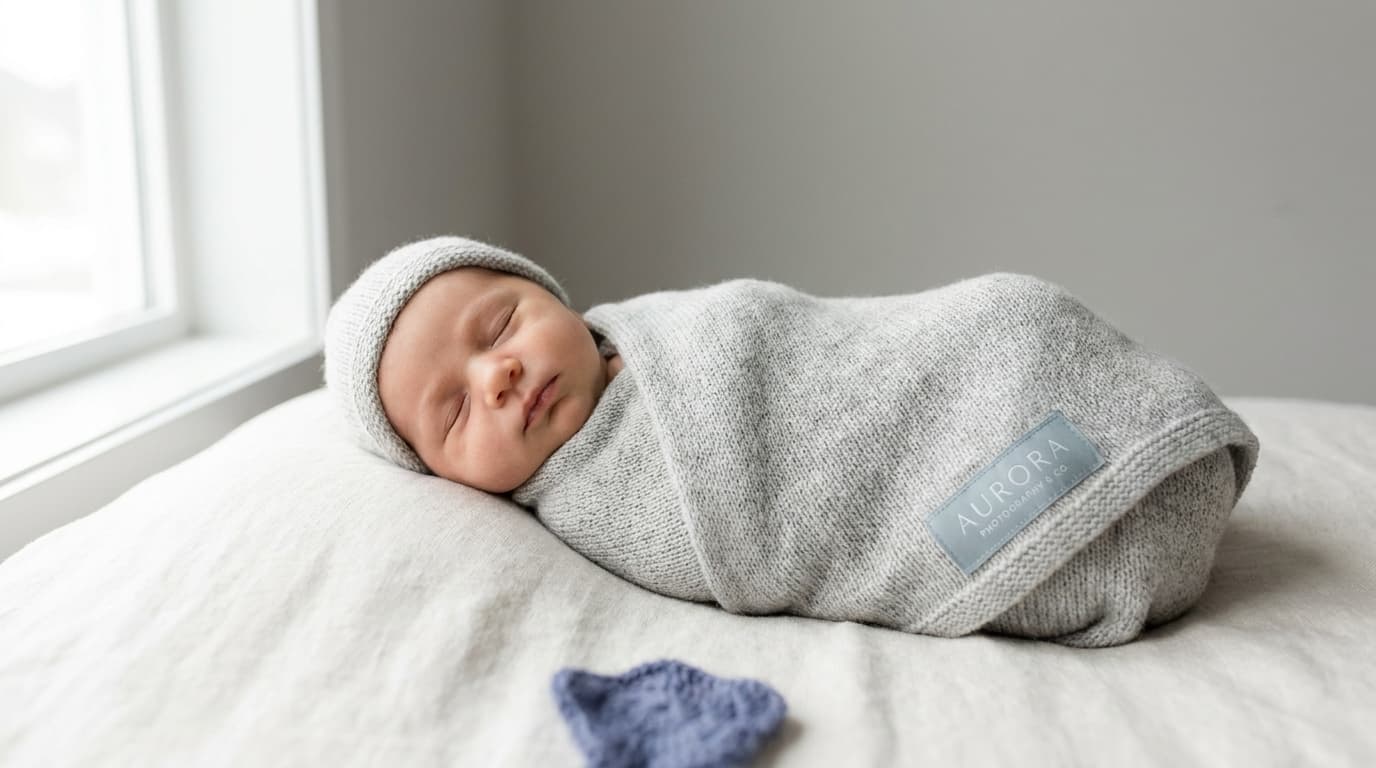
Newborn photography looks calm and unforced in the final image, and that is exactly the point. But the calm is engineered, and most of the engineering is about keeping a days-old baby safe and comfortable. Before any setting or pose, internalize this: the photographs you admire that show a baby balanced in a basket or resting on hands are almost always composites, with a parent or assistant supporting the baby in the real frames. Never attempt those poses for real.
Safety comes before every photo
This is the part that matters more than any setting in this guide. Read it twice.
- A newborn is never propped, balanced, or suspended unsupported. Poses that appear to balance a baby are created by supporting the baby in each shot and combining frames later. If you cannot support the baby, do not attempt the pose.
- An assistant's hands stay within reach in every frame. A parent or helper spots the baby at all times, ready to catch. Plan to clone their hands out in editing rather than removing the support during the shot.
- Keep the room warm. Newborns lose heat fast and settle best when warm, often around 26 to 28 degrees Celsius. A warm room keeps the baby calm and asleep, which is when the best frames happen.
- Be gentle and patient, and follow the baby's cues. Never force a limb into a pose. Work slowly, feed and soothe as needed, and stop if the baby is unsettled.
- Watch hygiene and props. Clean hands, clean wraps, and stable surfaces. Anything near the baby must be secure.
If a pose feels risky, it is. Choose the safe version.
A simple, safe setup
You do not need a studio. A safe newborn setup is mostly about light, warmth, and a clean surface low to the ground.
- Soft window light. Position the baby near a large window with indirect light, with the light coming over the top of the head toward the chin so shadows fall naturally. Diffuse harsh sun with a sheer curtain.
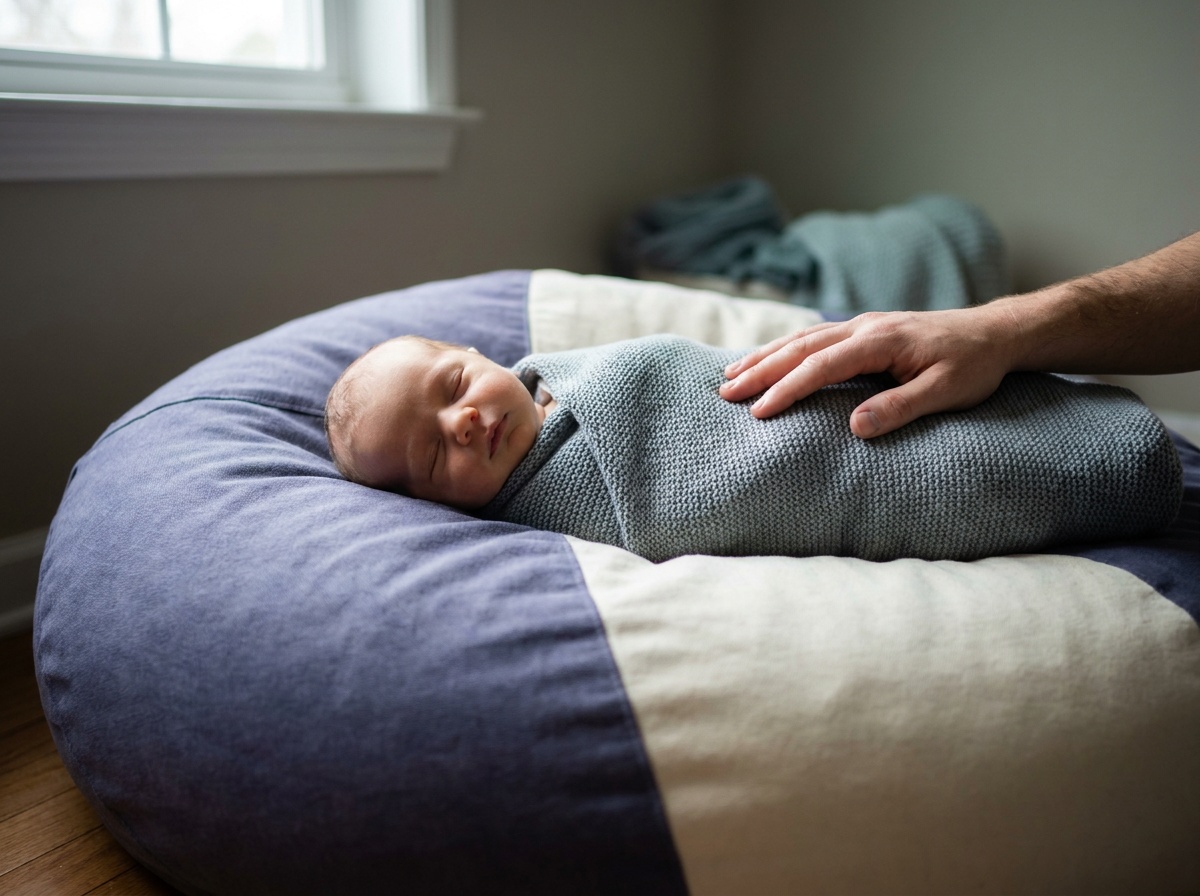
- A clean neutral background. A simple wrap or a beanbag with a stretched neutral blanket keeps attention on the baby. Soft, muted tones photograph best.
- Work low and supported. Keep everything close to the ground so there is nowhere to fall, with the spotter beside the baby.
A simple, safe go-to is the wrapped pose: a snug stretch-jersey wrap keeps the baby warm, calm, and asleep, hides any need for balancing, and gives clean lines. Place the beanbag four to six feet from the window so the light has shape without drama, with the light coming over the top of the head.
The wide-aperture look that softens the background is covered in how to get a blurry background, and the window-light approach builds on the low-light and indoor guide. For a deeper walkthrough of soothing and timing, see how to photograph newborns and babies.
Settings for a sleeping subject
A newborn barely moves, which lets you use gentle, forgiving settings. A good starting point is f/2.8 · 1/200 · ISO 400.
A wide aperture near f/2.8 gives a soft background and a flattering falloff, though for poses with hands and feet you may stop down to f/4 so more of the baby stays sharp. Keep a shutter speed around 1/200 to stay sharp through the small movements of breathing and stirring. Let ISO rise to 400 or beyond as the window light dictates; the exposure triangle explains the trade. Focus on the near eye when the eyes are closed, focus where the lashes meet the cheek. A short macro or portrait lens such as a 90mm gives flattering detail for tiny hands and feet.
Research pick
Sony FE 90mm f/2.8 Macro G OSS
Close-up and product shooters who also want a portrait option.
Check price at AmazonSimple poses that stay safe
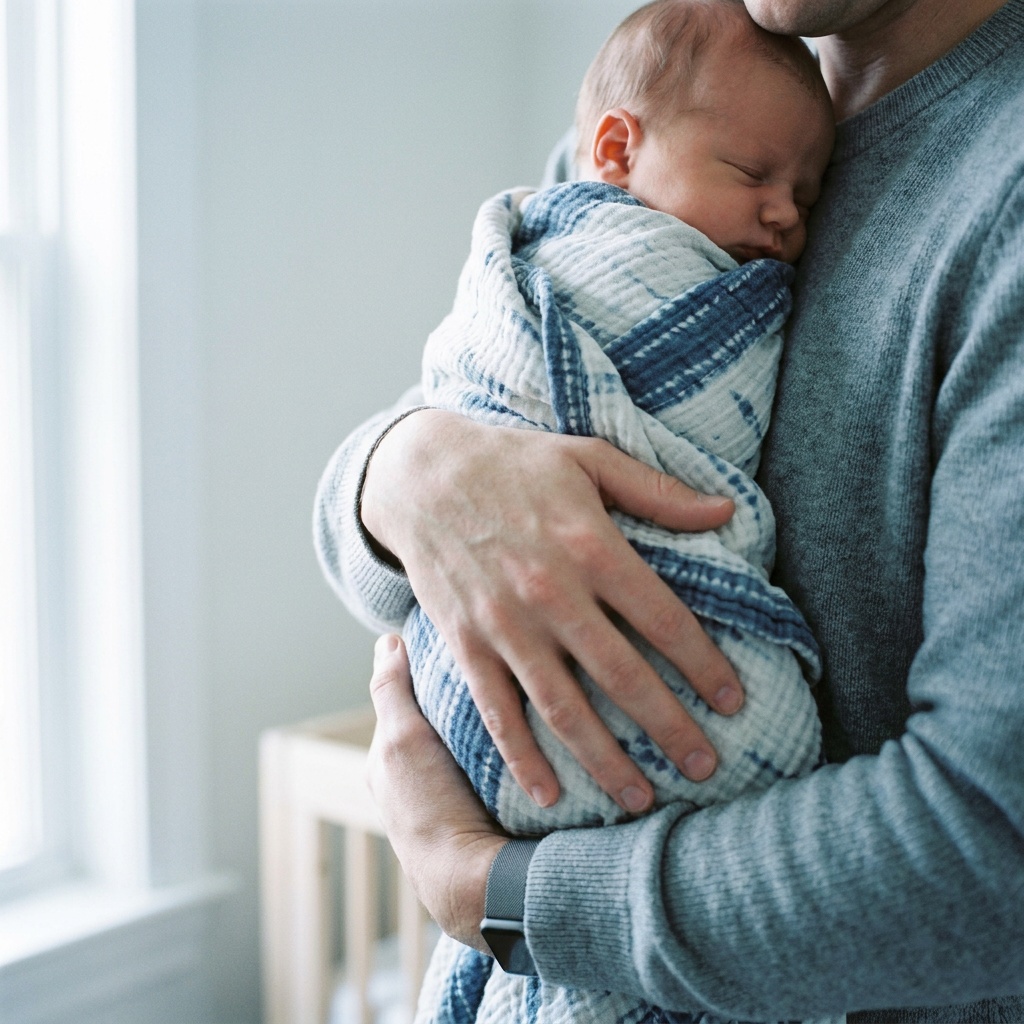
Stick to poses that need no balancing. The baby lying on its back or side on a soft surface, gently curled, is safe and timeless. Close-up detail frames of hands, feet, lips, and lashes are always safe and add variety. Parent-and-baby photos, with the baby held securely against a chest or in cupped hands, are both safe and the most meaningful images of the session. Let the parents do the holding; they are the safest support there is.
Common mistakes
The mistakes that matter are safety mistakes. Attempting balanced or suspended poses without support is dangerous and the one thing to never do. Letting the room get cold makes the baby fussy and ends the session early. Beyond safety, beginners often use hard, direct light that looks harsh on soft skin, or shoot from a high angle that distorts the baby's proportions. Soften the light, keep the camera near the baby's level, and let the baby set the pace.
How do you keep a newborn safe during a photo shoot?
Never prop or balance a baby unsupported, keep an assistant's hands within reach in every frame, work low to the ground, and keep the room warm. Poses that look like a baby is balanced are made by supporting the baby in each shot and combining frames in editing. If a pose feels unsafe, choose the safe version.
What camera settings are best for newborn photography?
Because a newborn barely moves, a gentle baseline works well: a wide aperture near f/2.8 for soft light, a shutter around 1/200 to stay sharp through small movements, and ISO around 400 adjusted to the window light. Stop down to f/4 when you need hands and feet in focus together.
Do I need a special lens for newborn photos?
Not strictly, but a short macro or portrait lens around 85 to 90mm is ideal. It gives flattering compression for the baby and lets you capture crisp close-ups of tiny hands, feet, and lashes without crowding the baby.
Keep going
Next useful steps
Pick one. Each link continues the same job without starting the research over.
Shoot kits
Buy around the job, not the spec sheet
People work
Portrait and headshot kit
$2,936
A full-frame hybrid body, an 85mm prime, simple flash, diffusion, and grip pieces for clean portraits without a studio buildout.
Best people-first kit
Buy order: start with the first piece that makes the job possible, then add the support pieces that remove friction.
Camera: start here. If this piece does not make the shoot easier, the rest of the kit can wait.
Sandbag: add it after the core setup proves useful.
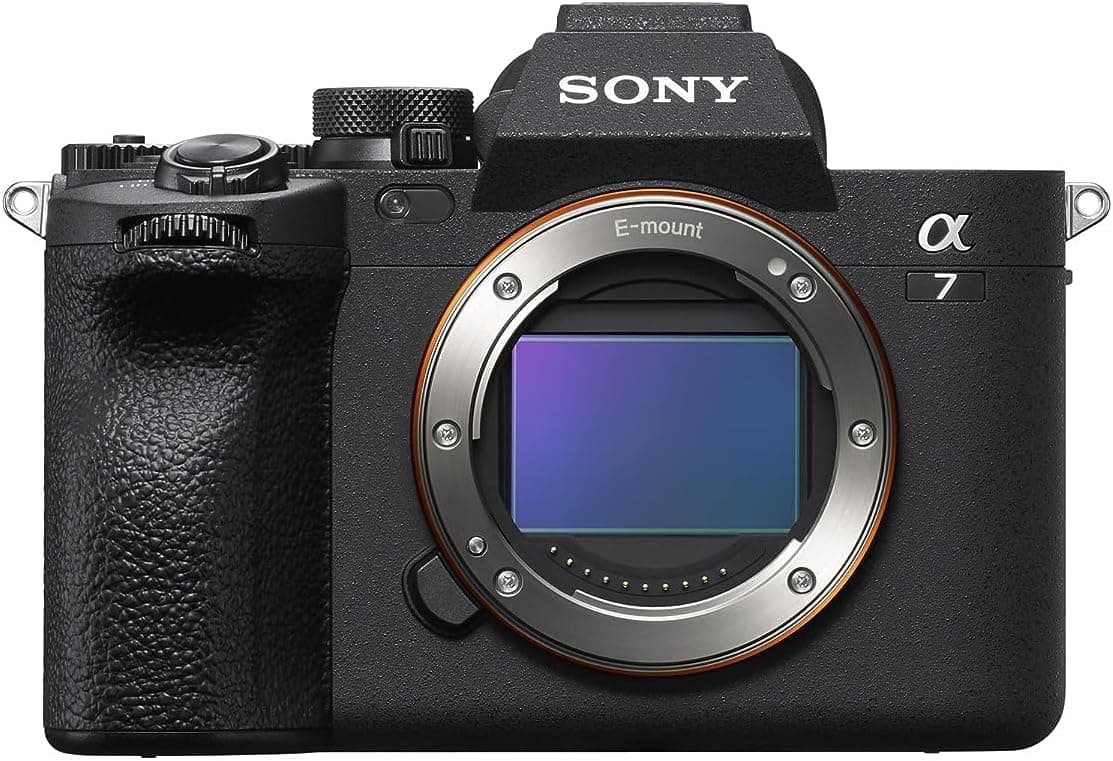
Sony a7 IV
A balanced full-frame body with reliable eye autofocus for portraits, events, and headshots.
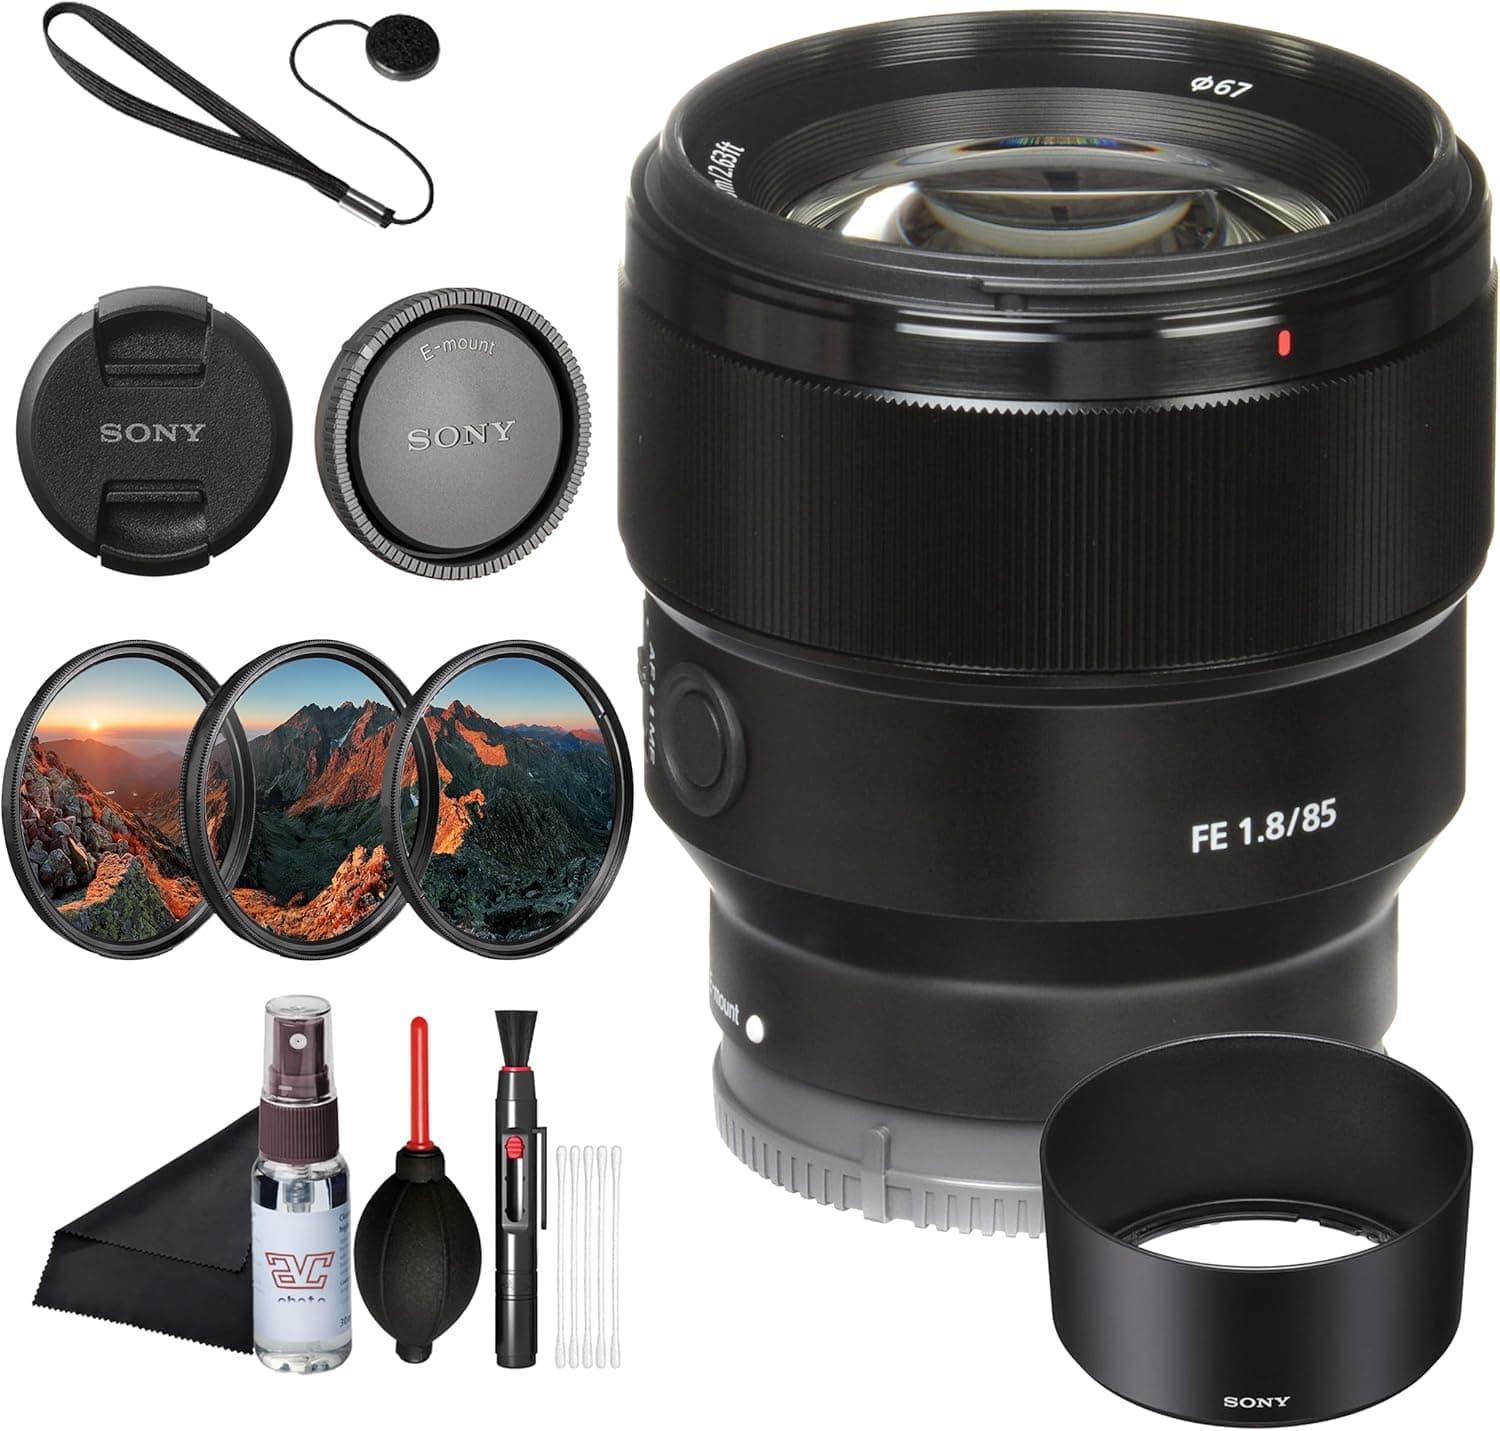
Sony FE 85mm f/1.8
Classic headshot framing, flattering compression, and a price that leaves money for light.
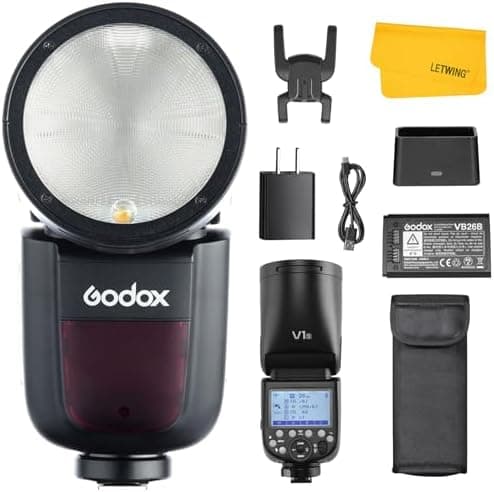
Godox V1
Round-head flash for bounce, quick portraits, and a first off-camera setup.
Westcott 43-inch Umbrella
Cheap, fast diffusion that makes one light look less harsh.
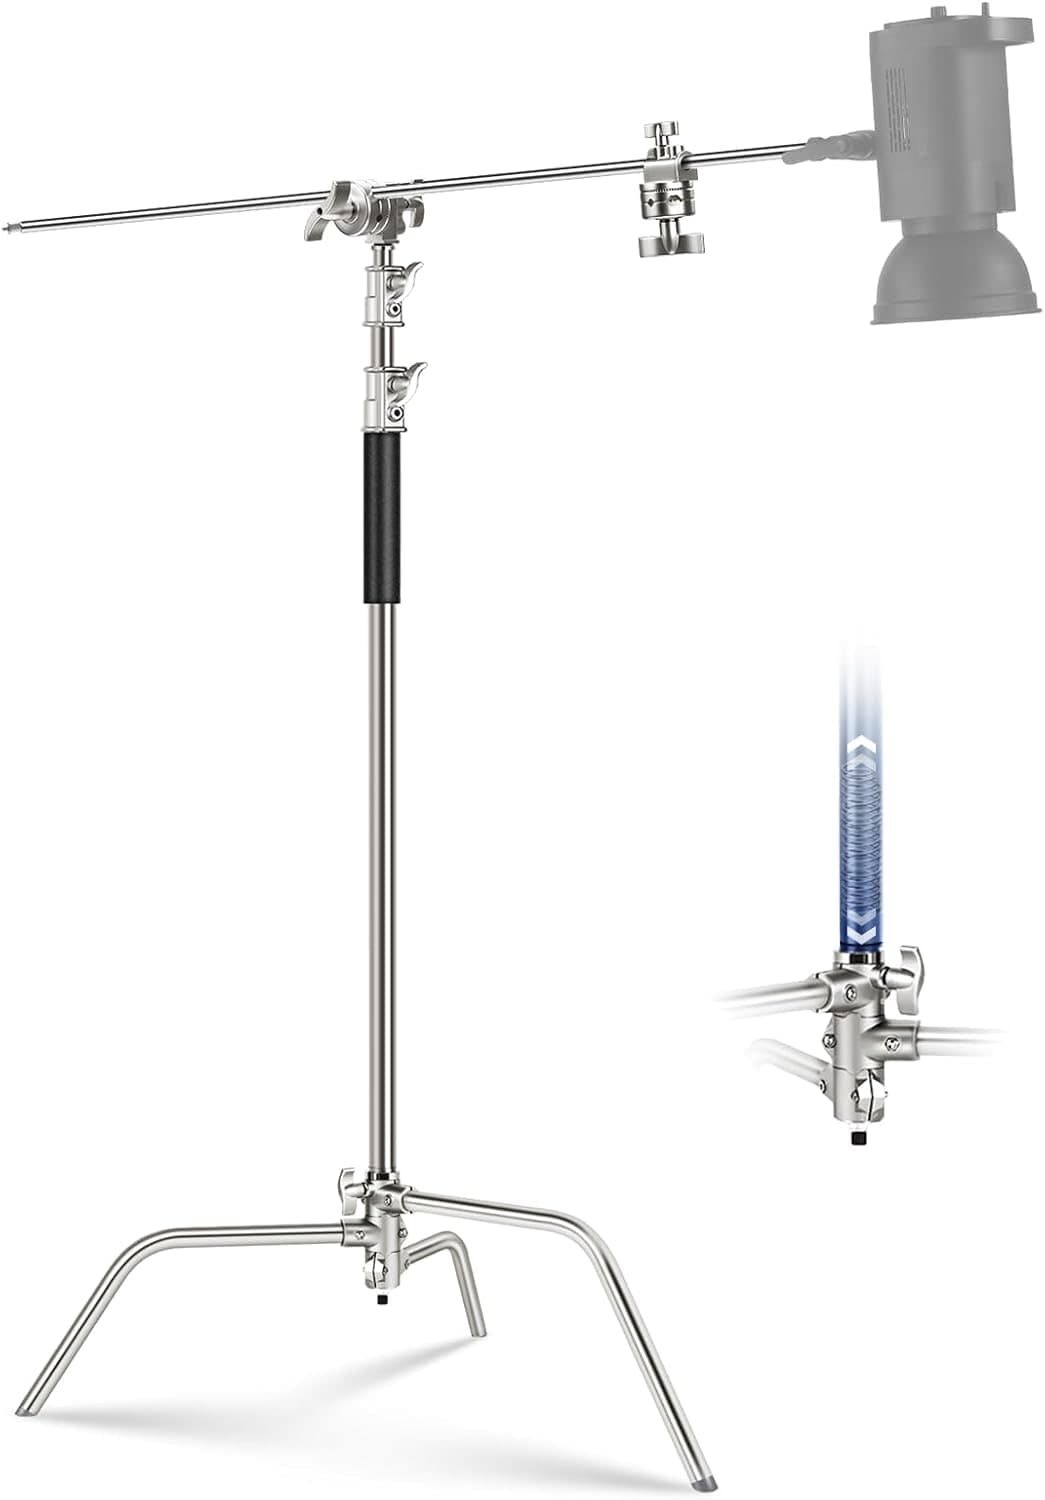
Neewer C-Stand
Keeps the light where it belongs when a small tripod would be a liability.
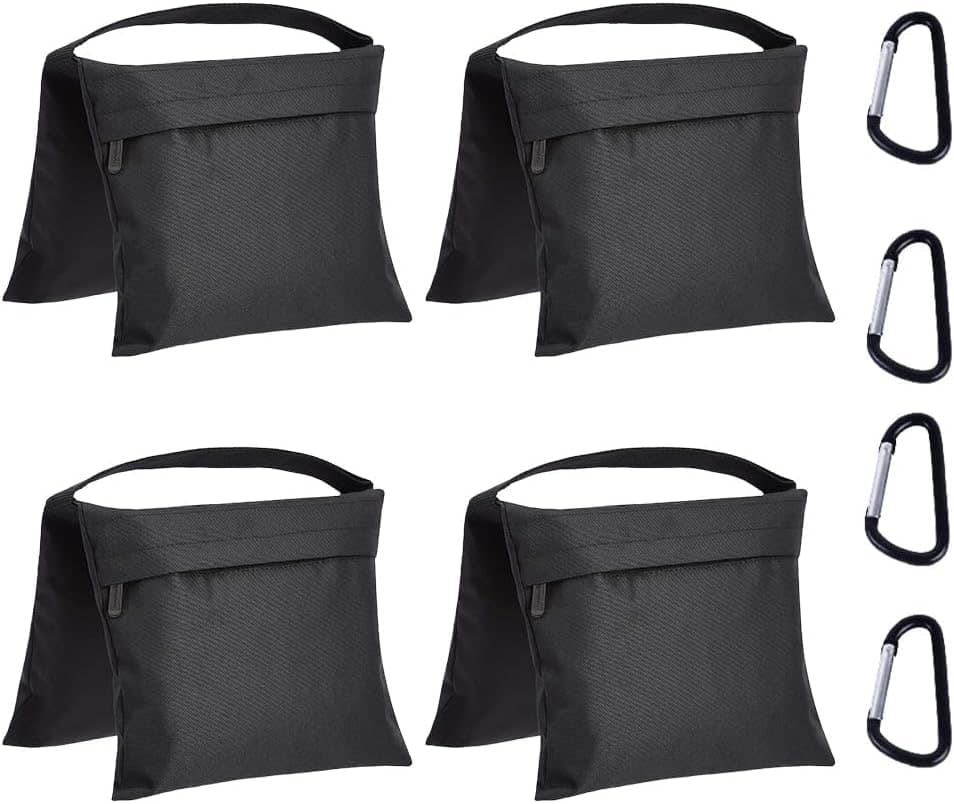
Amazon Basics Photography Sandbags (4-Pack)
The unglamorous piece that keeps a light stand from becoming expensive chaos.
Prices are rough catalog totals. Retailer prices change, and you can swap pieces to fit your system.
Related Genres guides

Event Photography: Settings and Gear for Low Light and Fast Moments
Event photography means low light, candid moments, and no second takes. Here is the gear, the settings, and the mistakes to skip for sharp, well-lit frames.
Fashion Photography: Light, Posing, and the Look on a Budget
Editorial fashion images come from intentional light, confident posing, and a clear styling concept. Here is how to build the look on a budget with one light and simple gear.
Product Photography: A Simple, Repeatable Setup
Clean product photos need controlled light, a sharp aperture, and a tripod, not a studio. Here is the gear, the settings, and the lighting that gets professional results.
Real Estate Photography: The Complete Starter Guide
How to shoot a listing that sells: the gear, the settings, the room-by-room shot list, and the common mistakes. Plus the tool that builds your shot list for you.
Researched, not personally tested: picks compare specifications, available owner feedback, and established expert sources. As an Amazon Associate I earn from qualifying purchases. We may earn a commission from links here, at no extra cost to you. How we research →