We may earn a commission from links on this page, at no extra cost to you. Picks are researched, not sponsored.
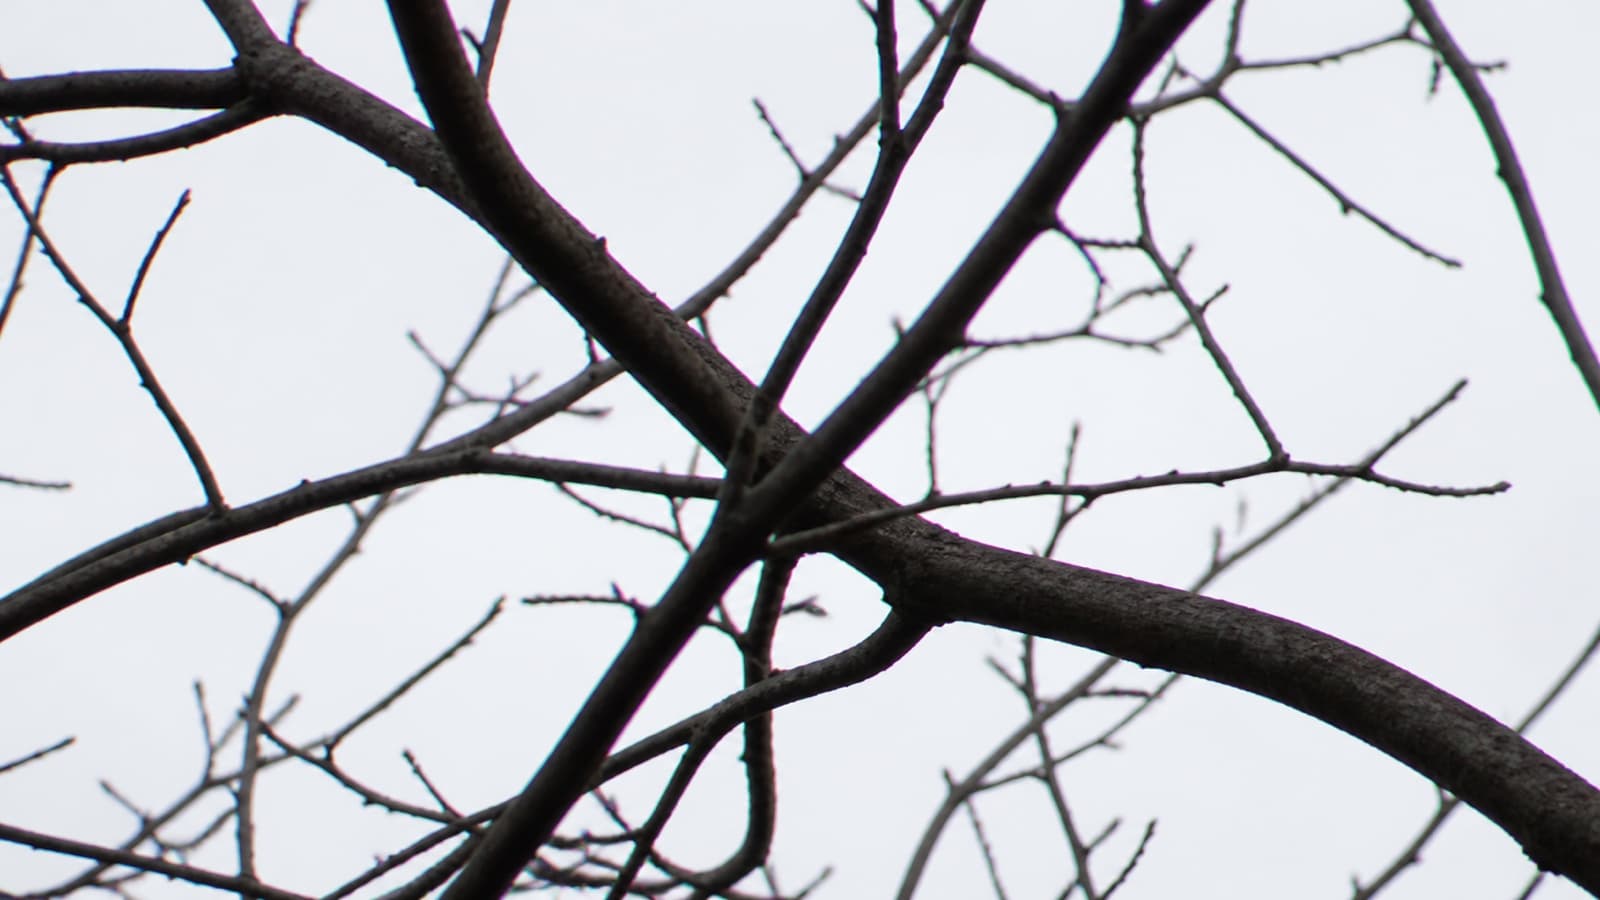
Chromatic aberration is a lens-focusing error, not random color noise. You will see it most clearly around dark branches against a bright sky, reflective metal, backlit hair, and white lettering on a dark surface.
Identify the fringe before correcting it
| What you see | Likely issue | Useful response |
|---|---|---|
| Red/cyan or blue/yellow edge near frame corners | Lateral chromatic aberration | Enable the lens profile or automatic CA correction |
| Purple in front of focus and green behind it | Longitudinal chromatic aberration | Stop down, change focus distance, or defringe carefully |
| Purple patch around a severely blown highlight | Highlight clipping or sensor bloom | Reduce exposure; CA controls may not solve it |
| Colored maze on fabric or screens | Moire or false color | Change distance, angle, or detail processing |
| Whole image changes color in one app | Color-profile or display issue | Check the document and monitor profile |
Adobe's current optics documentation describes chromatic aberration as color fringing along object edges. Different colors do not land in exactly the same place, so the edge separates into colored outlines.
Fix it in the right order
1. Inspect at 100 to 200 percent
Judge fringing at a useful zoom, not from a tiny thumbnail. Check several high-contrast edges near the center and corners. If the colors separate more toward the corners, automatic lateral correction is the best first move.
2. Enable the correct lens profile
In Lightroom, open Optics, enable Remove Chromatic Aberration, then enable the lens correction profile. Sony cameras with compatible lenses can use Chromatic Aberration Compensation. Canon includes Chromatic Aberration Correction in its lens-aberration controls.
Use the profile that matches the lens in the file metadata. A similar-looking profile for another lens can shift geometry or corner brightness incorrectly.
3. Stop down when the fringe changes across the focus plane
Wide apertures can produce purple fringing in front of the focus plane and green fringing behind it. Take a comparison frame one or two stops down. Keep the shutter speed high enough that motion does not replace the color problem with blur.
Stopping down is not a universal cure, but a clear improvement confirms that aperture is part of the cause.
4. Use Defringe after the automatic correction
Automatic correction handles common lateral color shifts. Defringe targets stubborn purple or green halos. Sample a real fringe at high magnification and raise the amount only until the edge becomes neutral.
An aggressive hue range can remove color from flowers, clothing, neon, and foliage. Adobe warns that manual purple and green controls can affect real objects in the same hue range, so inspect the whole frame after the correction.
5. Check filters and clipped highlights
Remove cheap protective, ND, or conversion filters for one test frame. Extra glass can add flare or color shifts that resemble a lens problem. If the fringe appears only around a pure white highlight with no recoverable texture, reduce exposure and test again before blaming the lens.
When the lens is still usable
A small amount of correctable fringe does not make a lens unusable. The practical question is whether it survives the output size and whether correction damages real color. For web images and ordinary prints, a fringe visible only at 200 percent may not matter. For backlit portraits, architecture, product work, or large prints, it can matter quickly.
If the problem is severe in ordinary scenes after profile correction and stopping down, compare current options in the relevant lens guides rather than replacing the camera body. Chromatic aberration is primarily an optical issue.
Primary sources
- Adobe: Correct lens-related issues in Lightroom
- Adobe: Lightroom Defringe controls
- Sony: Lens compensation controls
- Canon: Lens Aberration Correction
Why is the fringe purple on one side and green on the other?
That pattern often points to longitudinal chromatic aberration around the focus plane. It is common at wide apertures. Try one or two stops smaller, then apply a modest Defringe correction if color remains.
Should I use Remove Chromatic Aberration or Defringe first?
Use automatic chromatic-aberration correction first because it targets predictable lens behavior. Use Defringe only for color halos that remain, and keep the sampled hue range narrow enough to protect real purple and green subjects.
Can chromatic aberration be fixed in JPEG files?
Often, yes, but a raw file gives the correction more information and avoids compounding an in-camera edit. Severe clipping, flare, or false color may not respond to chromatic-aberration tools because the cause is different.
Keep going
Next useful steps
Pick one. Each link continues the same job without starting the research over.
Related Learn guides

Content Credentials and C2PA Explained for Photographers
Content Credentials record a photo's signed provenance and edits. Learn what C2PA proves, what it cannot prove, and how capture-to-export workflows work.

Open Gate Video Explained: When 3:2 Is Worth It
Open Gate records a taller sensor area for flexible 16:9, 9:16, and square crops. See when it helps, what it costs, and how to frame it correctly.

Pre-Capture Photography Explained: Get the Frame Before the Click
Pre-Capture buffers photos before the shutter is fully pressed. Learn how it works, which settings change, and when RAW, flash, or focus may be limited.
RAW vs JPEG: Which File Format Should You Shoot?
RAW keeps all your sensor data for maximum editing freedom; JPEG is smaller and ready to share. Here is how they differ and when each one is the right call.
Researched, not personally tested: picks compare specifications, available owner feedback, and established expert sources. As an Amazon Associate I earn from qualifying purchases. We may earn a commission from links here, at no extra cost to you. How we research →