We may earn a commission from links on this page, at no extra cost to you. Picks are researched, not sponsored.
Pet photography is portraiture with a subject that will not take direction. Animals move fast, lose interest, and rarely hold a pose, so the skill is half technical and half patience. The reward is a frame that actually shows the animal's personality, which is what makes a pet photo worth keeping.
The gear
Pets reward fast, sharp gear and not much else:
- A fast lens around f/1.8 to f/2.8 for a soft background and enough light indoors. An 85mm or a fast standard zoom works well; see the best lenses for portraits guide.
- A camera with quick, reliable autofocus, ideally with animal eye detection, since pets do not hold still. Sensor and focus performance scale with the body; see sensor sizes explained and the pet photography camera and lens picks.
- A longer lens for skittish or outdoor animals you cannot get close to. A 70 to 200mm lets you fill the frame from across a yard without crowding a nervous animal, which keeps the expression relaxed.
- Treats, a toy, or a squeaker to direct attention. These are the most useful tools on the shoot, and a helper to work them frees you to concentrate on focus and timing.
The settings
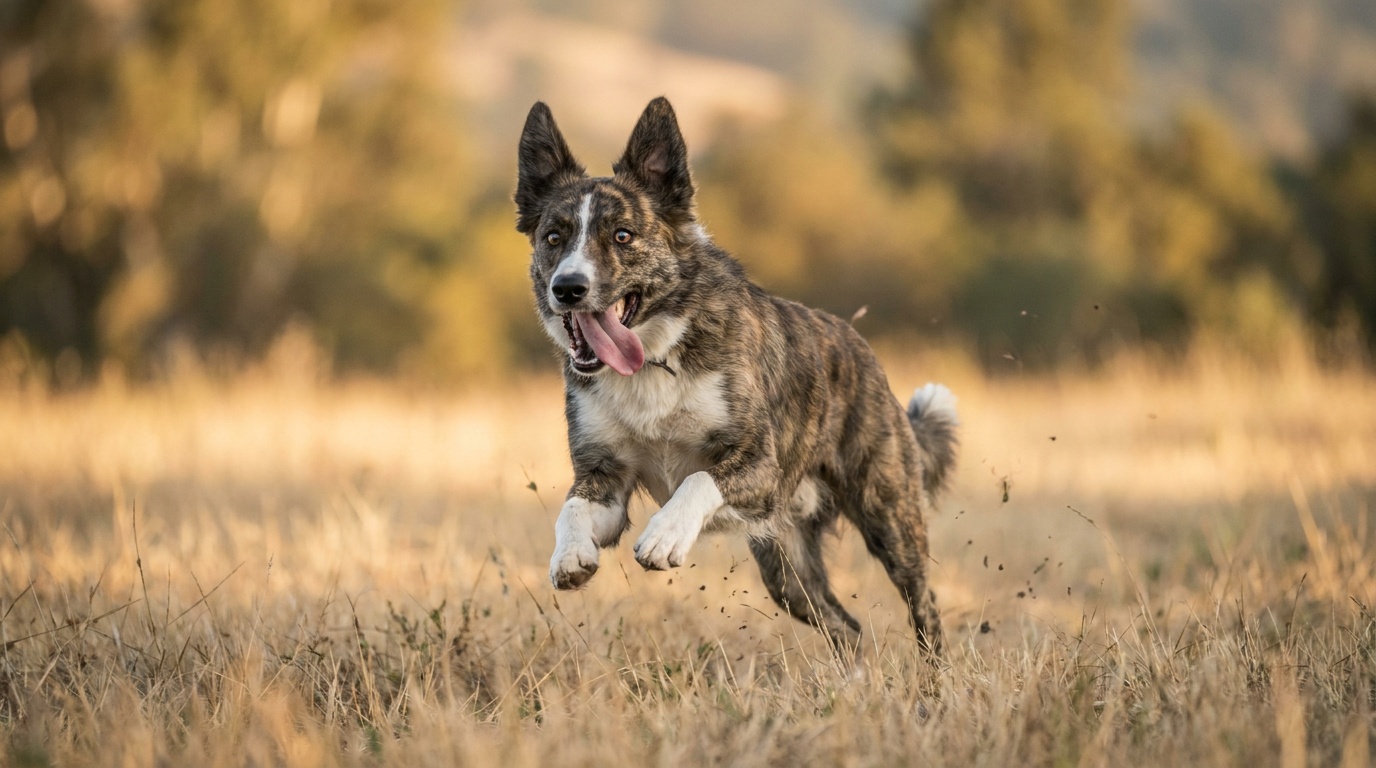
The working pet recipe is f/2.8 · 1/500 · ISO auto. A wide aperture softens the background and isolates the animal, though leave a little room at f/2.8 to f/4 so the whole face stays sharp, not just the nose. A long-nosed dog photographed straight on at f/1.8 will have a sharp nose and soft eyes, which is why f/4 is often the safer choice for a face turned toward you. Set shutter speed to 1/500 or faster to freeze a sudden movement, and faster still for a running dog. Let ISO ride on auto so the camera keeps the shutter fast indoors, where pets spend most of their time and the light is dimmer than it looks. The exposure triangle ties them together.
For focus, use continuous autofocus with eye or animal detection, or a single point on the nearest eye. Most recent cameras include an animal-eye mode that locks onto a dog or cat's eye and holds it as the head moves, which is the single biggest help in this genre. For a fast-running dog, raise the shutter toward 1/1000 to 1/2000, switch the drive to its highest burst, and let the autofocus track across the frame. The autofocus modes guide explains the tracking modes, and back button focus lets you hold focus while you wait for the expression. Our how to photograph pets walkthrough covers the full session flow.
Technique and composition
Get down to the animal's eye level. A dog photographed from human height looks small and distant; the same dog shot from its own level feels like a portrait. Focus on the eyes, leave space in the direction the animal is looking, and shoot in soft natural light near a window or in open shade rather than hard midday sun. Patience does most of the work: let the animal settle, keep the camera ready, and fire a burst when the ears perk or the head tilts. A squeaker or a new sound held just over the lens buys you one or two seconds of alert, ears-up attention, so cue the noise and shoot the burst immediately rather than waiting to react.
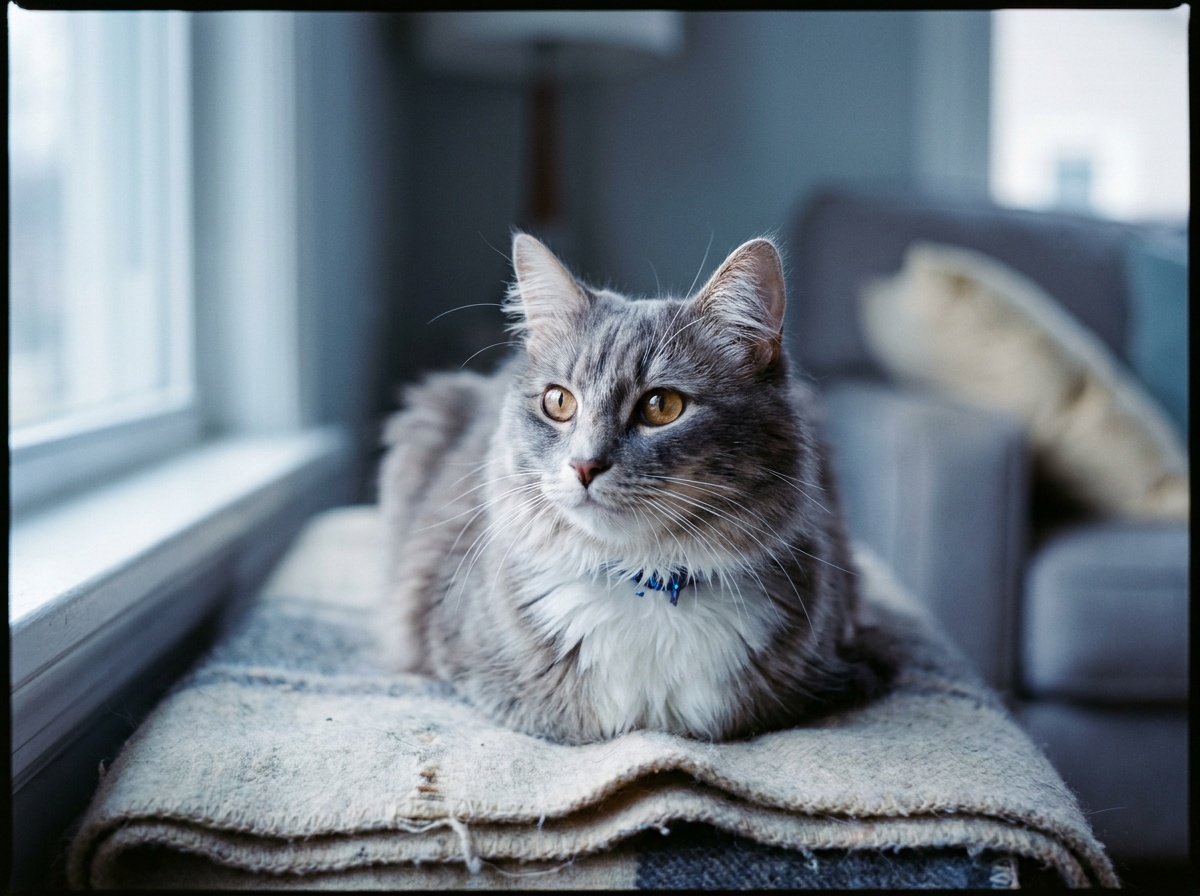
Light matters as much here as in any portrait. A pet placed a few feet back from a large window, turned so the soft light rakes across the face, gets the same flattering gradient you would give a person. Avoid hard overhead sun, which squints the eyes and buries them in shadow, and watch for a catchlight, the small reflection of the light in the eye that keeps the gaze alive rather than flat and dark.
Common mistakes
The frequent errors are easy to fix. Shooting from standing height makes pets look small and detached, so kneel or lie down to their level. A shutter under 1/250 turns a head shake into blur, so keep it fast. Focusing on the nose instead of the eyes leaves the important part soft, so put the point on the nearest eye. And pushing a restless animal usually backfires, so work in short sessions and let it relax between frames.
Know the rules
Most pet photography happens at home or in a yard, but if you shoot in a park or on public land, leash rules and access can apply. Check the rules by location pillar before a session somewhere with its own terms.
What camera settings are best for pet photography?
Start at f/2.8, a shutter of 1/500 or faster, and ISO on auto. Use continuous autofocus with animal eye detection on the nearest eye, and raise the shutter further for a running or playing pet.
How do I get my pet to look at the camera?
Use a treat, a toy, or a squeaker held near the lens to draw the eyes toward you. Have a helper get the animal's attention while you shoot, and fire a burst the moment the ears go up so you catch the alert expression.
Why are my pet photos blurry?
Usually the shutter is too slow for how fast animals move, or the focus landed on the nose instead of the eye. Keep the shutter at 1/500 or faster, raise ISO to allow it, and use continuous autofocus on the nearest eye.
Practice this
Turn the guide into a working setup
Keep going
Next useful steps
Pick one. Each link continues the same job without starting the research over.
Shoot kits
Buy around the job, not the spec sheet
People work
Portrait and headshot kit
$2,936
A full-frame hybrid body, an 85mm prime, simple flash, diffusion, and grip pieces for clean portraits without a studio buildout.
Best people-first kit
Buy order: start with the first piece that makes the job possible, then add the support pieces that remove friction.
Camera: start here. If this piece does not make the shoot easier, the rest of the kit can wait.
Sandbag: add it after the core setup proves useful.
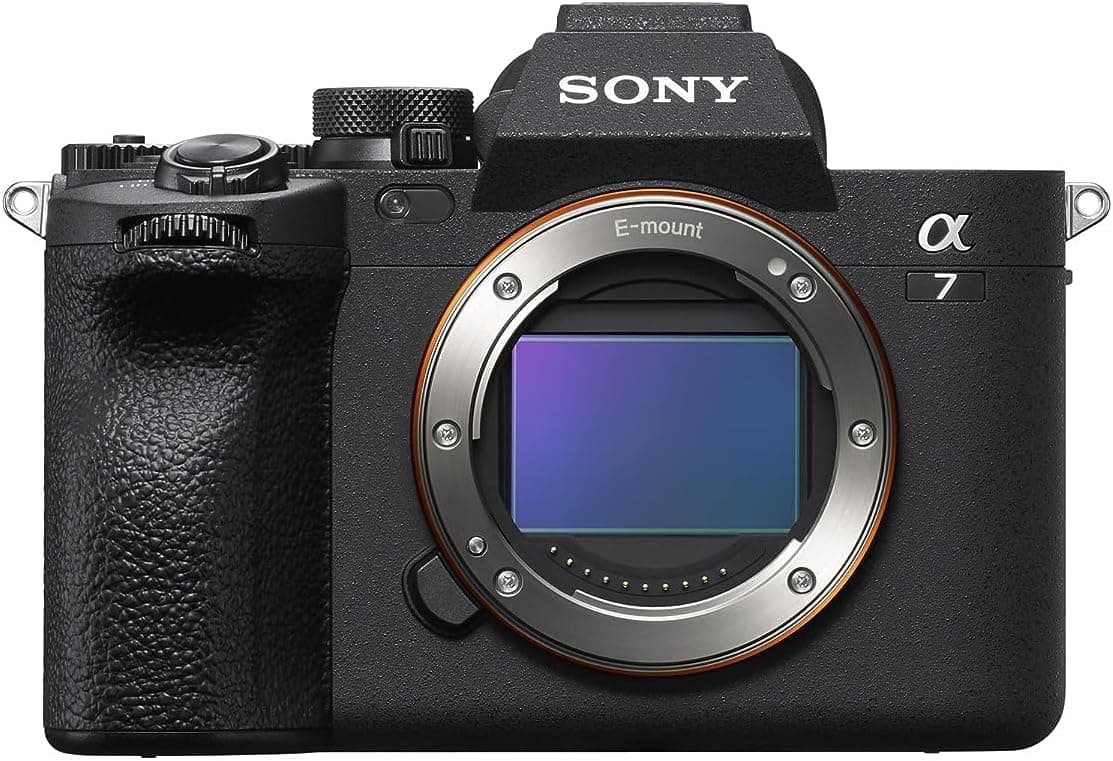
Sony a7 IV
A balanced full-frame body with reliable eye autofocus for portraits, events, and headshots.
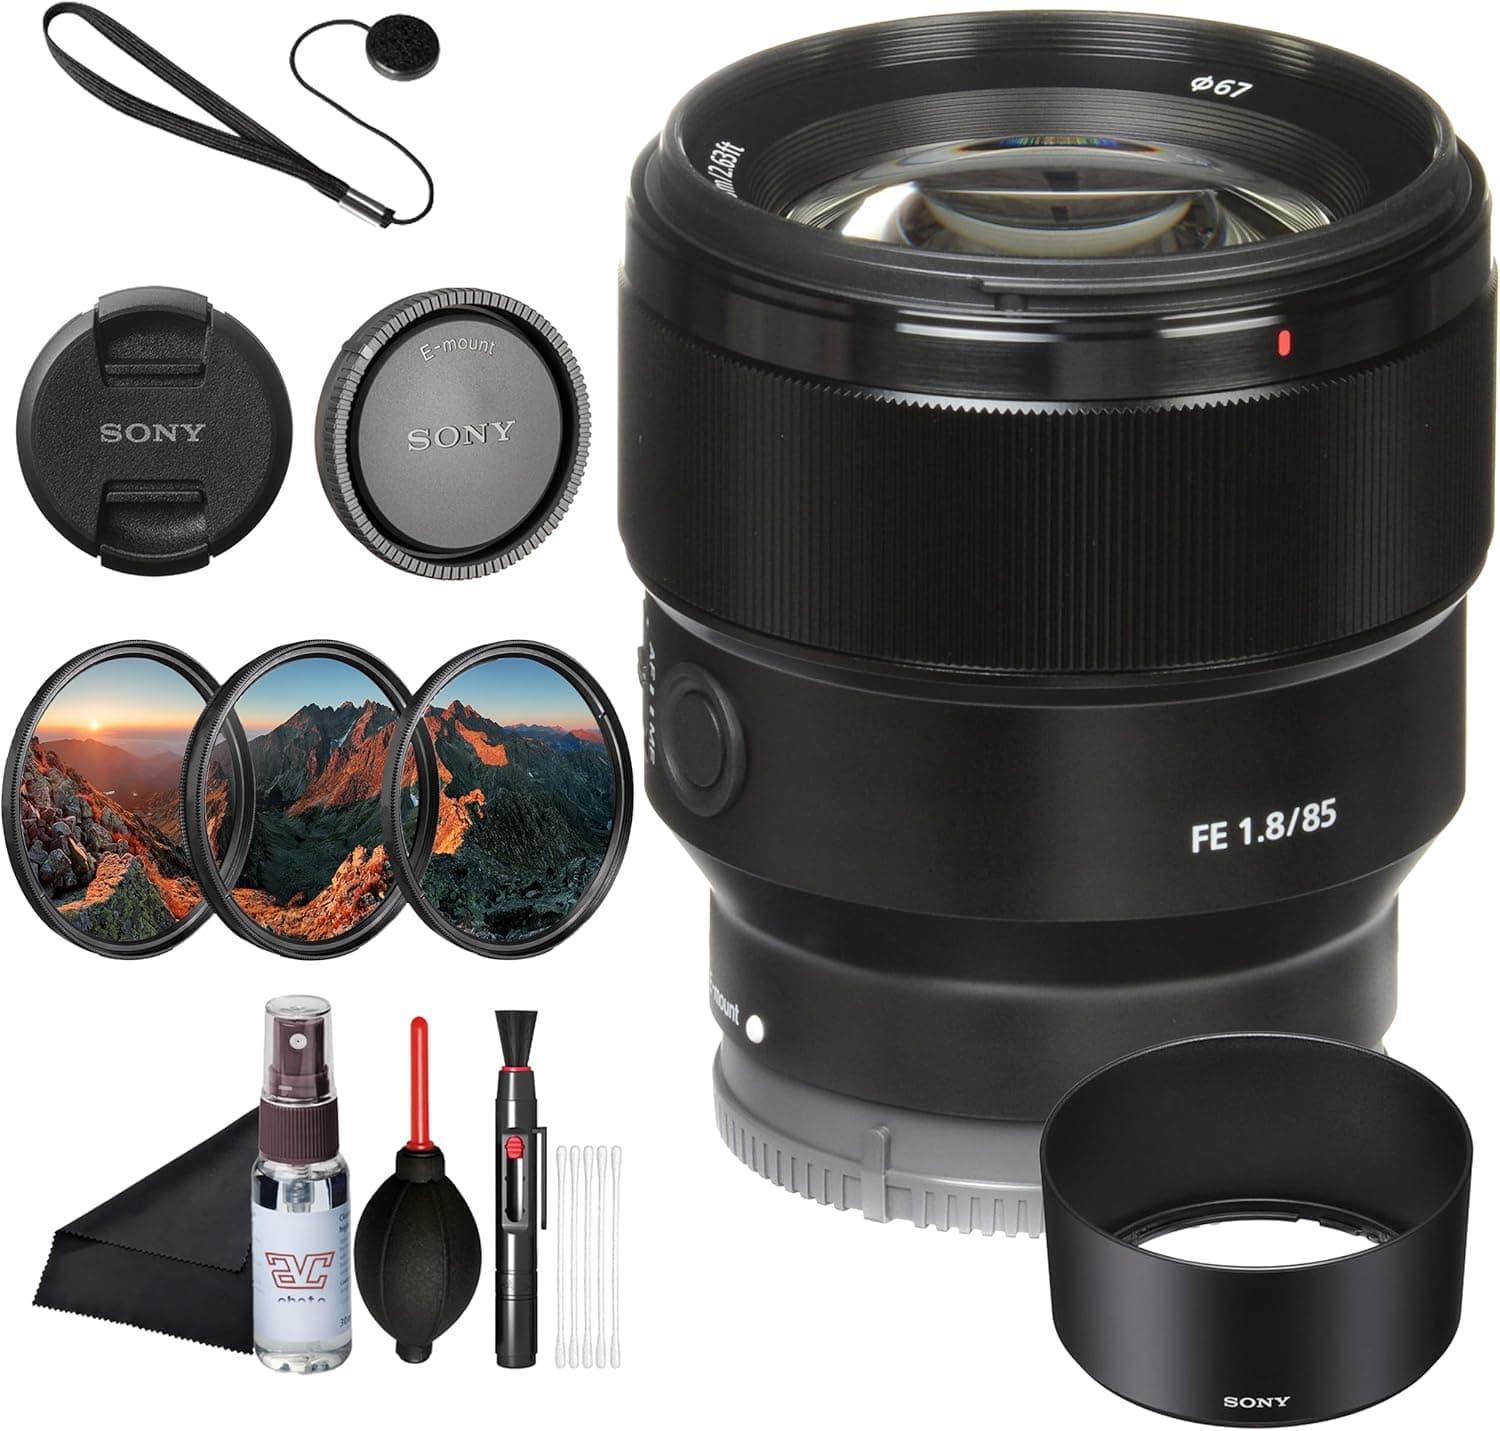
Sony FE 85mm f/1.8
Classic headshot framing, flattering compression, and a price that leaves money for light.
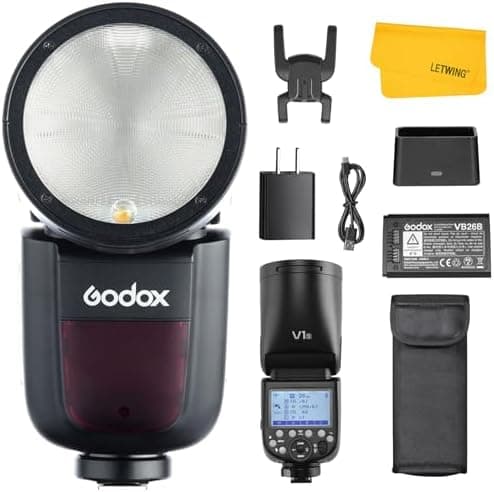
Godox V1
Round-head flash for bounce, quick portraits, and a first off-camera setup.
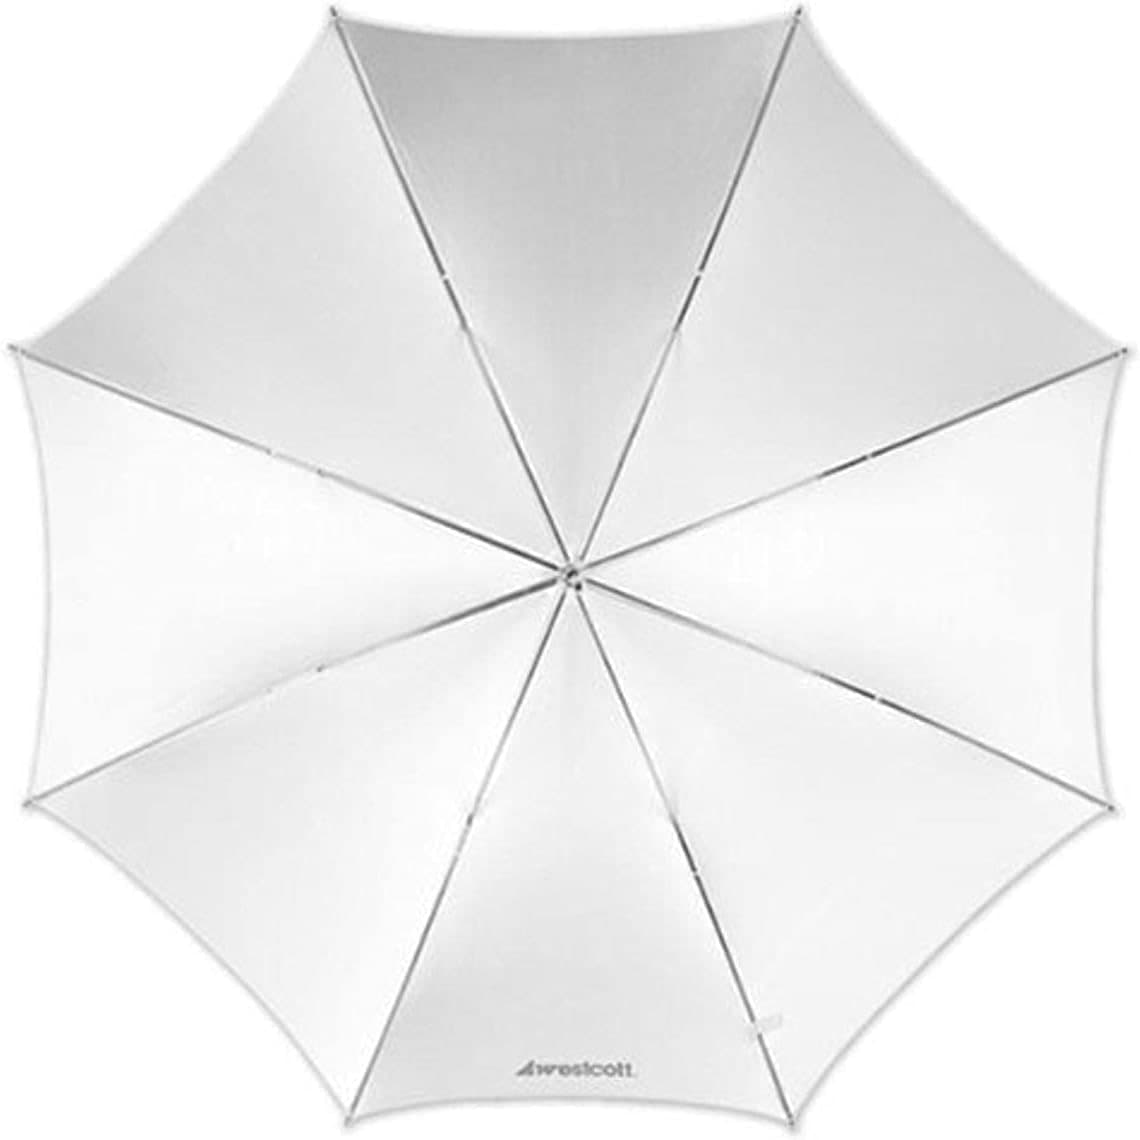
Westcott 43-inch Umbrella
Cheap, fast diffusion that makes one light look less harsh.
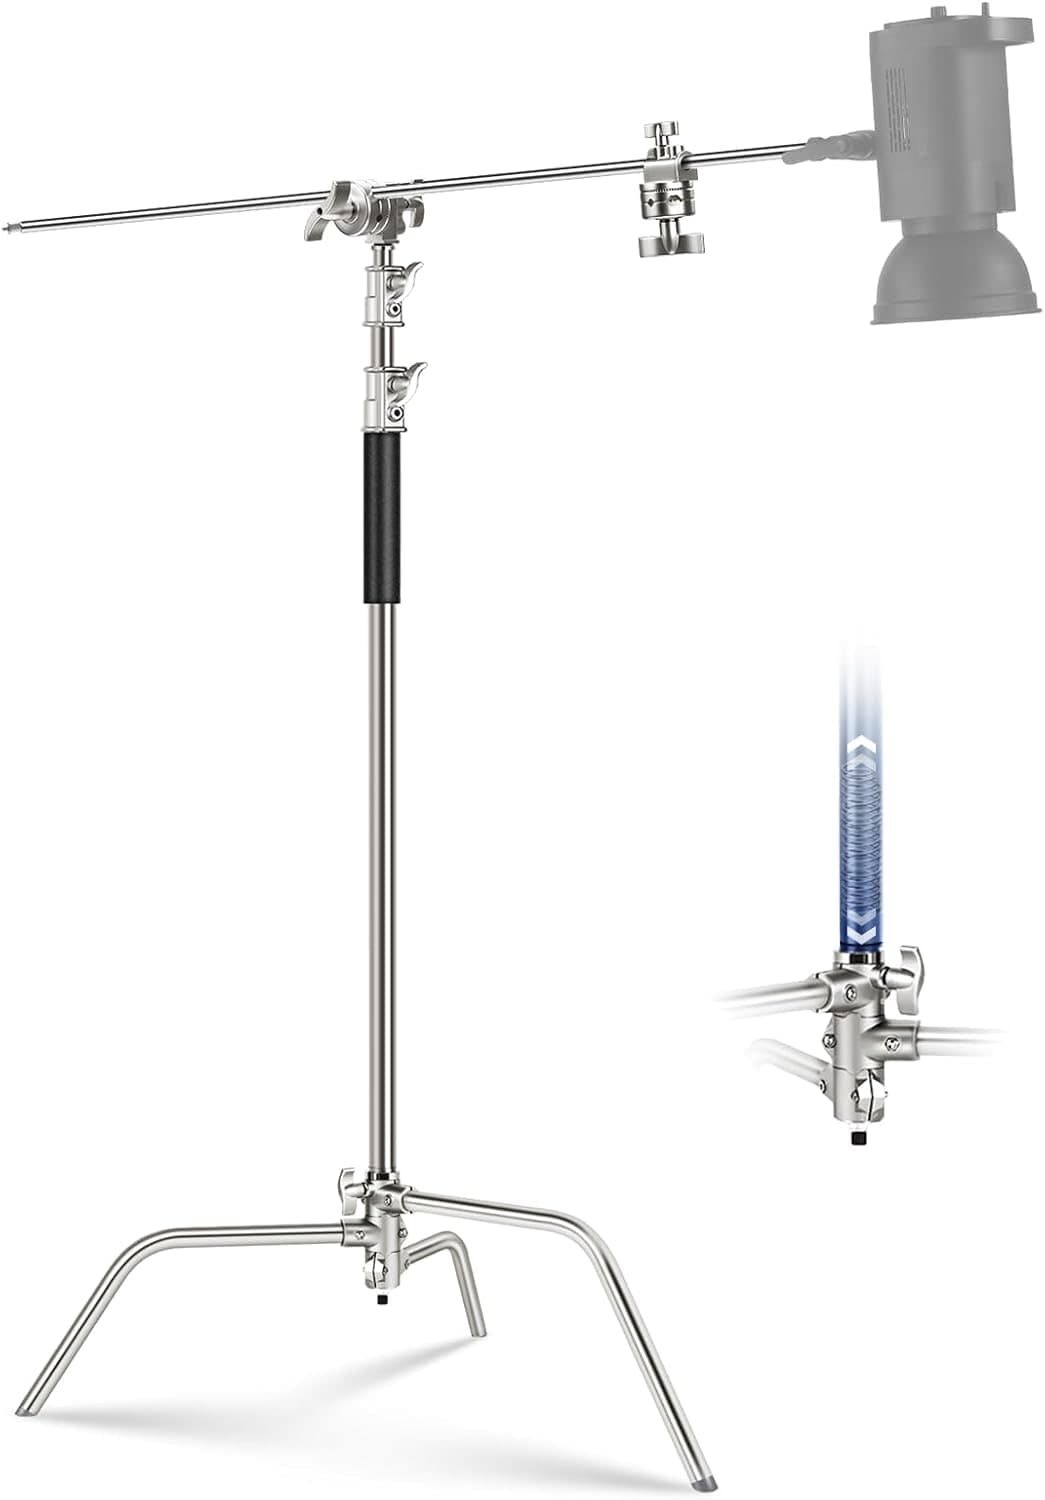
Neewer C-Stand
Keeps the light where it belongs when a small tripod would be a liability.
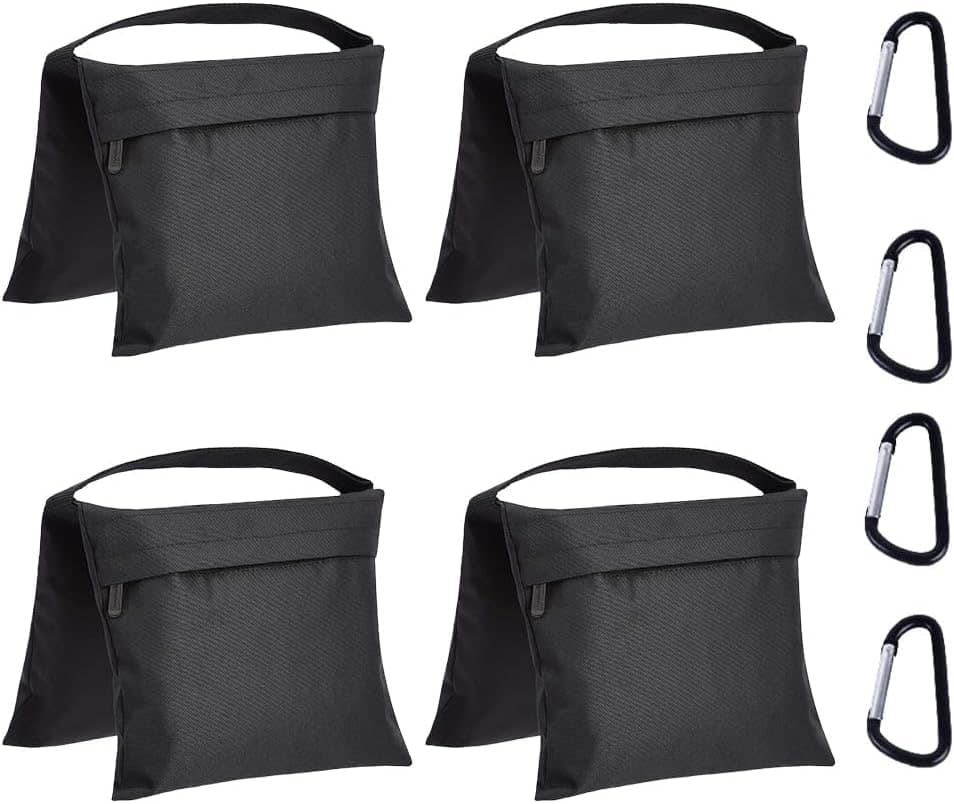
Amazon Basics Photography Sandbags (4-Pack)
The unglamorous piece that keeps a light stand from becoming expensive chaos.
Prices are rough catalog totals. Retailer prices change, and you can swap pieces to fit your system.
Related Genres guides
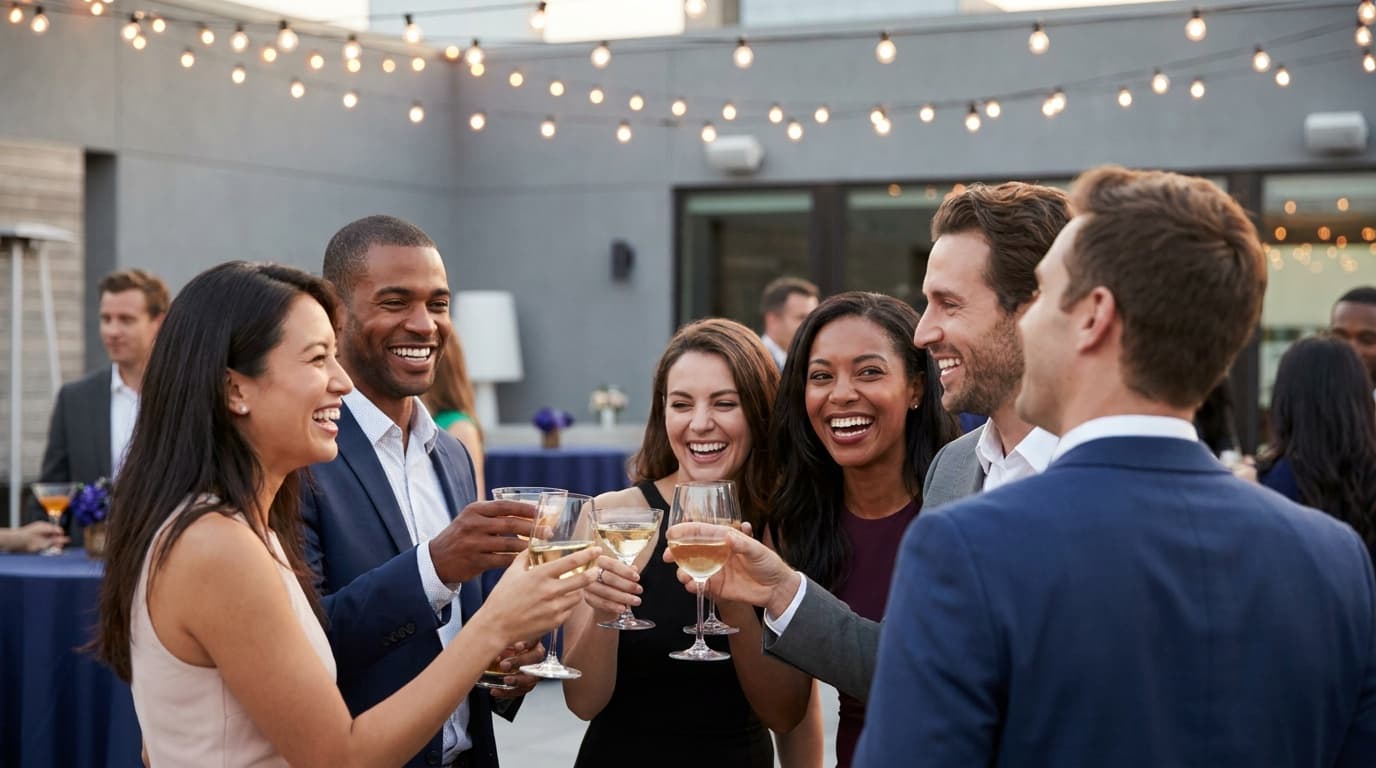
Event Photography: Settings and Gear for Low Light and Fast Moments
Event photography means low light, candid moments, and no second takes. Here is the gear, the settings, and the mistakes to skip for sharp, well-lit frames.
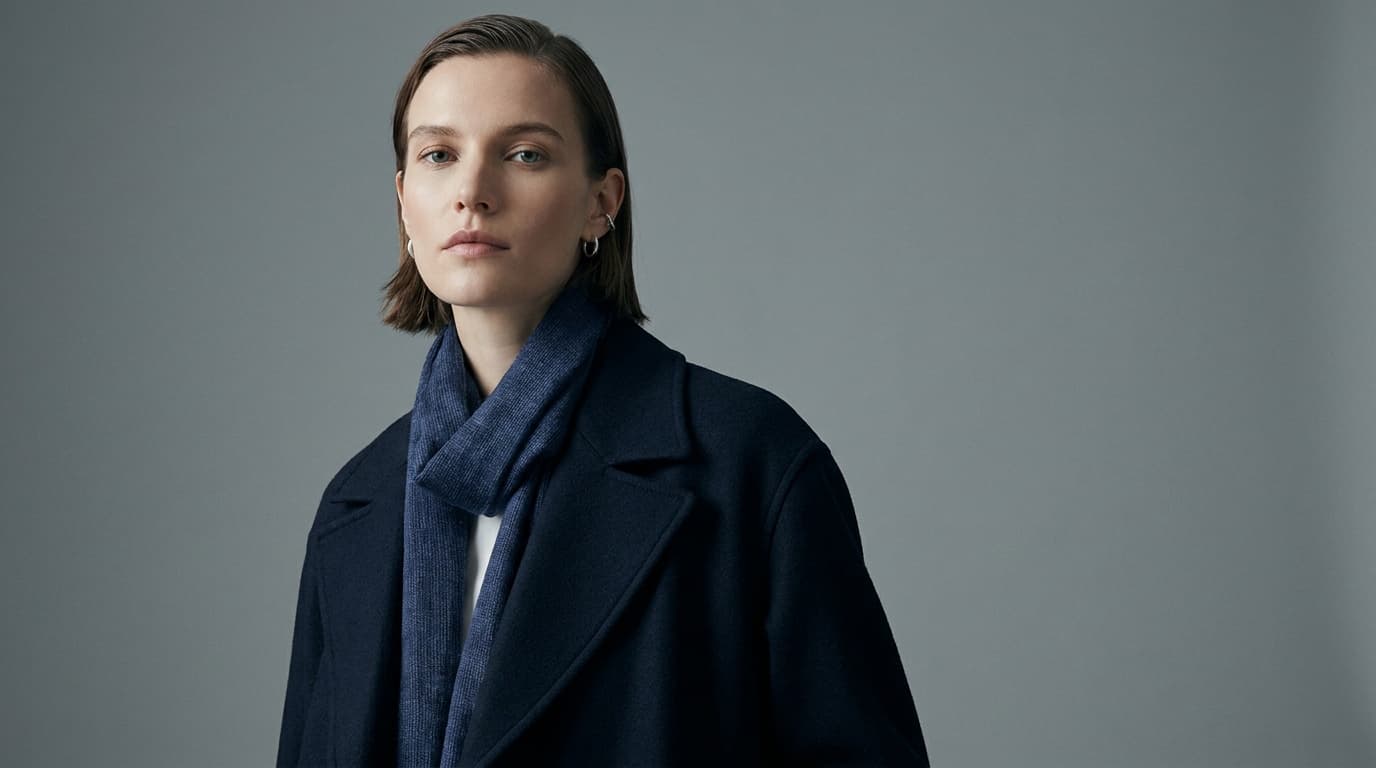
Fashion Photography: Light, Posing, and the Look on a Budget
Editorial fashion images come from intentional light, confident posing, and a clear styling concept. Here is how to build the look on a budget with one light and simple gear.
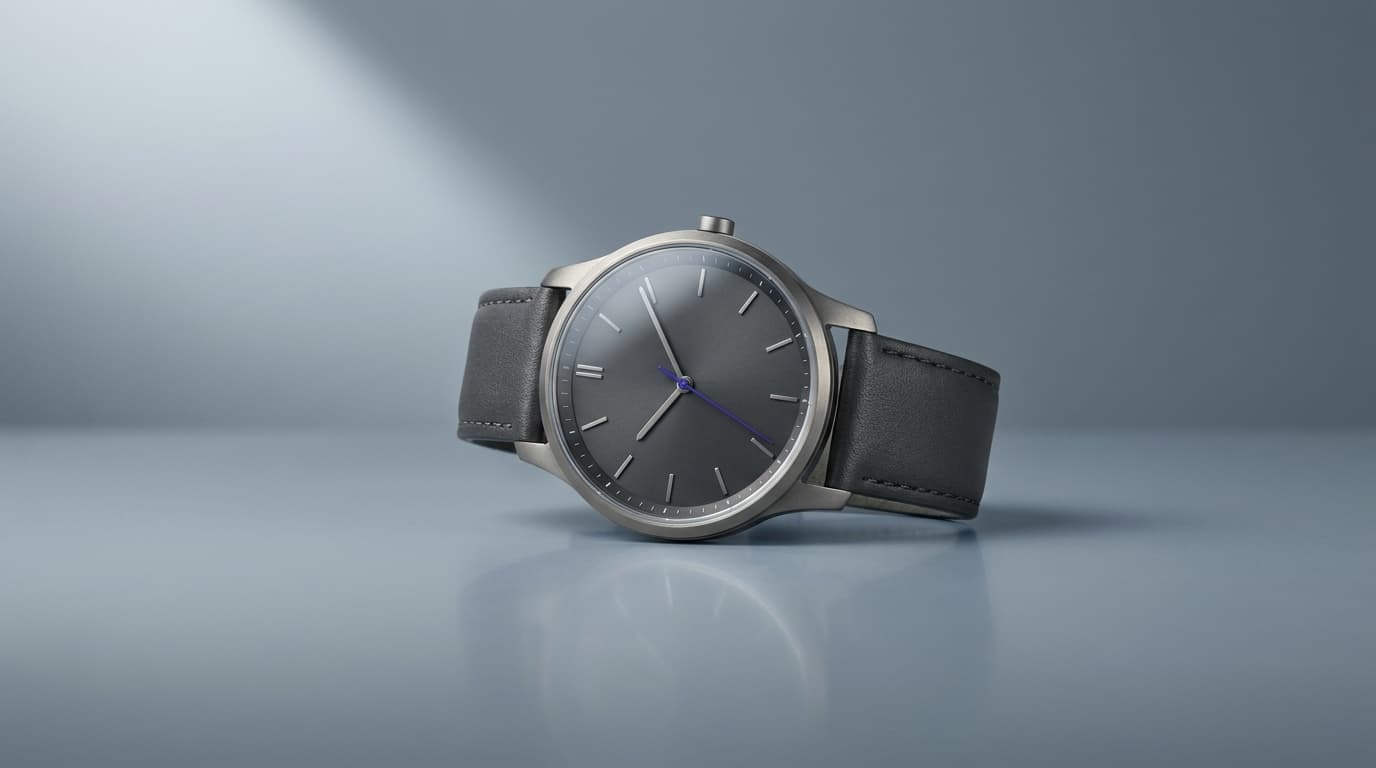
Product Photography: A Simple, Repeatable Setup
Clean product photos need controlled light, a sharp aperture, and a tripod, not a studio. Here is the gear, the settings, and the lighting that gets professional results.
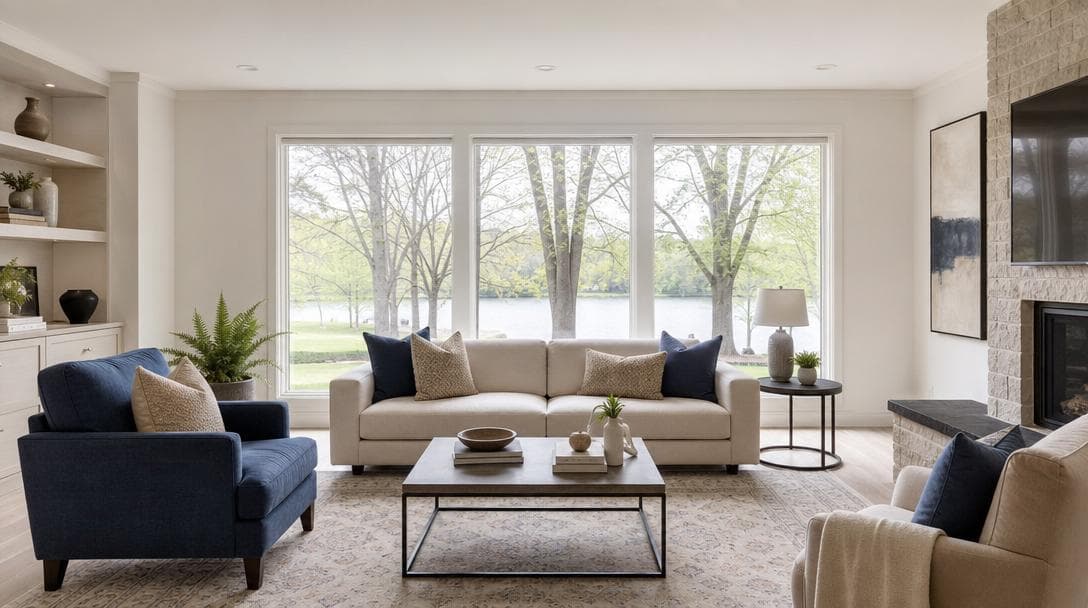
Real Estate Photography: The Complete Starter Guide
How to shoot a listing that sells: the gear, the settings, the room-by-room shot list, and the common mistakes. Plus the tool that builds your shot list for you.
Researched, not personally tested: picks compare specifications, available owner feedback, and established expert sources. As an Amazon Associate I earn from qualifying purchases. We may earn a commission from links here, at no extra cost to you. How we research →