We may earn a commission from links on this page, at no extra cost to you.
What this means in real life
A camera sensor can only record so much range between the brightest and darkest tones in one frame. Some scenes simply exceed that. Point at a window during the day and you either expose for the room and blow out the view, or expose for the view and lose the room to black. Your eye handles this easily; the sensor cannot. HDR solves it by capturing the scene more than once: a dark frame that protects the bright highlights, a bright frame that opens up the shadows, and a normal frame in the middle. Software then keeps the best-exposed detail from each and combines them into one image that holds the whole range.
When you need HDR
You need it when the scene's contrast is genuinely beyond one frame: interiors with bright windows, sunrises and sunsets shot toward the light, and high-contrast architecture. You do not need it for soft, even light, where a single raw file already holds plenty of range and HDR just adds work and risk. Real-estate interiors are the classic HDR case, where you want both the room and the sunny view out the window to read clearly. If you can recover the scene from one raw file by lifting shadows and pulling highlights, do that instead; HDR is for when one file is not enough.
The settings
Lock the camera down and bracket your exposures.
Keep the aperture and ISO fixed across the bracket so depth of field and noise stay consistent; only the shutter speed should change. This keeps the frames identical except for brightness, which is what makes them blend cleanly. Use your camera's auto-exposure-bracketing (AEB) mode to fire the set quickly. Reading the histogram tells you whether your brackets actually cover the range, with the dark frame's highlights off the right edge and the bright frame's shadows off the left.
The technique
Mount on a tripod so the frames align perfectly, and trigger with a remote or the self-timer. Fire the full bracket in quick succession so nothing in the scene moves between frames; this is why HDR struggles with wind-blown leaves or passing cars. Merge the brackets in your editor's HDR or photo-merge command, which produces a single file with the combined range. Then tone it gently. The natural look comes from a light hand: recovered detail in both ends, normal contrast, no glowing halos. HDR is a staple of architecture photography and interiors precisely because those scenes pair bright windows with shaded rooms.
Common mistakes
Overcooking the tone mapping is the most common error and the source of HDR's bad reputation: crushed local contrast, glowing halos around edges, and grungy oversaturated skies. Pull back and aim for natural. Letting the scene move between frames, leaves, water, traffic, creates ghosting where the subject appears in two places; use a still scene or your software's de-ghosting option. Changing aperture or ISO across the bracket instead of just the shutter makes the frames mismatch. And reaching for HDR when one raw file would do just adds work and a chance to make the image worse.
How many exposures do I need for HDR?
Three frames at -2 · 0 · +2 stops handle most scenes. For extreme contrast, like shooting straight into a sunset, five frames spaced one or two stops apart give the merge more to work with. The goal is that your darkest frame holds the brightest highlights and your brightest frame opens the deepest shadows.
Why does my HDR look fake and cartoonish?
That look comes from heavy tone mapping that crushes contrast and creates glowing halos. Use a light hand: merge the brackets, then aim for normal contrast and natural color. A good HDR should look like a single well-exposed frame, just with detail held at both ends.
Can I shoot HDR handheld?
Sometimes, since many cameras and editors align bracketed frames automatically. But a tripod is far more reliable, especially for the precise alignment HDR needs, and it lets you keep ISO low. Either way, fire the bracket quickly so nothing in the scene moves between frames.
Related Learn guides
Black and White Photography: How to See and Shoot in Mono
Black and white photography is about light, contrast, and shape rather than color. Here is how to shoot for mono and convert raw files cleanly.
Read guide
Blue Hour Photography: The Best 20 Minutes After Sunset
Blue hour is the short window of deep blue sky and glowing city lights just after sunset. Here are the settings, the timing, and how to make the most of it.
Read guide
Bokeh Explained: What Makes Background Blur Look Good
Bokeh is the quality of the out-of-focus blur, not just the amount. Here is what creates it, what makes it look smooth, and how to get more of it.
Read guide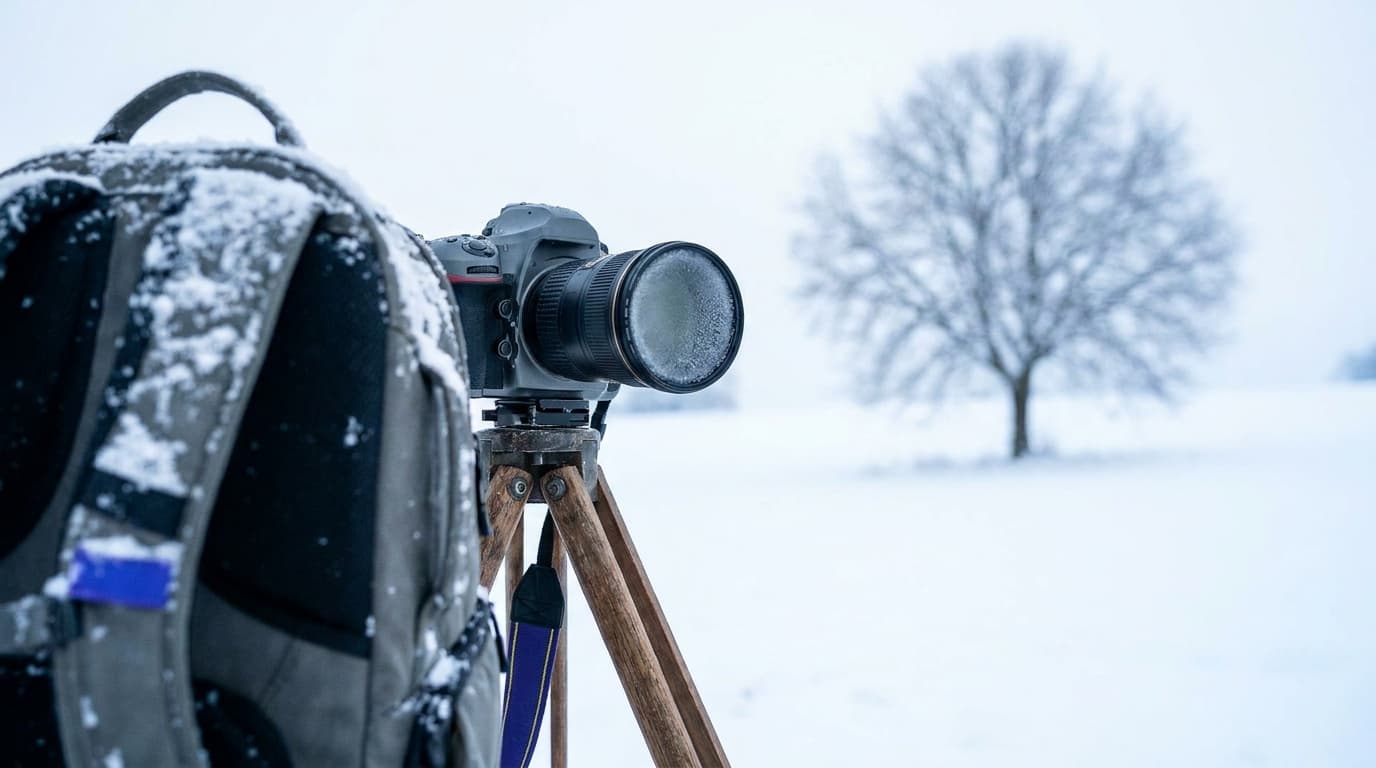
Camera Settings for Snow: How to Keep White Snow White
Snow fools your meter into gray, underexposed photos. Here are the settings and the exposure compensation that keep snow bright, clean, and the right color.
Read guideResearched, not personally tested: picks come from specs, verified-owner reviews, and expert sources, scored into the Aperture Score. As an Amazon Associate I earn from qualifying purchases. We may earn a commission from links here, at no extra cost to you. How we research →