We may earn a commission from links on this page, at no extra cost to you. Picks are researched, not sponsored.
What this means in real life
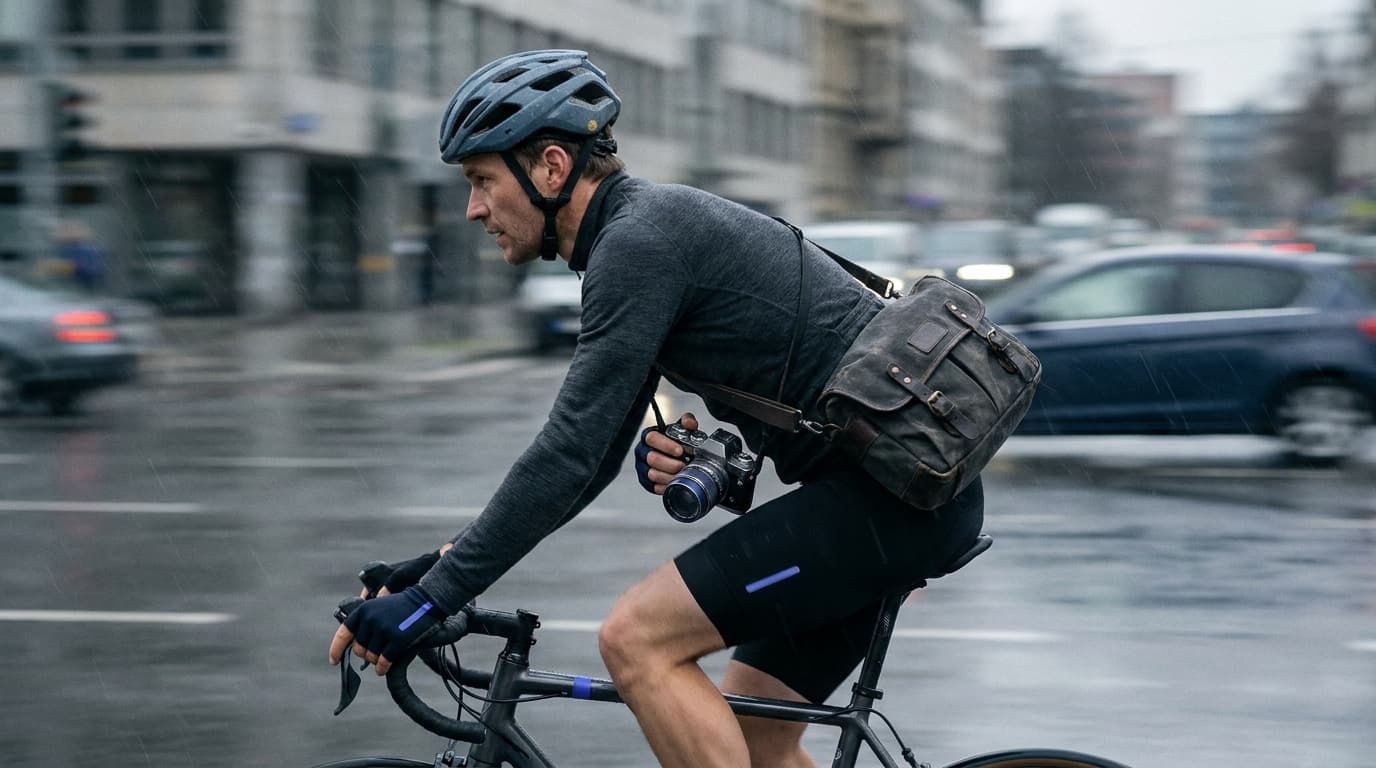
Most of the time you fight motion blur. Panning embraces it. By moving the camera at the same speed as a passing subject, a cyclist, a car, a runner, you keep that subject pinned in roughly the same spot in the frame while everything stationary smears horizontally. The result reads as motion in a way a frozen shot never does. It is a skill with a real failure rate; even with practice, a chunk of your panned frames will be soft, and that is normal. You shoot a lot and keep the ones where the subject locked in.
The gear
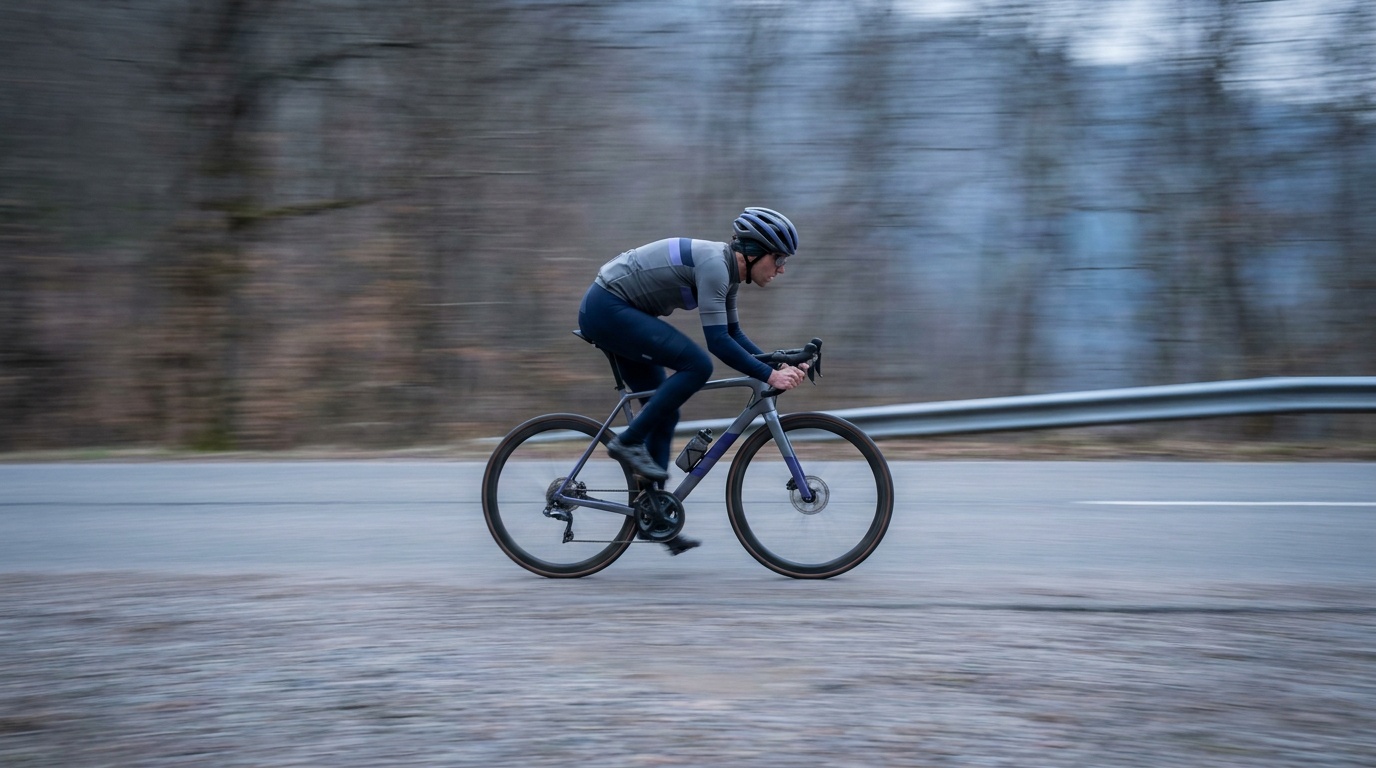
Panning needs almost no special equipment, which is part of its appeal. Any camera with a slow-enough shutter and continuous autofocus works. Some lenses and bodies offer a panning-aware stabilization mode that corrects for vertical shake while leaving your horizontal sweep alone; turn it on if you have it. A monopod can steady the vertical axis for very slow pans, but most people shoot panning handheld for freedom of movement. The tripod and support roundup covers monopods if you want that stability without a locked head.
The settings
The shutter speed is the whole technique. Too fast and nothing blurs; too slow and even your tracked subject smears.
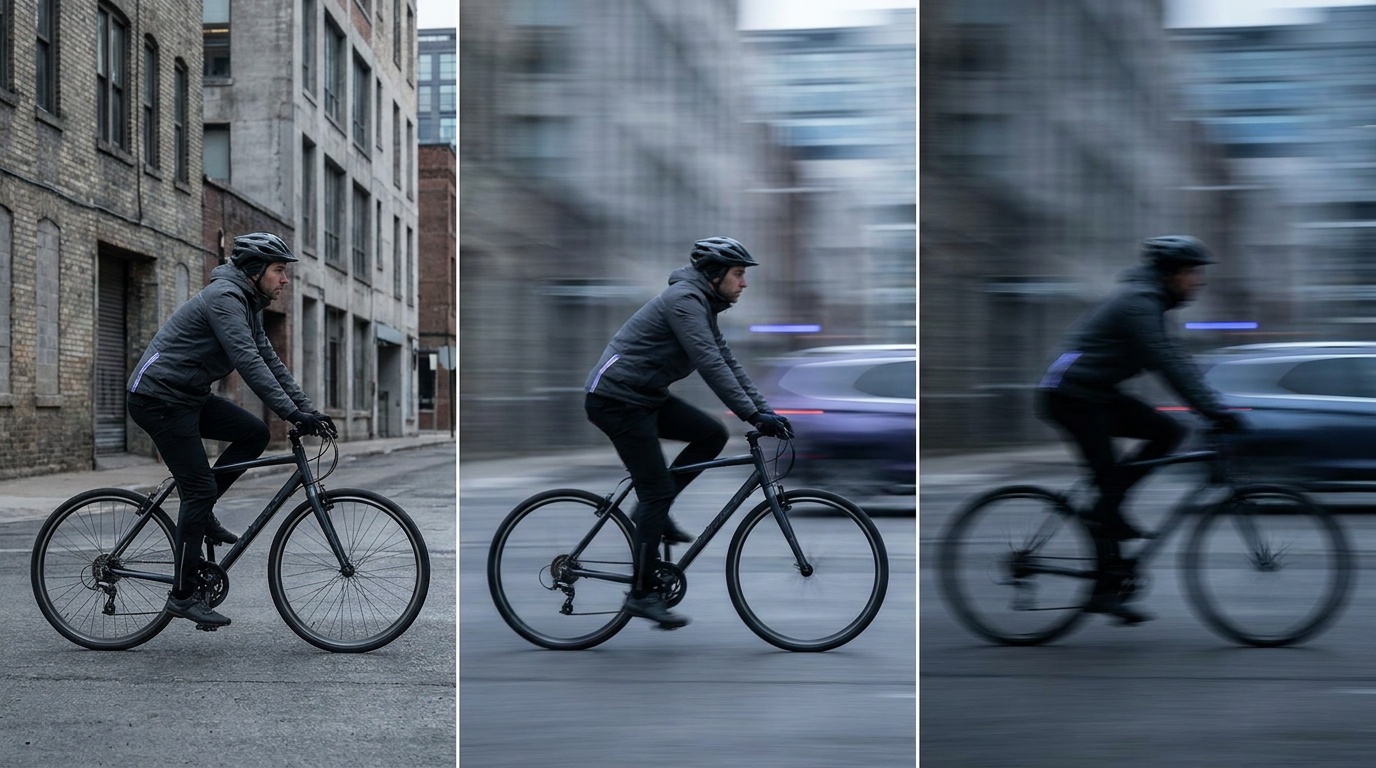
There is no single correct shutter speed. It depends on how fast the subject moves and how much blur you want, so bracket your shutter across a few passes and learn what each speed gives you. A rough map to start from:
- 1/60 to 1/125: the forgiving range. Use it for fast subjects like race cars and motorcycles, or when you just want a high keeper rate while learning.
- 1/30: the classic all-purpose pan for cyclists, runners, and city traffic. Enough blur to read as motion, still achievable.
- 1/15 to 1/8: dramatic, heavy streaks. Hardest to keep the subject sharp, so expect a lower keeper rate and a lot of practice.
The technique
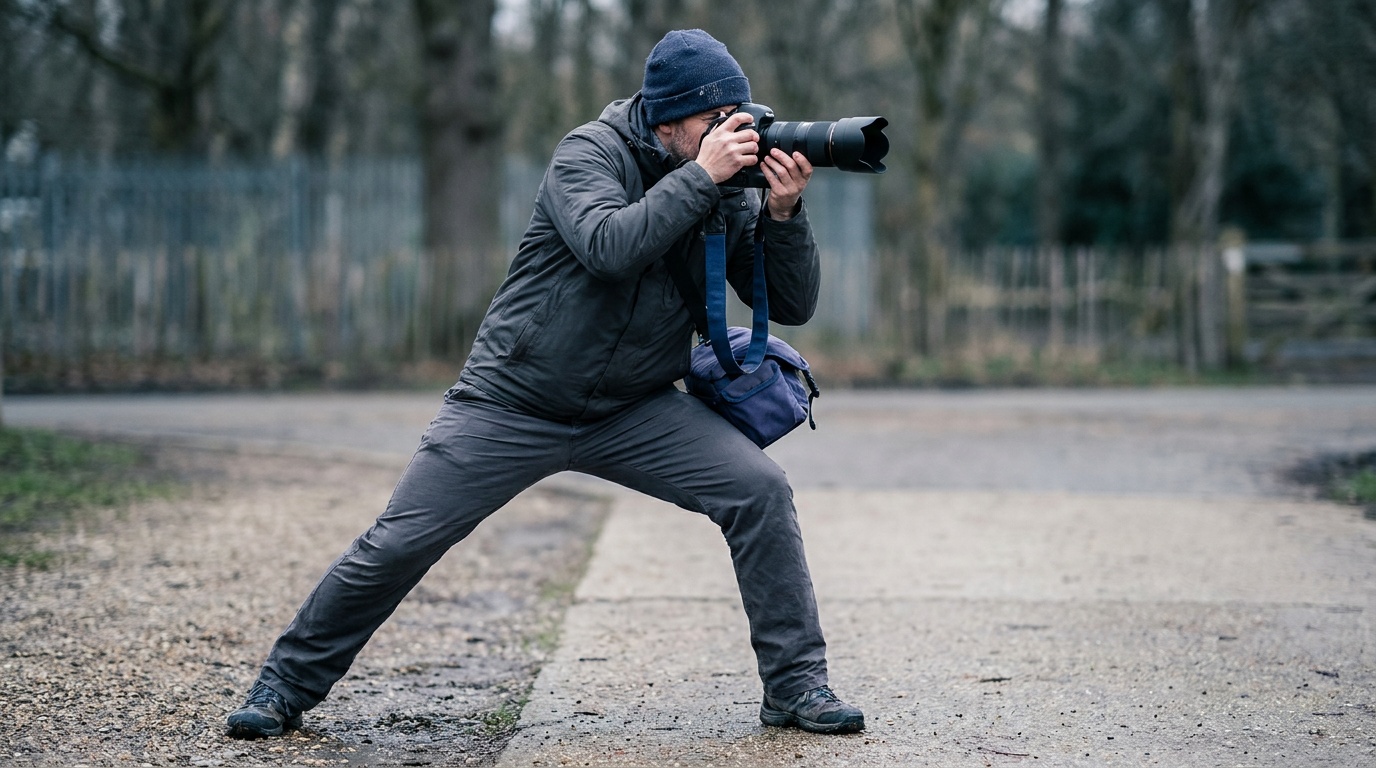
Plant your feet, square your hips to where the subject will be sharpest, and rotate from the waist rather than swinging your arms. Pick up the subject early, track it smoothly as it approaches, press the shutter while still moving, and follow through after the shutter fires, the same way a golfer follows through a swing. The follow-through is what keeps the motion smooth across the exposure. Use continuous autofocus so the camera holds the subject as it crosses your field, and shoot a burst through the pass to raise your odds of a sharp frame. Keep your tracking speed matched to the subject; that match is what holds it sharp.
A step-by-step pass
- Set continuous autofocus and a starting shutter of 1/30, with ISO chosen to land that shutter at a middle aperture.
- Plant and square up to the point where the subject will be sharpest, usually directly across from you.
- Acquire early. Pick the subject up as it approaches and begin tracking before you intend to fire.
- Match the sweep to the subject's speed, keeping it in the same spot in the frame.
- Fire a burst while moving, pressing the shutter mid-sweep rather than stabbing at it.
- Follow through, continuing the motion after the shutter fires. Then cull hard and keep only the frames where the subject locked in.
Common mistakes
The first is a shutter that is too fast, which freezes the background and kills the effect; slow down until the background streaks. The second is a jerky, arm-driven sweep; rotate smoothly from the body. The third is stopping the camera the instant you press the shutter, which blurs the subject too; follow through. The fourth is impatience, expecting a keeper on the first pass; panning is a numbers game, so shoot many and cull.
What shutter speed should I use for panning?
Start around 1/30 of a second for a car or cyclist and adjust from there. Slower speeds like 1/15 or 1/8 give more dramatic background streaks but are harder to keep the subject sharp. Faster subjects need a slightly faster shutter.
Why is my subject blurry when I pan?
Usually your tracking speed did not match the subject, or you stopped moving the camera the moment you pressed the shutter. Match your sweep to the subject's speed and follow through after the shutter fires, keeping the motion smooth.
Should I use autofocus or manual focus for panning?
Continuous autofocus works well because it tracks the moving subject as it crosses the frame. Some shooters pre-focus manually on the spot where they will fire, but continuous focus is the more forgiving starting point.
Where this fits
Panning is a core move in sports photography and motorsport, the deliberate opposite of the freeze-the-action approach covered in how to photograph sports. It is one of the most useful creative uses of a slow shutter, so it builds directly on shutter speed and the rest of the exposure triangle.
Practice this
Turn the guide into a working setup
Keep going
Next useful steps
Pick one. Each link continues the same job without starting the research over.
Related Learn guides

Content Credentials and C2PA Explained for Photographers
Content Credentials record a photo's signed provenance and edits. Learn what C2PA proves, what it cannot prove, and how capture-to-export workflows work.

Open Gate Video Explained: When 3:2 Is Worth It
Open Gate records a taller sensor area for flexible 16:9, 9:16, and square crops. See when it helps, what it costs, and how to frame it correctly.

Pre-Capture Photography Explained: Get the Frame Before the Click
Pre-Capture buffers photos before the shutter is fully pressed. Learn how it works, which settings change, and when RAW, flash, or focus may be limited.

RAW vs JPEG: Which File Format Should You Shoot?
RAW keeps all your sensor data for maximum editing freedom; JPEG is smaller and ready to share. Here is how they differ and when each one is the right call.
Researched, not personally tested: picks compare specifications, available owner feedback, and established expert sources. As an Amazon Associate I earn from qualifying purchases. We may earn a commission from links here, at no extra cost to you. How we research →